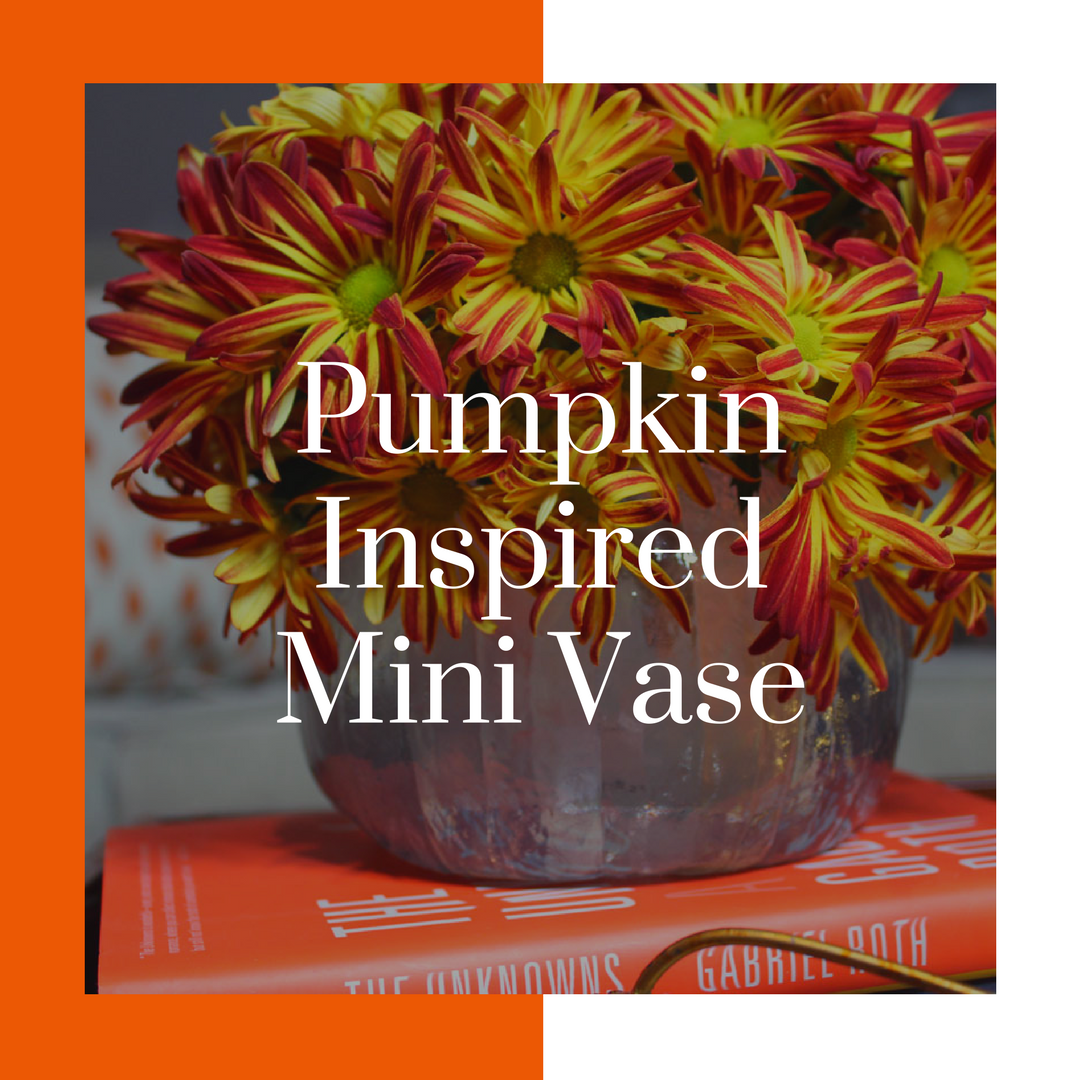
I am obsessed with all things lucite and clear! I love glassy finishes and a glam acrylic piece of furniture. If you saw my bar top makeover, you can see how I updated my ugly, dated bar to a beautiful, glassy finish. Today, I’m sharing how to get an acrylic look with my pumpkin inspired mini vase DIY.
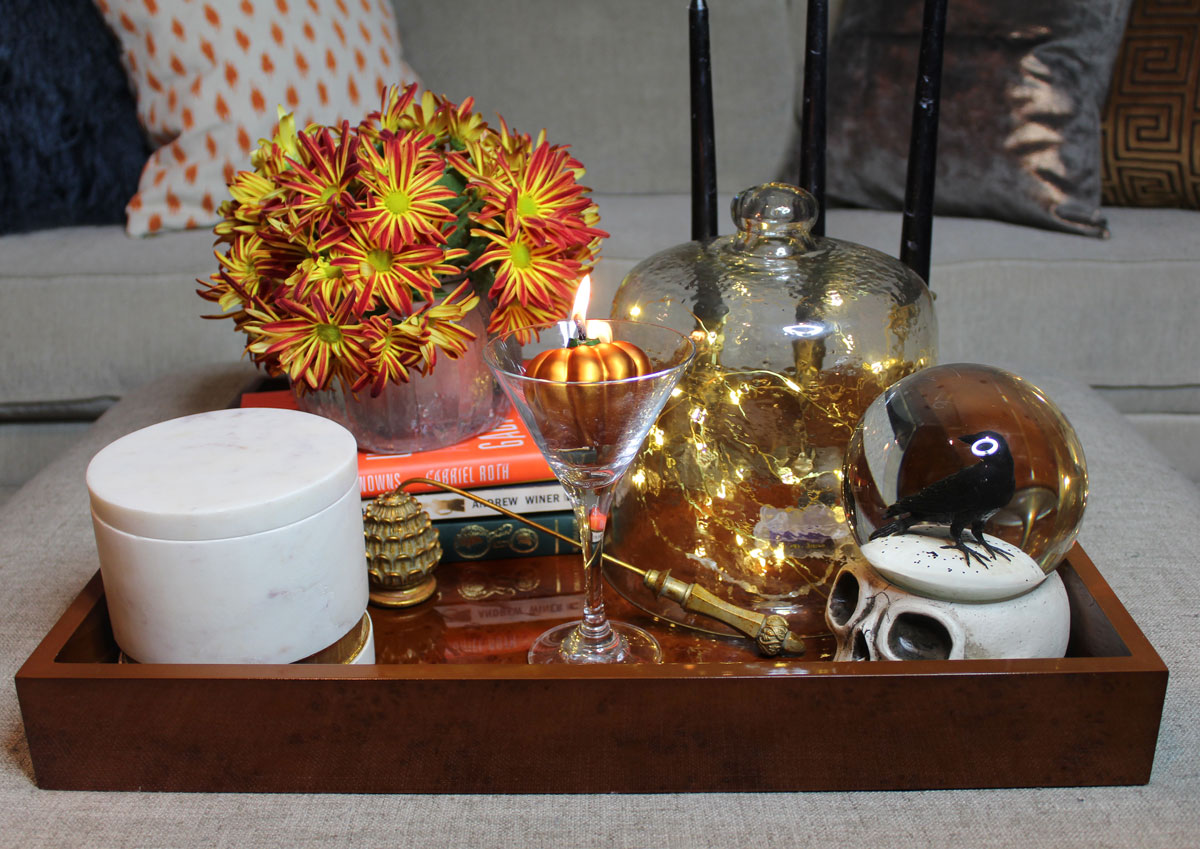
I don’t usually decorate for Fall, except changing pillows and throws, but I did want to make some updates this year. Cue this cute mini vase that I made with Clear Polyester Casting Resin and EasyMold Silicone Paste (for a pumpkin mold). It’s perfect for adding some small floral cuttings.
Let me show you how to make your own.
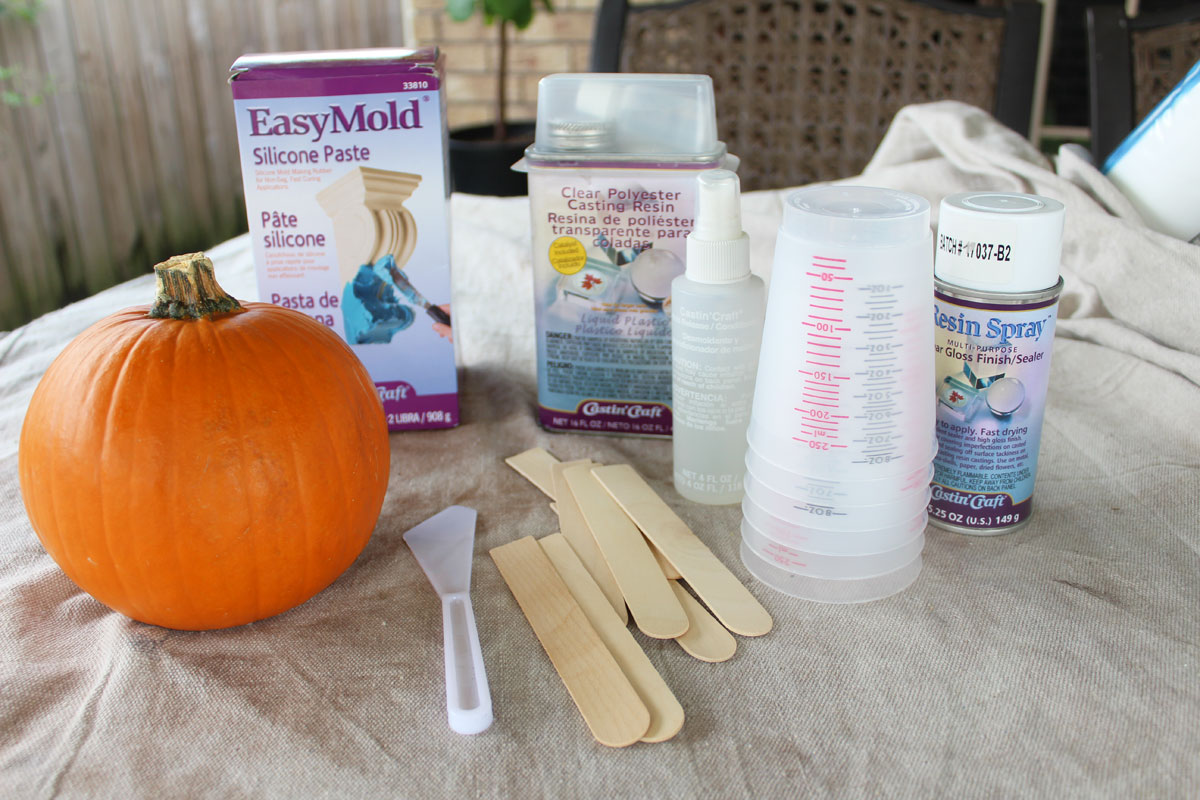
Here’s what you need:
Supplies:
- Castin’ Craft Clear Polyester Casting Resin
- Castin’ Craft EasyMold Silicone Paste
- Plastic Measuring cups
- Plastic cup (the size that you want the interior of your vase to be)
- Castin’ Craft Mold Release
- Stir Sticks
- Palette Knife (or butter knife)
- Pumpkin of your choice
I’ve used these materials quite often now, so I’m familiar with their use, but be sure to follow these steps carefully and also read the instructions that come with the product before you get started.
Here’s what you need to do.
First, we’re making a mold of the pumpkin!
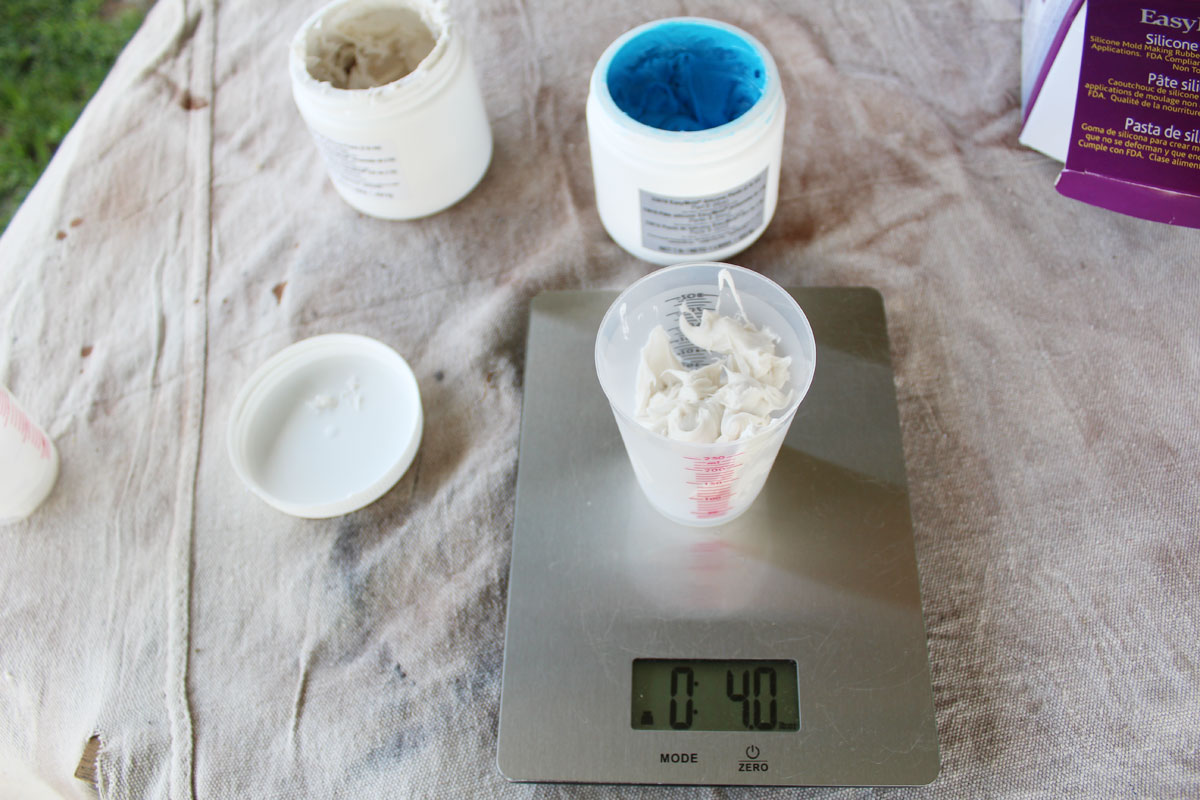
- Measure equal amounts of each part of the Castin’ Craft EasyMold Silicone Paste.
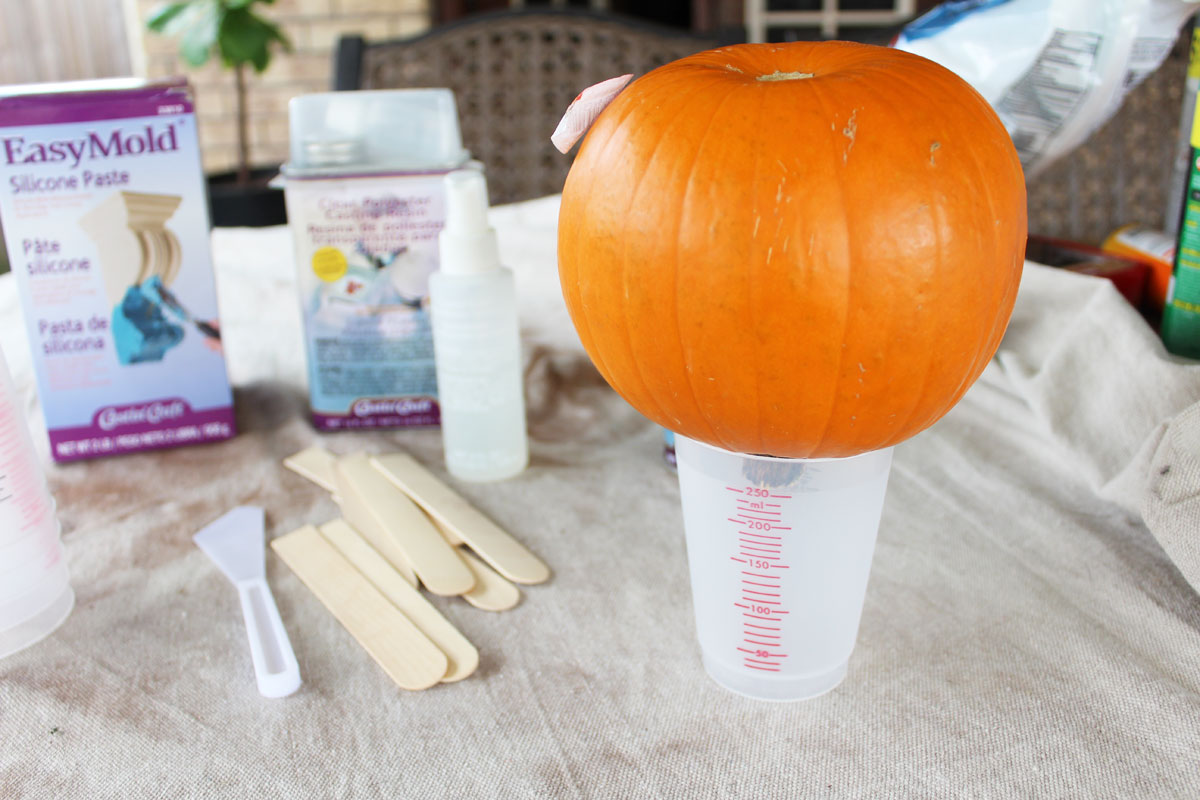
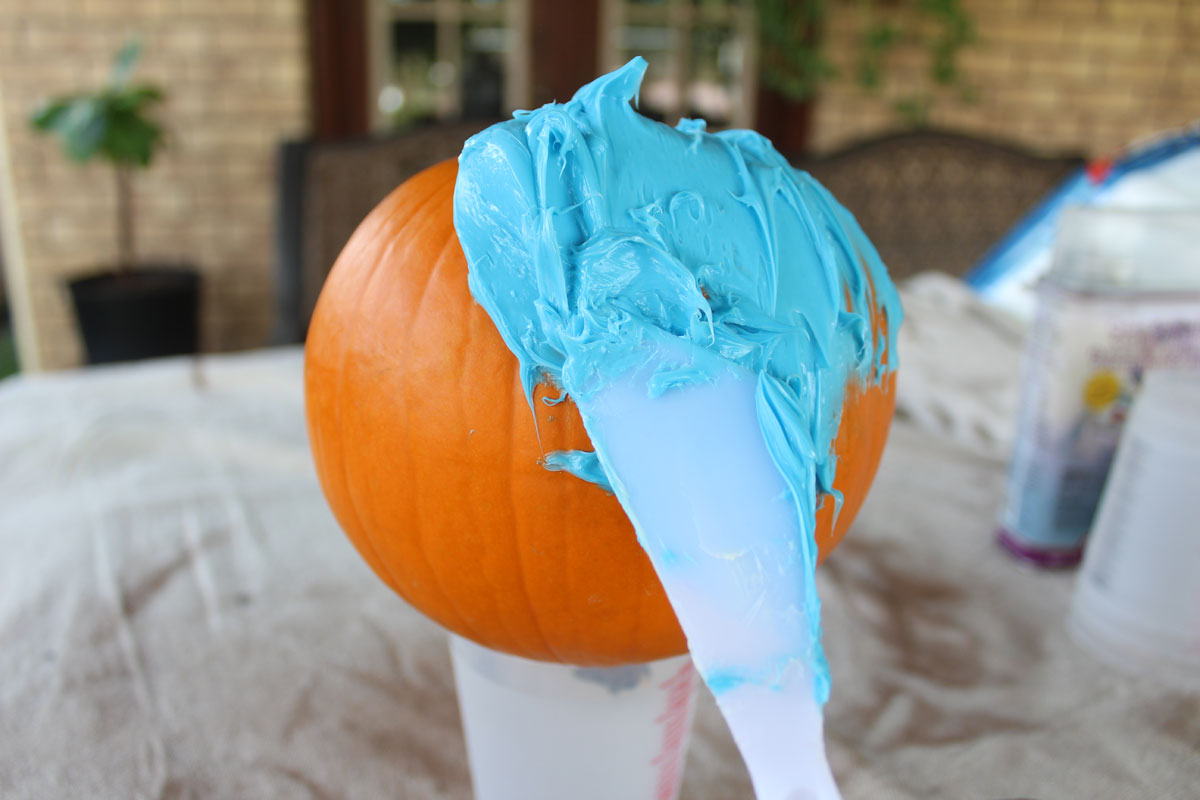
- Elevate your pumpkin upside down. This ensures that you can cast the pumpkin from the bottom. I used one of my measuring cups to put my pumpkin on top of.
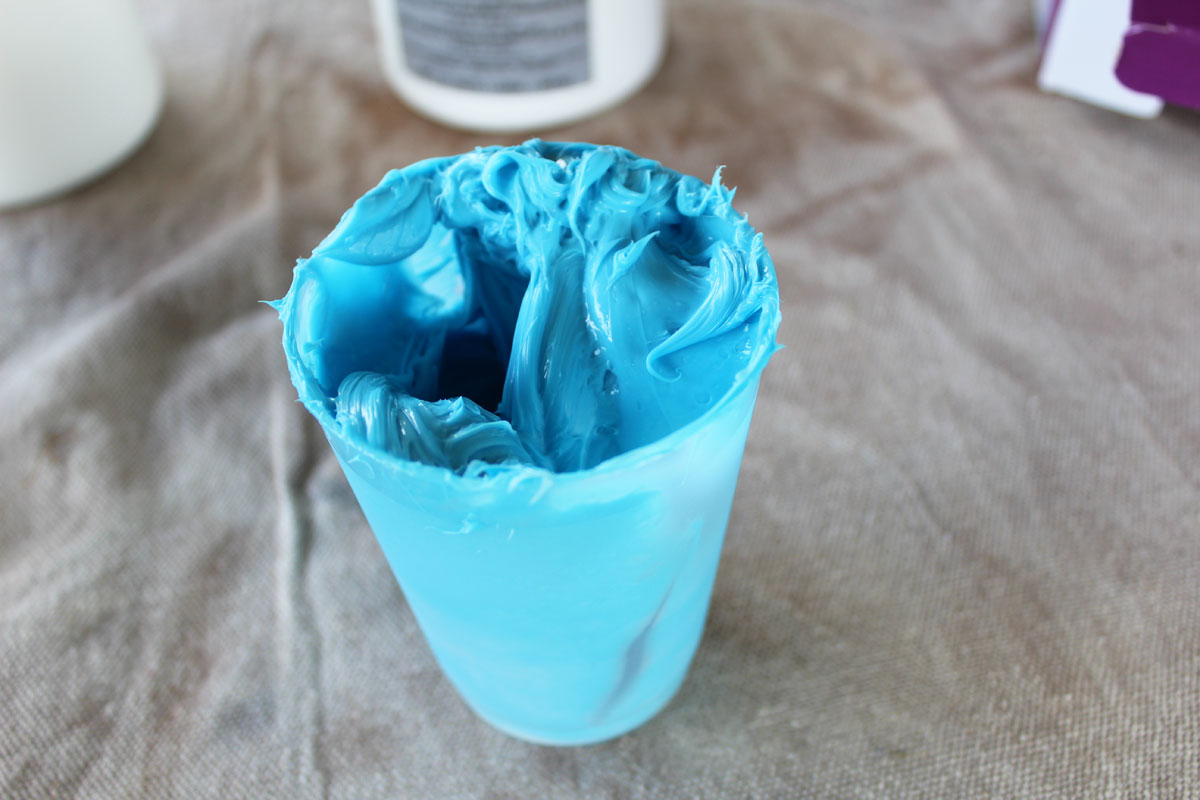
- Mix the two parts together thoroughly. You’ll know when you’re done when the color of the mixture is solid throughout.
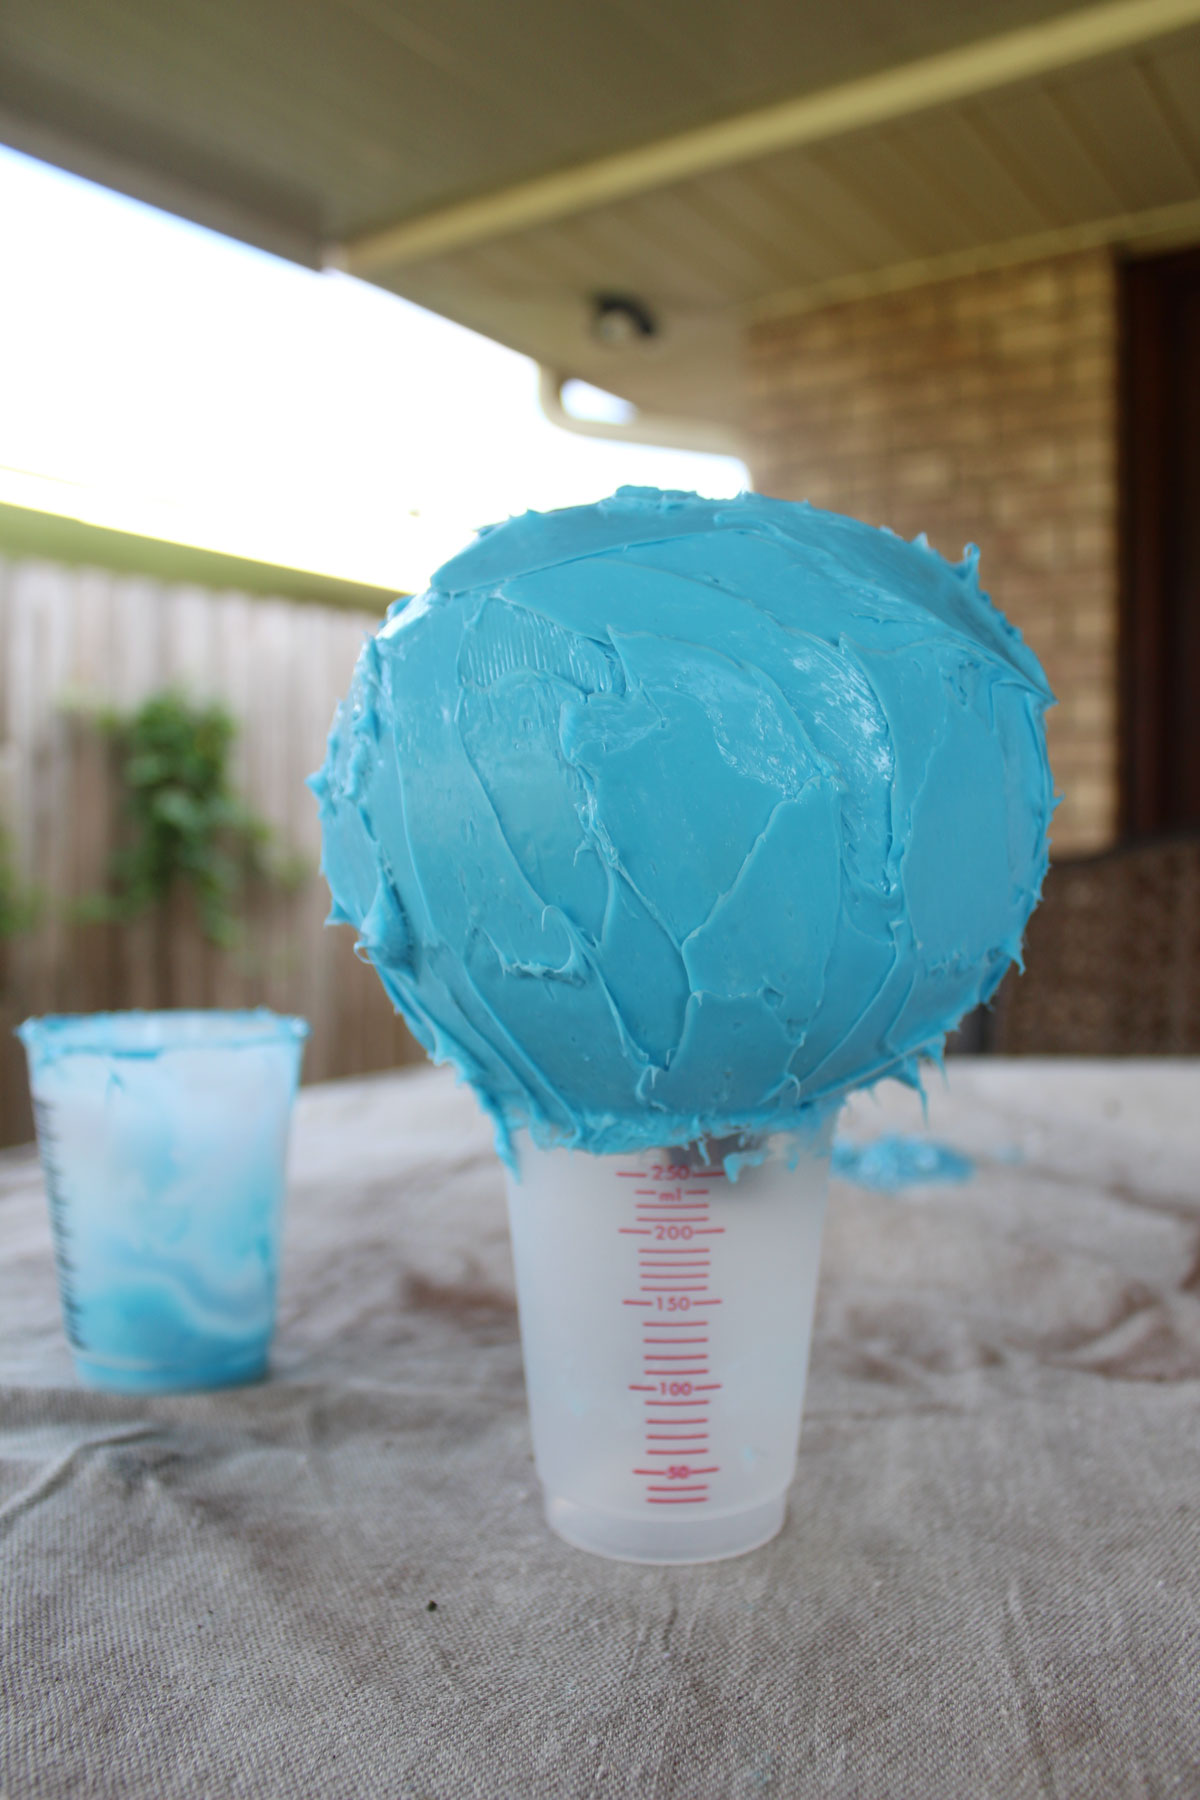
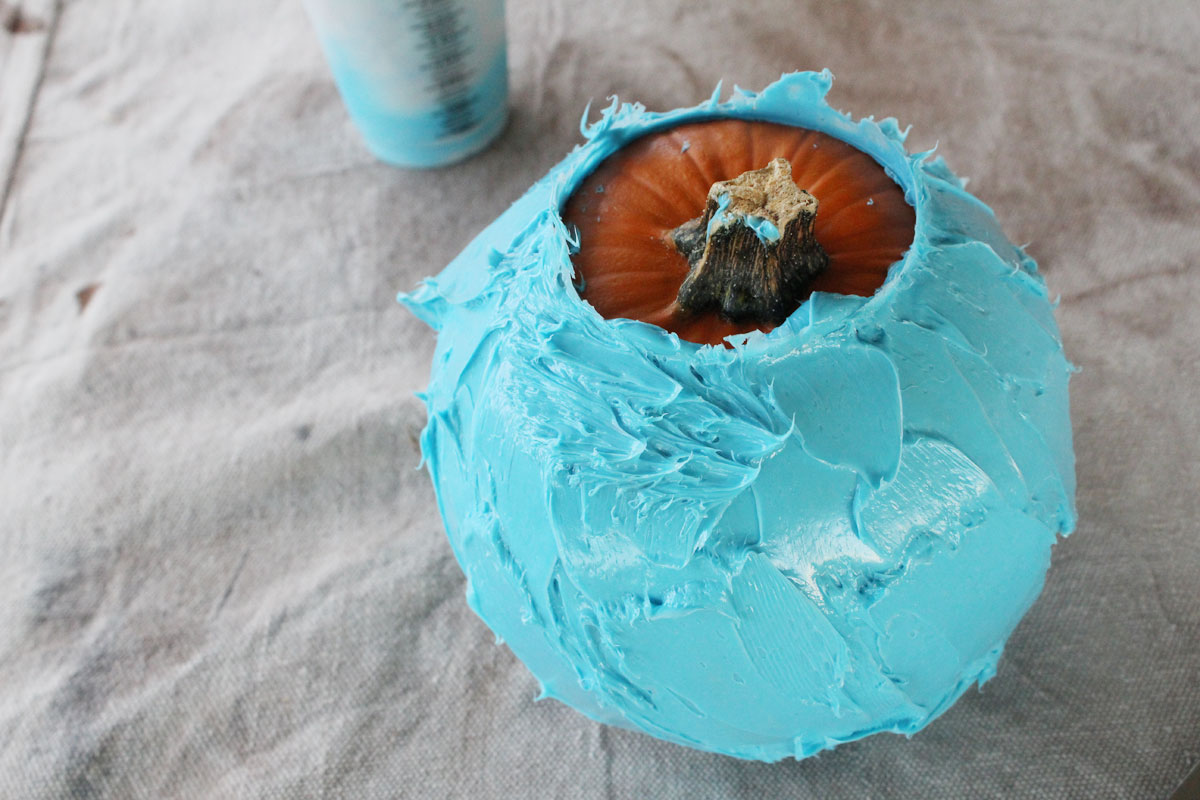
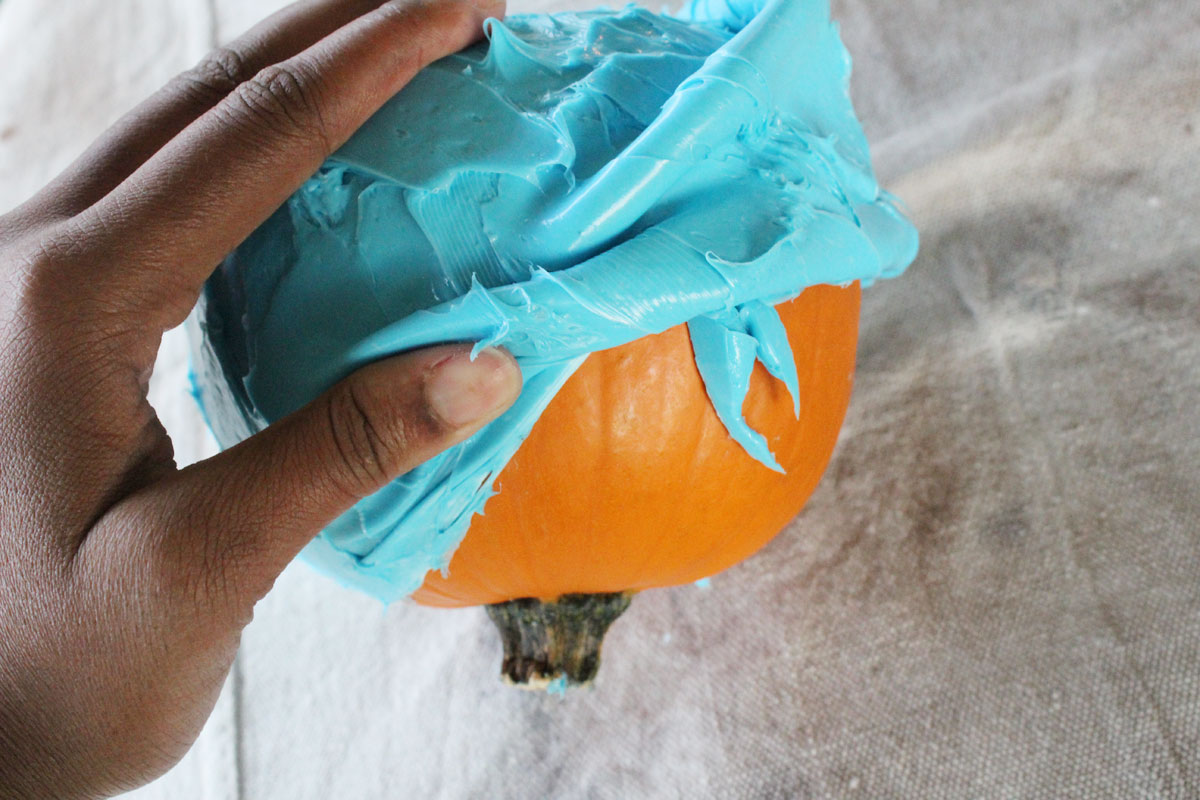
- Use your palette knife (or butter knife) to spread the EasyMold mixture all around your pumpkin, making sure to leave enough room for an opening in your mold. You can always cut off some of the mold to make room for your cup that you’ll be using for the “vase” interior.
- Let dry for about 3 hours. Once your mold is dry, you can remove your pumpkin.
Now, let’s cast your pumpkin shape and turn it into a mini vase!
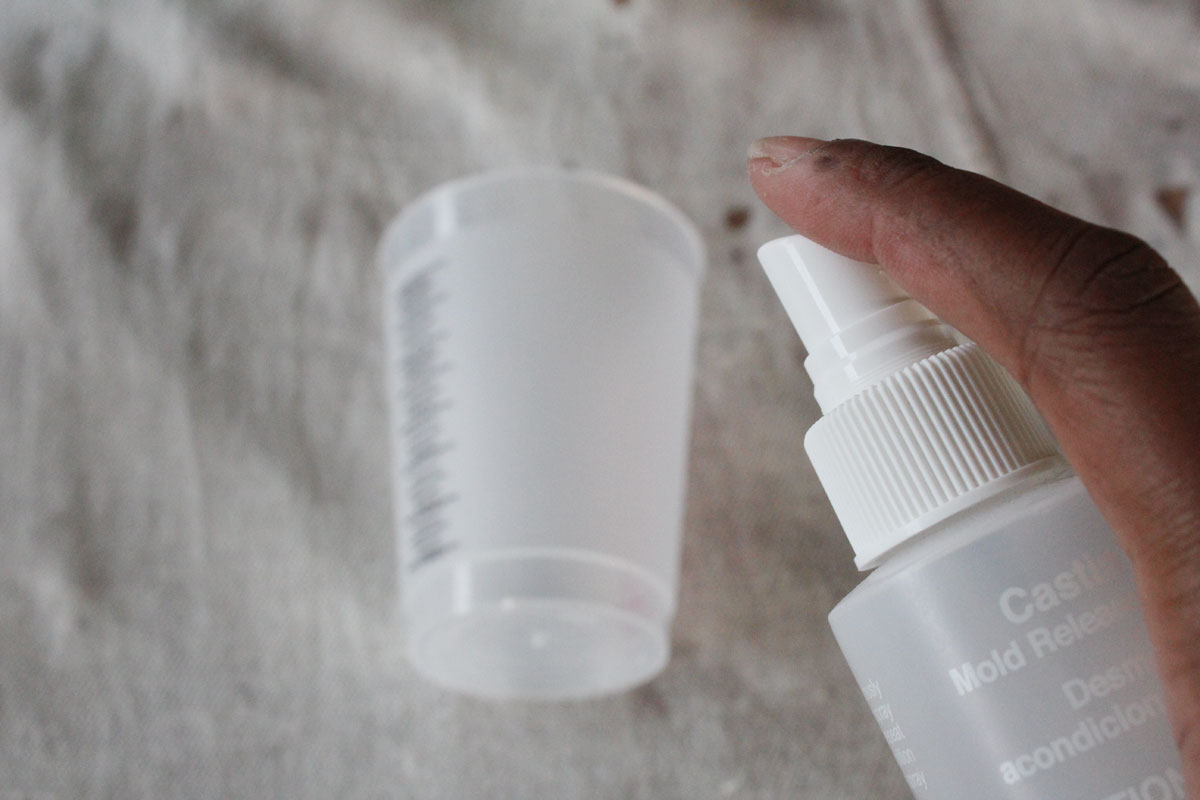
- Take your plastic cup that you’re using for the interior of your “vase” and spray the entire outside with Castin’ Craft Mold Release. Let the cup dry.
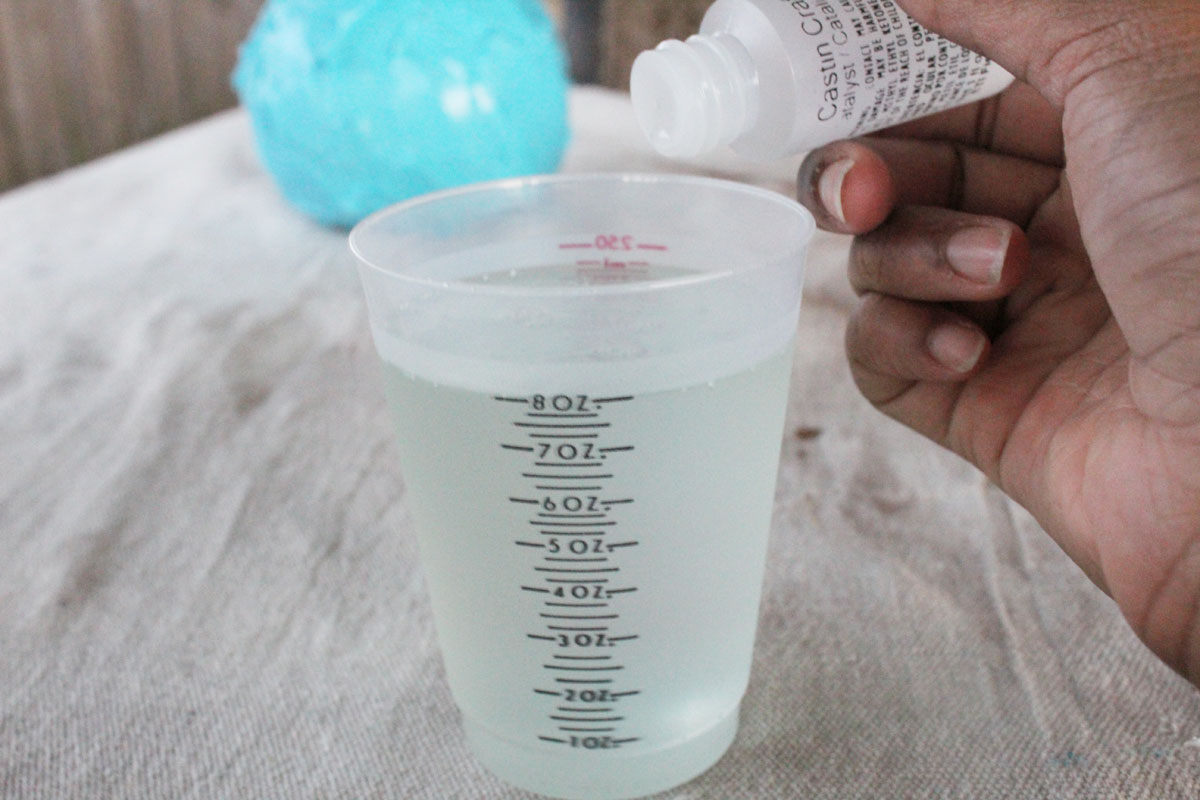
- Add catalyst (provided with your Castin’ Craft Polyester Casting Resin) to the resin. The casting resin container has instructions on the back that tells you how many drops of catalyst per ounce of resin you need to be mixing. The thicker the layer, the less drops of catalyst you’ll use. Since I poured once (and not many layers) into a 7” pumpkin mold, I used 1 drop of catalyst per 2 oz of resin. I ended up using 16 oz of resin to fill the mold.
- Mix the mixture for a full one minute.
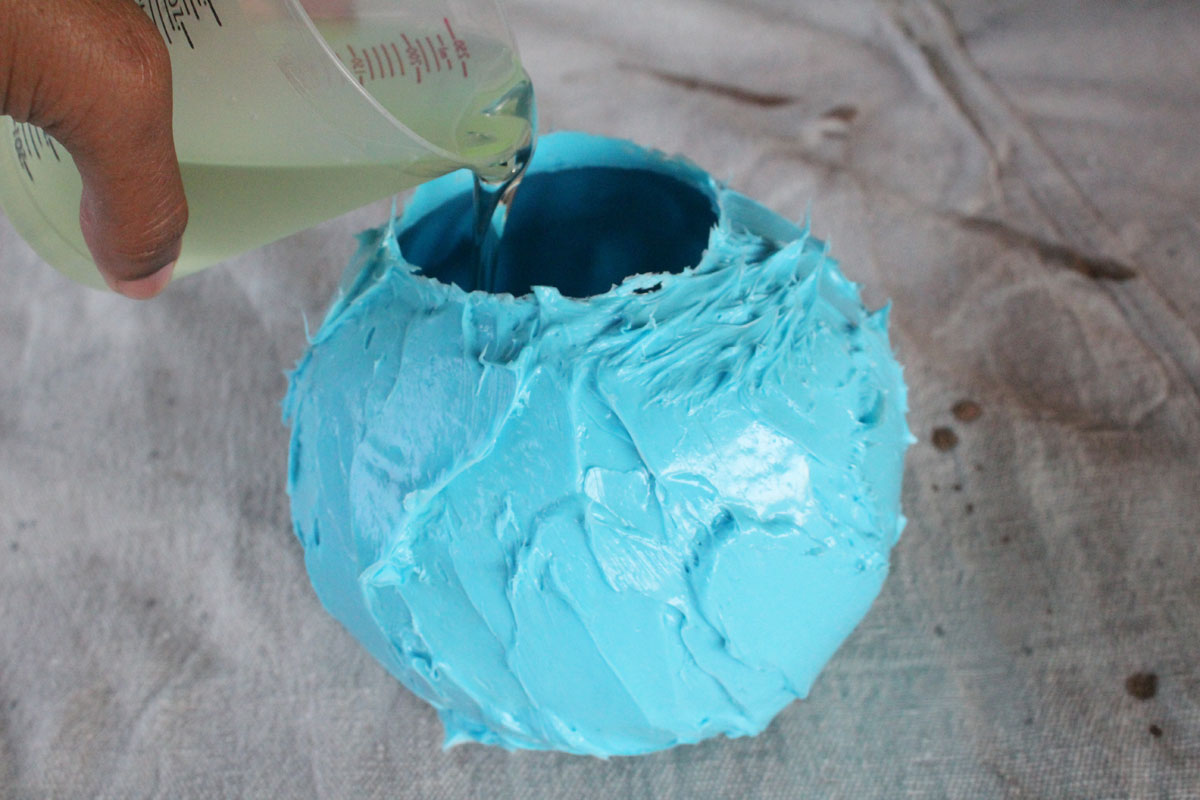
- Pour the mixture about half way full.
- Allow the mixture to gel. This takes about 15 – 25 minutes.
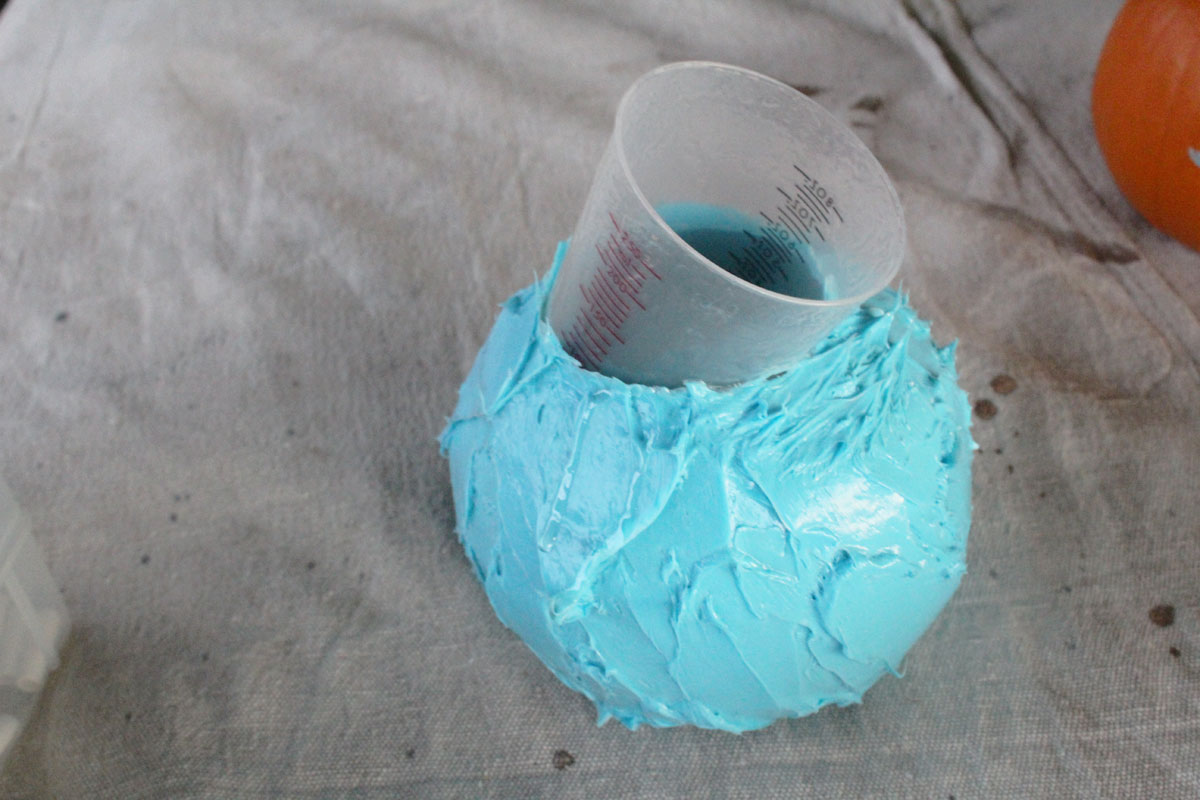
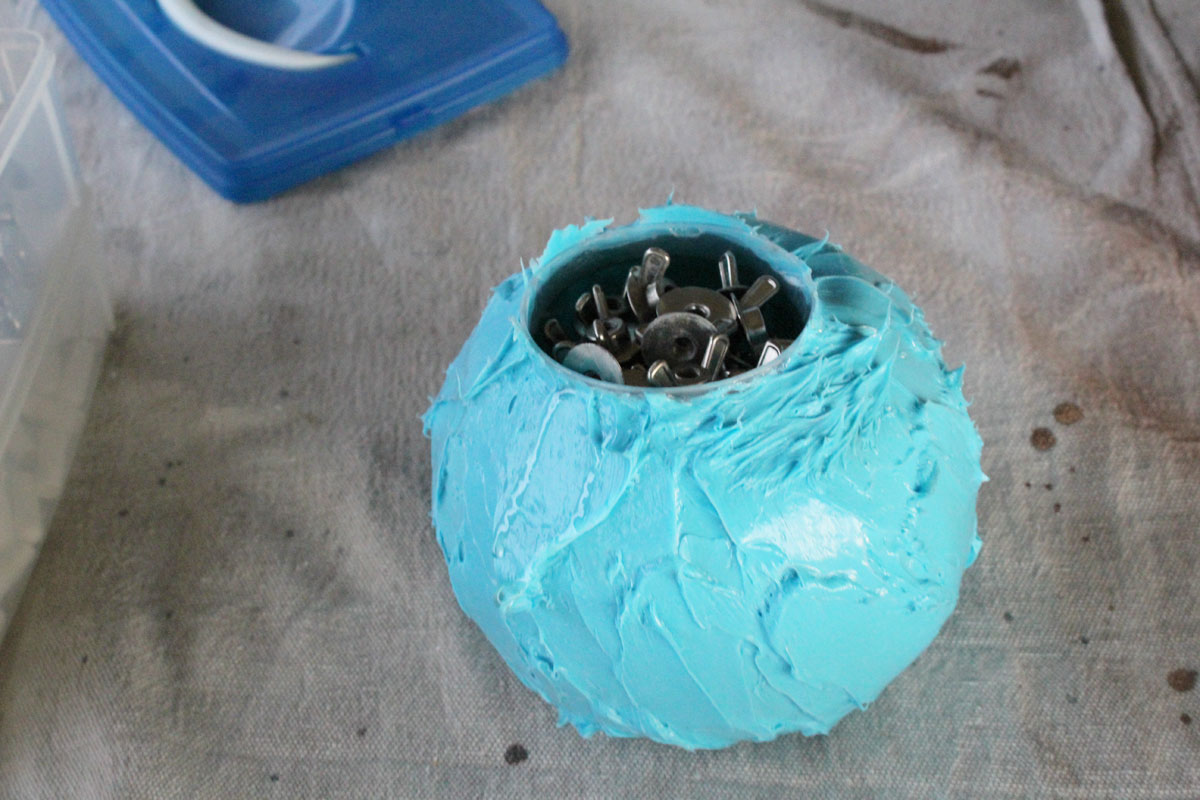
- Once your mixture has a gel-like consistency, you can place the cup (the one you’re using for your vase interior} into the mold, push down until you get the cup at the depth that you want. I used some random metal pieces to weigh the cup down.
- Following the directions above, mix a new batch of mixture and pour it to fill the rest of the mold.
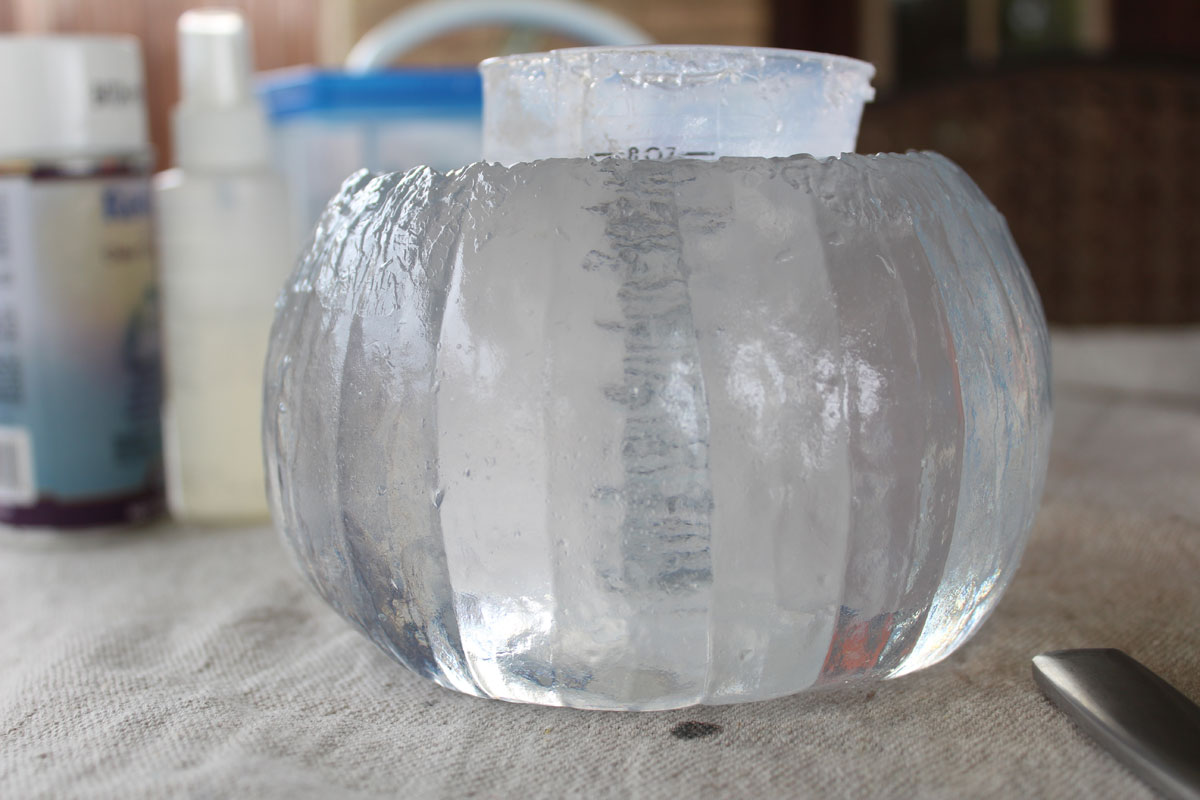
- Let mixture completely cure.
Once your resin has cured, you can remove it from the mold and your cup inside should come out easy enough if you’ve used your mold release. Use pliers to help, if it’s a bit stuck.
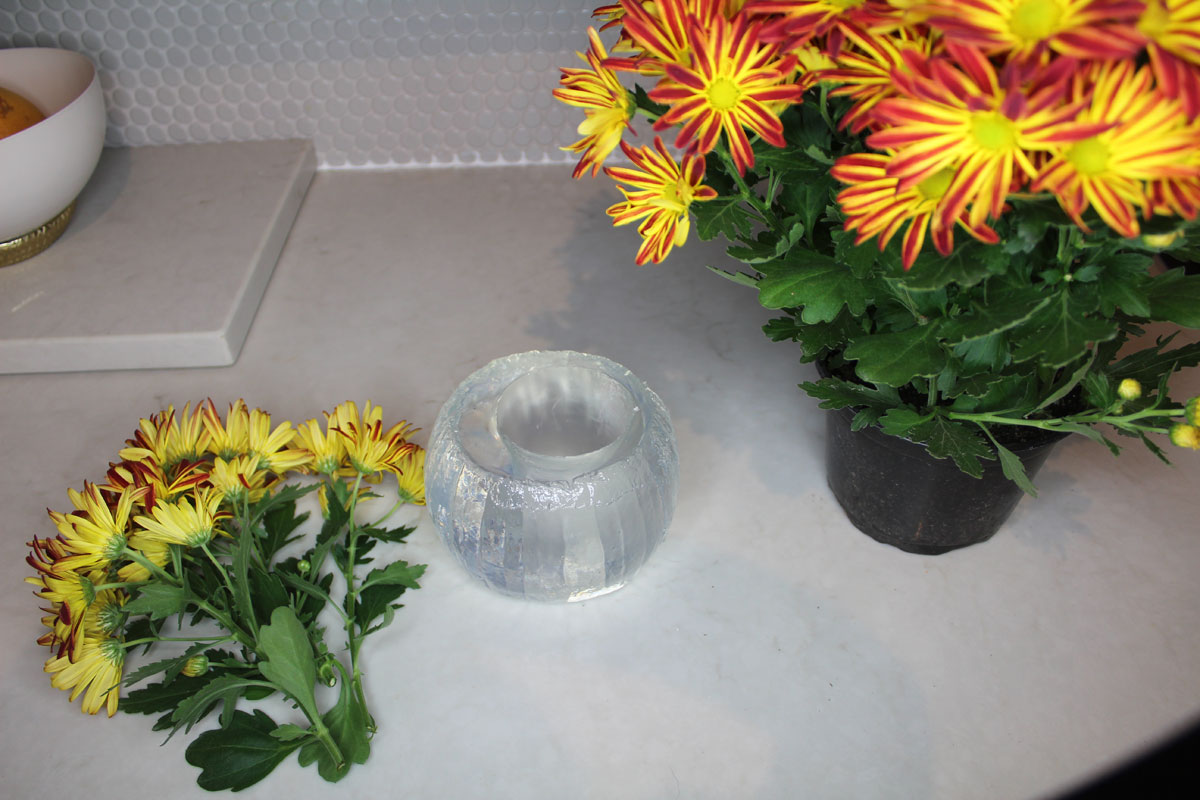
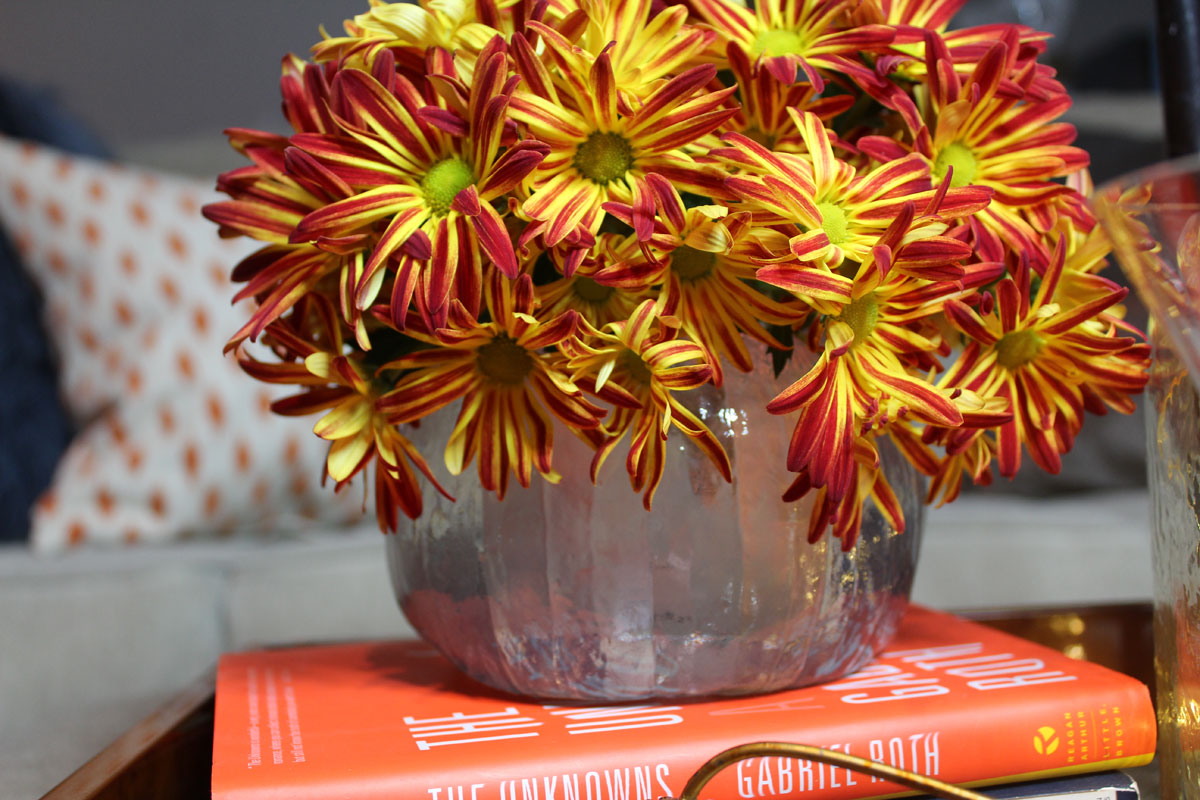
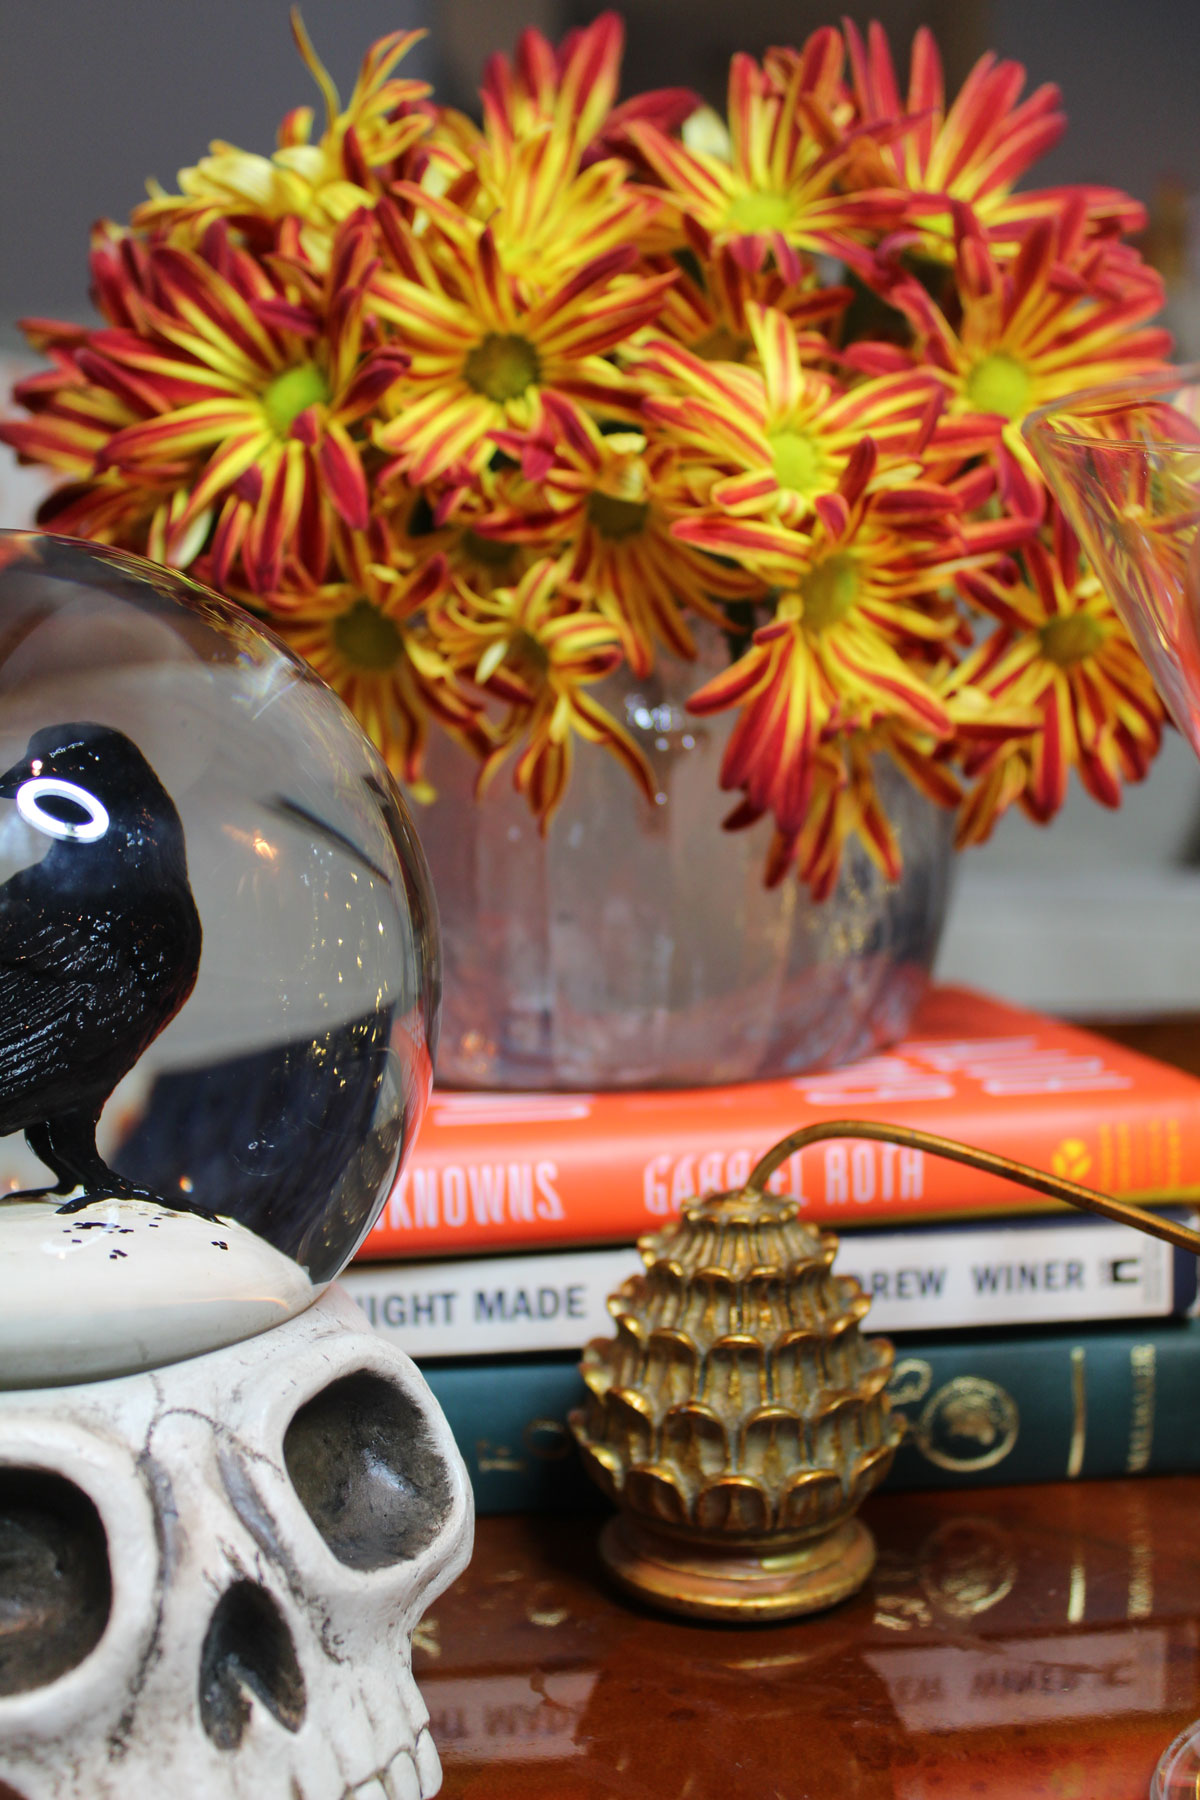
Now, you can style your mini vase with a floral arrangement. I initially bought a bouquet of roses and sunflowers to use for the vase, but I felt terrible about cutting – already cut – flowers that short. So, I headed to the plant store and grabbed a chrysanthemum plant, so that I can cut stems off it. The best part is that I can nourish my plant to grow, so that I can continue to pull cuttings from it throughout the Fall season!
This project was pretty simple, but there was some curing time involved, so don’t expect to be finished in a few hours. You can, however, do a batch of these over the weekend. I wanted a mini pumpkin (since I’m not a pumpkin girl), but I could totally see this replicated using a much larger pumpkin to mold. Just remember to lay your EasyMold silicone paste on a bit thick so that your mold can sit up on its own. A thin mold will be flimsy and won’t hold its shape.
Another thing I thought about is that this mini vase will be perfect for a small votive, so it can also act as a candle holder!
Hope you’re inspired to get crafting!
Whitney is a New Orleans based decorator blogging about all things home. She loves to sew and create fabulous pillows and other furnishings. When Whitney’s not working on design projects, she’s reading sci-fi novels, working in her garden, or making updates in her new home.


Great project, Whitney! The vase almost looks like mercury glass in the photo but I really love the clear acrylic look too!
Thanks so much, Mylene!!
So cute! I had to look twice as I thought it was ice! Great idea.
Thanks, Jane! It does look a bit like ice, hehe!