Candy Sprinkles Resin Keychain DIY
Hey friends, it’s Natalie from Doodlecraft, showing you another awesome resin craft idea. October just screams candy to me, probably because of Halloween…so this resin candy keychain is perfect for this time of year. So get out your baking sprinkles and alphabet beads and let’s make some candy inspired art!
 These keychains can be customized and make the perfect handmade gift for the holidays.
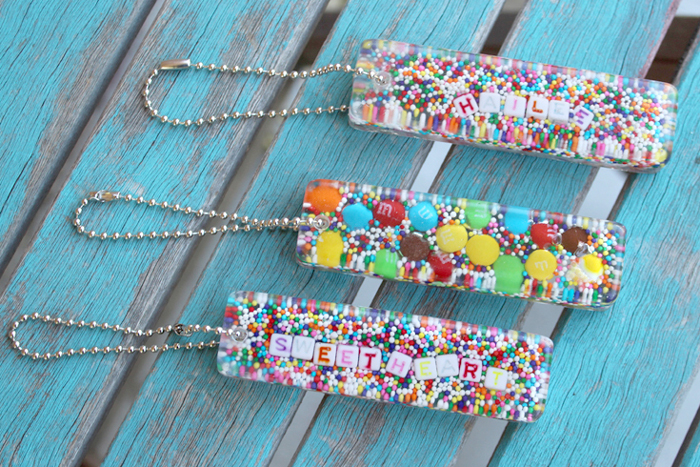
You will need:
- Castin’ Craft: Clear Polyester Casting Resin
- Cabinet knob molds : Rectangular Pulls
- Mold Release and Conditioner
- Alphabet Beads
- Candy sprinkles and various other candies
- Drill and bit
- Ball chain keychain
Let’s get started! Begin by covering your work area with paper or a plastic tablecloth. Then read all the instructions and mixing directions for the clear polyester casting resin. Work in a well ventilated area…and if possible, not inside the house, like garage. If indoors, open windows and doors to allow air flow. 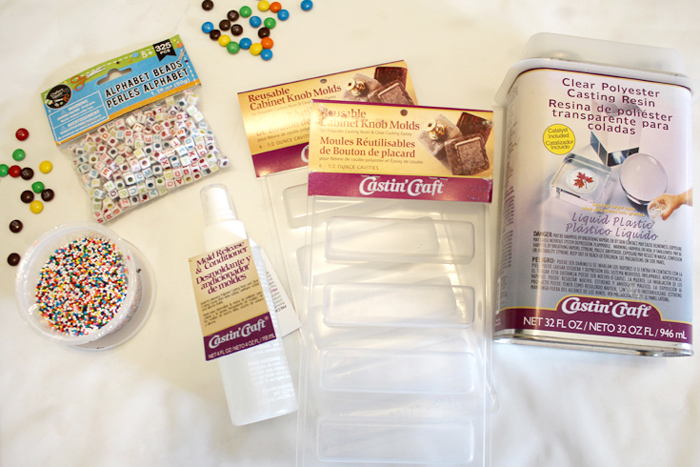 Spray your molds with the release and conditioner according to package directions and set on work surface. Then mix up 3 ounces of resin with the proper amount of catalyst. Stir for the full minute and then gently pour about 1/8 inch of resin in each mold form. Let them set for about 20 minutes.
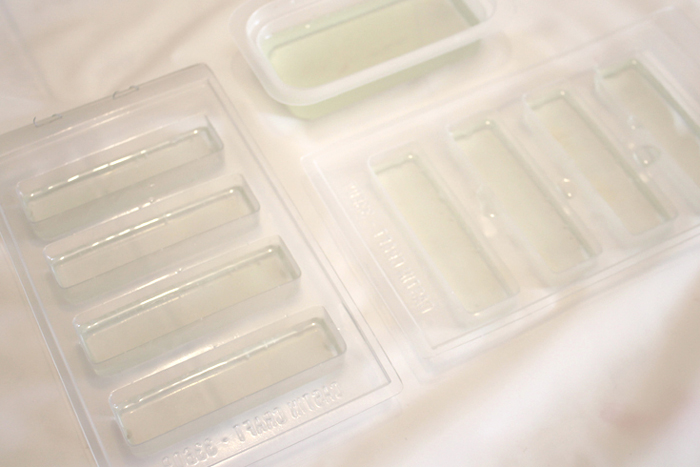 Check that the resin is set enough, try tipping the mold slightly and see if the resin is still runny. It needs to be gel-like but not hardened yet. Then fill the mold with colorful sprinkles and candy.
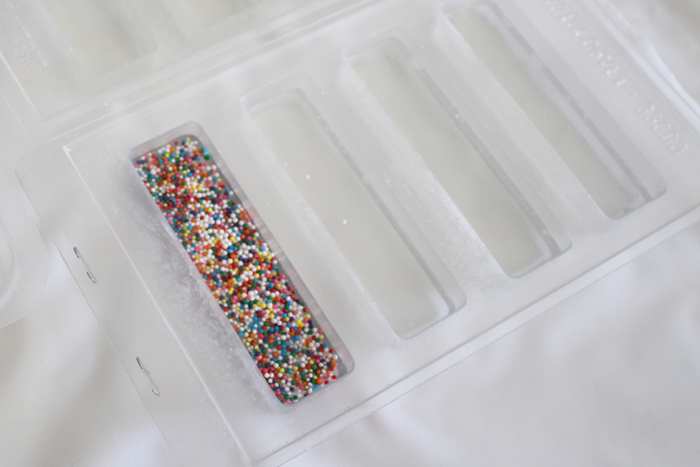
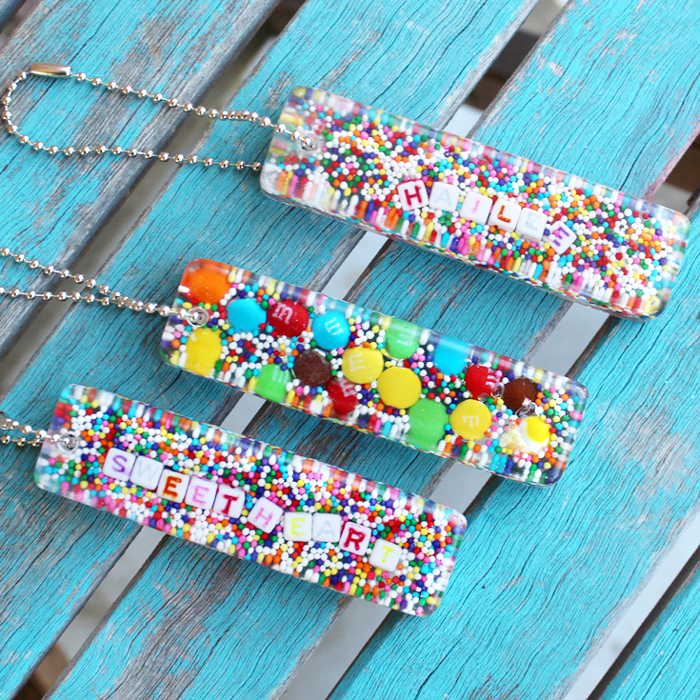
 Or add the cute alphabet beads…note that some of the colors will fade and possibly bleed. The red beads bled the most and the blue, green and yellows faded. Still, they look adorable. You’ll notice that the beads sit right on top of that layer of resin which is perfect…you do not want them to sink to the bottom.
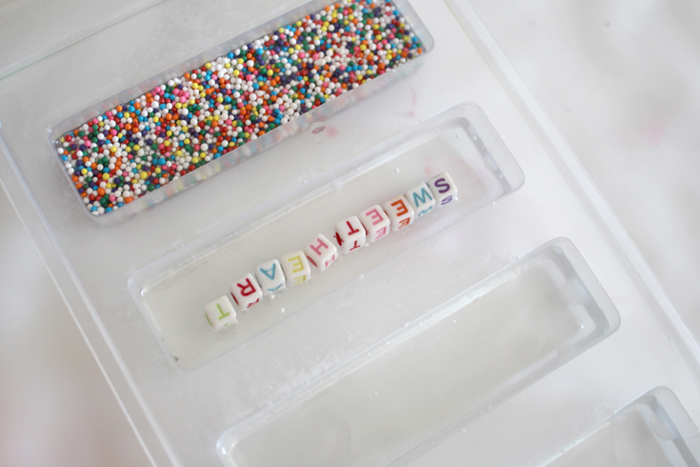 Fill around the beads with sprinkles. I love the thick mass of sprinkles, it’s like the cupcake of my dreams.
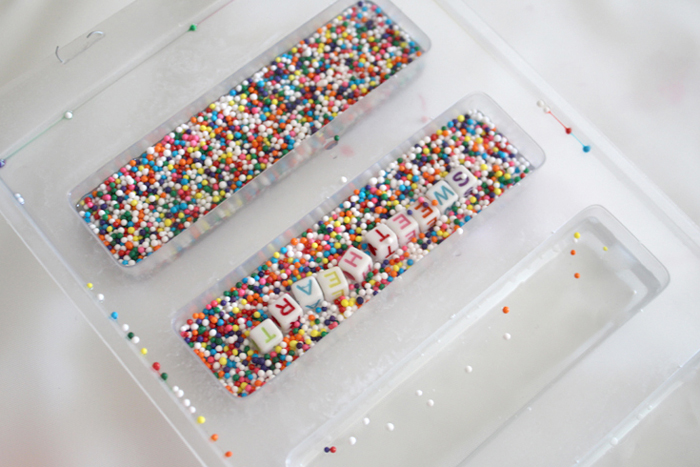 Work quickly to get everything set and then wait about 20 more minutes.
 After 20 minutes, mix up another 3-4 ounces of resin according to package directions. Then pour over the candy sprinkles and fill the molds. At this point, I let them set up overnight to about 24 hours.
 Remove them from the molds, they should pop out easily because of the release and conditioner spray. Buff them with a firm dish cloth to bring out their shine. Now get a drill and bit and drill a hole right through the resin and candy.
 String the ball chain right through the hole and it is ready to use as a keychain. I love the brightly colored sprinkles and candy!
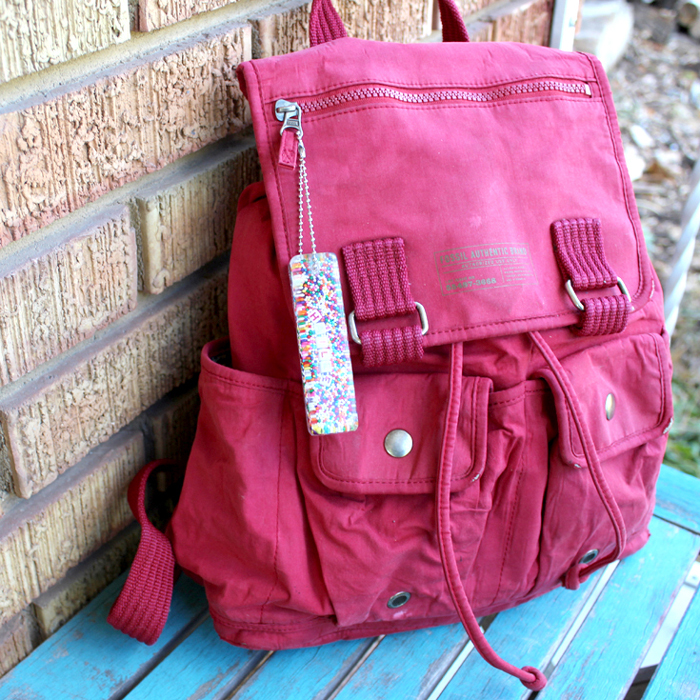
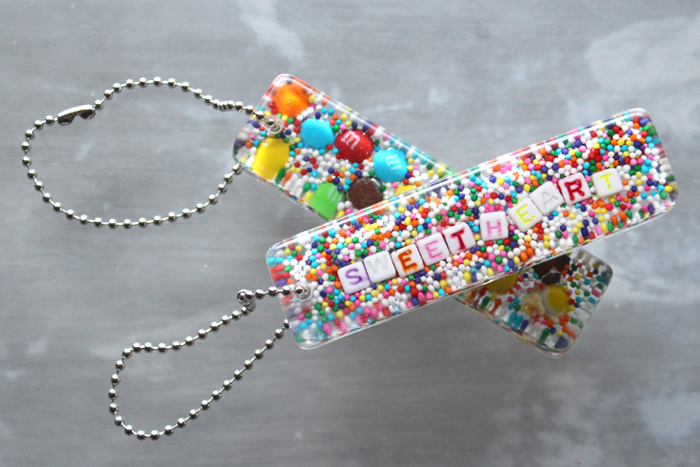 Great for hooking to your keys or on a backpack as a zipper pull, or even worn as a necklace.Great for handmade holiday gifts and any time of year. The perfect way to immortalize the candy you love.
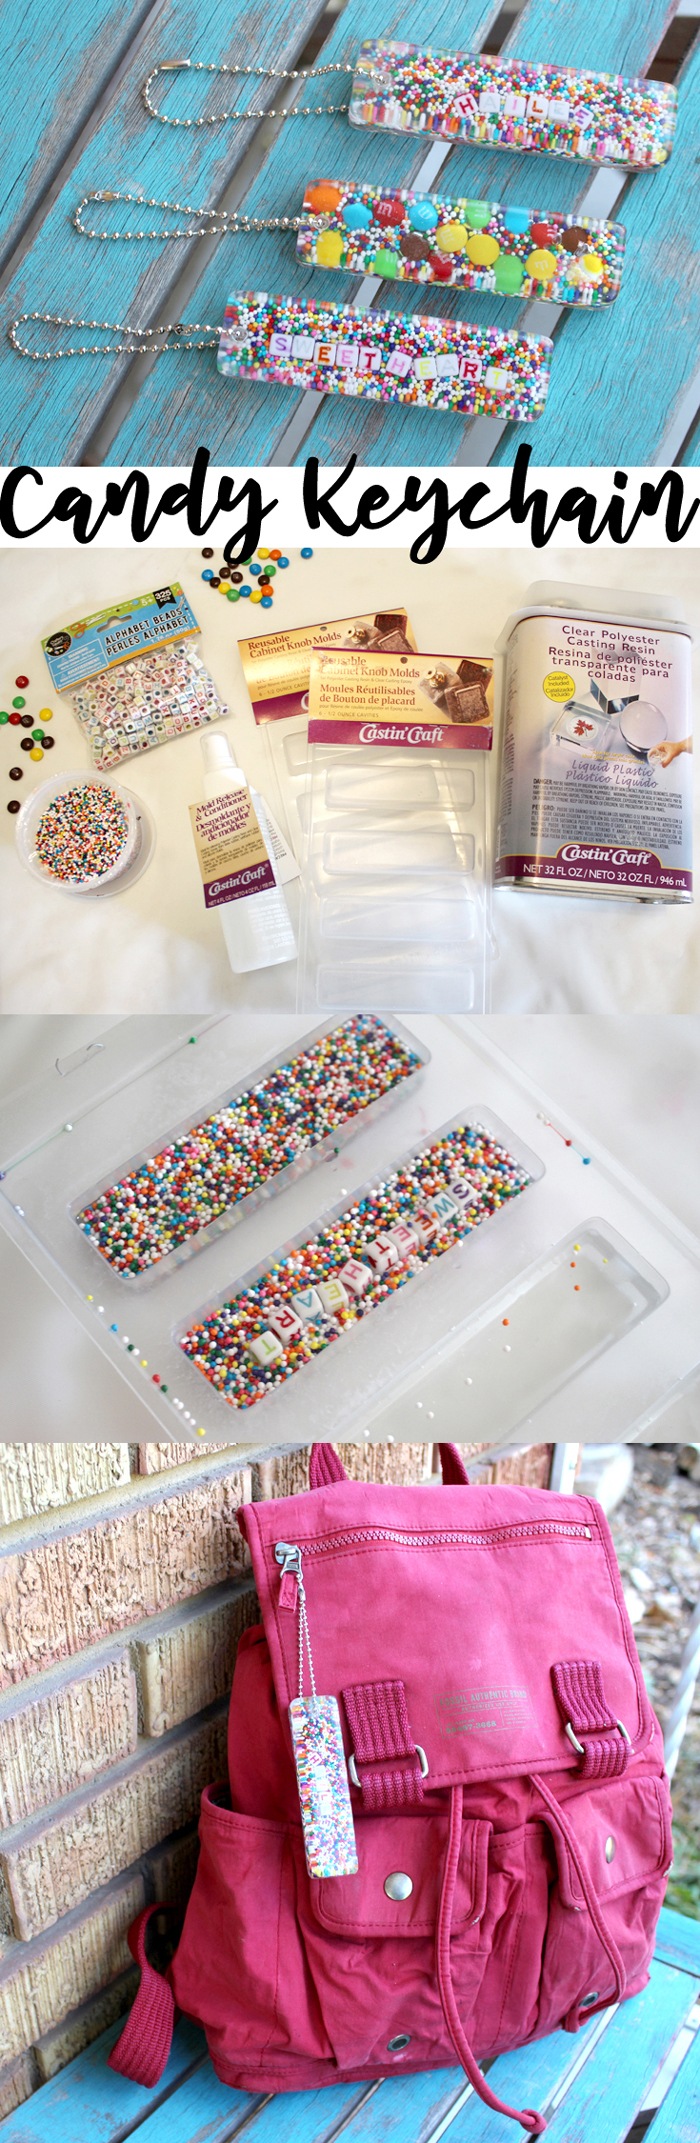
Natalie Shaw is a Craft/DIY blogger at Doodlecraftblog.com. She loves sci-fi, fantasy and video game geekery and that comes out in many of her projects. She posts budget conscious DIY’s, crafts, jewelry, kid friendly projects, upcycled treasures and other fun on her blog 5 days a week.


How amazing are these? I never would have thought to use candy. What a great birthday gift idea for a child! My daughters would love these.
My resin did not set
Sorry…sometimes temperature and humidity can be a factor when using the Clear polyester casting resin. Try EasyCast epoxy resin for the next time, it’s a little less finicky.
Does the color of the candy stay the same? Or does it loose color with time? I make resin things quite often, and have found that if we don’t press things (like flowers etc,) or seal them with a sealing spray, that everything “fresh” (for lack of a better word) tends to loose color or “life”. Lemme know, thanks.
It’s been nearly a year since I did the initial project and the color is still the same as day one. The beads and some candy did bleed slightly during the setting, but they look good! Hope that helps. I know plant matter loses the rich colors when cast in resin…but didn’t notice that with the candy sprinkles.
What length ball chain did you use?
They are just standard keychain ball chains, so like 4-5 inches long. It’s personal preference and they could be made into necklaces. 🙂
Where can you find smaller rectangle molds?
The mold I used for these keychains are here: https://www.eti-usa.com/knob-molds, but can be purchased at local craft stores too.
Hi Natalie,
Thanks for this brilliant idea. It looks really beautiful. Are these fake sprinkles? Are they make of plastic? I have checked online and I can only find ones made of polymer clay. Will that work?
Thank you in advance.
I used real sprinkles, but clay sprinkles would definitely work too!