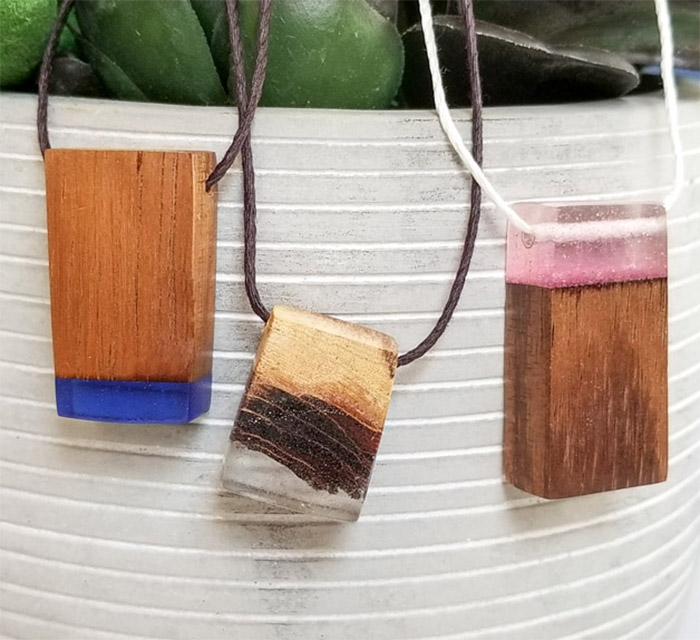
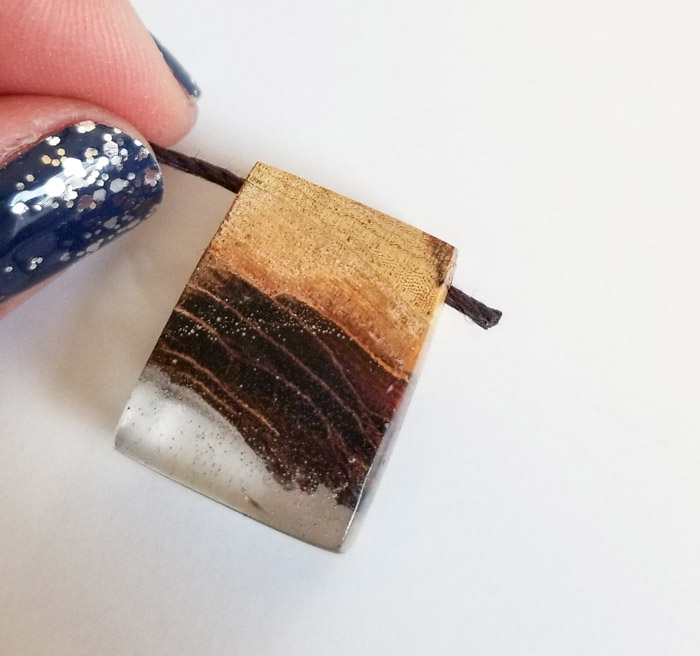
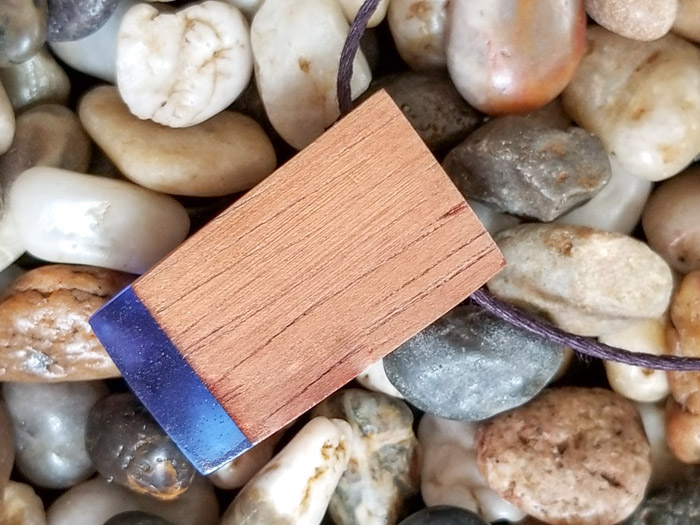
Creating custom jewelry with resin is always a fun way to make personalized gifts. Try combining resin with natural wood pieces for these resin and wood pendants – no mold tray required!
Hi everyone, I’m Stephanie from Crafting in the Rain, and I’m excited to join the Resin Crafts team and bring you these resin tutorials.
Supplies and tools for making resin pendants
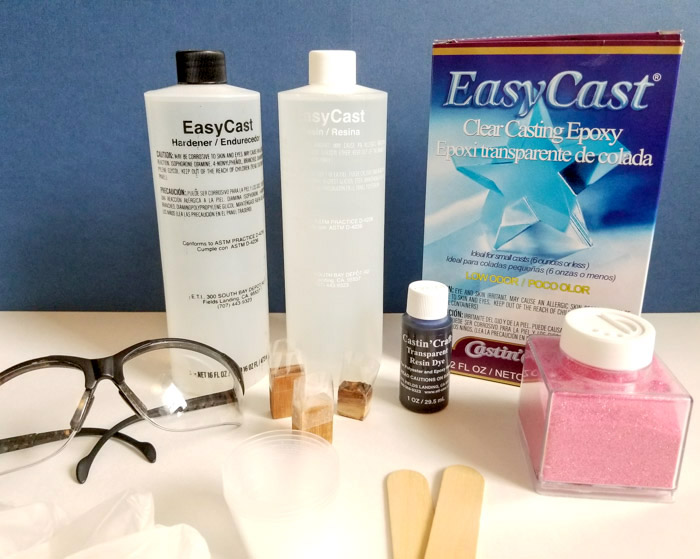
- Wood blocks
- EasyCast
- Mixing cups
- Gloves
- Eye protection
- Stir sticks
- Glitter or Transparent dye
- Clear packing tape
- Drill or drill press
- Palm sander
- Micro mesh sanders
- Envirotex High Gloss Spray
- Jewelry cord
Prepping wood and resin for necklaces
Use a band saw or scroll saw to cut wood into pendant size pieces. Sand lightly.
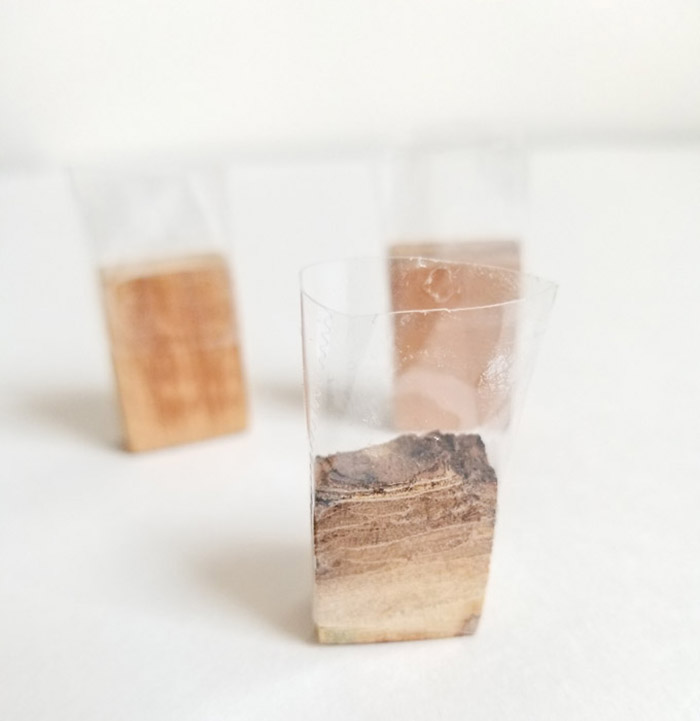
Use packing tape to wrap a mold around the top of the wood piece.
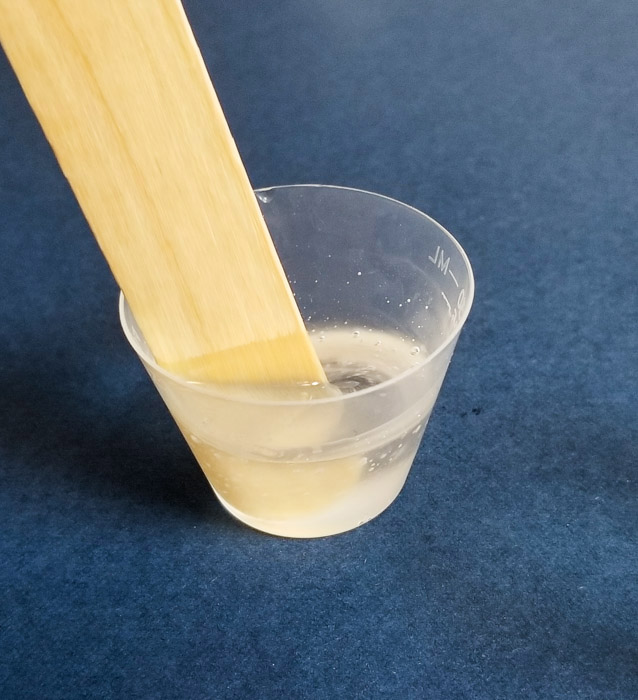
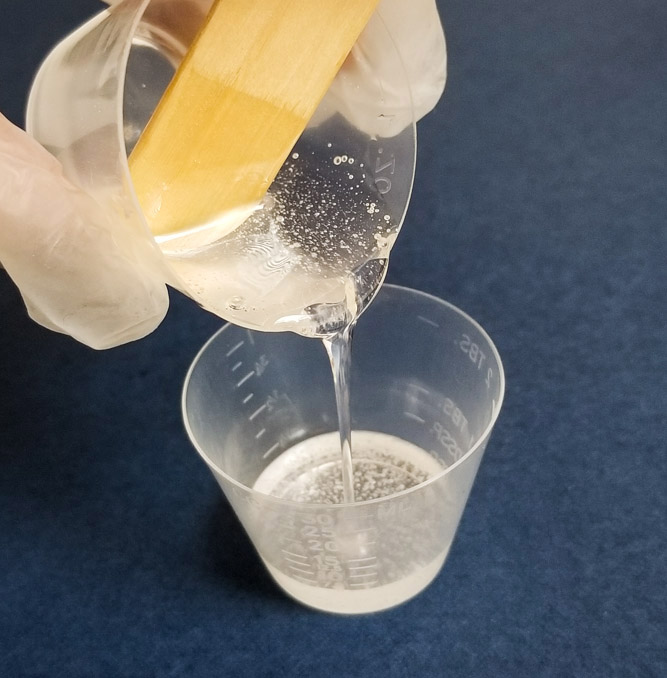
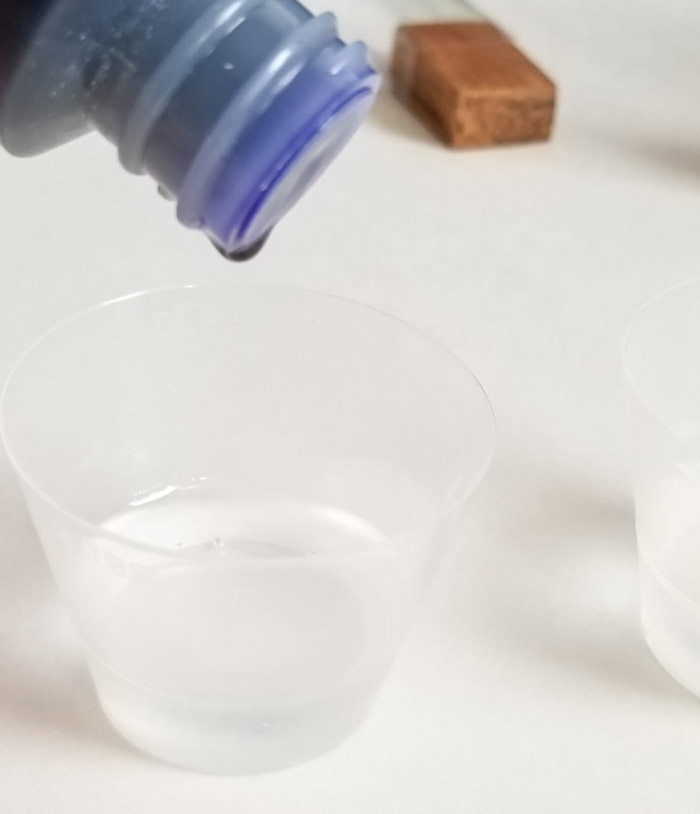
Be sure to read all the instructions and work in a well-ventilated area prior to using the EasyCast Clear Casting Epoxy. Mix equal parts resin and hardener and stir for 2 minutes.
Pour into a clean cup and stir an additional minute.
Mix resin with glitter or translucent dye if desired.
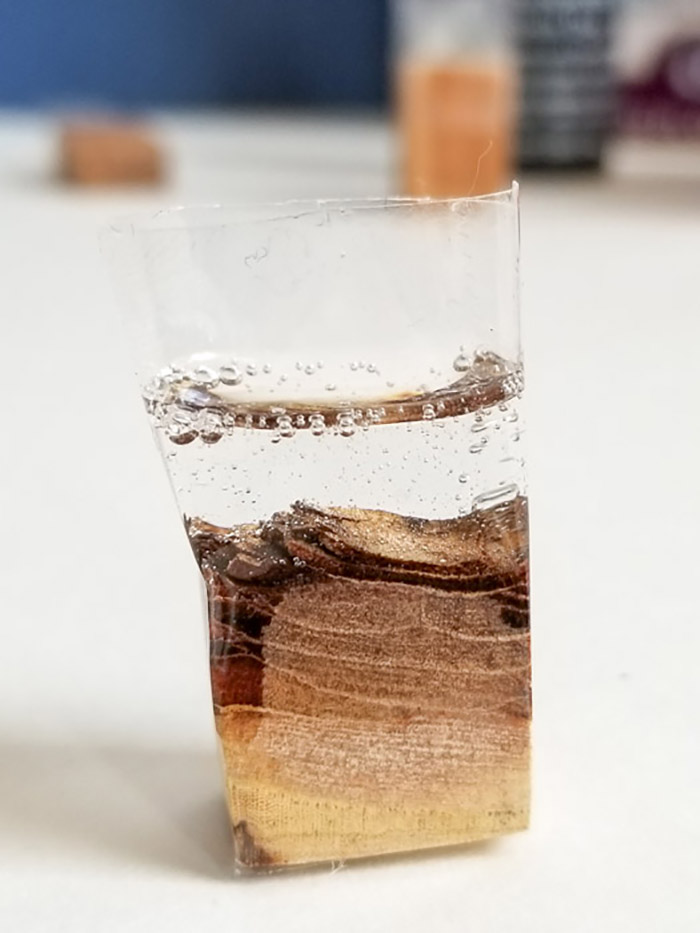
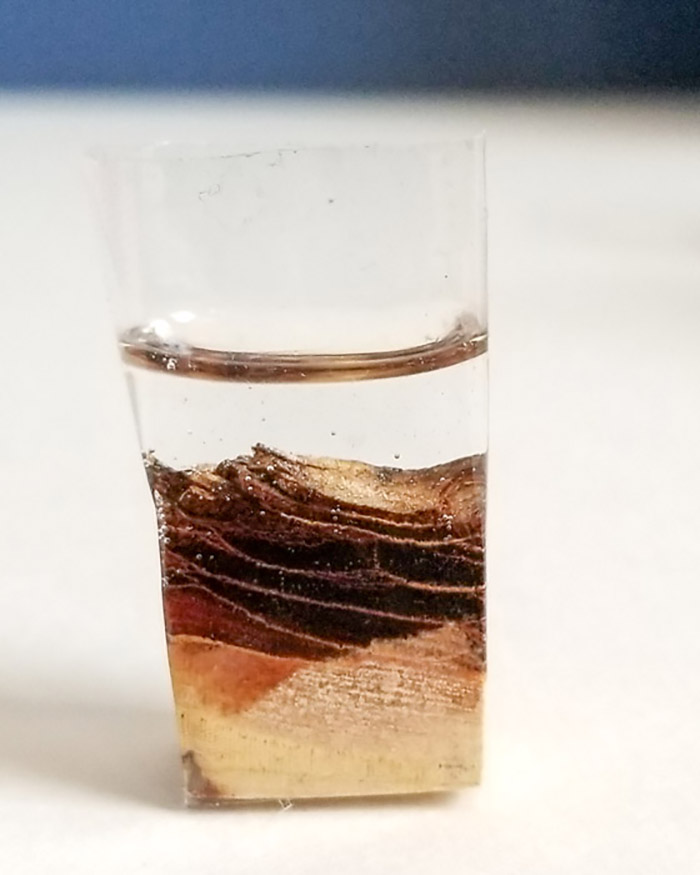
Pour into tape molds and place on a flat surface.
As bubble rise to the top, exhale across the resin to pop them. Leave to cure for 24 hours. (Sometimes wood will release more air bubbles that will get stuck in the resin. You can try coating the wood with Envirotex Clear High Gloss Spray first.)
Finishing wood and resin pendants
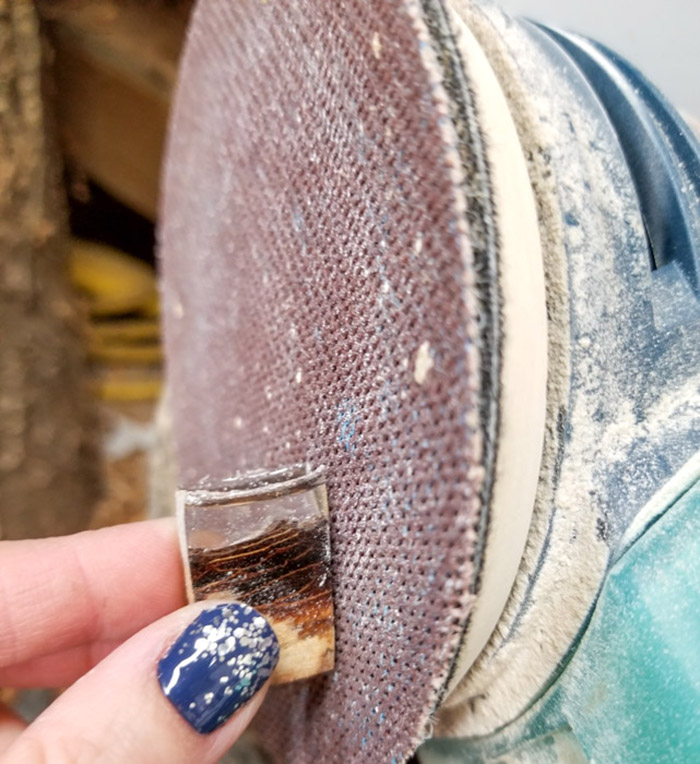
Peel away the tape. Use a palm sander to smooth down the top of the resin, and the edges to be even with the wood. Start with 100 grit, then 220, moving to 320 and 400.
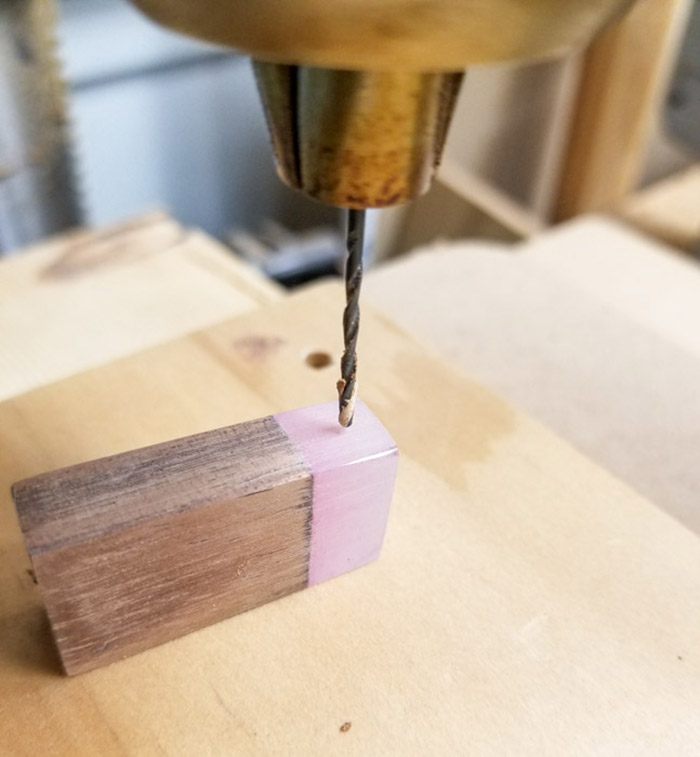
Use a drill press and a 5/64 drill bit to put a hole through either the resin or wood part of the pendant.
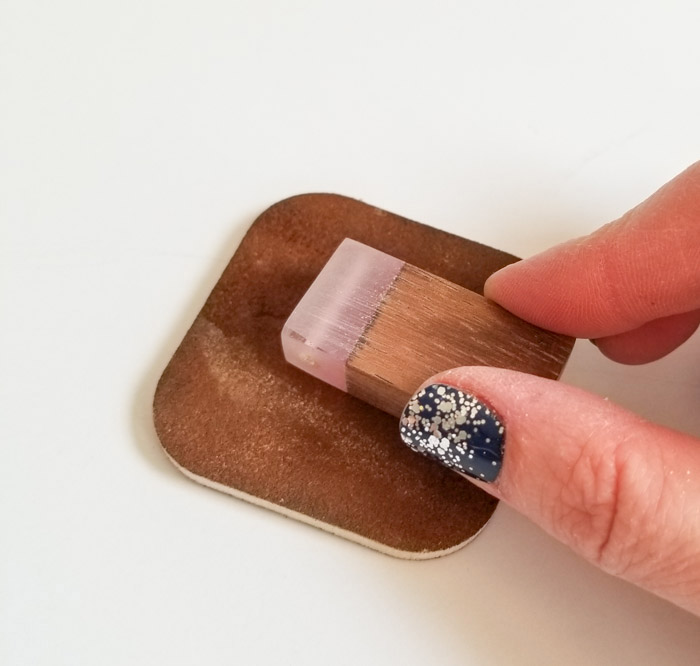
To bring the shine back to the resin, wet sand with a micromesh sanding pad set and work from grits 1500 to 12000.
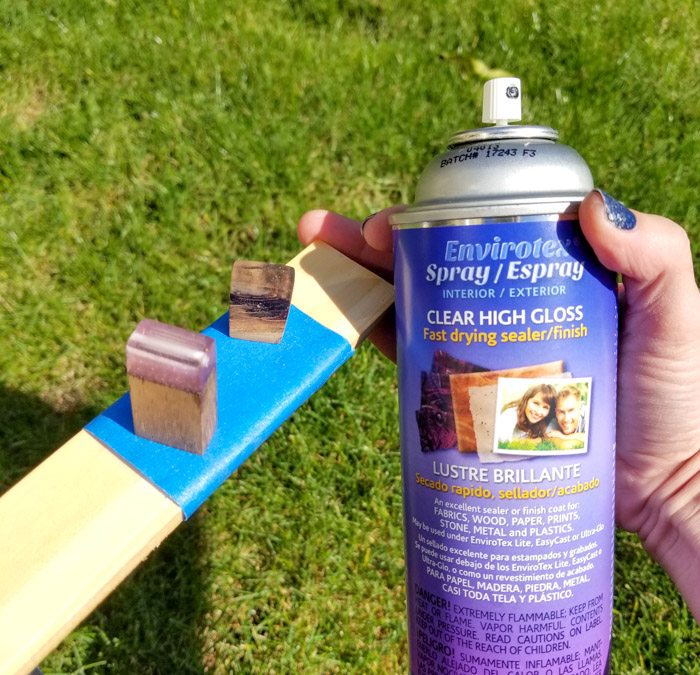
To finish the pendants, spray with a few light coats of Envirotex Clear High Gloss Spray to add the final shine and enhance the color of the wood.
Thread some jewelry cording through the drilled hole and tie ends in a knot.
Experiment with different types of wood, the amount of resin, and resin additives to achieve unique and beautiful pendants.
Stephanie is a crafty wife and mom living in the Pacific Northwest. She shares her creative ideas -along with a bit of “making it up as she goes” – on her blog, Crafting in the Rain.
Hi. I live in South Africa and recently started with resin jewelry. I want to share a tip to save on mixing cups. I insert paper cupcake cups into my mixing cup before I start mixing my resin and stir the required 3 minutes. After pouring all the resin into molds or bezels, I simply remove the cupcake paper cup and throw it away. Thus, no need to waste on mixing cups. Regards, Ronel.