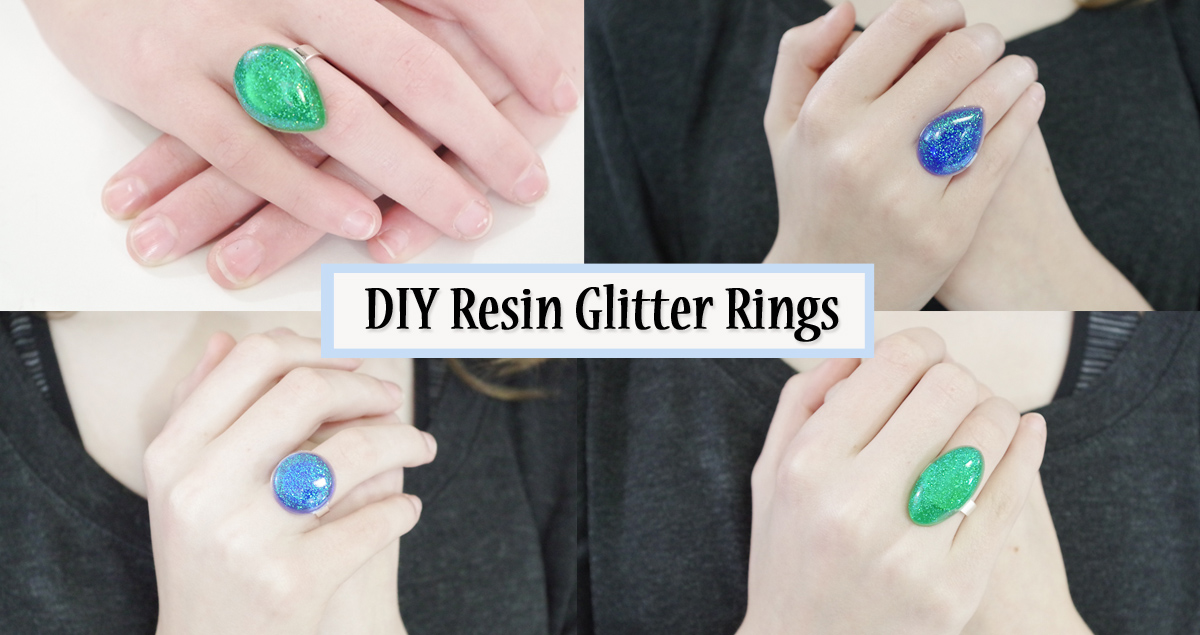
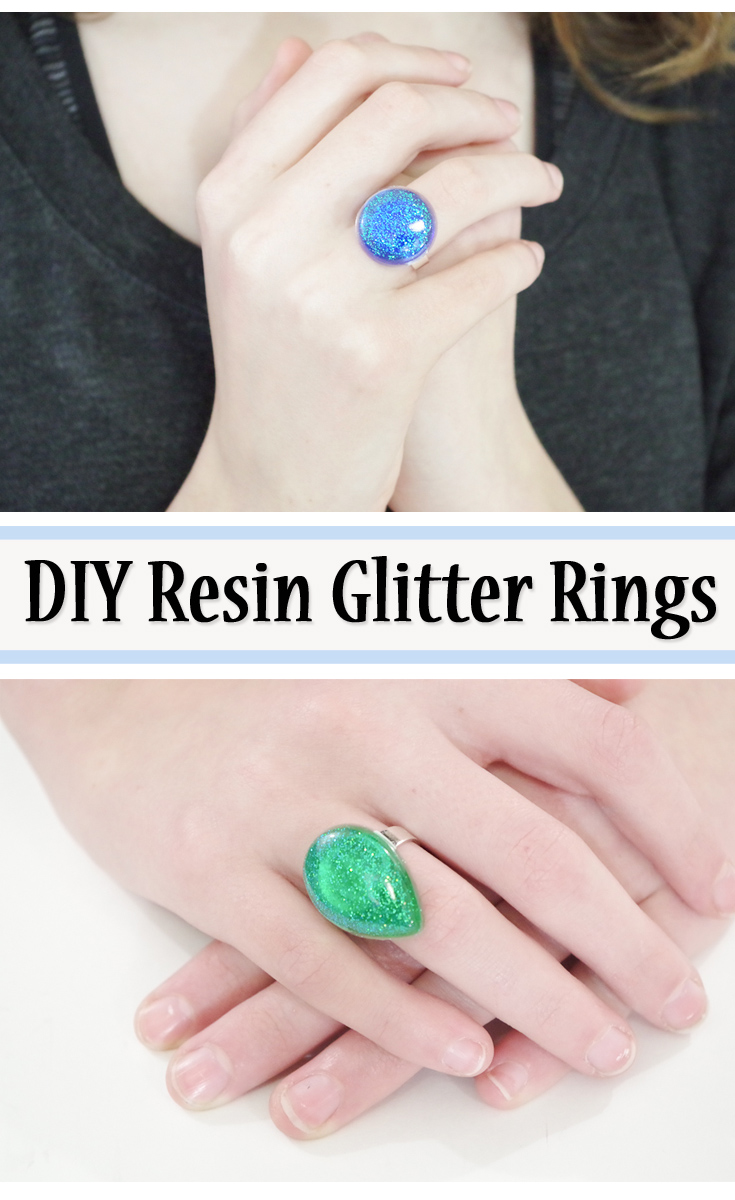
Hey, it’s Sheri from Hazel + Gold Designs and I’m so excited to share this tutorial for making these adorable Resin Glitter Rings! My daughter is always looking for some new fun jewelry to wear and these glitter rings are cute and easy to make!
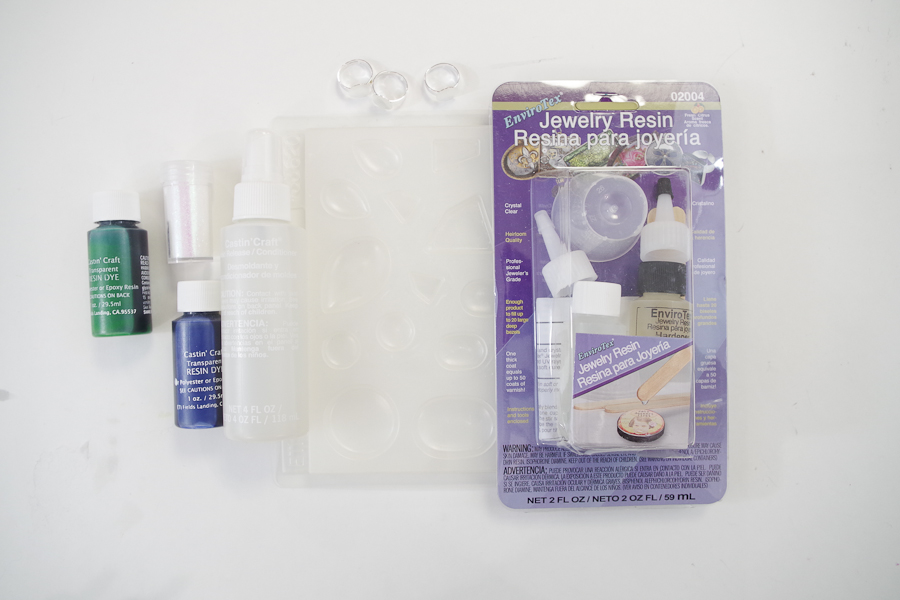
Supplies for DIY Resin Glitter Rings:
- Envirotex Jewelry Resin Kit
- An extra small disposable measuring cup
- Resin Jewelry Mold
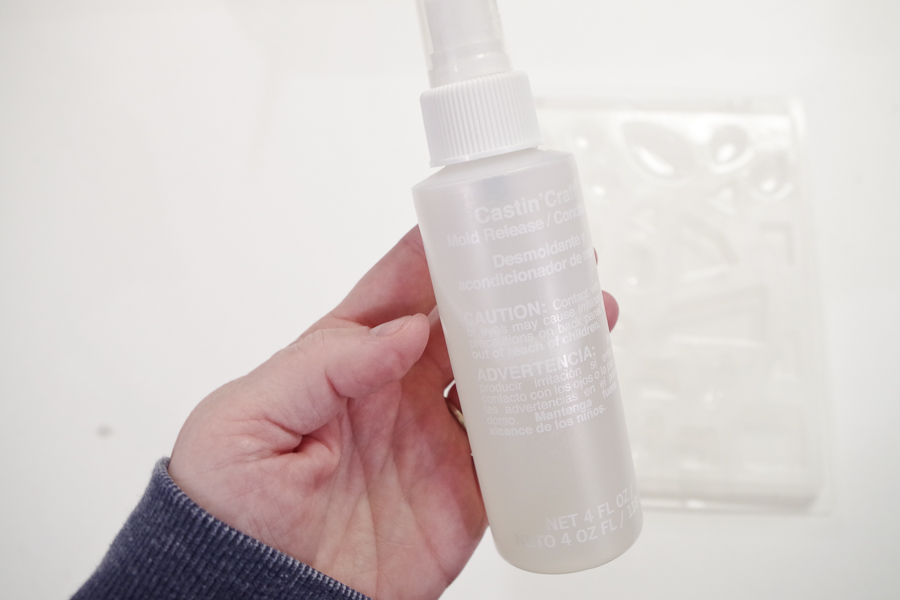
- Castin’ Craft Mold Release/Conditioner Spray
- Castin’ Craft Transparent Resin Dye – blue and green
- Glitter
- Ring Blanks
- Resin Spray
- Micro-Butane Torch (optional)
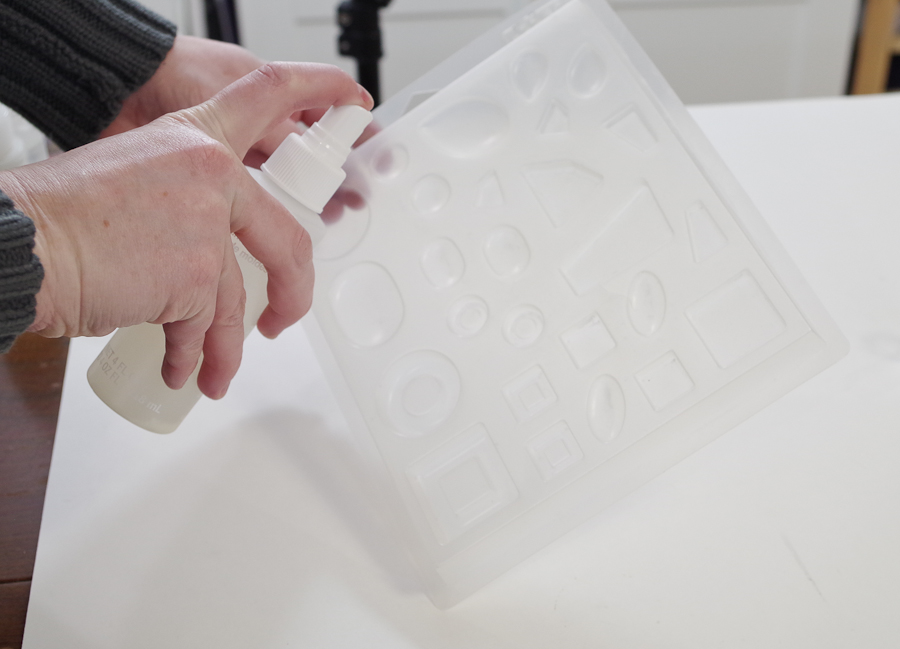
Prep Mold:
Spray your mold with Castin’ Craft Mold Release/Conditioner spray. This will help when it is time to remove your resin pieces from the mold. Spray, let it dry, then spray one more time and let dry. Two coats always works better for me.
Mix Resin:
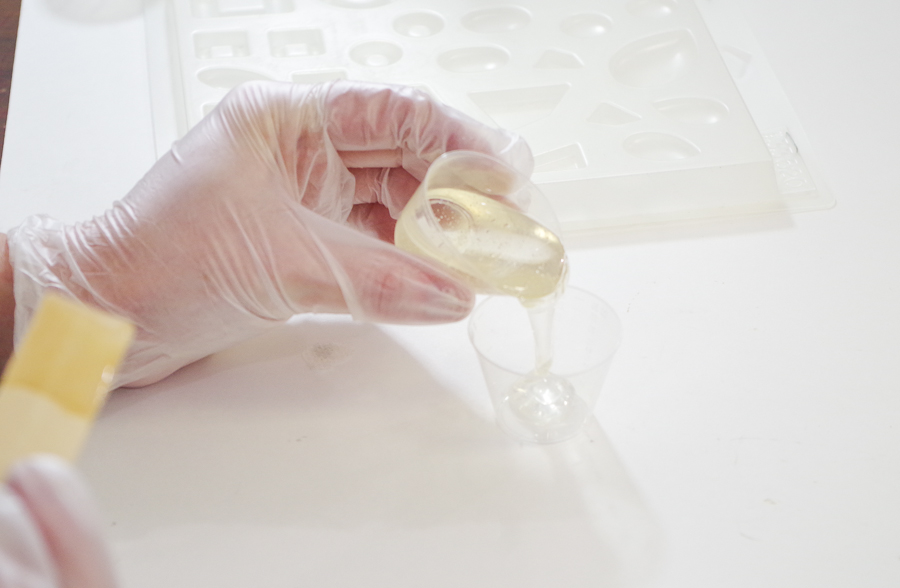
Now it’s time to mix the resin for your jewelry. In the small marked measuring cup that comes in the Jewelry Resin Kit, pour a small amount of part A. I used .25 oz.
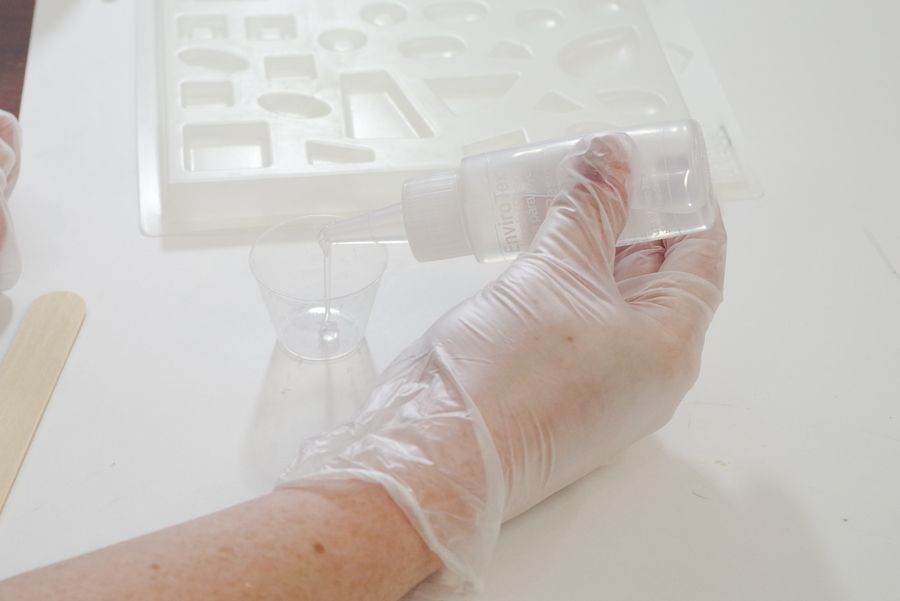
Now pour an equal amount of Part B into the cup.
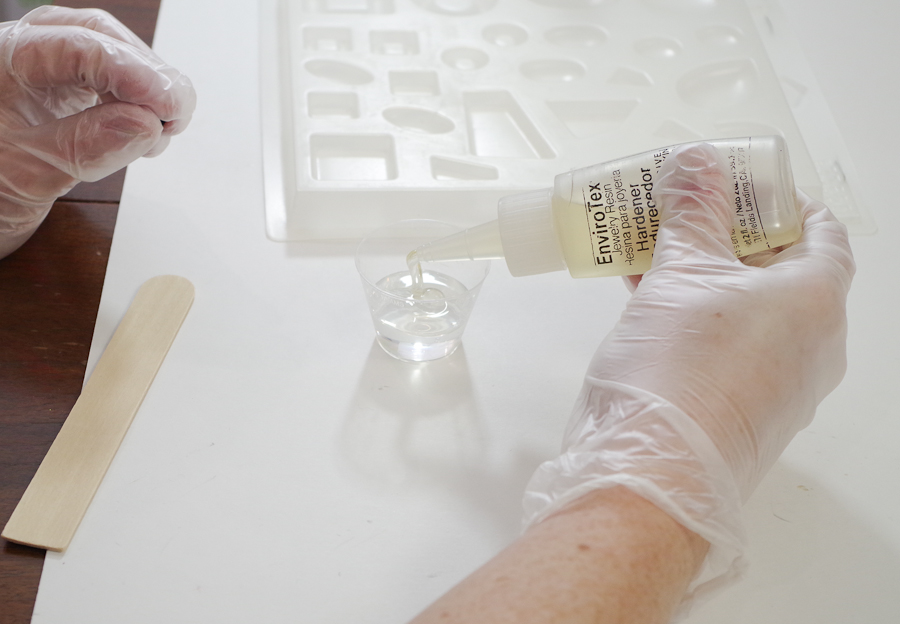
Mix thoroughly.
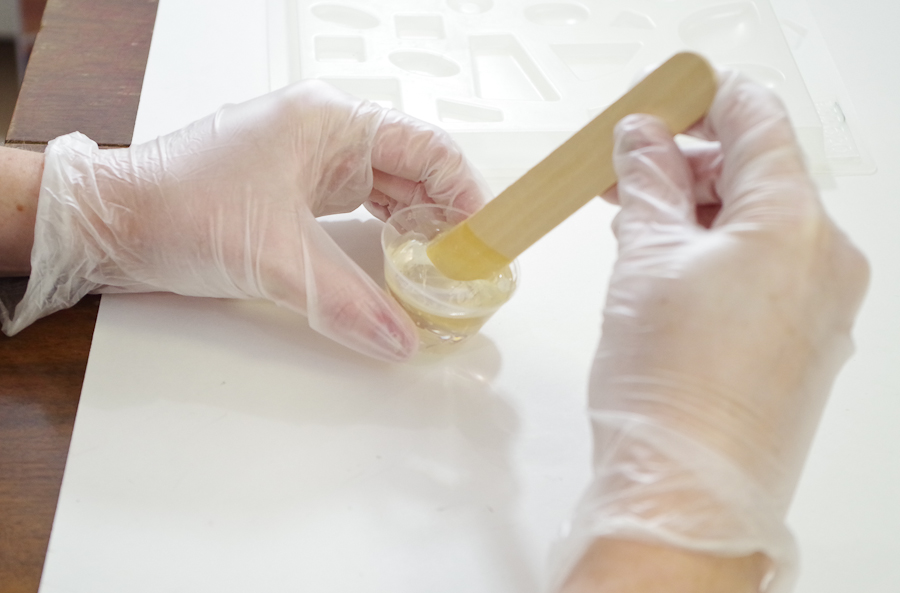
Next, pour into a second cup and mix thoroughly again. This ensures that all of the resin is mixed and will cure correctly.
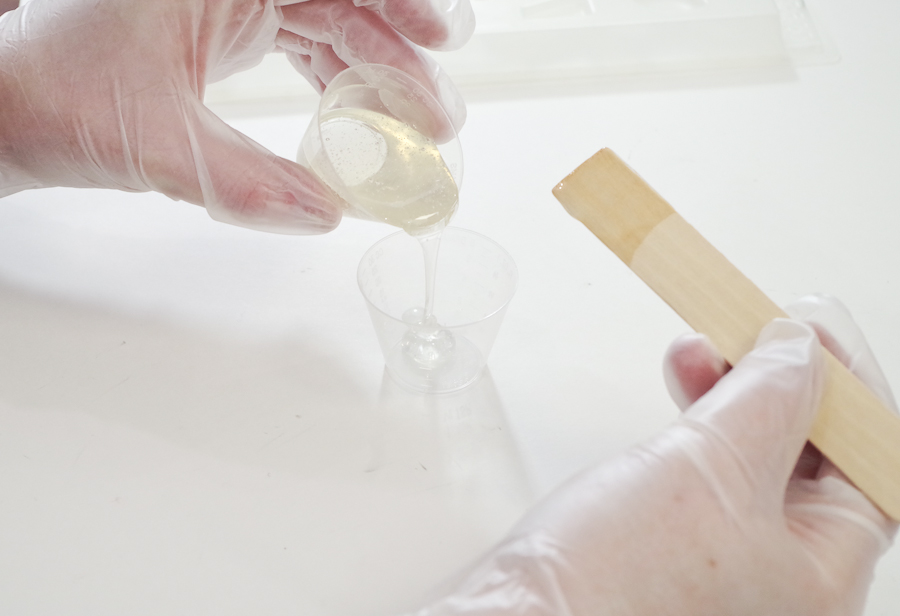
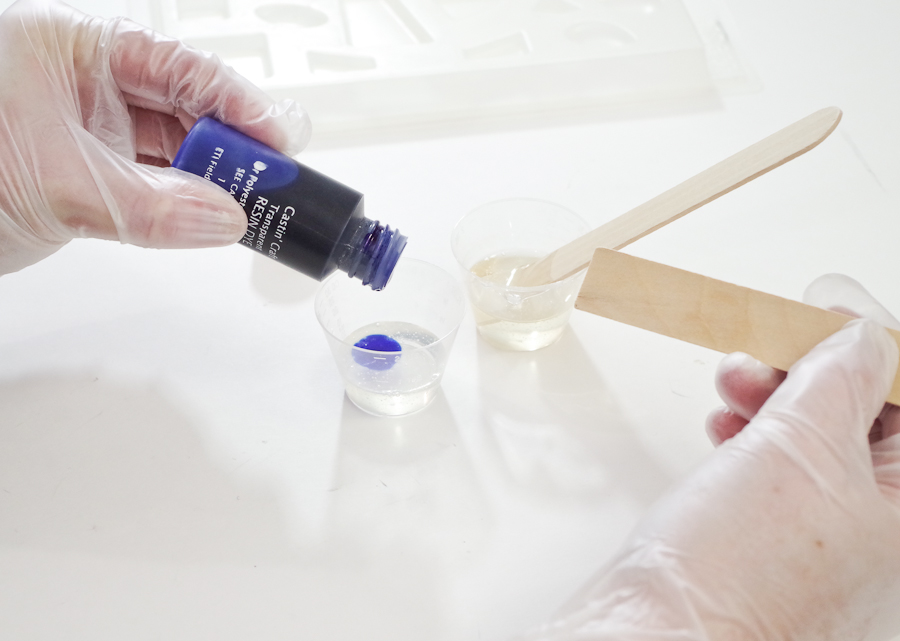
Now you’ll need another clean cup if you want to make two different colors. Any clean disposable cup will do if you don’t have more than the two that came in your kit.
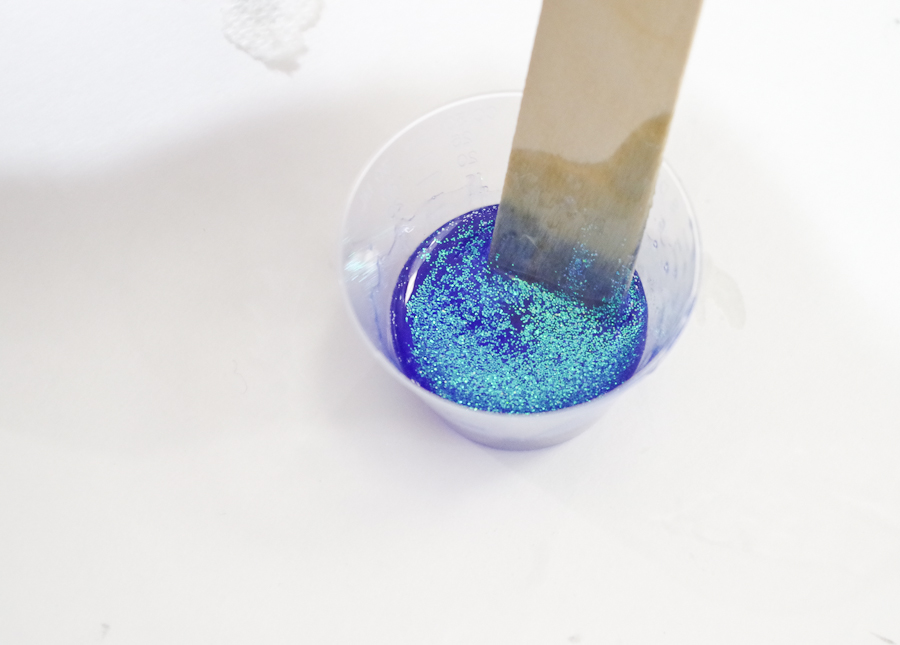
Color one cup with the Blue Transparent Resin Dye. Just add a few drops and stir thoroughly.
Now add Green Transparent Resin Dye to the other cup and stir thoroughly.
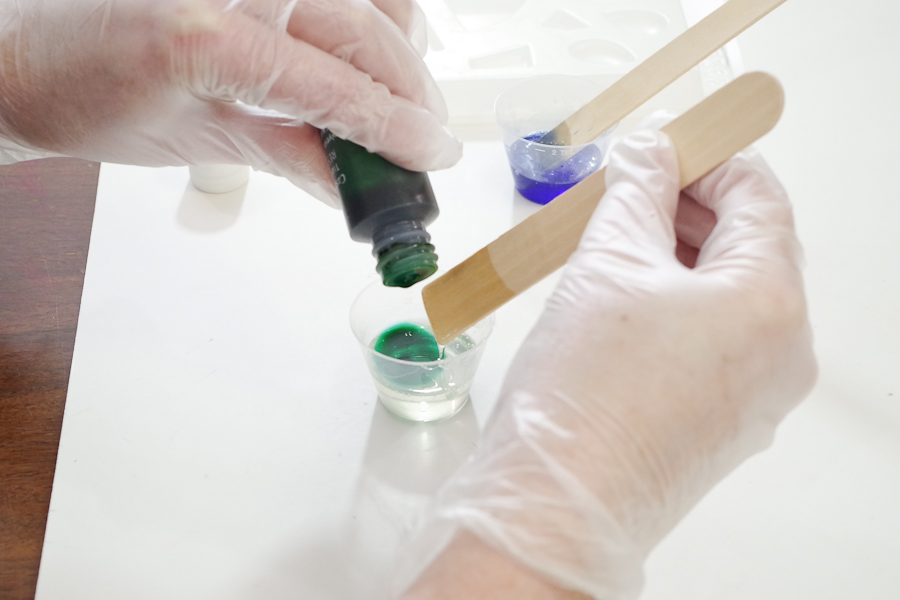
Next, add the glitter!
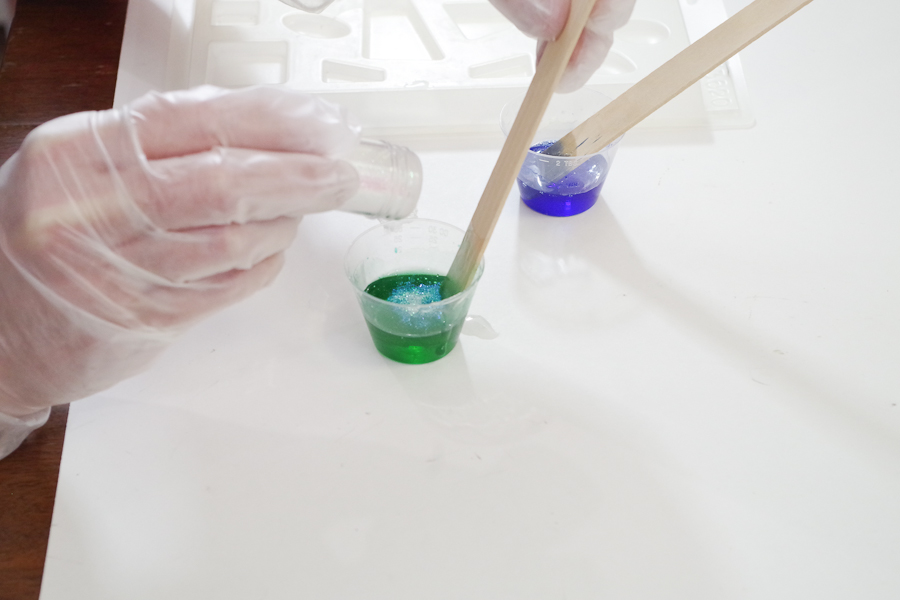
Mix it thoroughly.
Pouring Resin:
Grab your jewelry mold and pour resin slowly into each shape that you want. I did a few of each color until I had used up all the resin.
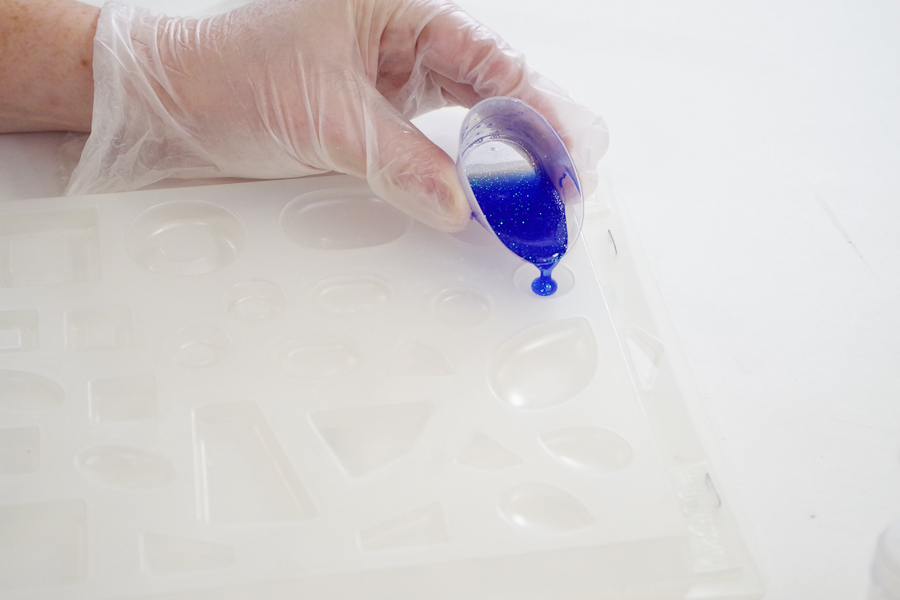

Once all the resin is poured, let it settle for a couple minutes so the bubbles can surface, then use your micro-butane torch to pop the bubbles. If you don’t have a torch you can also simply exhale above each shape and that will also pop the bubbles.
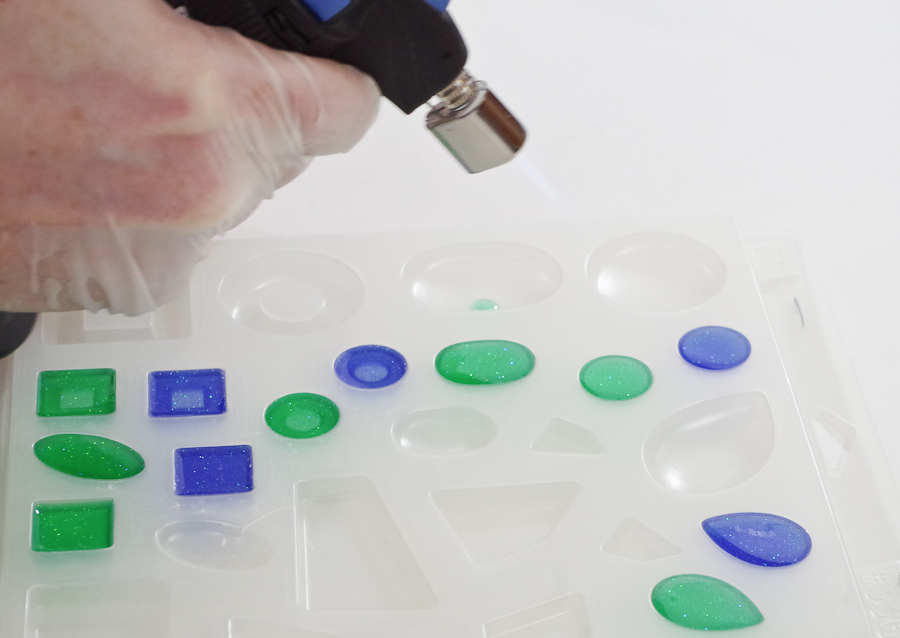
Let the resin cure for 24 hours.
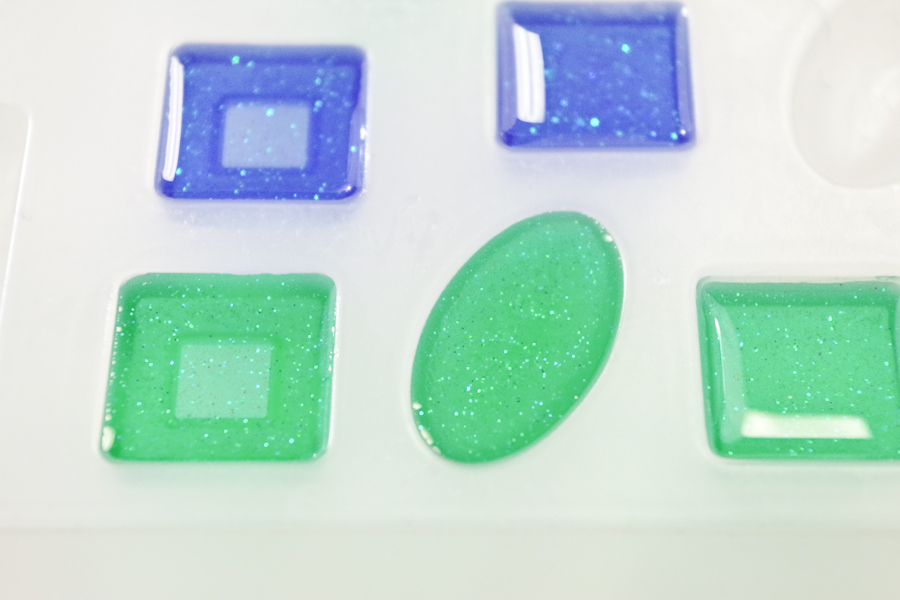
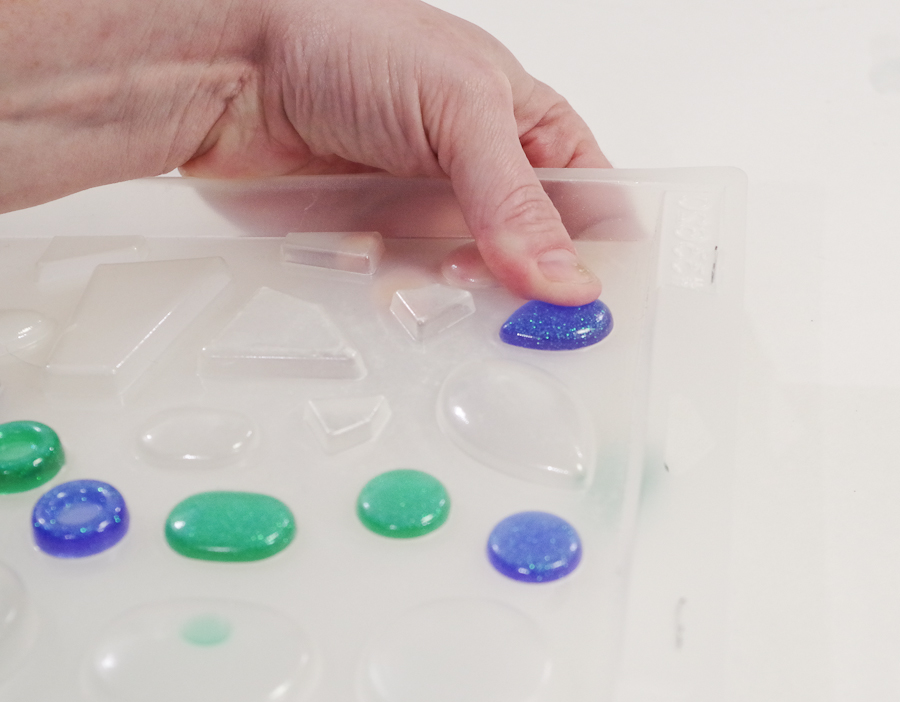
Once they are cured, flip the mold over and pop the pieces out slowly.
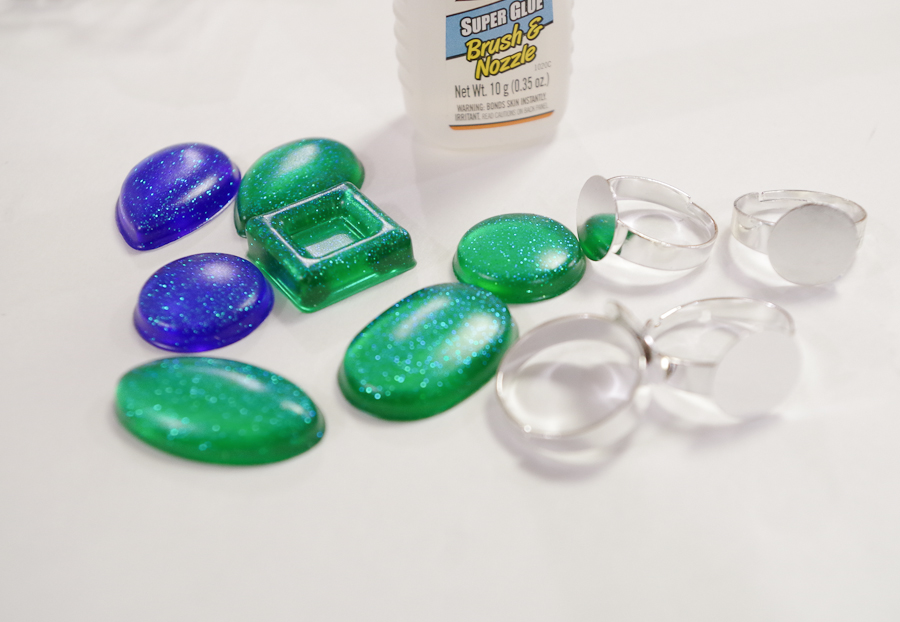
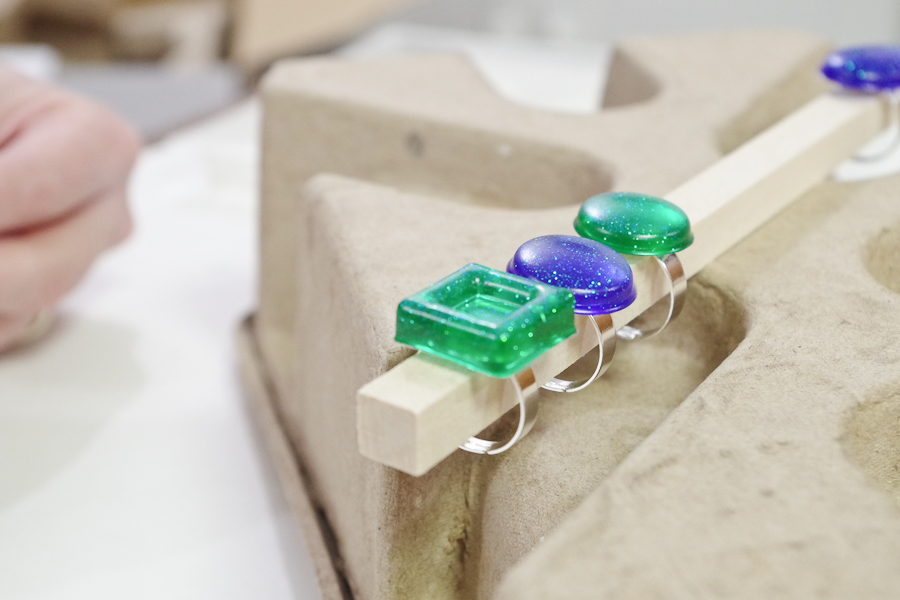
Glue Up the Rings:
Alright, now you should have a bunch of beautiful, glittery pieces of resin. Grab your super glue and ring blanks and let’s finish this off.
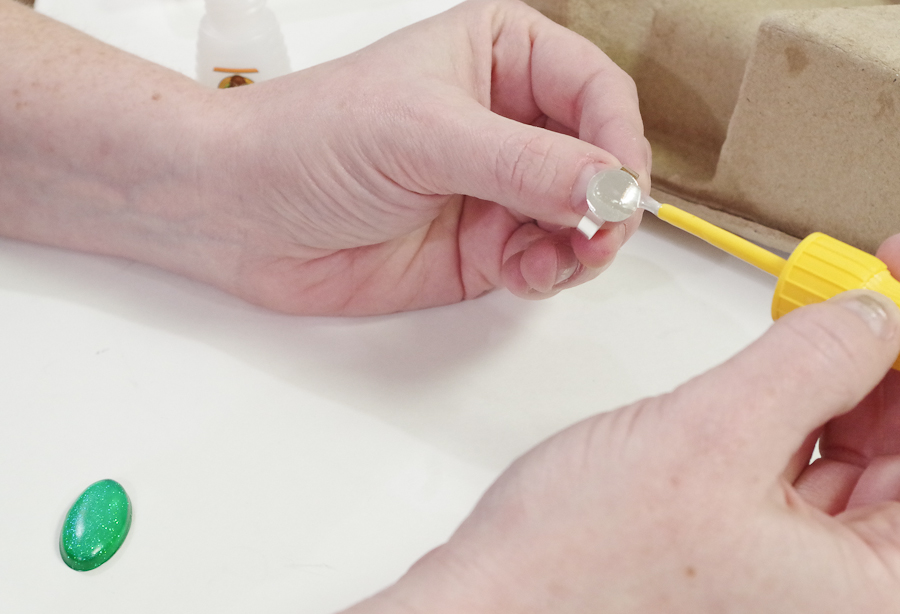
Spread some super glue on the top of the ring blank then press the resin piece onto the ring, making sure it is centered and straight.
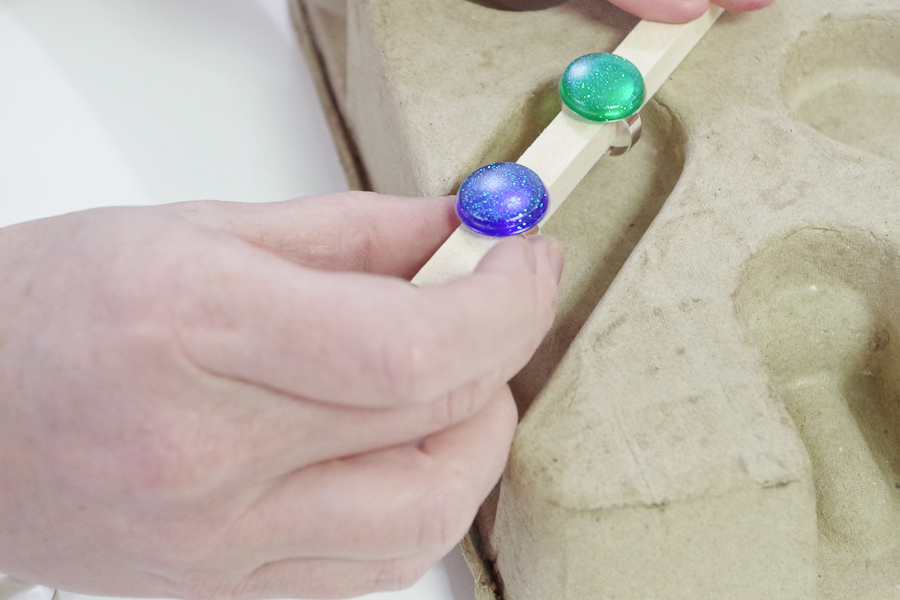
Find some way to let the glue set without moving the pieces on the ring. I used a square piece of wood and hung the rings on it.
Finish Resin Glitter Rings:
This step is optional, but I recommend it. Resin Spray will give your rings a perfect glossy finish.
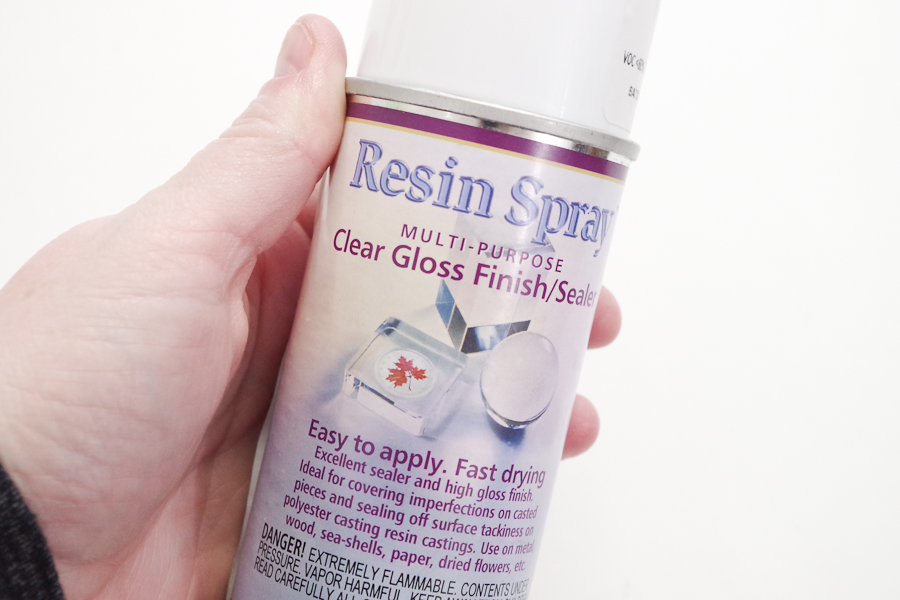
Spray the Resin Spray over each of your rings and let dry.
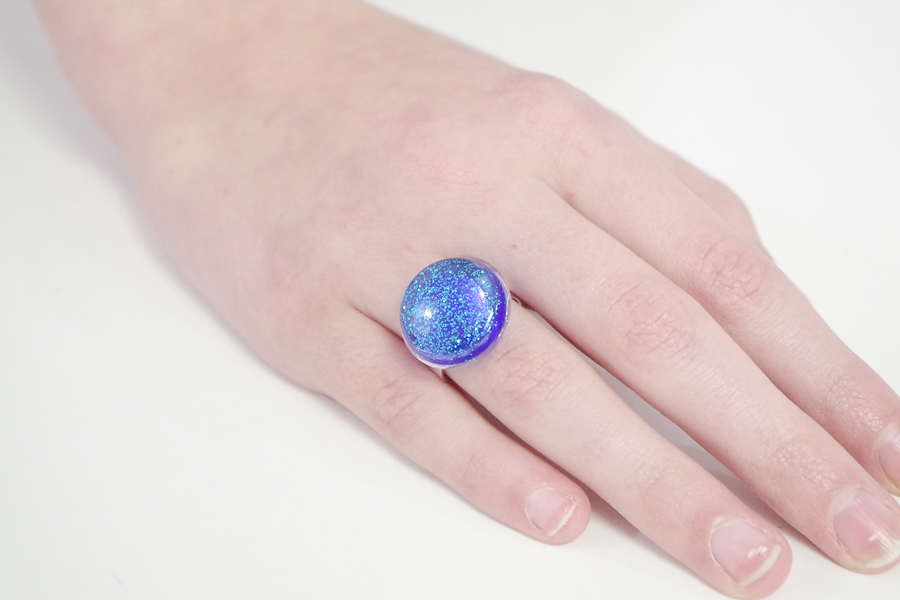
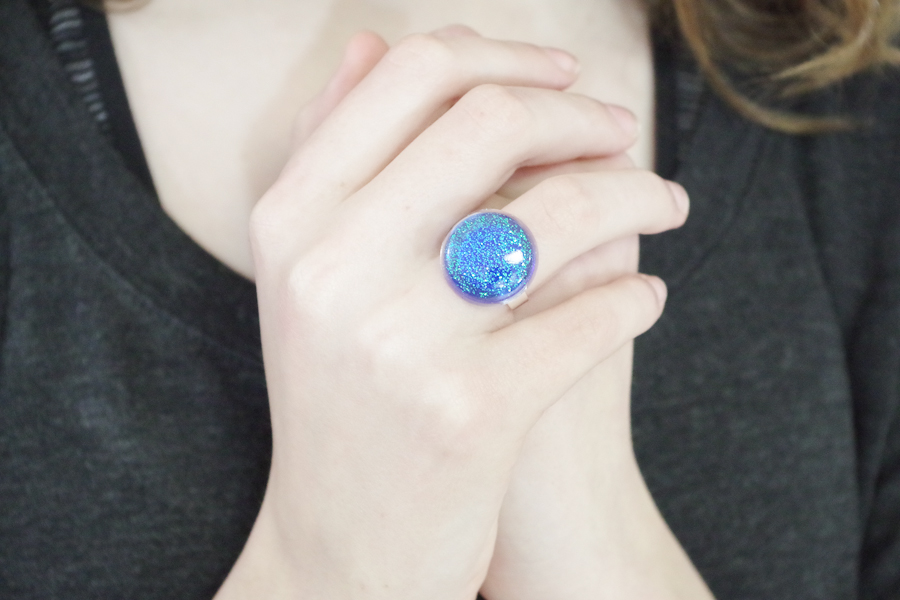
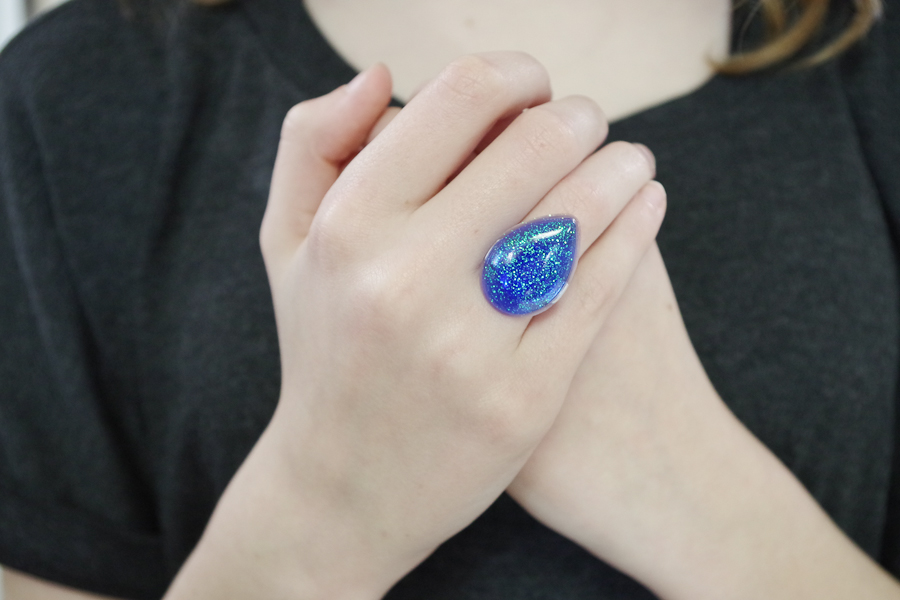
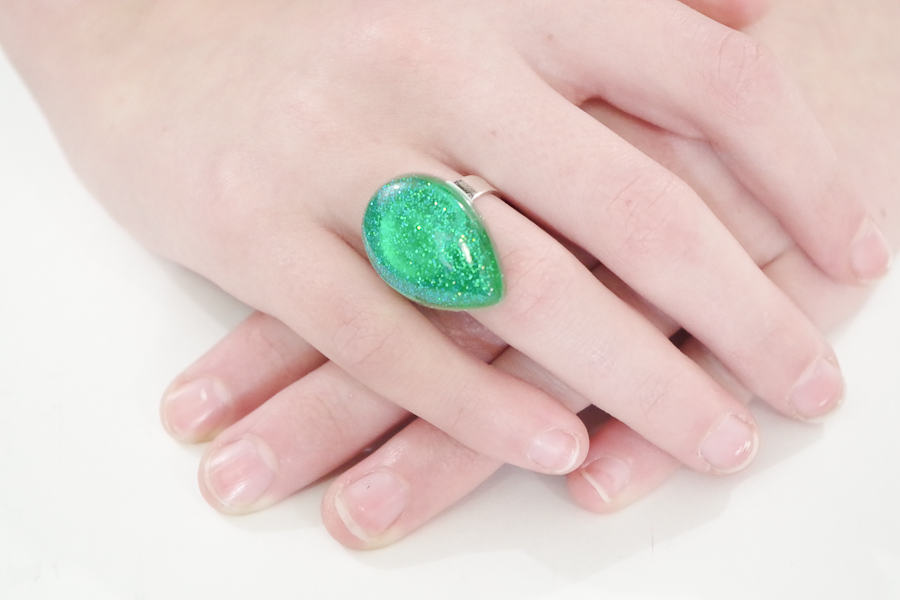
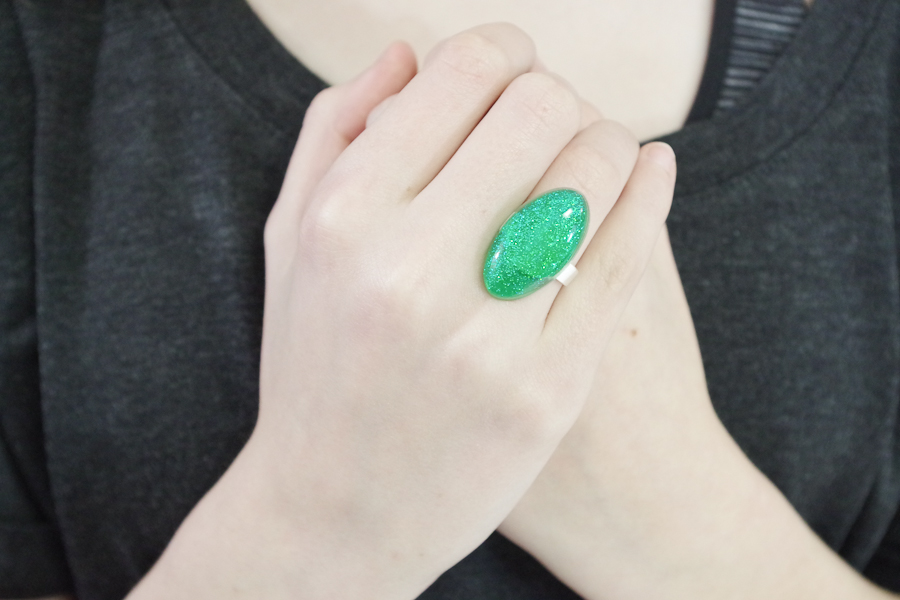
Finished Resin Glitter Rings!
What do you think? I just love these Resin Glitter Rings! My daughters do too. I made a few different shapes and love them all.
I hope you liked this project! If so, please share on social media with the colored links on the left!
Also, pin this image to Pinterest so you don’t lose it!
Other projects you may like:
Easy DIY Abstract Paint and Resin Necklaces

Resin Map Pendant using EasyCast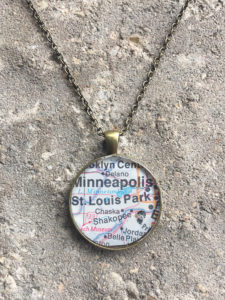
Sheri is a Maker and DIY blogger at Hazel + Gold Designs. She is usually in the middle of multiple projects at once and finds great satisfaction and joy in creating something new. She is constantly learning new skills, putting them to the test, and sharing her experience and knowledge with others. Her favorite hobbies are crafting, painting, crocheting and basic woodworking. Her goal is to inspire others to step out of their comfort zone, learn a new skill and have the confidence to make their life a little more beautiful!


Leave a Reply