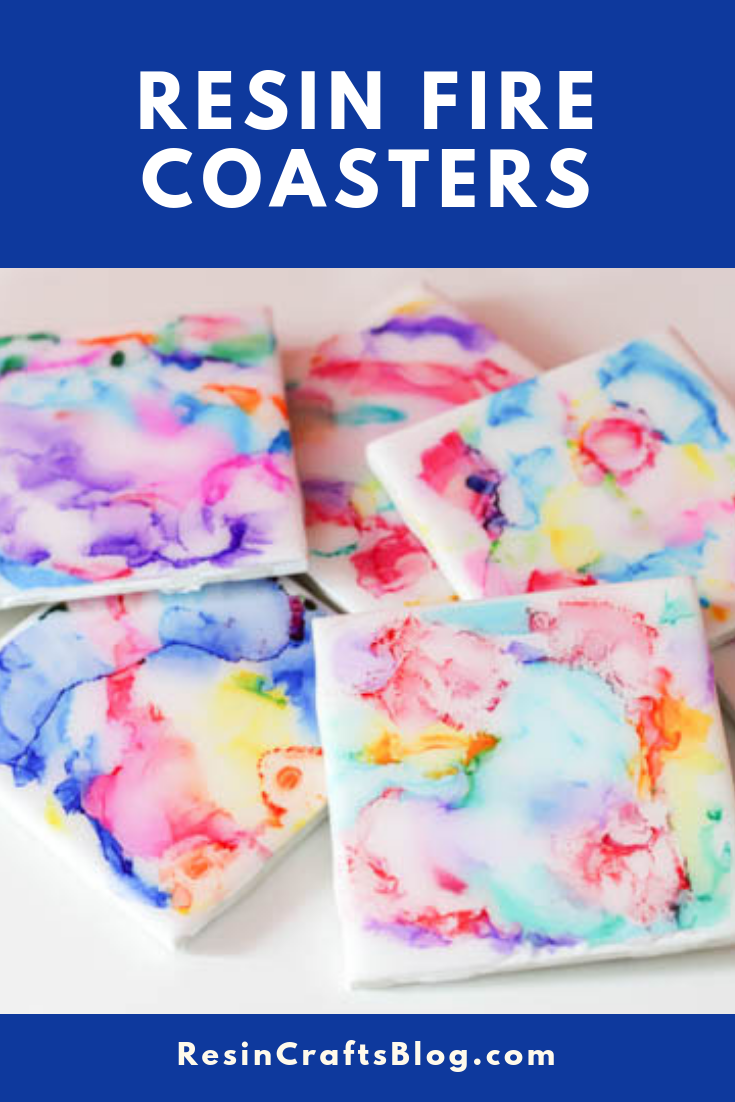
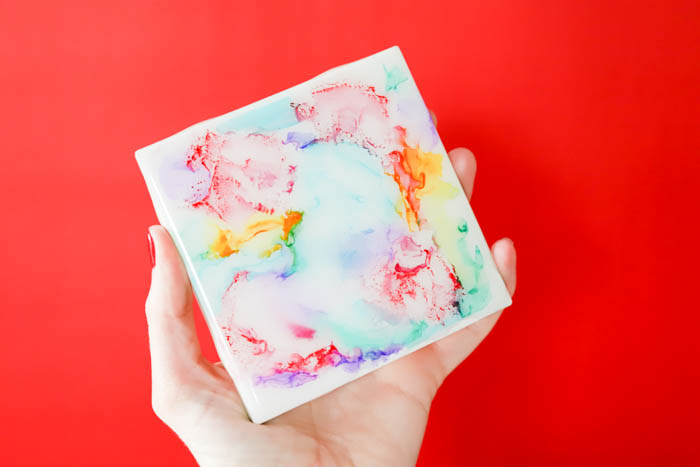
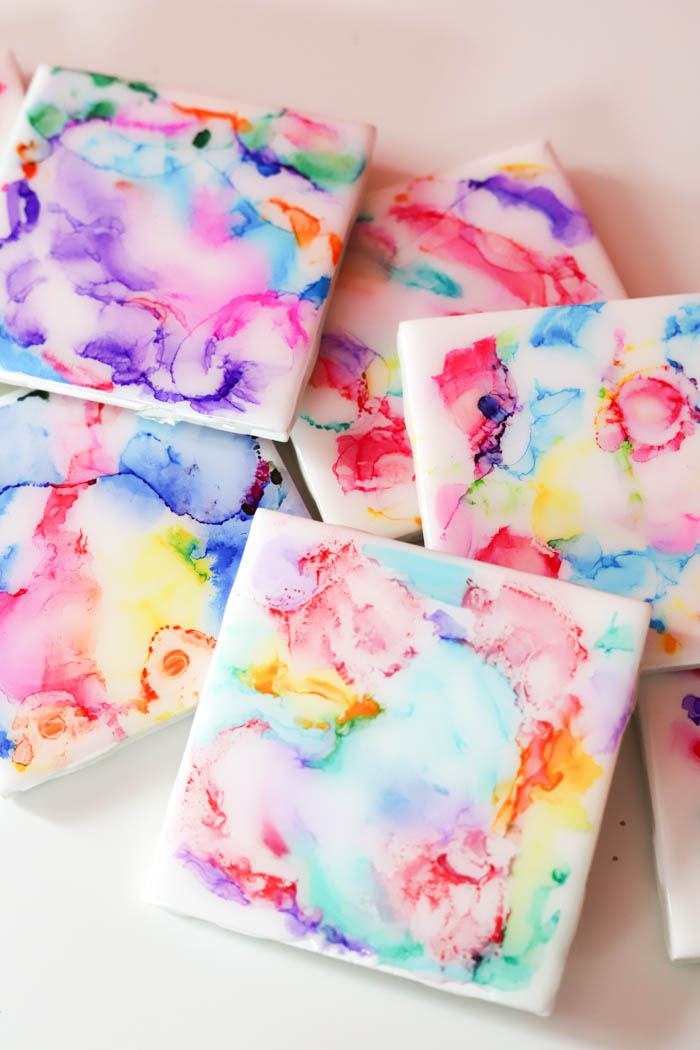
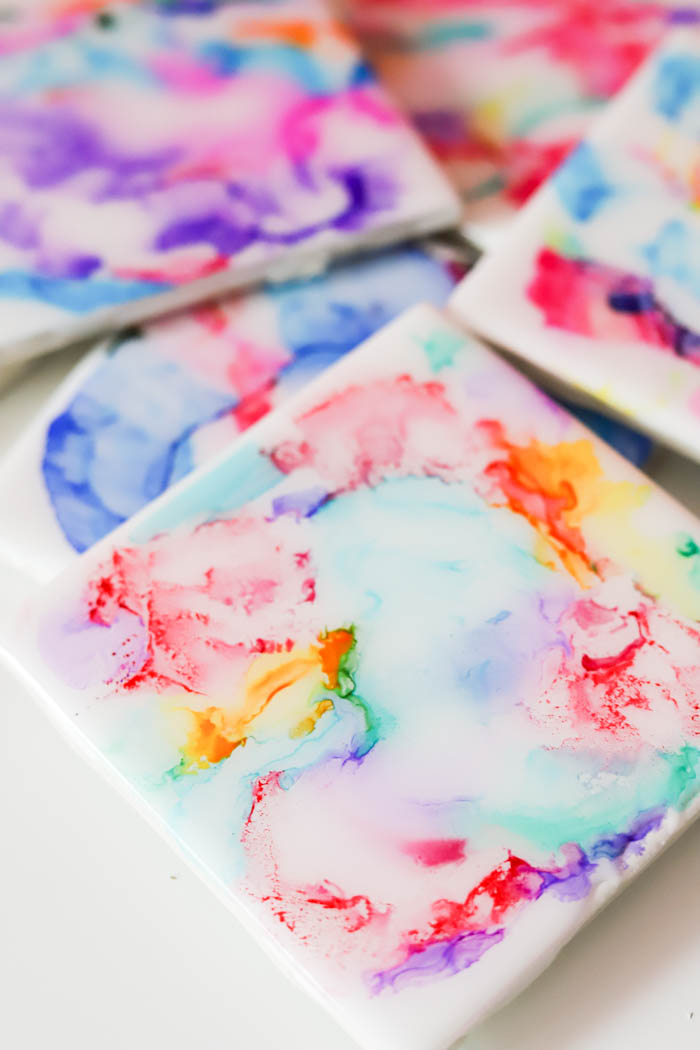
Create colorful resin fire coasters with markers, isoprophyl alcohol, and a lighter then coat with EnviroTex Lite® Pour On High Gloss Finish.
Hey Resin Crafters! Amber Oliver here with another great resin craft! This project is a recreation of a craft I did last year that was a bit of a #DIYfail. I created beautiful coasters with a neat method I’ll explain below – but they didn’t last because of the spray sealant I used. This time around, I used EnviroTex Lite to ensure my creations wouldn’t be ruined by drink condensation!
SUPPLIES NEEDED FOR RESIN FIRE COASTERS:
- EnviroTex Lite® Pour On High Gloss Finish
- Small Tiles
- Felt or fabric for backing
- Isopropyl alcohol
- Lighter
- Markers
- Mixing Cups
- Brushes
- Stir Sticks
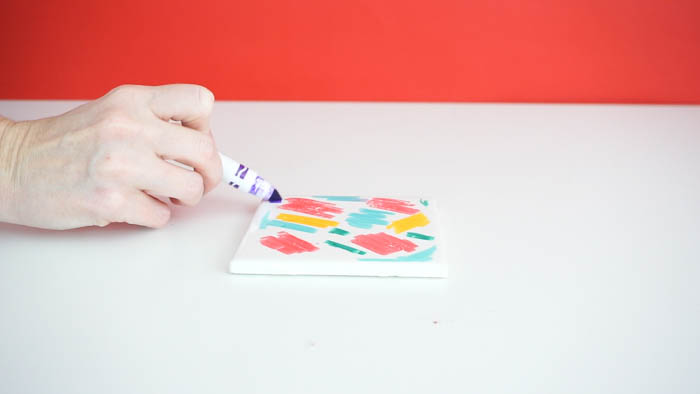
Step 1: Start by scribbling on the tile with various colors.
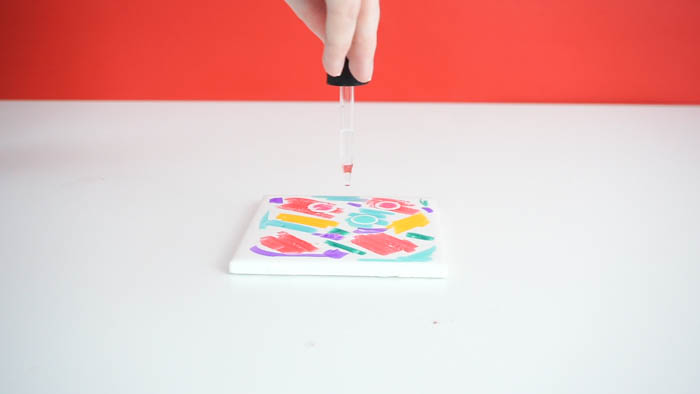
Step 2: Next drip a small amount of isopropyl alcohol on the tile.
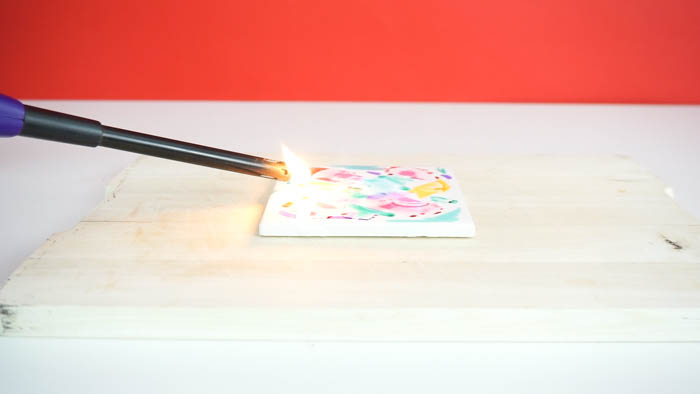
Step 3: Carefully light on fire and let the alcohol burn off.
Step 4: Repeat until you have the desired number of “coasters”.
Step 5: Now you are ready for the Envirotex Lite Pour On. (You’ll want to setup in a cardboard box for easy disposal.) This is a multi-step process so don’t start mixing until you are ready to do the whole process from beginning to end!
How to Measure and Mix Envirotex Lite
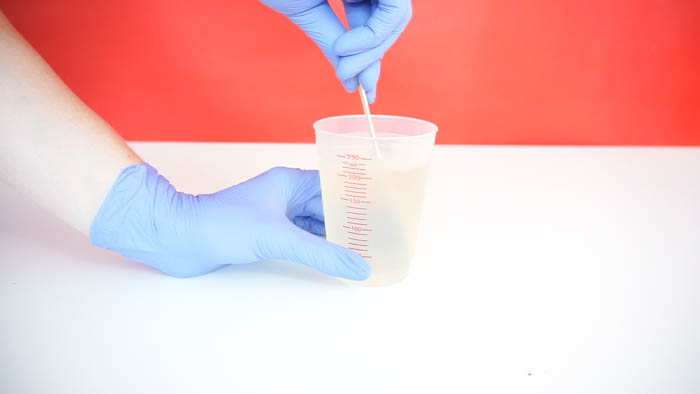
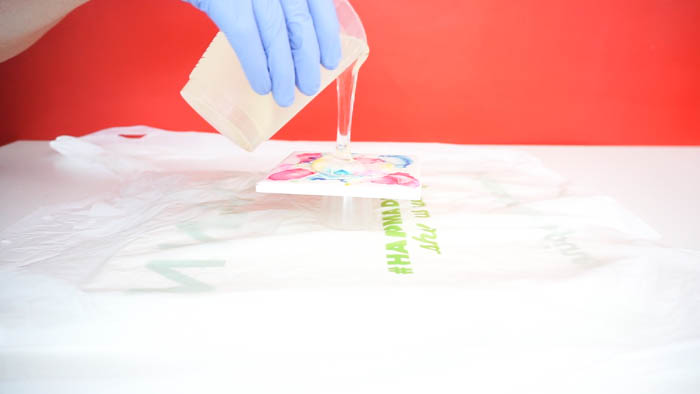
Start by mixing EQUAL parts of the Hardener and the Resin. Stir for two minutes (be sure to scrape the bottoms and sides) then pour from the first cup into a second and mix with a new stir stick for another minute. Once it’s ready, pour directly onto your tiles! I put mine onto small mixing cups to allow the extra resin to drip off.
Step 6: Use a brush to smooth those over the sides.
Step 7: After about 20 minutes you’ll see bubbles appear on the surface of the resin – you can use a butane torch to pop these or simply breathe on it like I did! It’s the CO2 in your breath that releases the bubbles – not the heat!
After the resin has had time to cure, you’re ready to add the backing onto the tiles. Felt works great for this and keeps the tiles from scratching your tabletops.
Amber Oliver is a DIY and lifestyle blogger who shares easy DIY tutorials, colorful crafts, and more on her blog, Amber Oliver. She’s a native Oklahoman living “in the loop” in Houston, TX with her husband and dog. She’s an avid reader, world traveler, loves Tex Mex food, and creating everything from woodworking projects to websites. She focuses on budget friendly projects for the home and empowering women to try new things.



I love this!! Very versatile color wise. I will be giving this a try but……I have 1 question. What type of markers did you use? Permanent or just the regular ones? Thank you for this tutorial.
Thank you! I’ve used both and found washable Crayola markers work a lot better than permanent ones! You have a lot more “work time” with the washable markers.
Thank you!!!
This looks like such an easy project and the marbleized look of the coaster is beautiful. Great rework on a project that didn’t turn out as you planned the first time.
Thanks for checking it out! 🙂
Hi!
Beautiful coasters!
Have a question on the resin. Hiw many coasters do you think one mix will do?
I have been researching the one billion, (it seems, lol) ways to make my coasters water and heat proof and this looks perfect. My budget is so small though that I cringe at the thought of wasted materials.
Thanks so much for any widom you can pass along.
Hi! I mixed up 8 oz and covered 8 coasters 🙂