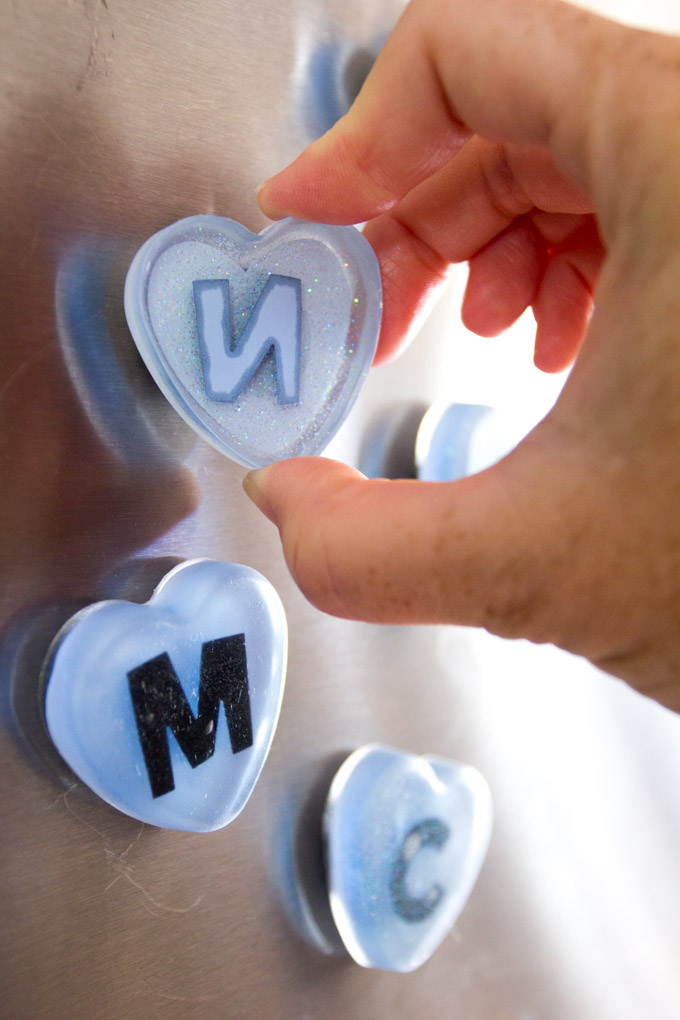
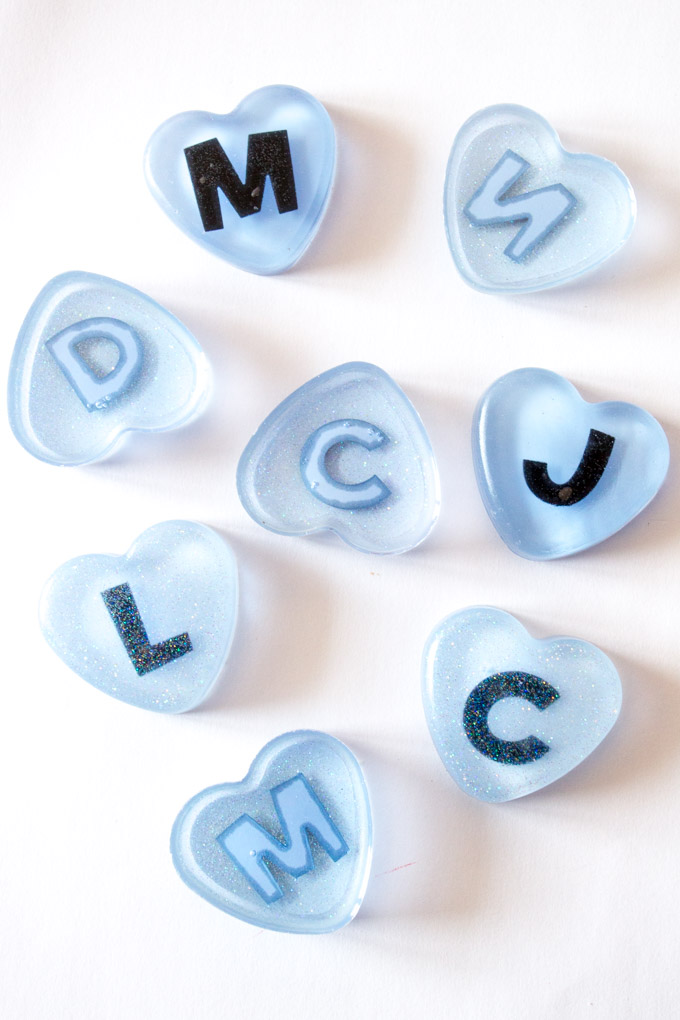
All throughout the school year, the kids are regularly bringing home their works of art. Our fridges are proudly loaded with class pictures, colorful paintings and other creative school assignments. As a way of personalizing this tradition, we created these fun monogram DIY fridge magnets using each of the kid’s first letters of their name.
The kids can now come home and grab their very own personalized heart magnet to proudly display their creations on the fridge for all to admire. For those families whose kids all have the same initials, you can also easily color code the magnets for each child.
DIY Fridge Magnets with EnviroTex Lite Resin
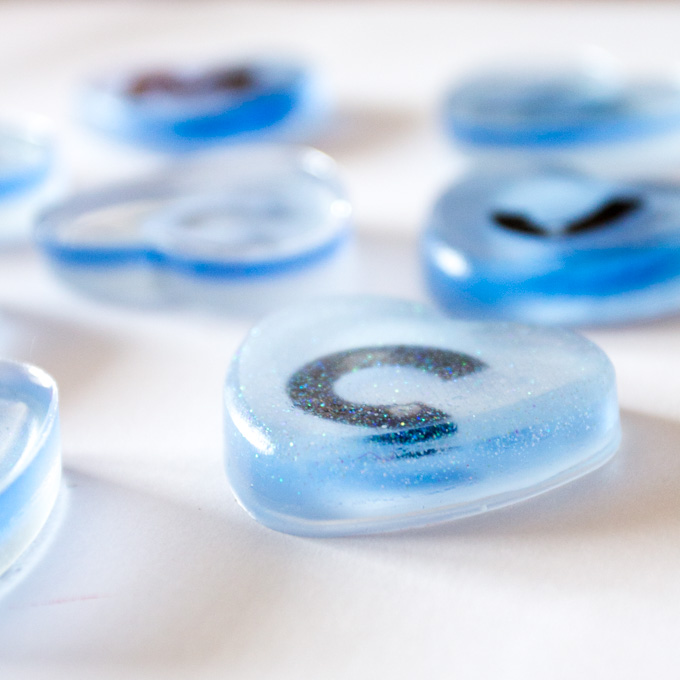
I purchased this heart-shaped silicone mold from our local craft store around Valentine’s Day last year. We used them to make little remolded heart-shaped crayons similar to the upcycled crayon ideas in this post. We loved the rounded corners of the heart mold and wanted that to be the front side of our new fridge magnets. So, we planned two pours of resin for this project: the first (front of the magnet) would be clear and/or with a little glitter inside, and the second (back-side of the magnet, behind the letter) would be coloured and slightly opaque.
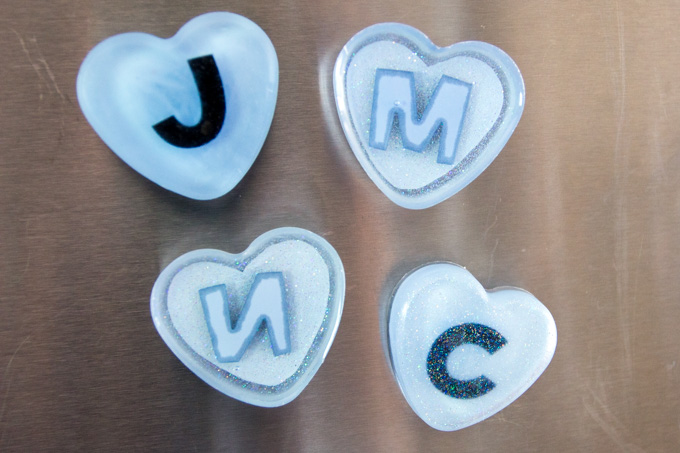
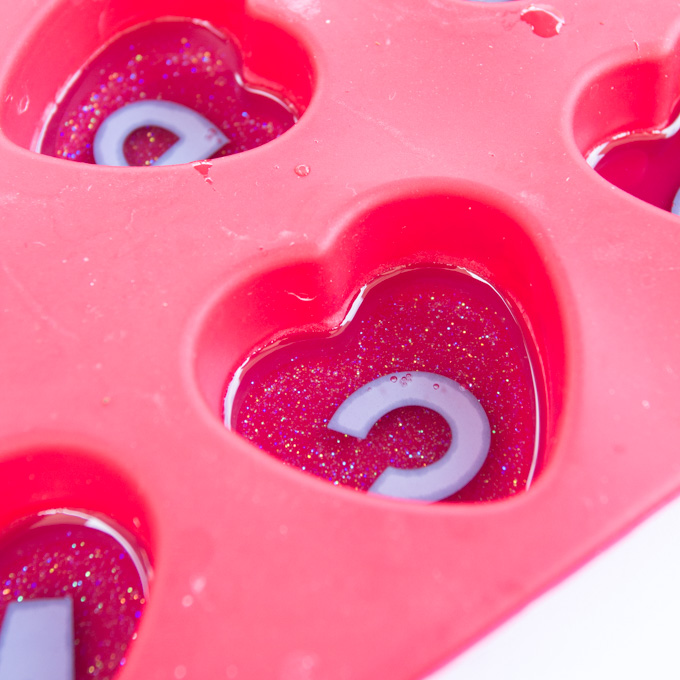
In the end we couldn’t decide which version and/or side we like better. The “J” is without any glitter, viewed with the domed side in front, the “C” is with glitter and the domed side in front and the “M” and “N” are with glitter, but the domed side in the back. Although the “M” and “N” version turned out really nicely, with the glitter in behind the letter we had missed an important step: sealing the paper letter stickers. We thought that it wouldn’t be necessary because the sticker had an adhesive coating, however the coating didn’t cover the sides of the sticker, thus the resin seeped in during the curing process. It actually looks quite beautiful, but if you don’t want the darker rim on your letter then be sure to seal it with a multi-purpose sealer.
Supplies Needed to make these Resin Heart Monogram DIY Fridge Magnets:
- Heart shaped silicone mold tray
- Envirotex Lite
- Fine glitter powder
- Alphabet sticker sheet
- Ultra-Seal Quick Decoupage (or other multipurpose sealer/white craft glue); small paintbrush
- Measuring cups, wooden craft sticks, straw
- Transparent Dye, any color (we used Blue)
- White acrylic paint, small paintbrush
- 3/4″ round ceramic magnets
- Hot glue gun and clear craft glue
Instructions for making these Resin Heart Monogram DIY Fridge Magnets:
Pouring the first resin layer
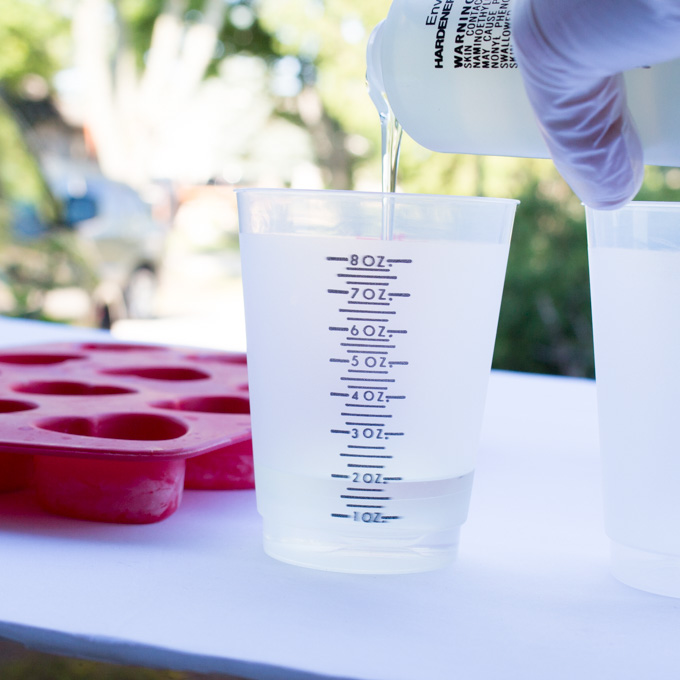
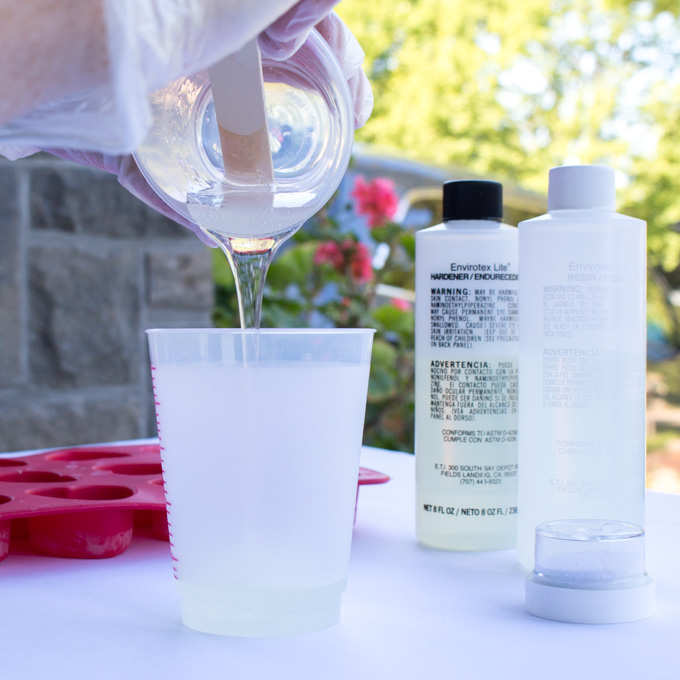
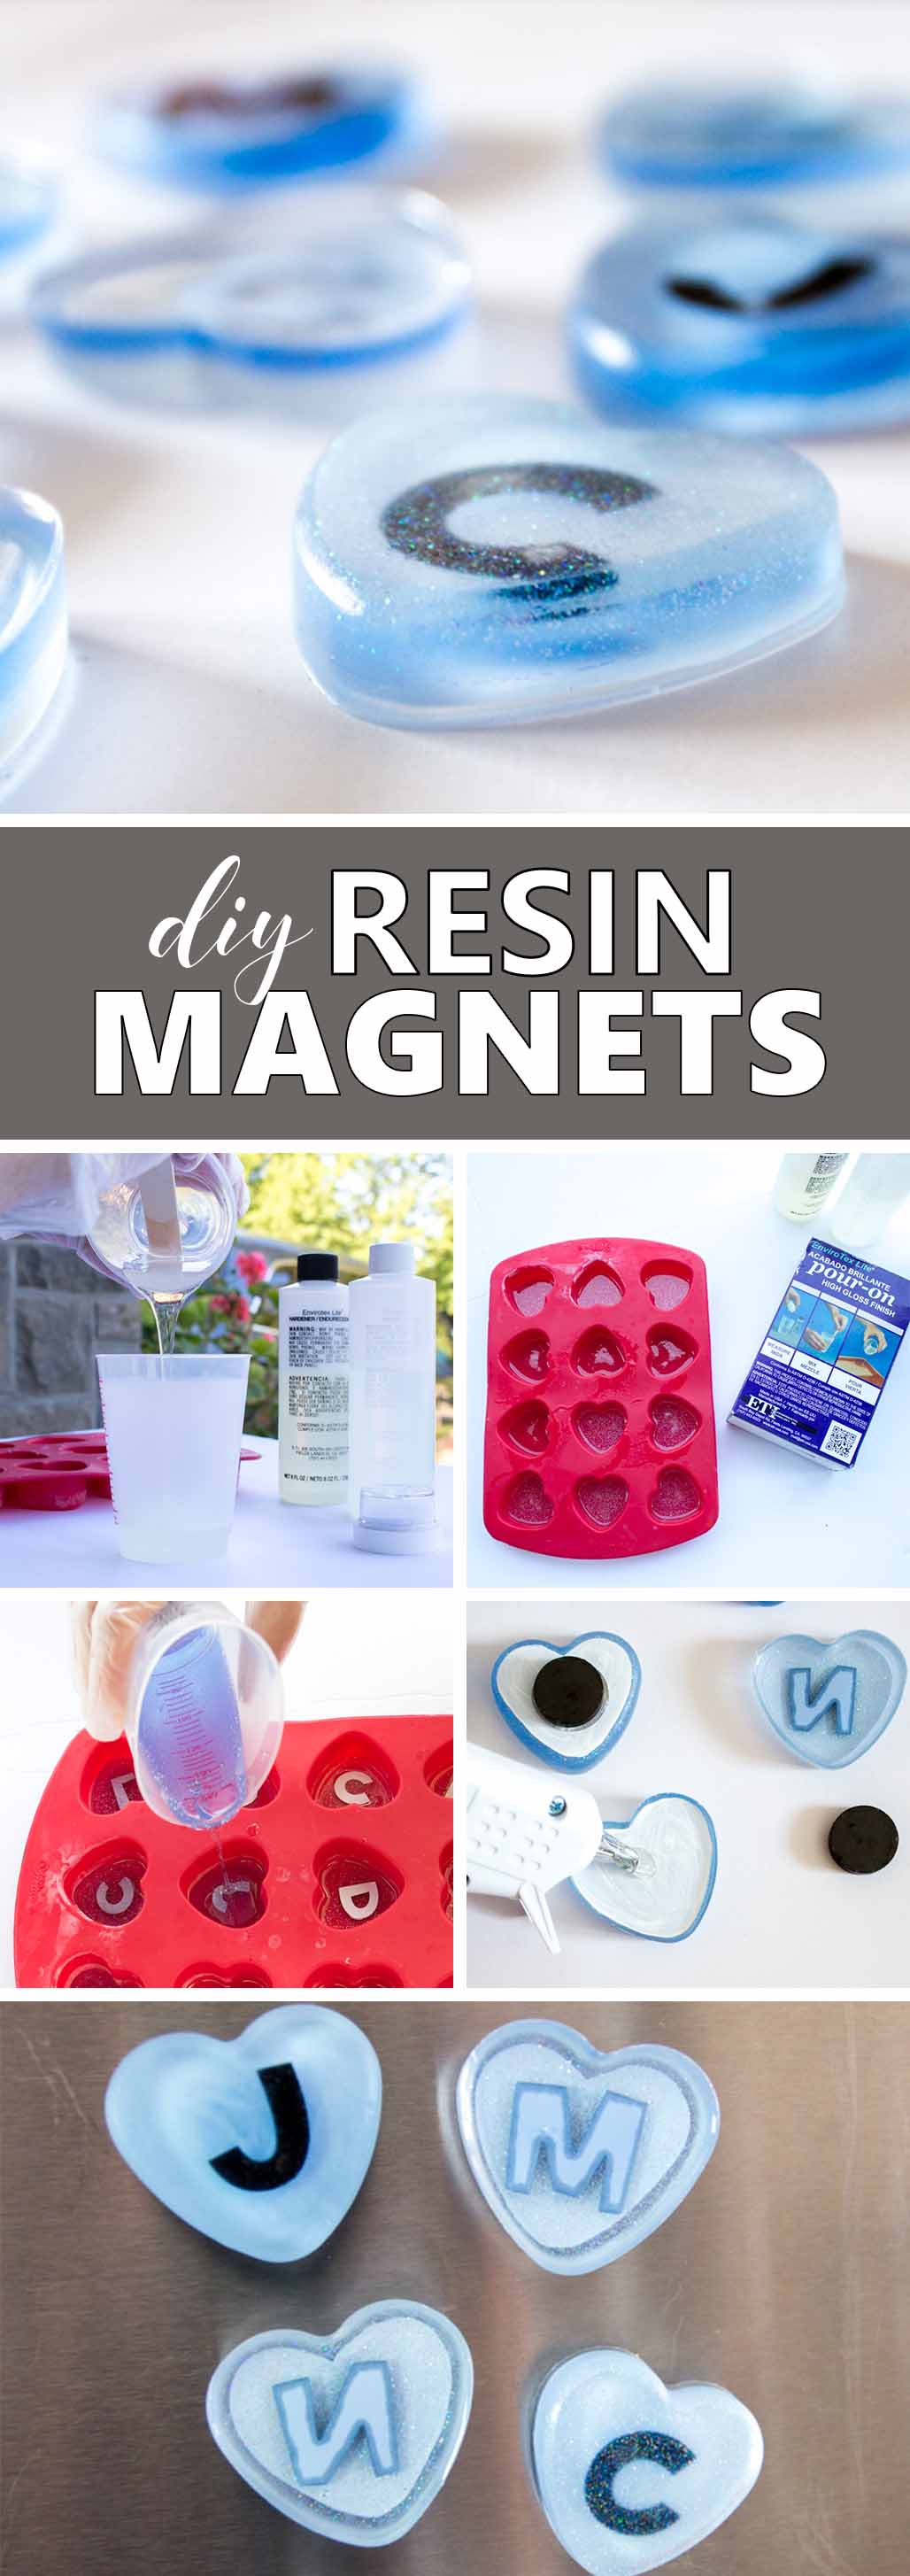
- Thoroughly clean your silicone mold. Apply a mold release / conditioner to the silicone mold. Mix exactly equal amounts of Resin and Hardener into one measuring cup (we used 1 oz of each). Stir continuously for 2 minutes, scraping the sides of the container. For best results be sure to read the instructions provided with the EnviroTex Lite prior to using it.
2. Pour the mixture into a second cup and stir for an additional minute, scraping the sides of the container and stir stick.
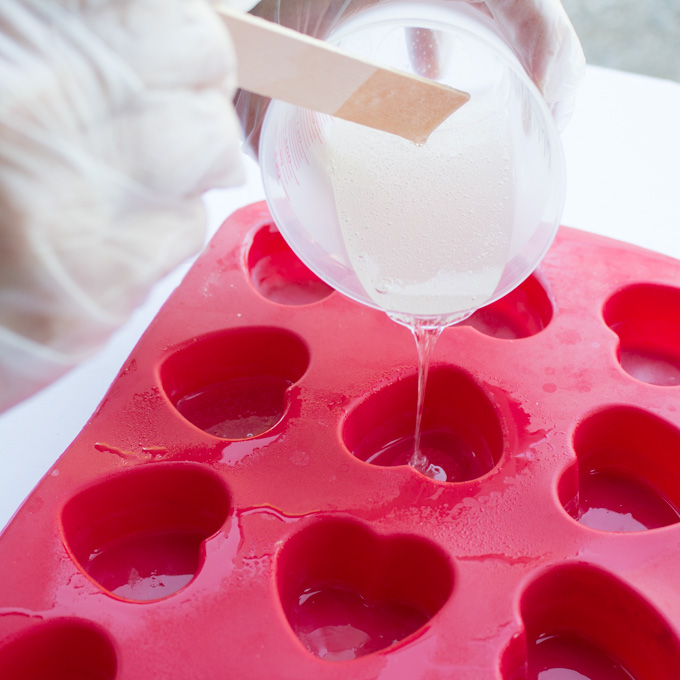
3. Pour the mixture into the heart molds just until the bottom is filled, approximately 1/8” thickness.
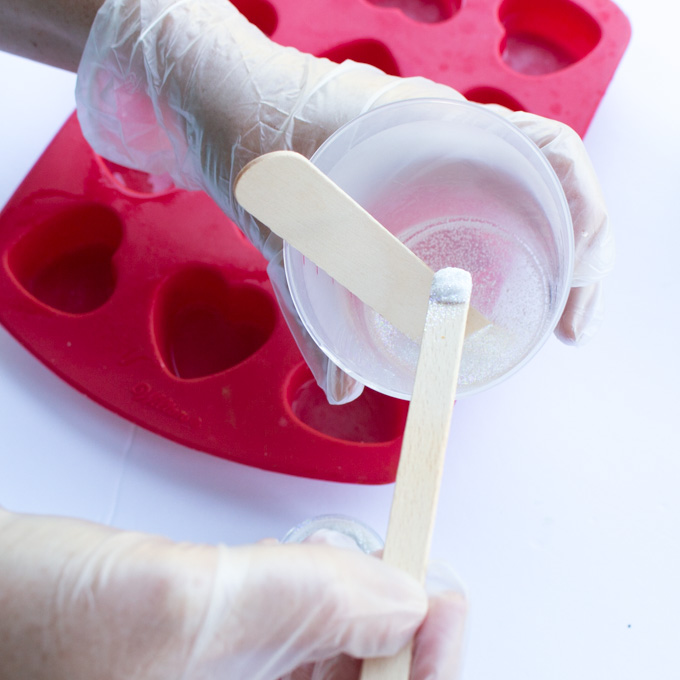
4. For some added fun, sprinkle some fine white glitter into the mixture and mix together for another 10 seconds or until glitter is evenly blended. Pour the glitter mixture into the remaining empty heart molds.
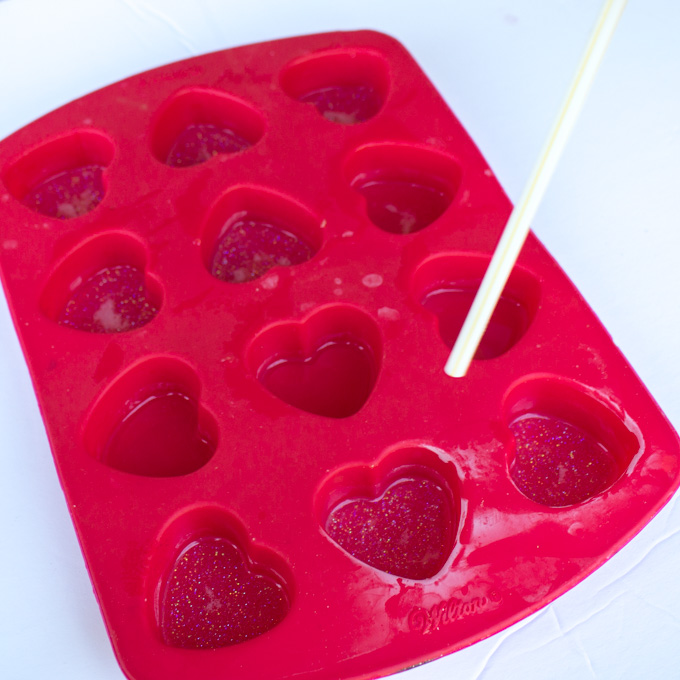
5. Cover to keep dust from settling in. After about 25 minutes, remove any bubbles that have risen to the surface by gently blowing over the piece through a straw or small torch. Repeat if necessary after another 15 minutes. Leave the resin to harden for 3-4 hours.
Pouring the second resin layer
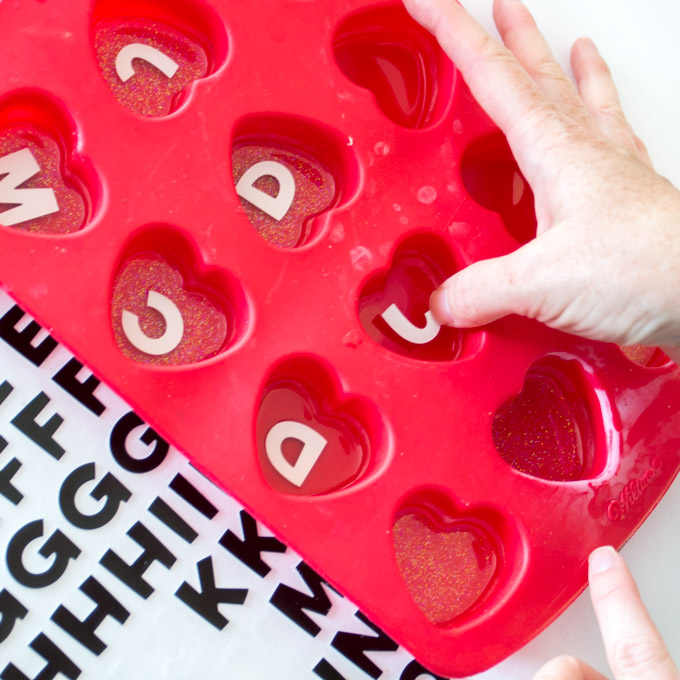
6. Place an alphabet sticker in each of the heart molds with the right side facing down (if you want the glitter layer in front) or face up(for the glitter layer behind the letter). Gently smooth it out to remove any bubbles trapped under the sticker. Leave it to cure for at least 2 more hours.
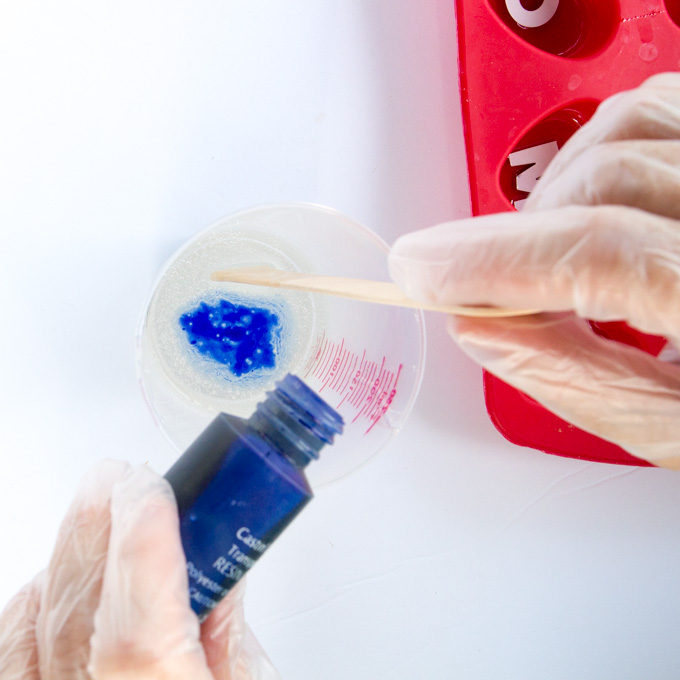
7. To add some color to the base of the heart, repeat steps 2 and 3 above. Add 4 drops of the transparent dye and mix until the color is well blended. Alternatively, you can use an opaque dye or any acrylic paint to the resin mixture.
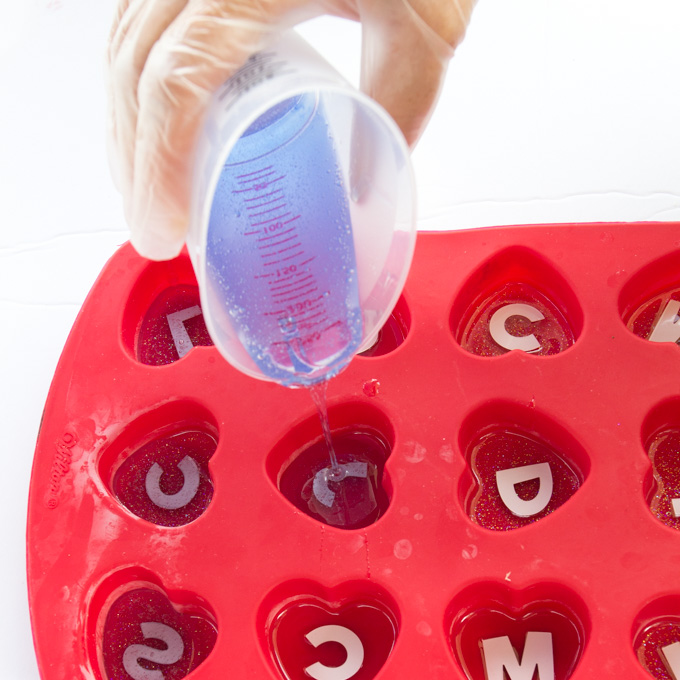
8. Pour the colored resin over top of the clear resin and glitter resin hearts, another ¼” thickness. This particular silicone tray is very thick and we decided to not use the entire thickness for these hearts. Cover and put aside to dry and fully cure overnight.
9. Blow off any air bubbles with a straw.
Finishing the DIY fridge magnets
10. Remove resin hearts from the molds.
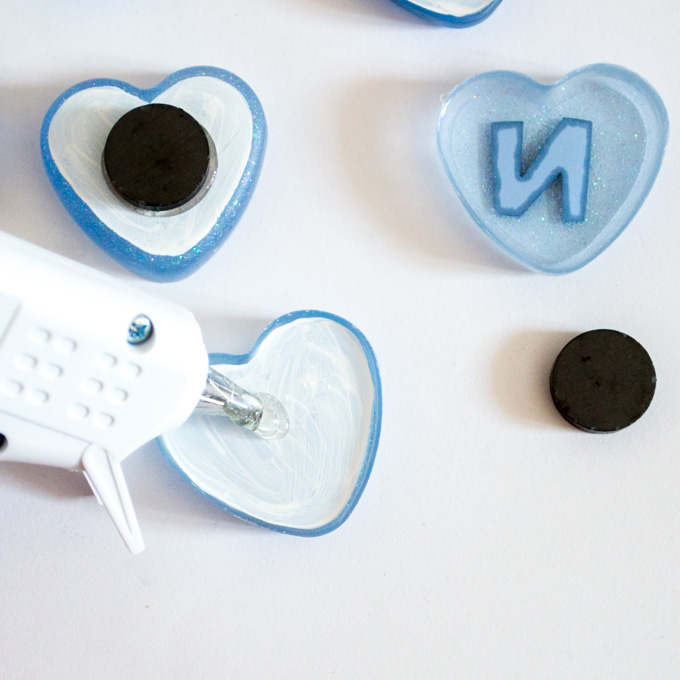
11. Since we used a transparent dye in the second resin layer the resin hearts turned out transparent. To hide the magnet and accentuate the colours and glitter of the resin hearts, paint two coats of white acrylic paint onto the back side of each heart.
12. Add a small magnet to the back side of the heart using clear hot craft glue.
That’s it! Stick your new magnets on the fridge and let the kids show off all their masterpieces!
And if you’re looking for more heart shaped DIYs, check out this Easy Sculpt keepsake heart idea and this heart pendant idea using Envirotex Jewelry Clay.
What ways do you display the kid’s art work at home?
Like it? Pin it for later!
Jane and Sonja are sisters, moms and lifelong craft addicts both living near Toronto, Canada with their families. They share their love of creativity, nature and coastal DIY ideas on their blog Sustain My Craft Habit. They craft and decorate their homes using repurposed and upcycled items and materials found in nature.



Loved these creation.My daughter is so much in fond of making diys ! And O always love motivating her and encourage her doing something creative ! This would be something new for her ! Loved your creativity !! Please make new more posts ! Really loved guys!