
I have literally 17 paper trays that I used for organizing my old office and since moving to my new home, I haven’t been able to use them all. I gave many away, and use some of them in my new office, but, I’ve been getting a little bored with the look. They’re super sturdy and in great shape, so I didn’t want to get rid of them. Plus, they’re really convenient for storing and organizing paperwork that I need quick access to.
I thought about spray painting them, but honestly I’m getting kind of tired of spray paint. I remembered that I had some extra wallpaper left from a previous bedroom design project and knew it would work as a fun accent to the bottom of some of my paper trays.
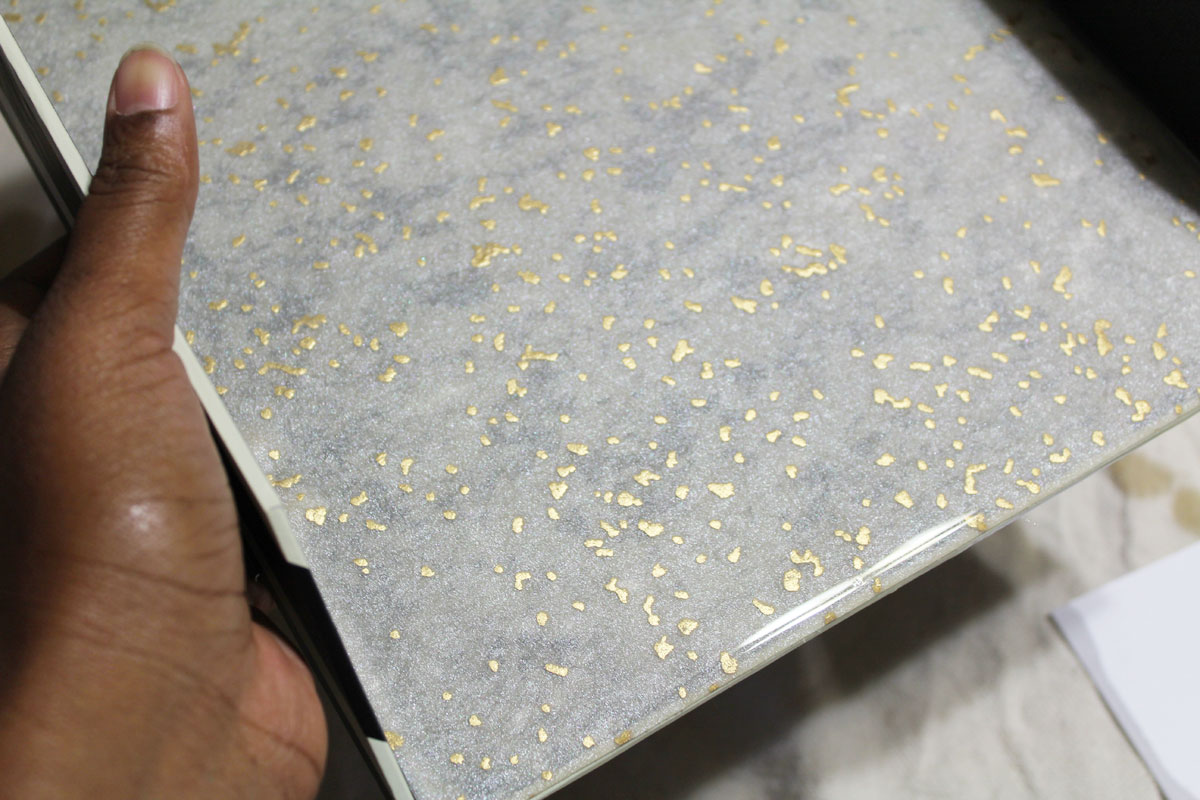
Basically, you’ll just glue the paper to the bottom of the trays and then seal with EnviroTex Lite. The resin gives the tray a glossy three-dimensional finish that makes the paper trays shine with a new look.
Let’s get into this easy tutorial!
Resin Coated Wallpapered Paper Trays
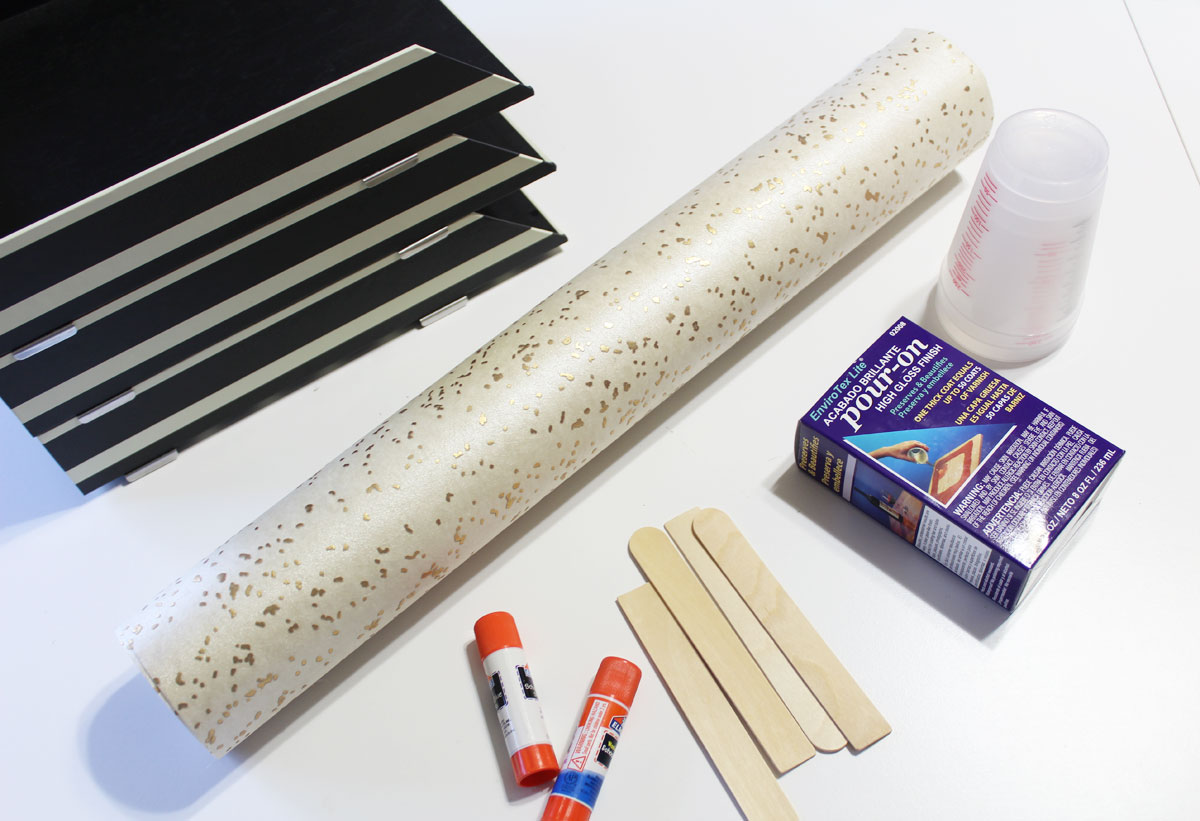
What you need:
- Sturdy paper trays
- Fabric, wallpaper, or cardstock
- EnviroTex Lite
- Mixing cups
- Stir sticks
- Glue
- Scissors
- Heat gun or small hand-held propane torch (optional)
What to do:
It’s so easy!
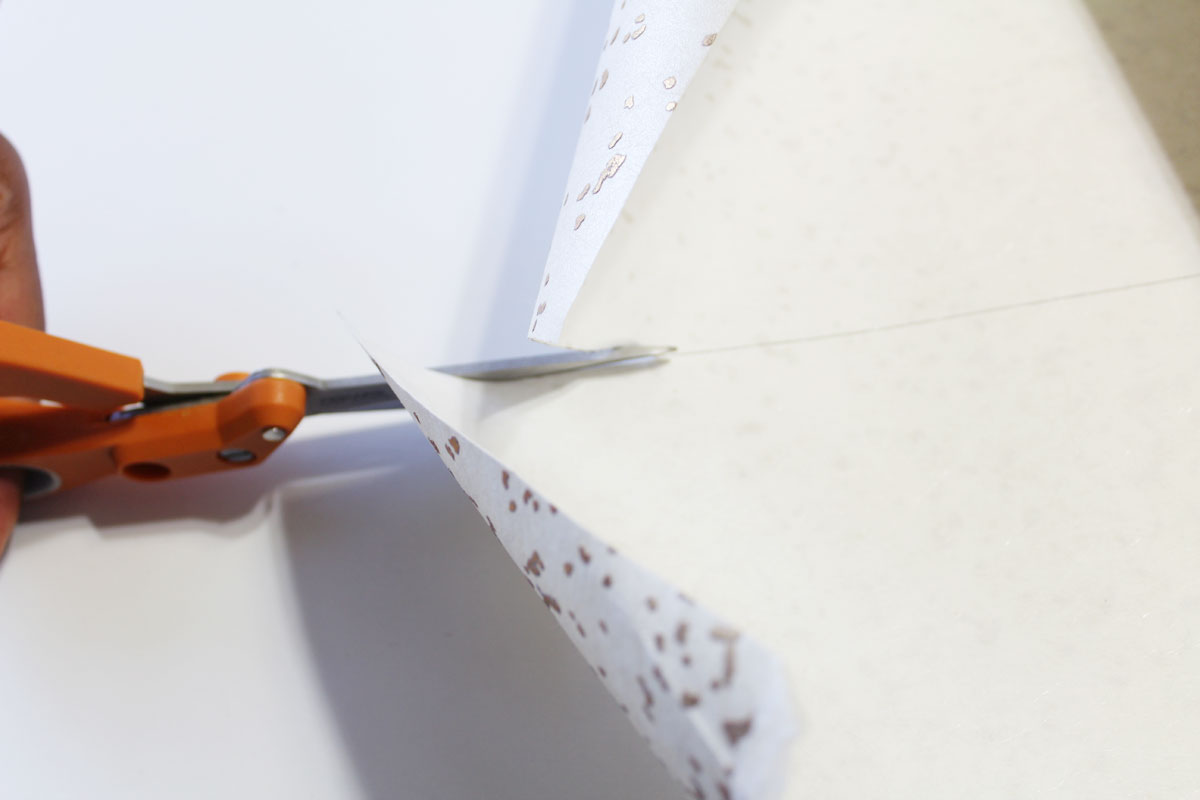
Cut your paper to fit the inside of your stackable paper trays.
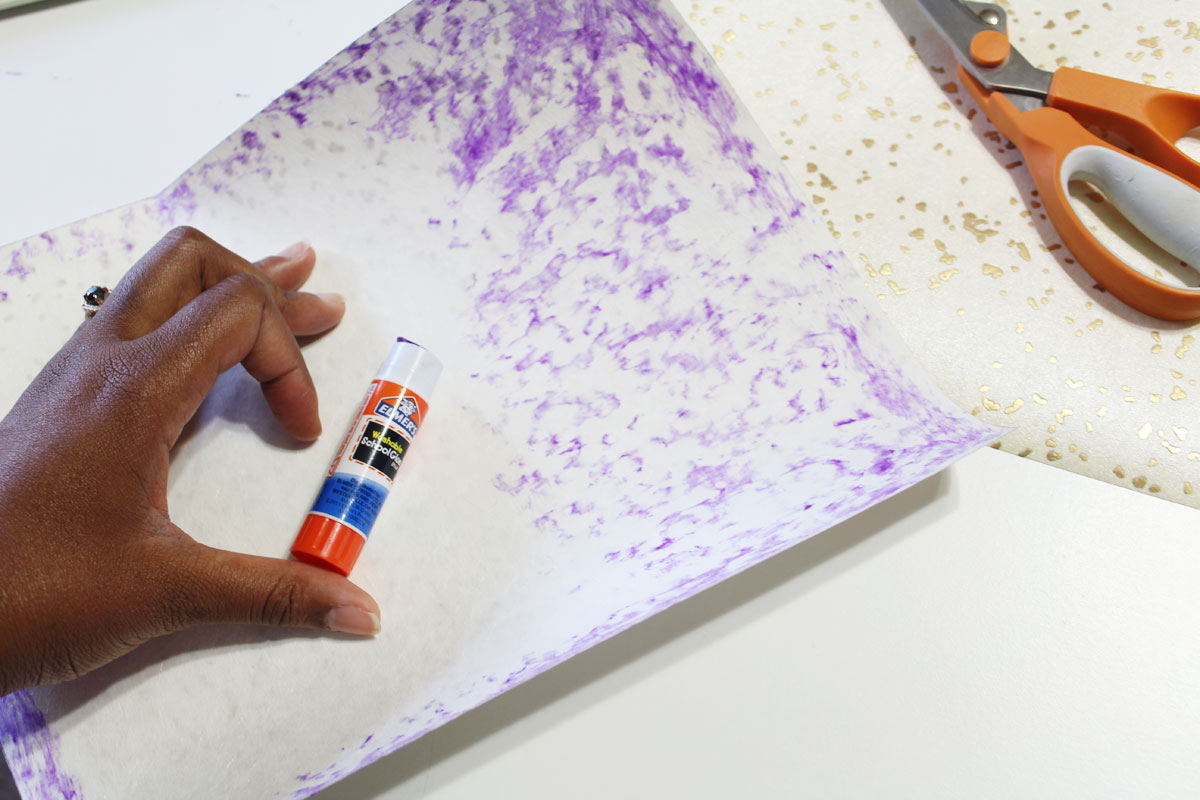
Then, glue the back of the paper, making sure to glue all around the edges and middle of the paper. Place the paper onto the bottom of stackable paper trays and let the glue completely dry.
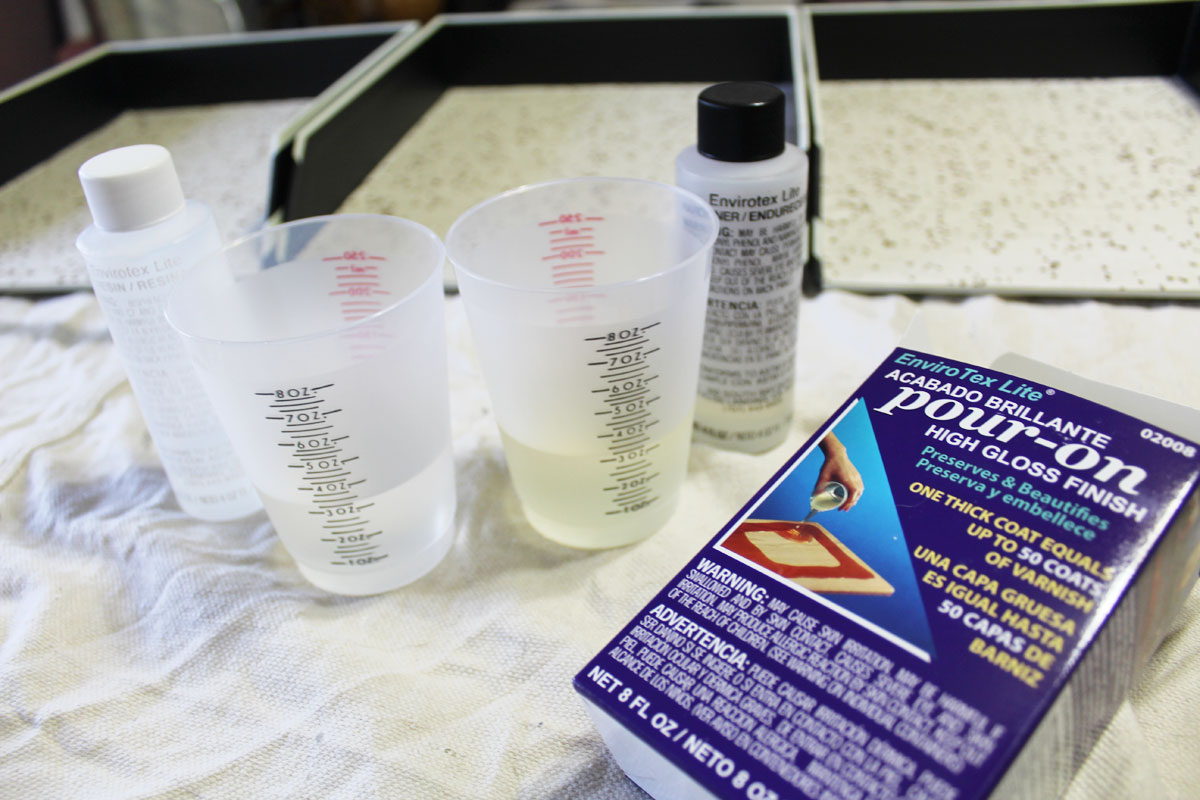
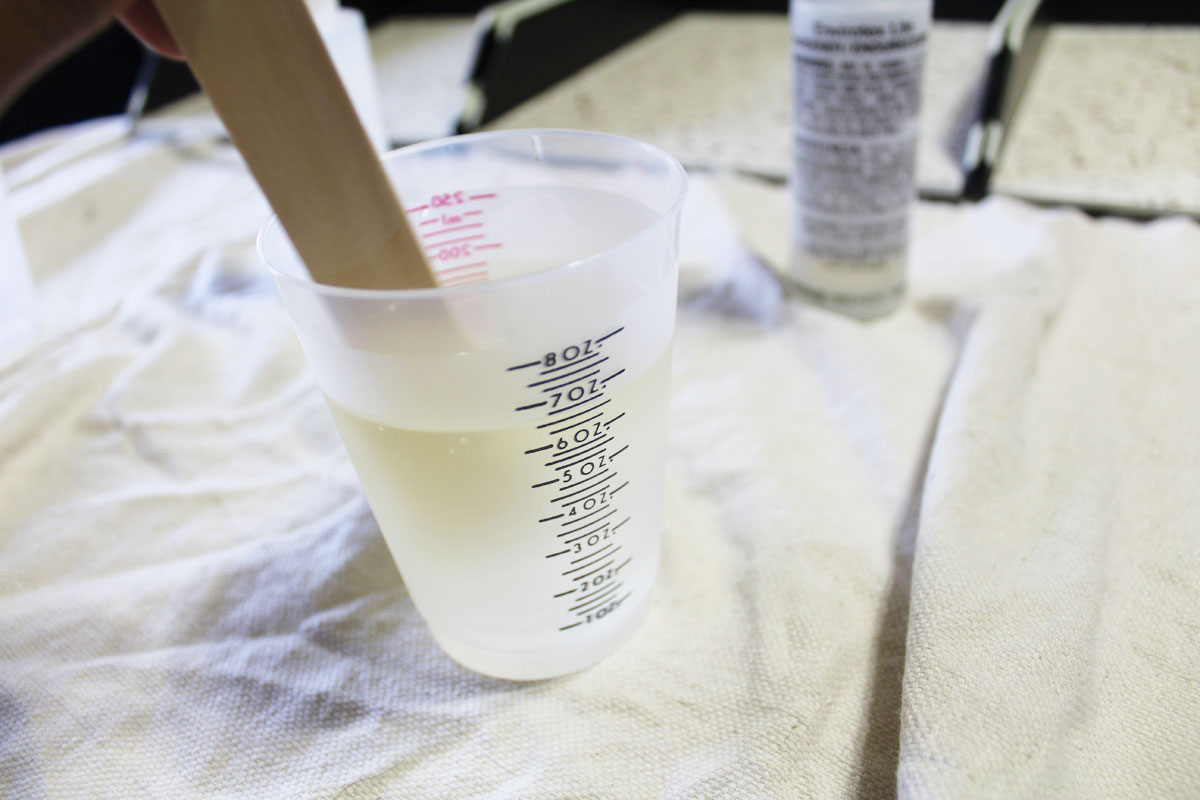
Next, you need to mix your EnviroTex Lite. (Make sure to protect your work surface with a drop cloth, plastic, or cardboard.)
- Measure equal amounts of the resin and hardener into a mixing cup.
- Mix both parts together for a full two minutes, occasionally scraping the mixture from the stir stick back into the mixture.
- After mixing for two minutes, pour the mixture into a second mixing cup and stir for another minute with a new stir stick.
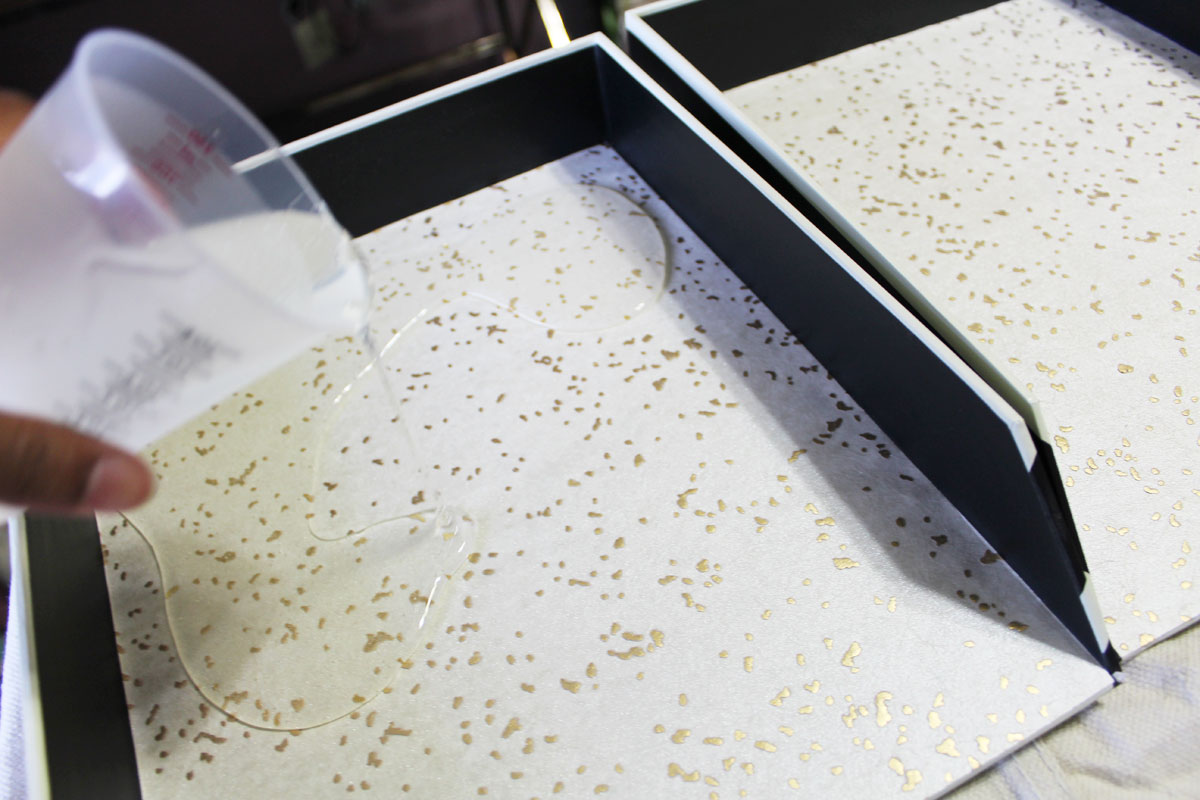
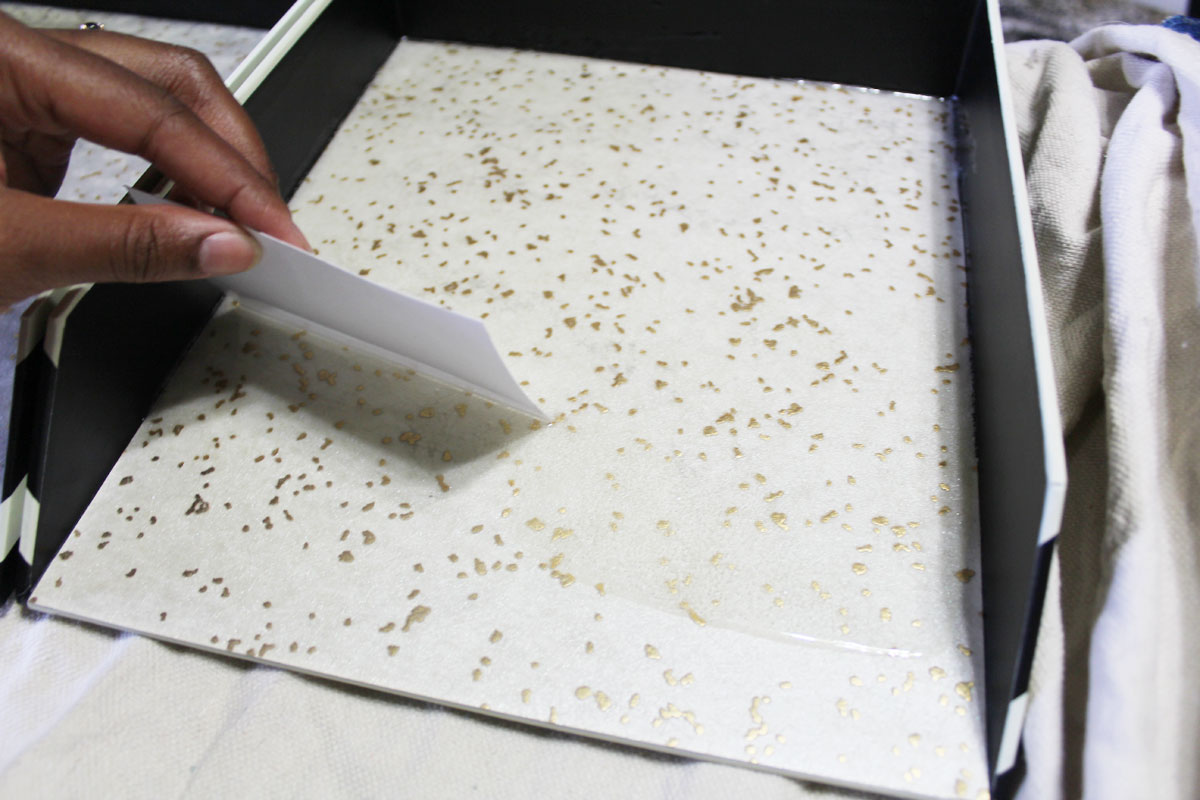
Immediately pour the mixture onto the paper trays making sure to pour over the surface in an even pattern. Spread the resin around with a piece of cardboard or thick paper. Brush the edge of the paper tray occasionally to catch any drips. After 15 minutes, check for bubbles and exhale on them until they disappear or use a small torch or heat gun.
Allow the paper trays to cure. It could take up to 36-72 hours to completely cure depending on the temperature of the room.
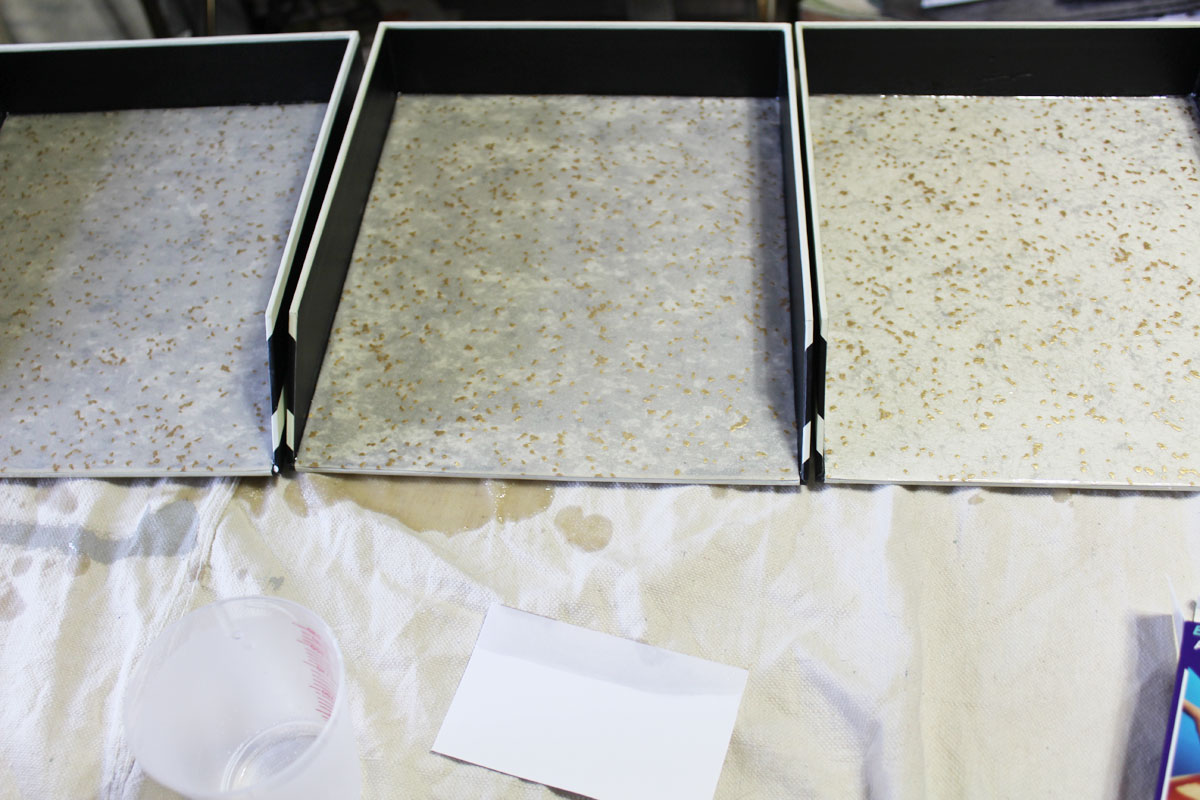
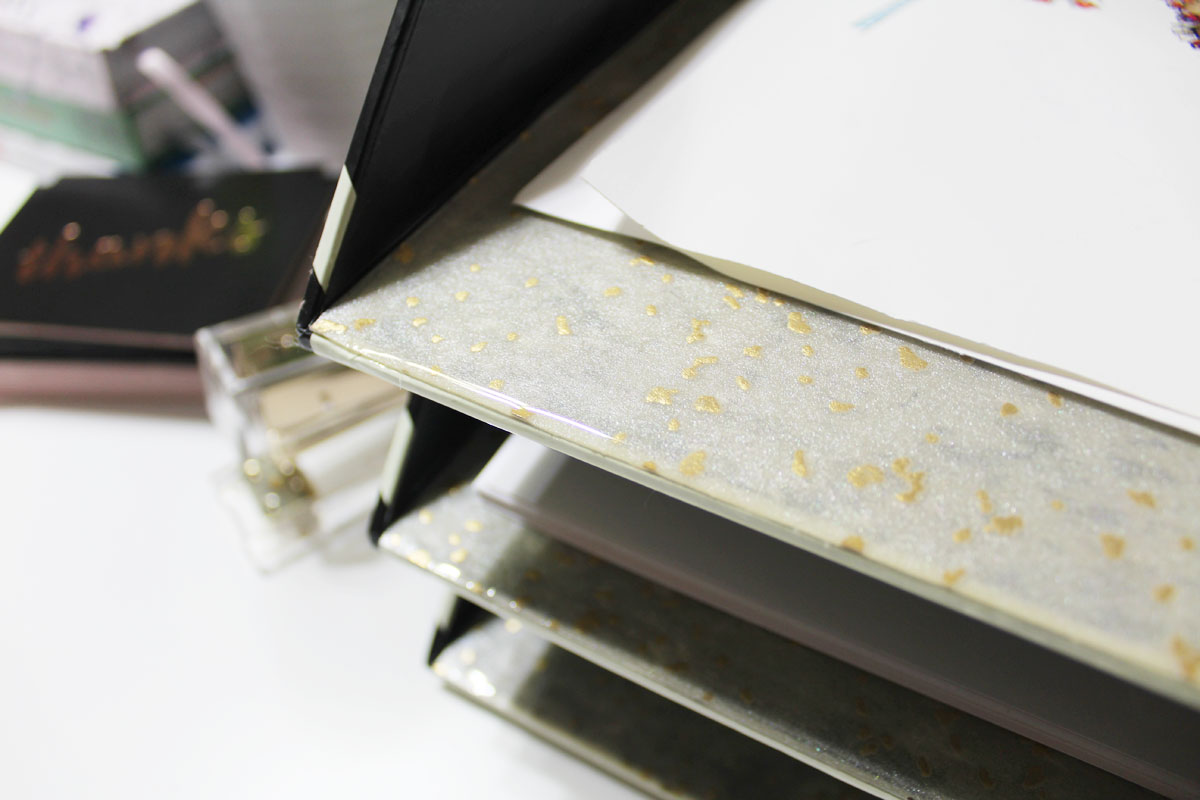
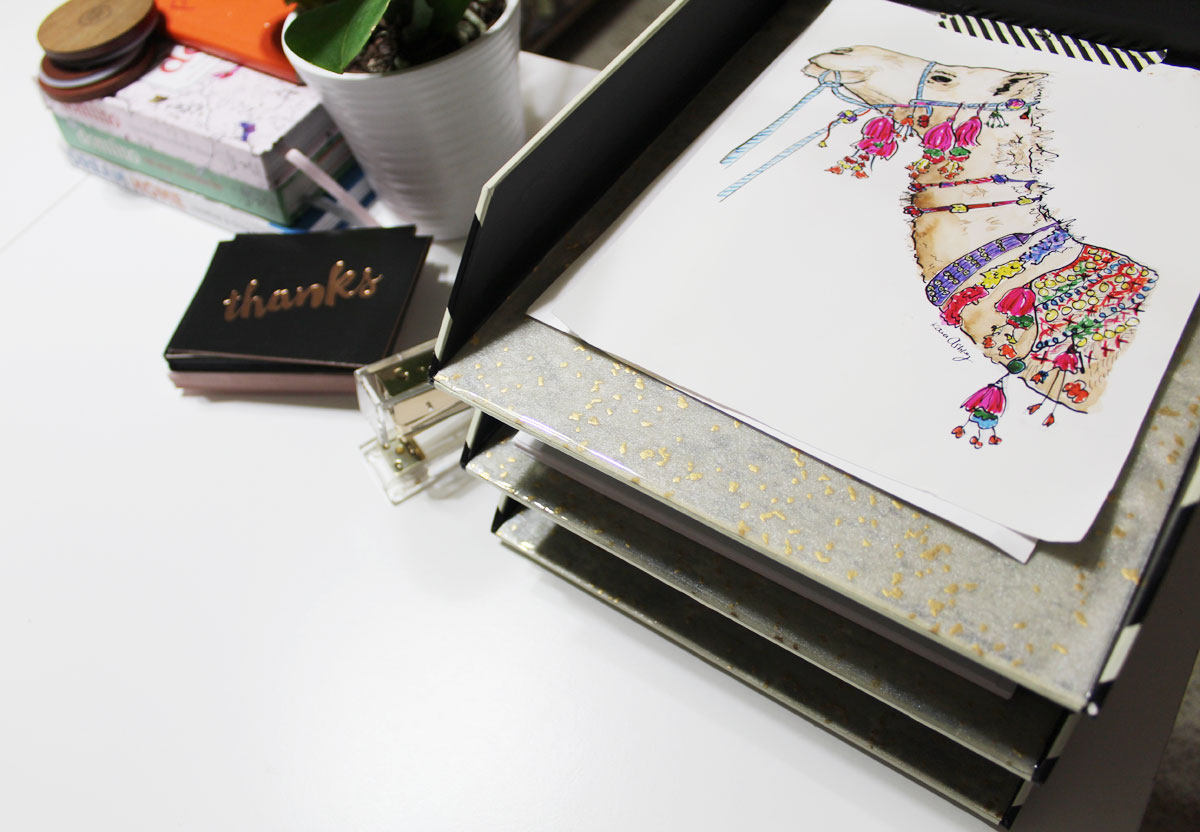
That’s it! It’s so easy and you can use virtually any fabric, wallpaper, or decorative papers to customize your paper trays. Try doing a different color/pattern for each paper tray. The possibilities are endless! Use a plain white or craft paper tray to easily match pops of color. And, the EnviroTex Lite helps protect the fabric or paper, so that it lasts a long time!
So, will you be trying this project? Let me know in the comments section!
– Whitney
Whitney is a New Orleans based decorator blogging about all things home. She loves to sew and create fabulous pillows and other furnishings. When Whitney’s not working on design projects, she’s reading sci-fi novels, working in her garden, or making updates in her new home.


Leave a Reply