Do you love maps as much as I do? I have maps integrated into the decor all over my house! (Remember the Geographic Tile Coasters using Envirotex Lite post?) It occurred to me one day that a resin map pendant would be a really cool piece of jewelry! I found a map that included the city that I grew up in which will always be a very special place to me. I haven’t lived there in a very long time and have no family there anymore, but it’s still dear to my heart.
Here’s how I made the resin map pendant:
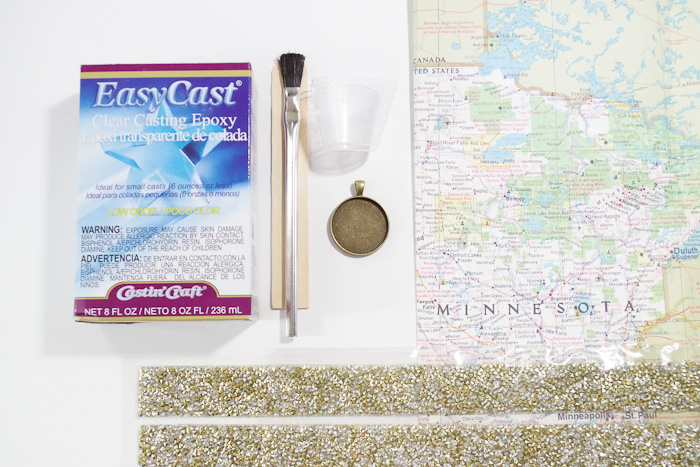
SUPPLIES:
- Paper map of your chosen location
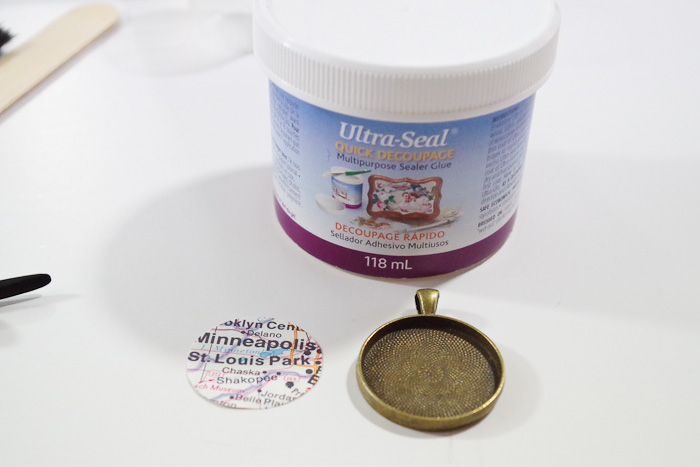
- Ultra- Seal or other clear-drying multipurpose glue and sealer
- craft brush
- pendant bezel
- small diamond jewel (or heart if that’s your style.)
- EasyCast Clear Casting Epoxy Resin
- disposable stir sticks
- small disposable measuring cups
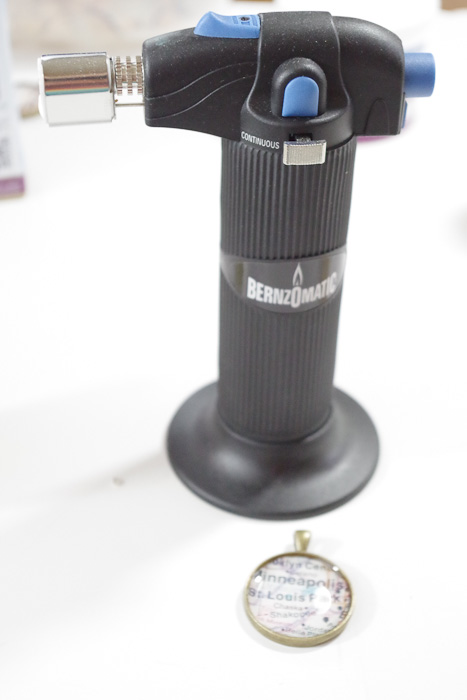
- (optional) Micro-butane torch
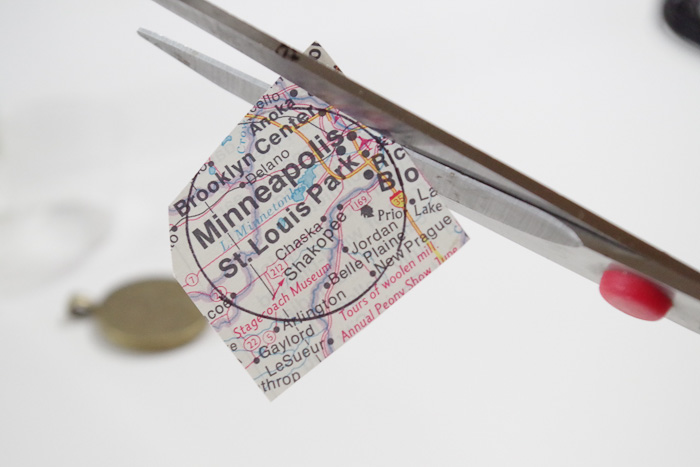
Cut the map:
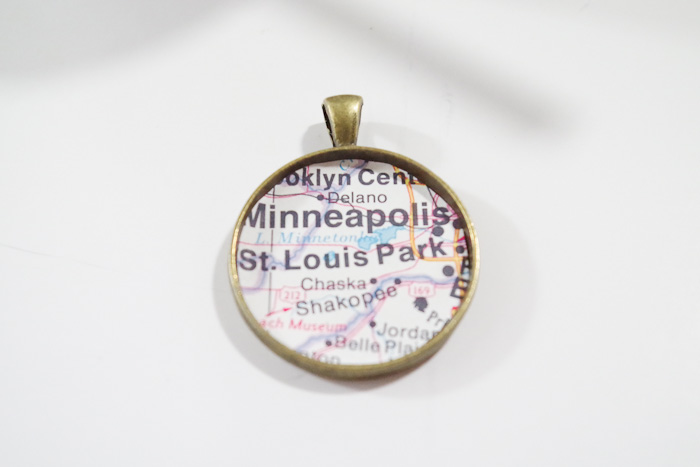
The first thing you want to do is place your bezel on the map section that you want included, and trace around it. This will give you a general shape to cut.
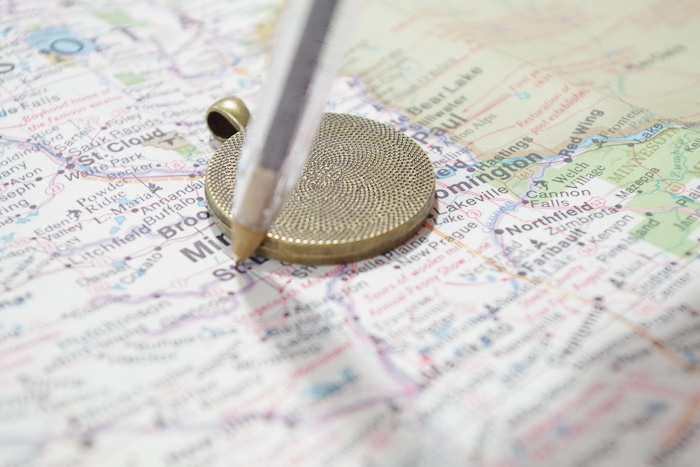
You’ll need to cut the map inside of your drawn lines to get the right size. I always cut a little at a time until it fits perfectly, that way I don’t end up with any gaps.
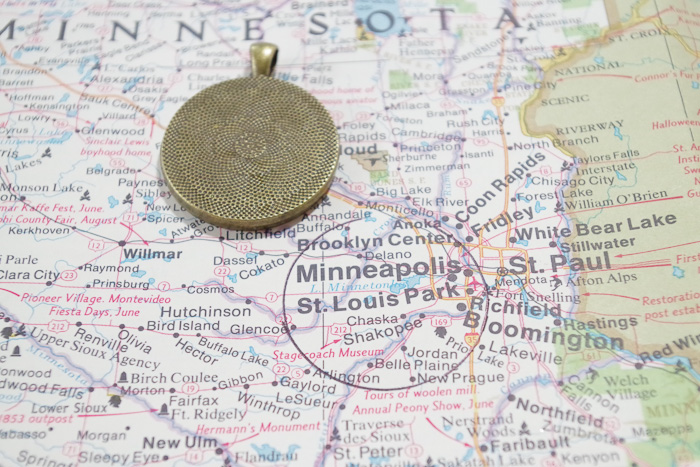
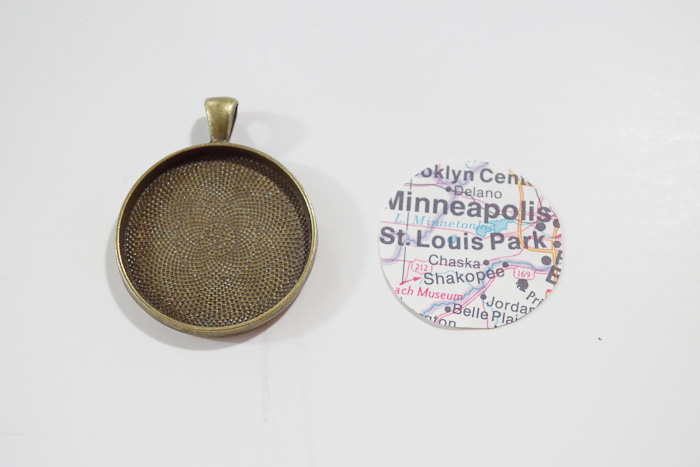
Seal map inside bezel:
Next, place the paper map piece inside your bezel. Make sure you like how it fits.
Take it back out and coat the bezel using your craft brush and Ultra-Seal (or other clear-drying glue).
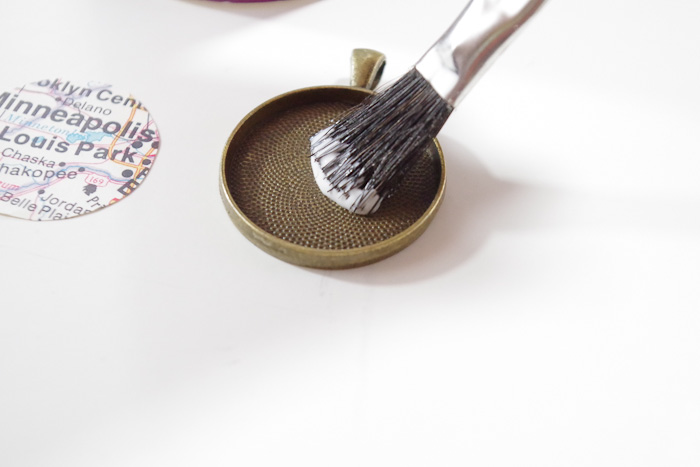
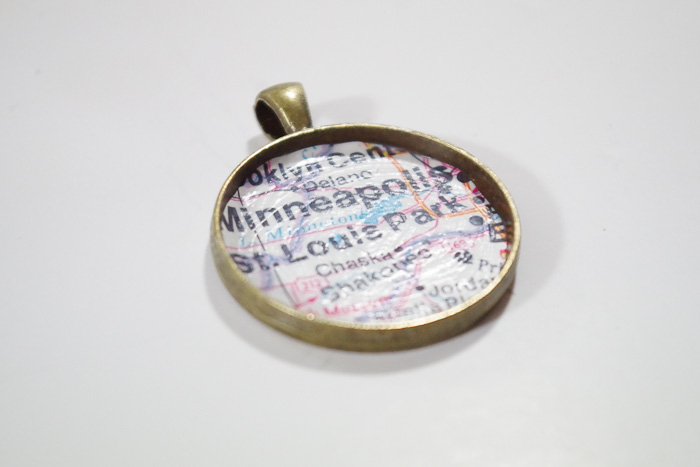
Place the small map section into the bezel and press down into the glue evenly.

Coat entire top surface of map with the glue.

Let it dry completely.
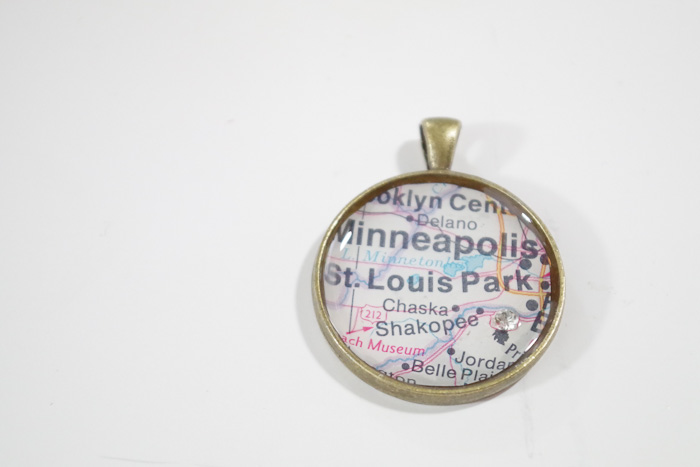
TIP: For the next part, I actually opted to do a small layer of resin, place the diamond jewel in that, and let it cure before doing the final coat of resin. The reason I chose to do this was that sometimes small pieces like the jewel I used are really hard to keep in place and under the resin, and I didn’t want it to float to the surface. If you’re doing a heart sticker or anything like that, you’ll only have to do the resin in one application. Just wanted to make note of that for you.

Mixing Resin:
EasyCast is incredibly simple to use. I actually really love working with it.
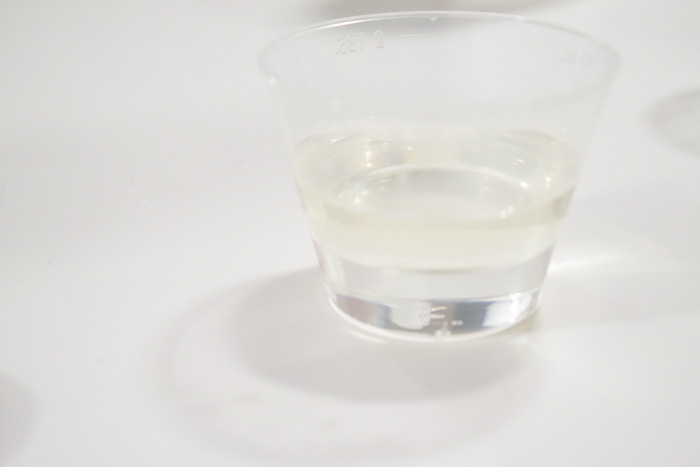
First, you’ll pour a small amount of Part A (for this bezel you really don’t need much. I think I did 1 oz. of each part and ended up filling a few bezels) into the small measuring cup. Then you’ll add an EQUAL amount of Part B to the cup.
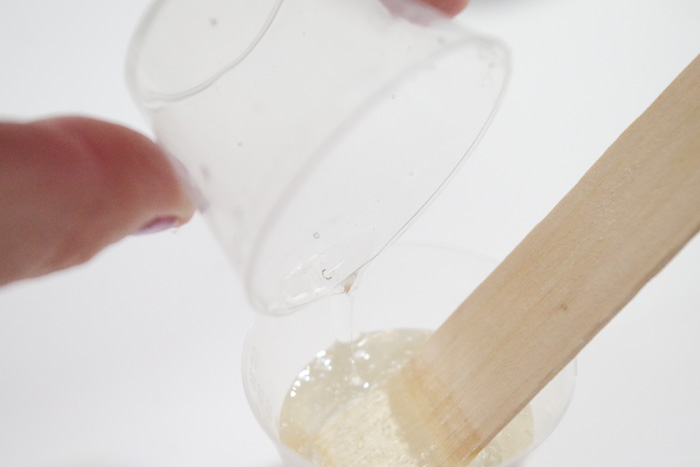
Stir thoroughly, then pour into second cup and stir again until completely mixed.
The nice thing about EasyCast is that you have a longer working time, so you’re not in a hurry to get the stirring done.
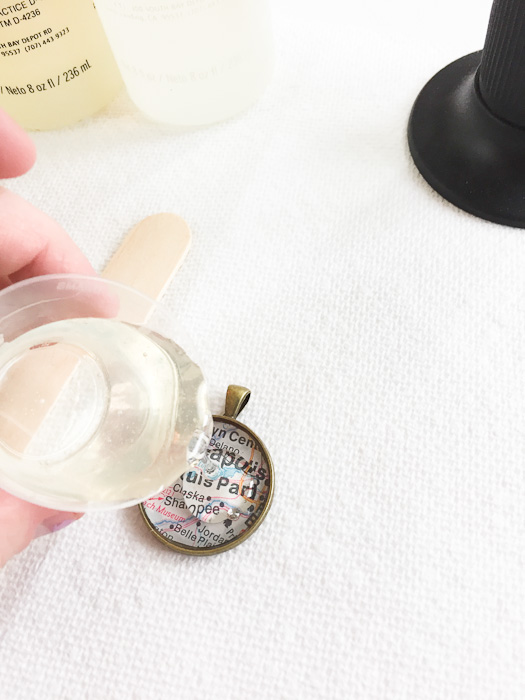
Filling Bezel:
Once it is mixed, pour into the bezel.
If you’re doing two applications like I did, just pour in a little that will hold your jewel in place. If you’re doing one application you can just fill the entire bezel, but be sure not to pour too much! You want it full but you really don’t want it to overflow!
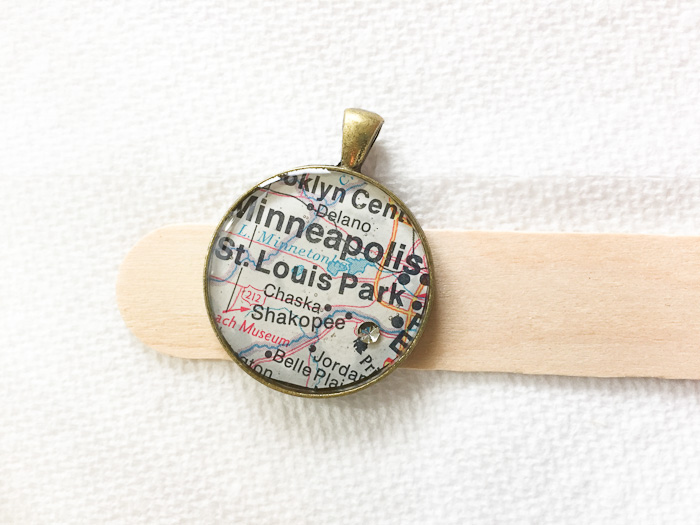
I poured in a small amount then added my jewel in the exact place I wanted it. My jewel came from the jewel strips pictured in the supplies photo. Pressing it into the resin a little helped so that it wouldn’t move, then I left it for 24 hours to get a good cure.
Remember, you can use a micro-butane torch to pop the bubbles OR just exhale over the project because that will pop them too. Exhalation works perfectly for these smaller projects, but on larger projects you definitely want a torch of some sort.
The next day I came back, mixed a little more resin, and filled the rest of the bezel.

Popped the bubbles using my micro-torch.
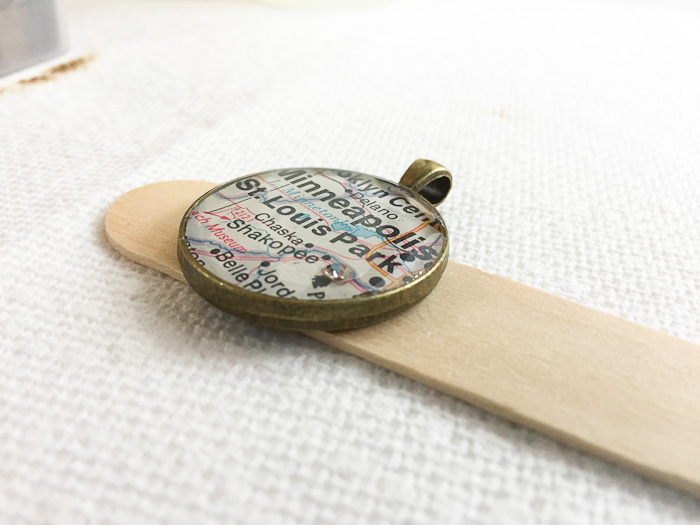
TIP: The loop on the bezel for hanging is larger than the bezel on the back, so leaving it flat on my work surface would have made the resin settle in unevenly. That is why in the next photos you will see it placed on a stir stick, this enabled the bezel to be flat by having the larger loop off the work surface. I hope that makes sense.
This time I let it cure for 48 hours.
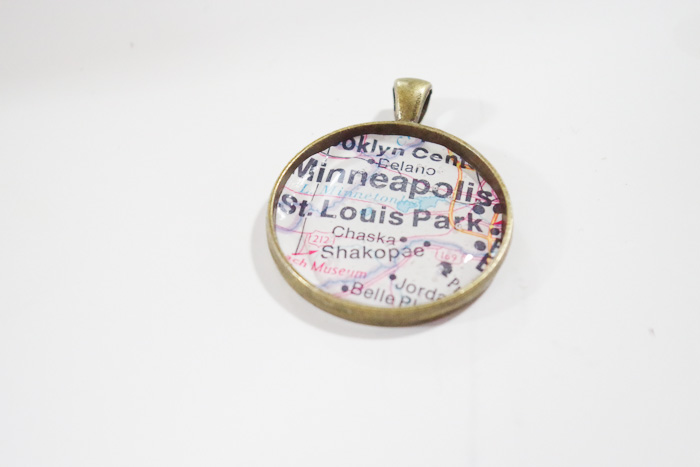
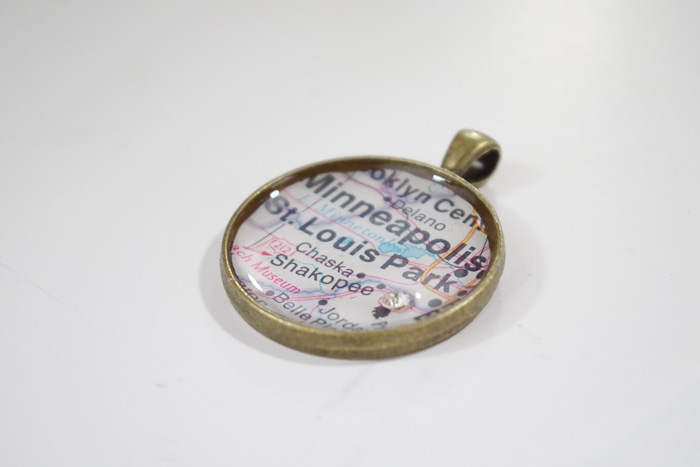
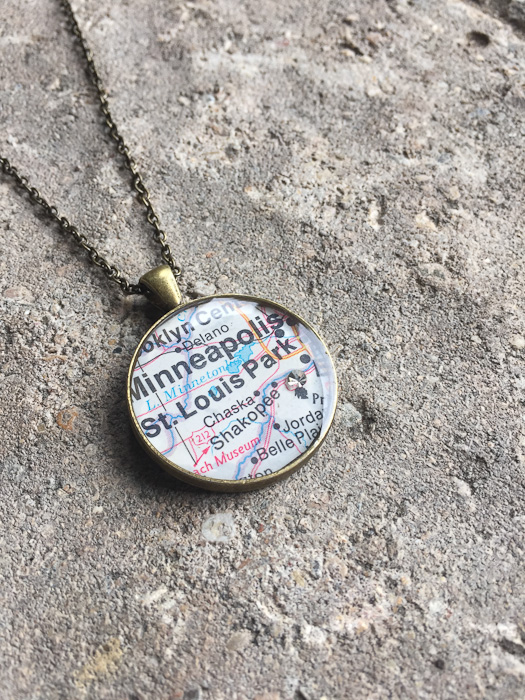
All Finished:
And there you have it! A gorgeous resin map pendant that has a very special personal touch.
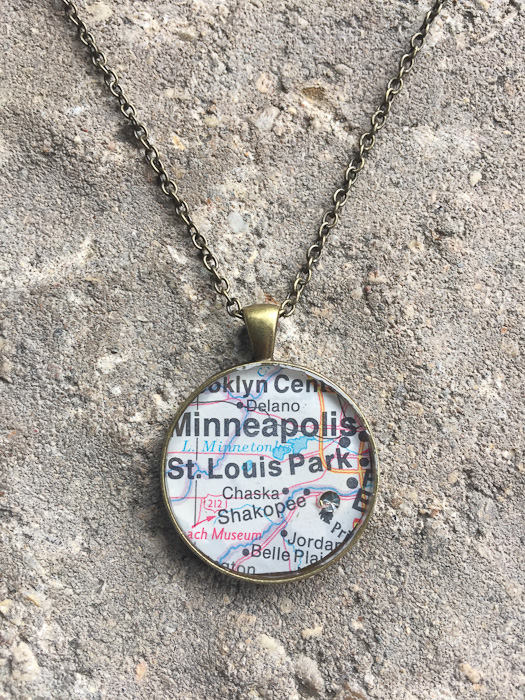
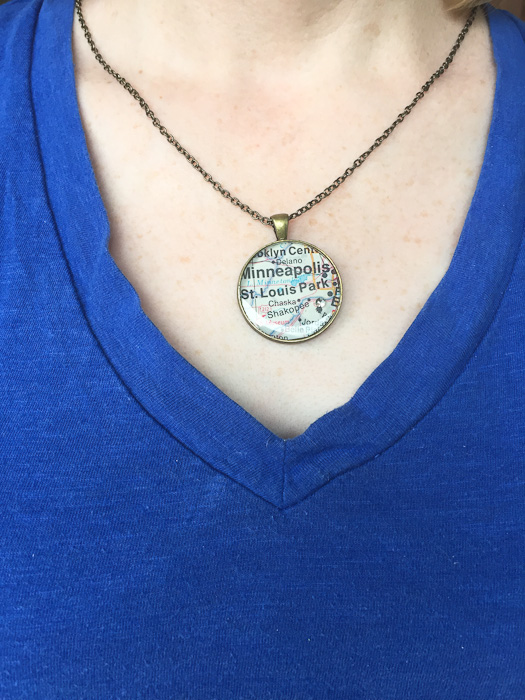
These would also make fantastic gifts for anyone that is traveling or moving to a different place! Or you could just scrap the whole map idea all together and use a photo or patterned paper instead. The options are endless and that’s what makes this product so awesome to work with!
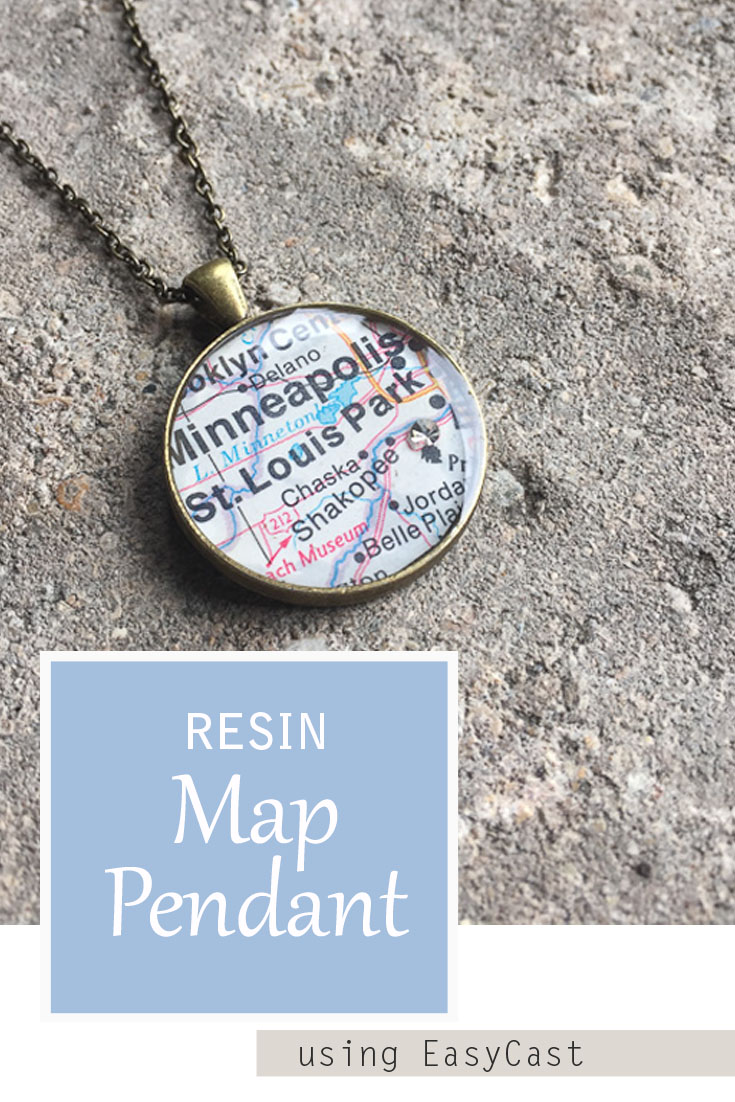
If you like this Resin Map Pendant, please pin this image to Pinterest!
Thanks again for stopping by and reading how I made this resin map pendant! Remember to check out my map coasters too!
What do you think? Any questions for me? Please comment!
~~Sheri~~
Sheri is a Maker and DIY blogger at Hazel + Gold Designs. She is usually in the middle of multiple projects at once and finds great satisfaction and joy in creating something new. She is constantly learning new skills, putting them to the test, and sharing her experience and knowledge with others. Her favorite hobbies are crafting, painting, crocheting and basic woodworking. Her goal is to inspire others to step out of their comfort zone, learn a new skill and have the confidence to make their life a little more beautiful!


LOVE this!
Thank you!
Hi lovely tutorials.
I noticed on the keychain tutorial you used • ‘EnviroTex Jewelry Resin’ but on here you used ‘Easycast clear casting epoxy resin’. What is the difference?
Easycast is typically used for thicker castings, whereas the jewelry resin is used for thinner castings like the keychain. I could have used either for the map pendant. The main difference is that if you are casting a thicker object you would definitely want to use EasyCast. I hope that helps!