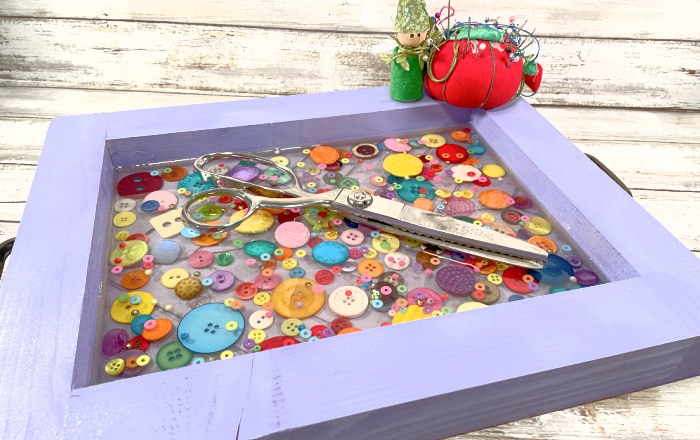
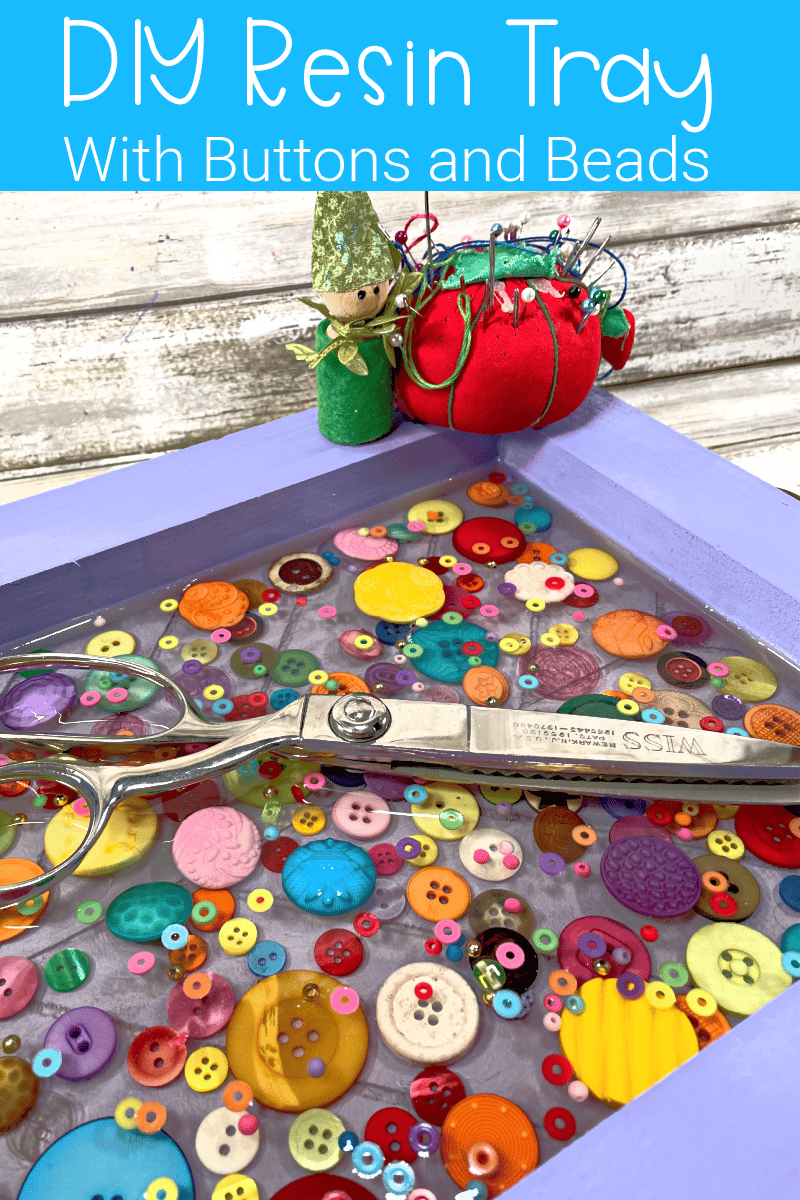
Create a beautiful resin tray using your favorite button collection!
Collecting buttons is such a fun thing but finding the best way to use them can be a challenge. Putting them into a piece of home decor where they can frequently be seen in all their glory is a great idea. Hello again! This is Laura from Me and My INKling blog back with another really fun resin project using EasyCast. This is a beautiful project that creates a magnificent work of art.
Materials and Supplied Needed
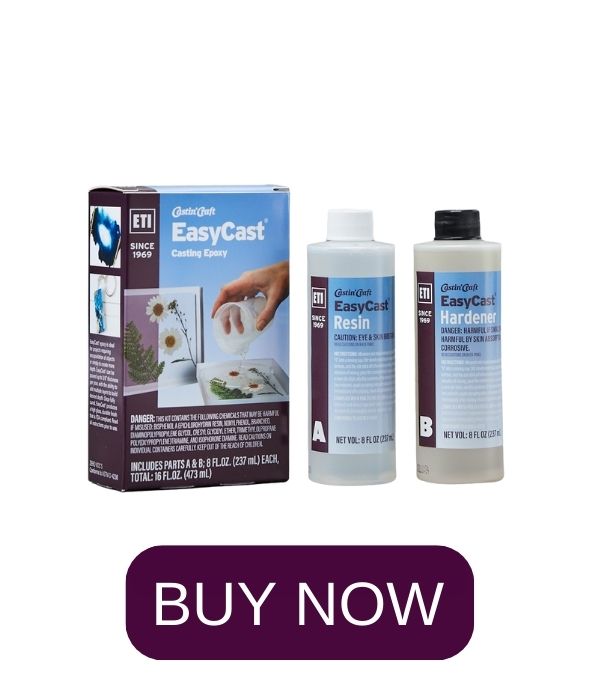
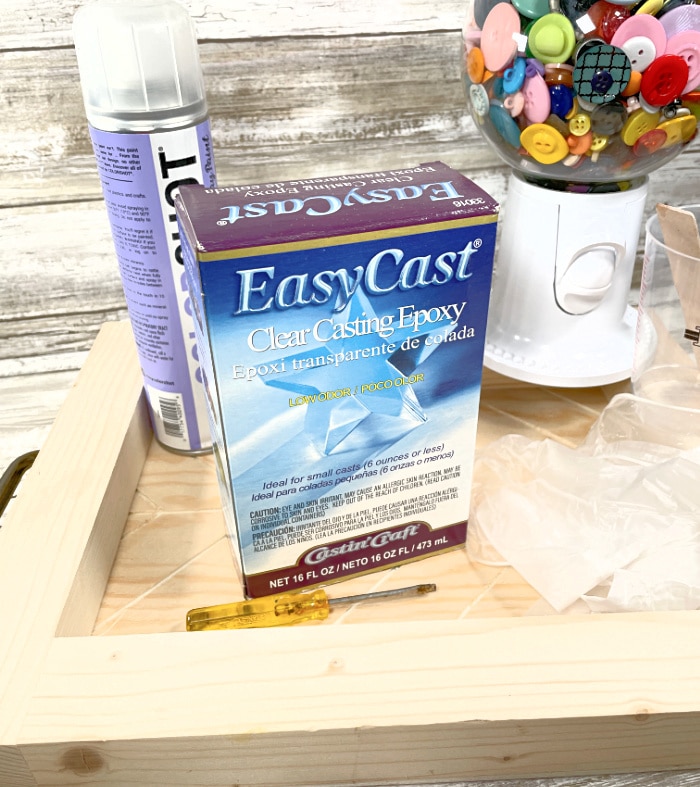
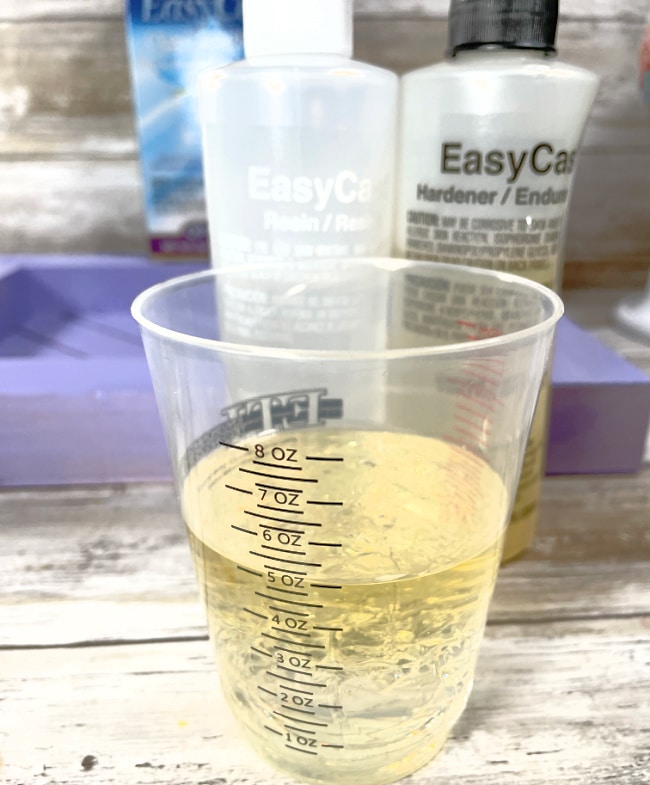
- 8 oz EasyCast Clear Casting Epoxy
- Mixing Cups
- Stirring Sticks
- Disposable Gloves
- Wooden Tray
- BUTTONS
- Screwdriver If Tray Requires Removal of Hardware
- Paint If Painting Tray First

Safety first! Before working with resin, make sure that you’re wearing disposable gloves & protective eyewear, and that the work surface is covered and in a well-ventilated area.
Directions – Step By Step
Let’s get started. The tray that I chose to use has been on a shelf in my garage for a few years – waiting for the perfect project. To get it prepped, remove the hardware with a screwdriver and paint it if desired.
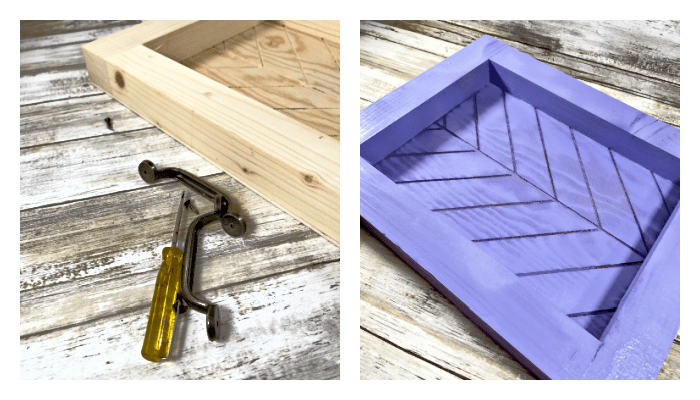
Step One
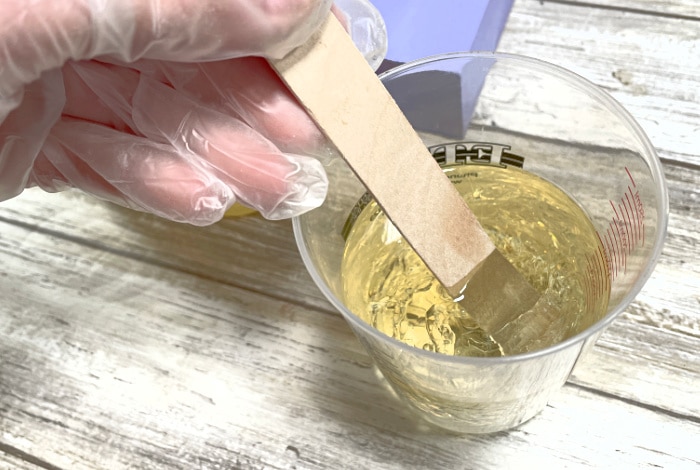
First, make sure your tray is prepped and any paint is dry. Secondly, mix the EasyCast Clear Casting Epoxy. Pour EQUAL parts from each bottle supplied in the box into the mixing cup. For this step, prepare enough resin to add only about 1/4 inch to 1/2 inch in the bottom of the tray. I prepared 8 ounces for a 10 x 7 inch tray. Stir the mixture with the stirring stick for two minutes, scraping the sides as you go. For best results, pour the resin into a new mixing cup and stir for an additional minute with a new, clean stirring stick. Be sure to work in a well-ventilated area and wear disposable gloves.
Step Two
Next, pour the resin into the tray and let it settle until it is evenly distributed. If necessary, use the stirring stick to manipulate the resin and get it into the corners.
Step Three
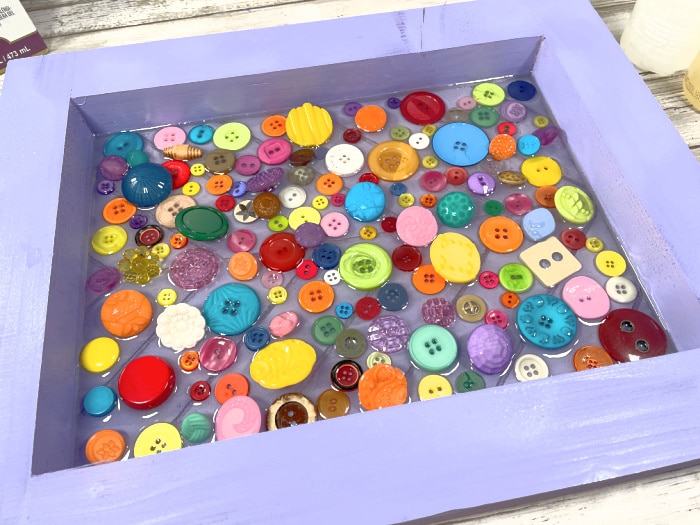
Third, place the buttons in the way that you like around the tray, setting them into the resin. NOTE – they will shift a little in the next step so be prepared for a little bit of moving them around. Let the resin set for a few hours before moving on. As a result of pouring on the buttons, they might move around. Use a stir stick to gently push them back. Up to about 15 – 20 minutes of pouring, if any air bubble rise, hold the flame from a lighter over them and they will magically disappear.
Step Four
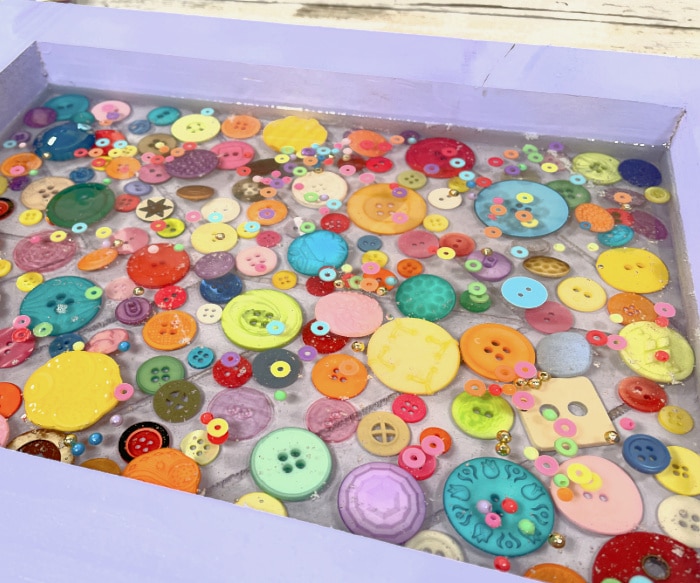
After a few hours, the buttons should be fairly secure in their placement. Next, prepare another batch of resin, this time enough to fill the tray to desired level – at the very least covering the buttons in their entirety.
Add poured resin over the buttons to the depth you would like your final tray to be. Once it has poured, add any buttons or even beads that you might want “floating” in the layer. Let the resin sit for several minutes. Lastly, use a lighter or even a heat gun to remove any air bubbles that found their way to the top. Let the resin cure overnight before adding hardware back. Finally, add hardware if needed like handles on the ends of the tray.
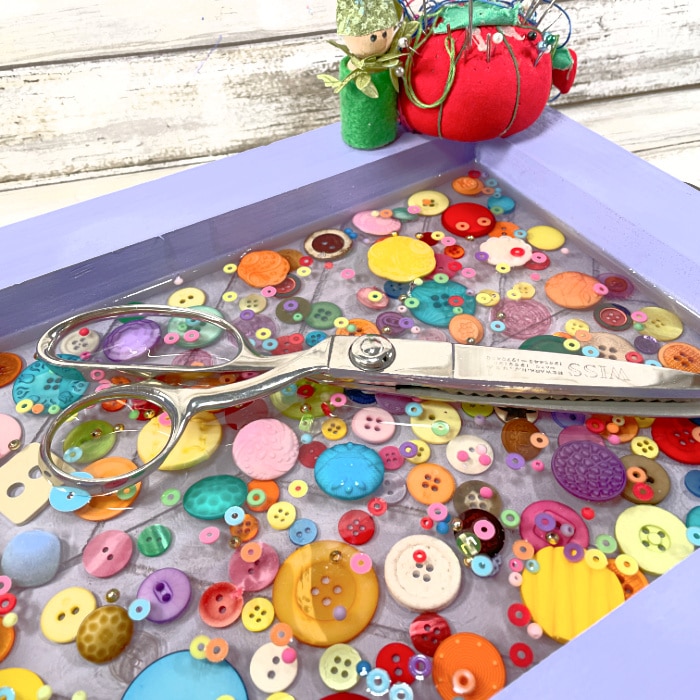
How to Use your Tray
Use the beautiful tray filled with magnificent buttons in a crystal clear setting of resin to store sewing scissors and a pin cushion. Mine are often misplaced and this will create the perfect home for them in my sewing studio. In conclusion, this is a great resin project that creates a fantastic way to save a collection like buttons.
You can find a lot of fun tray projects here.
Don’t forget to pin for later!
Laura is the DIY and Crafty guru behind her self published site Me And My INKlings. She specializes in simple, cost effective DIY home decor and stunning crafts that are great for all skill levels. Laura is well known for her whimsical designs and projects that promote and spread kindness, empowerment and happy!


Laura, this is amazing! I love it. Pinning.