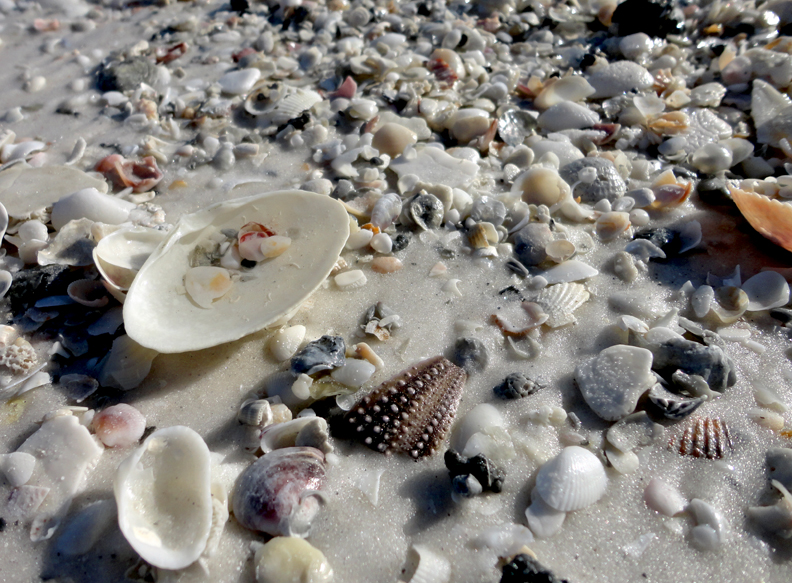
These are some of the shells I gathered in Florida last week. I love how the ocean sends you these free gifts and then arranges them in a fabulous collage.
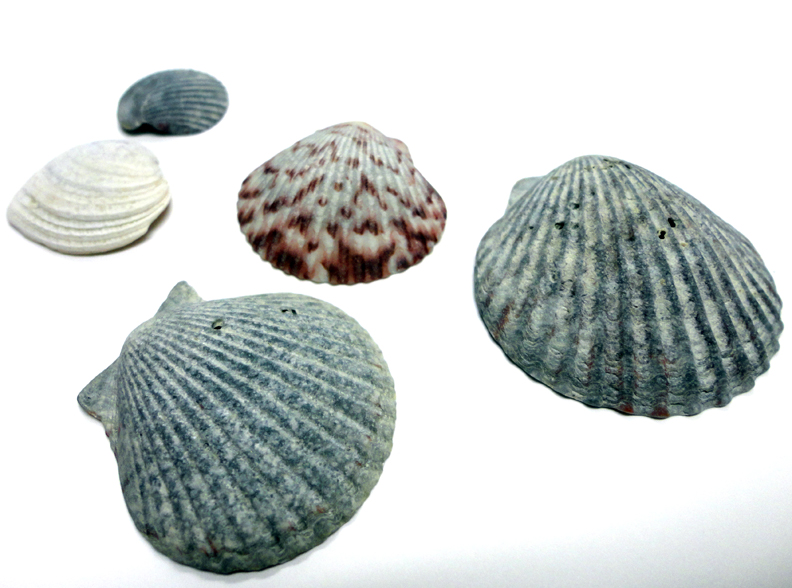
After drying in the sun however, my shells lost their “fresh out of the ocean” sheen. When they are wet they are darker and you can see more of the colour embedded into the shell’s natural design.
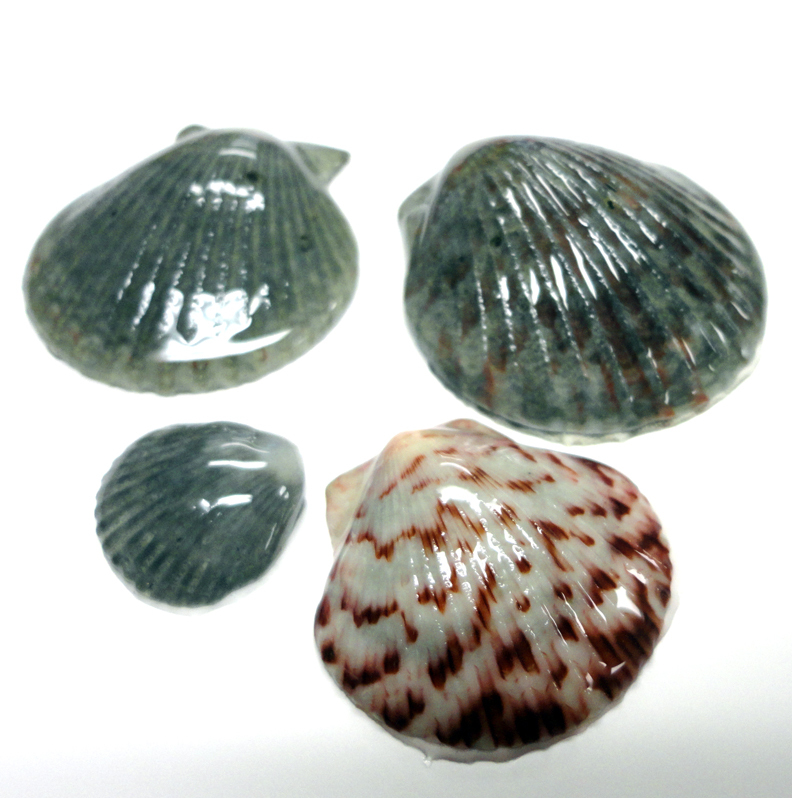
Envirotex Lite to the rescue! Here are my shells after I painted one coat of Envirotex Lite on them. This is the best glaze on the planet! My shells look permanently wet.
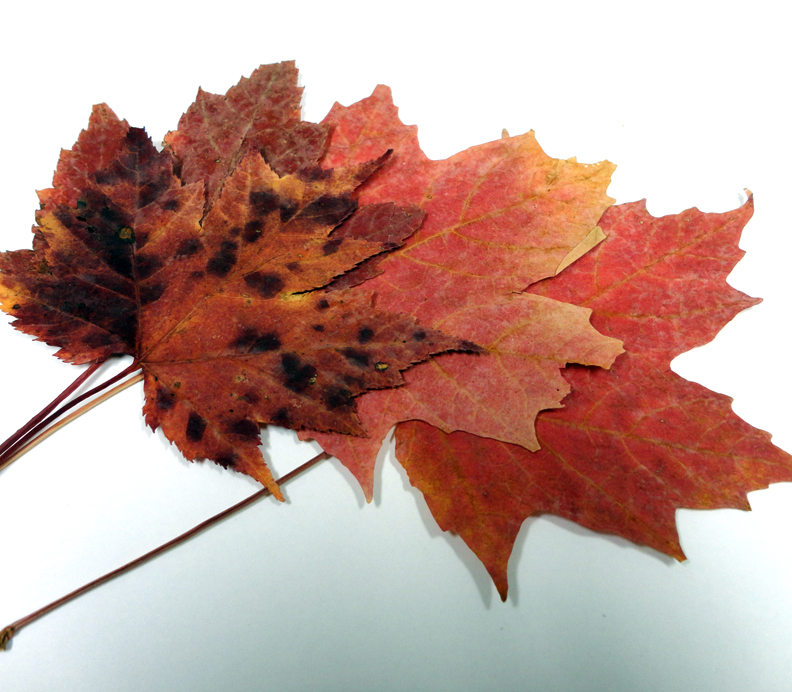
The same thing happens with dried leaves. In the fall when you select them they are bright and a little moist. The reds and oranges are bright. Dried, they loose a little of that lustre.
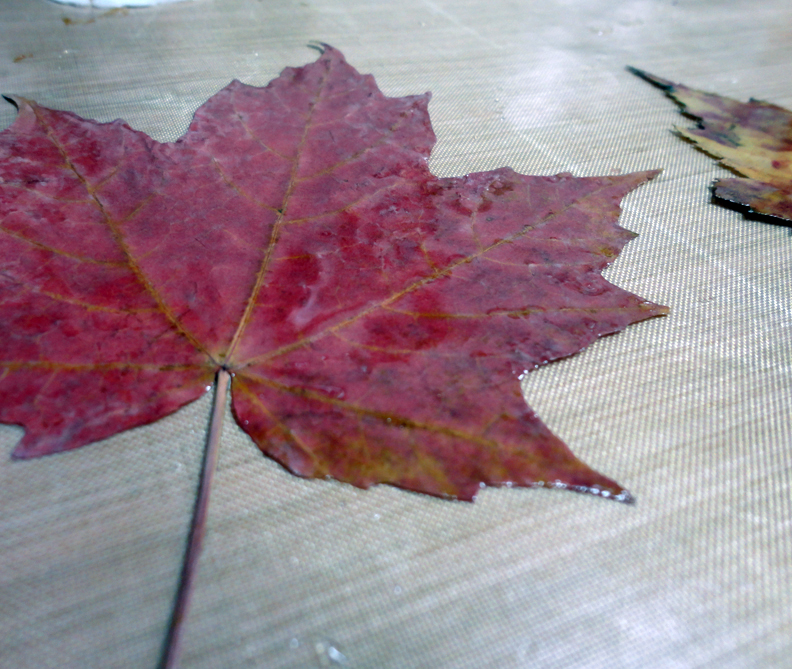
UNITIL………you guessed it!
I also coated the leaves with Envirotex Lite! You need to do both sides….and I did the front and then let it cure and then flipped it over 24 hours later to do the back.
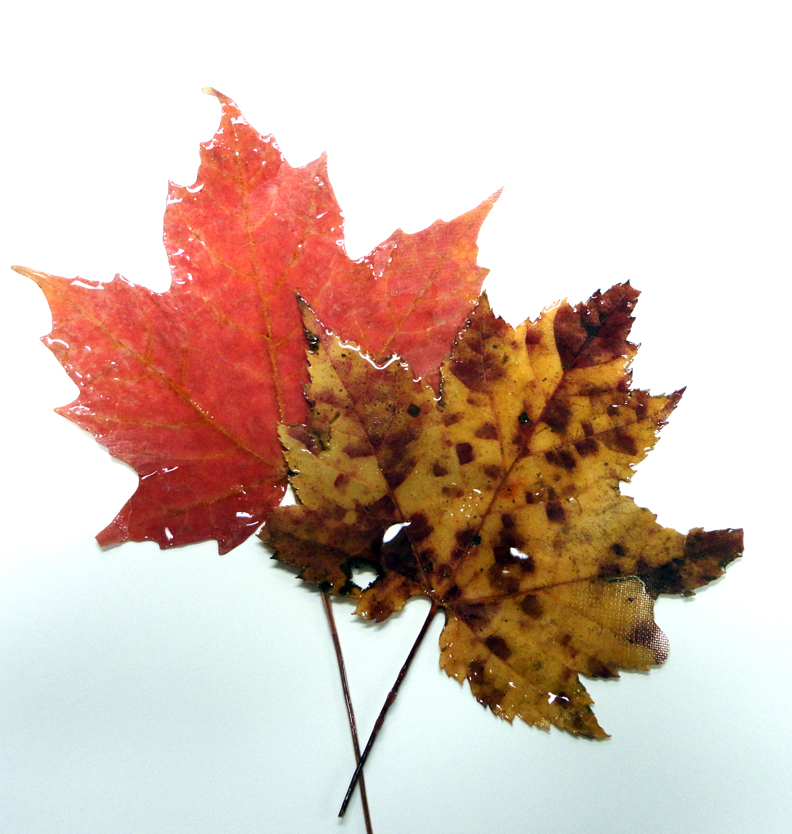
They are very strong now. They feel a little like a plastic table cloth.
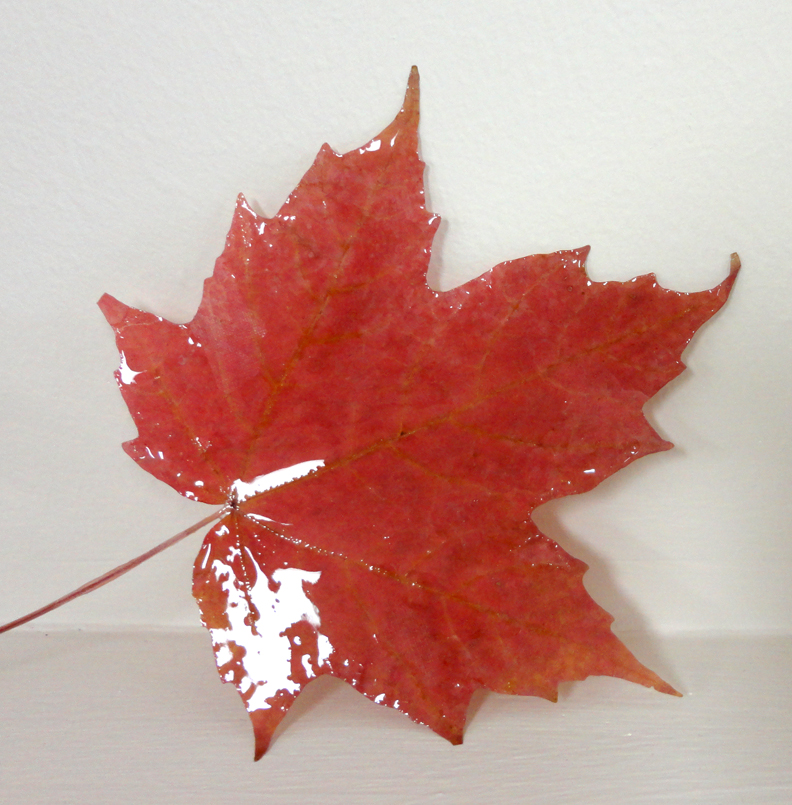
My glazed leaf can stand up without any help now! I will incorporate it into a project now.
I am still working on my special shell post…I decided to add one more layer! See you tomorrow!


Beautiful! What a wonderful idea, I can't wait to see your new project!
Awesome ideas!
Pretty rocks – same thing. When wet gorgeous, but after they dry, uck… I'll have to try the glaze! Thanks for the idea.
Hugs!
What a great idea! My Japanese red maple is losing its leaves and I was just thinking of how to make a project out of them…perfect timing on this post!
Carmi,
You have the best ideas! Someday soon I am going to make a bunch of resin projects. I know that I can come here for tips when I do.
Hi,
Dawn sent me over here and I'm glad she did.
Love what I see and I've become a follower!
Creative hugs,
Anna
It was a fun week! Hope you enjoyed all the shell and leaves posts!
Very awesome! I just love all the fun ideas you come up with!
http://pearspalette.etsy.com
I have been pouring over your resin ideas all day. I just love this website! So many wonderful inspiring ideas! I was wondering, would it work to encase a fresh flower or leaf in resin? I see you are using dried flowers/leaves, but do they have to be dried? Also, where do you get the non-stick mat? Thank you for all the wonderful ideas!
I use a silicone pastry par it works great
I am sorry DE Neilley your reply was deleted by accident…Bobkittymtn DE Neilley mentioned she has heard using fresh flowers sometimes rot even under the resin, this is something I have not tried…I have only used dried or silks. You can get a non stick craft mat at most craft stores, even in some hardware stores they sell them to use in the bottom of ovens.
Do you think this product would work to preserve leaves to then make into jewelry?
Hi MrsAG, You may have to dry the leaves first before encasing in resin.
These look cool! Going to have to try this too!
I pressed/dried leaves and lay them on wax paper and applied resin with a brush. Big mistake. They stuck to the paper and tore. How do I avoid this?
Bummer! For best results you want to apply resin onto an elevated surface and prime the areas that will touch the resin with mold release spray if you can.
thanks for the great article, keep up the good work