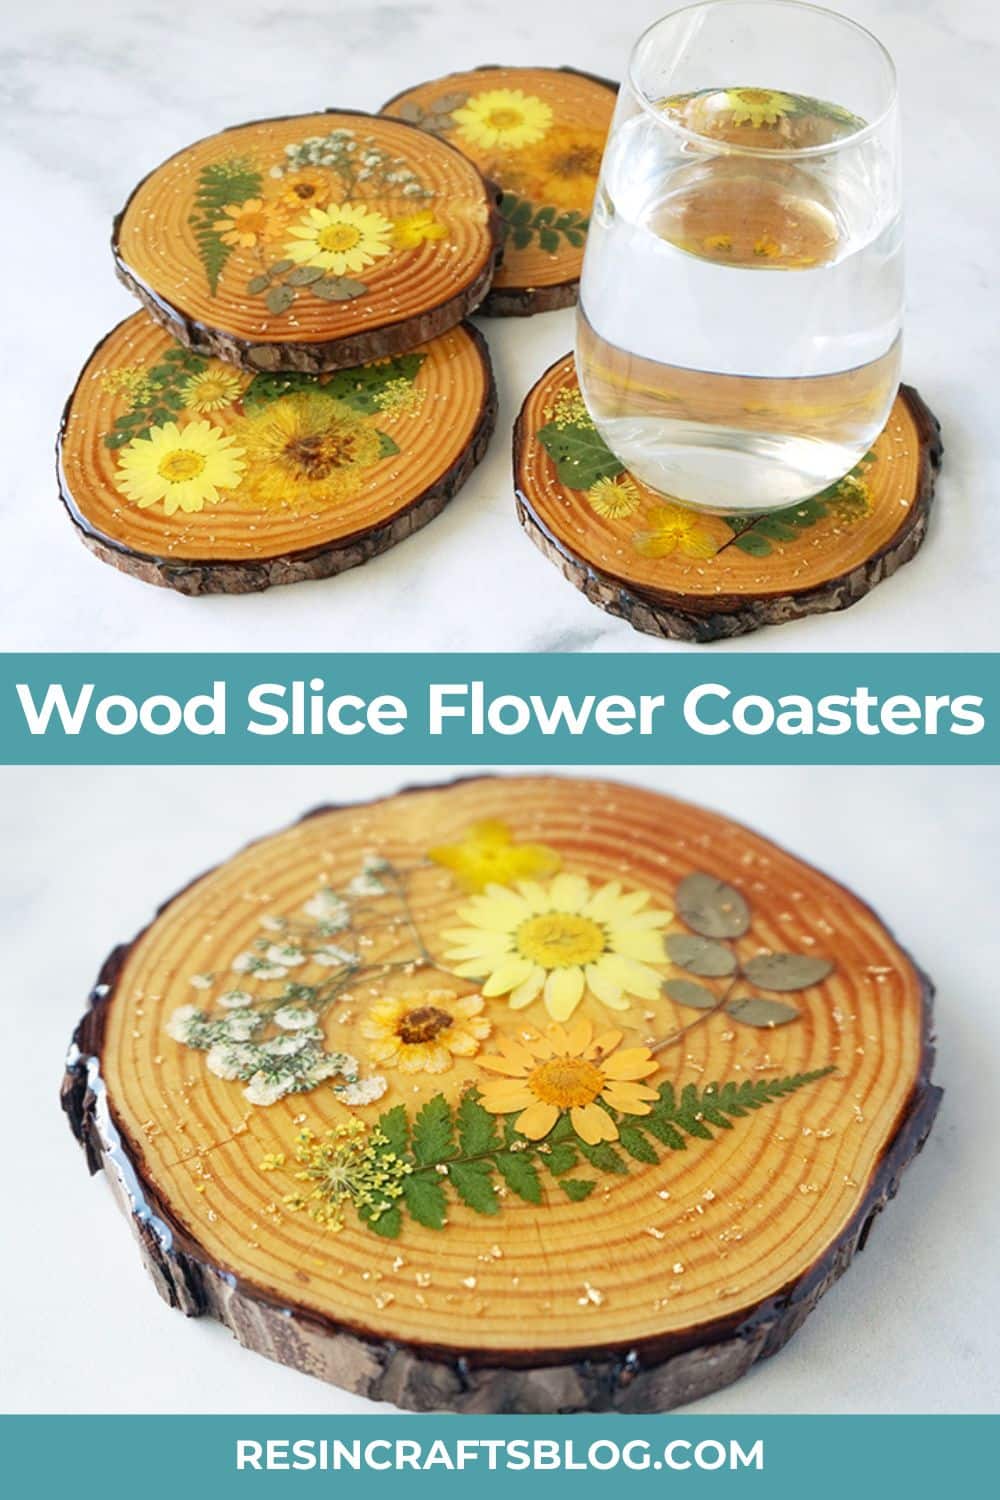
Seal pressed flowers to rustic wood slices using resin to create a set of Wood Slice Flower Coasters!
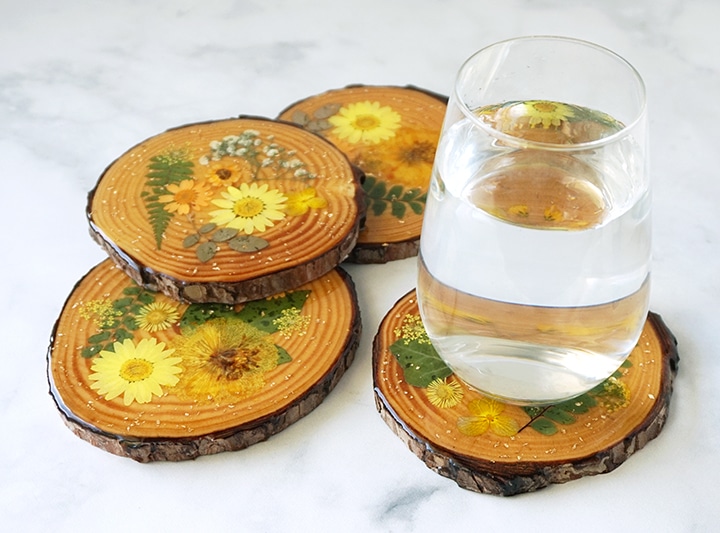
Hello, Resin Crafters! Lindsay from Artsy-Fartsy Mama here with a new resin project for you to try. Did you know that you can preserve natural items in resin? These beautiful coasters are made using real wood slices and pressed flowers and then sealed using Alumilite Amazing Clear Cast to will bring a touch of natural beauty into your home. Coasters are one of my favorite things to make using epoxy resin, and this set of Wood Slice Flower Coasters is such a simple project that resin crafters of any skill level can complete with confidence!
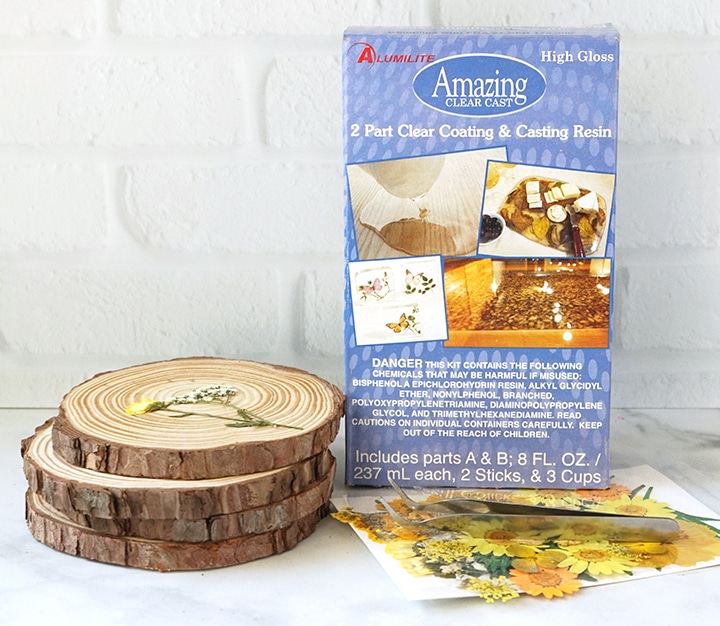
TO MAKE YOUR OWN WOOD SLICE FLOWER COASTERS, YOU WILL NEED THESE SUPPLIES:
- Alumilite Amazing Clear Cast
- Mixing cups and stirring sticks
- Disposable Gloves
- Amazing Sealer
- Resin Spray and Sealer
- Sandpaper
- Tweezers
- 4″-5″ Natural Wood Slices
- Pressed & Dried Leaves and Flowers
- Gold Foil Flakes (optional)


Safety first! Before you start working with resin, make sure that you’re wearing protective eyewear and gloves, cover your workspace or use a silicone mat in case of spills, and be sure to work in a well-ventilated area.
How to Make Pressed Flower Wood Coasters with Epoxy
PREP WORK:
Dry your own flowers or purchase pressed flowers to complete this project. To keep your flowers looking bright and beautiful on your coasters, spray the dried flowers with Resin Spray and Sealer, and let the sealer dry completely. This will seal the flower’s surface to maintain the color, and it also helps keep the flowers sturdy enough to handle when you add them to the coasters.
Sand the surface of the wood slices so that they are as smooth as possible. Be careful not to sand the edges – the bark adds beautiful character to the finished pieces! Apply 3 light coats of Amazing Sealer to the top surface of the wood coasters and allow to dry fully between coats. This will prevent the epoxy from seeping into the wood slice and discoloring it and/or creating an uneven surface. I didn’t seal prior and you can see the areas where the resin seeped into the wood a little.
STEP 1:
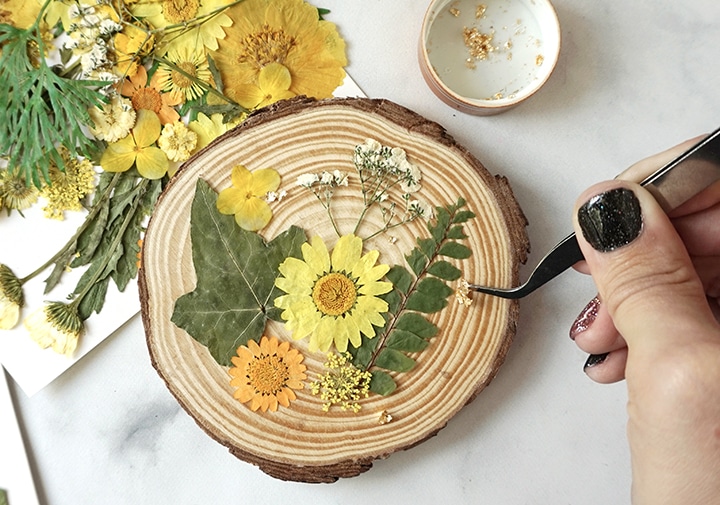
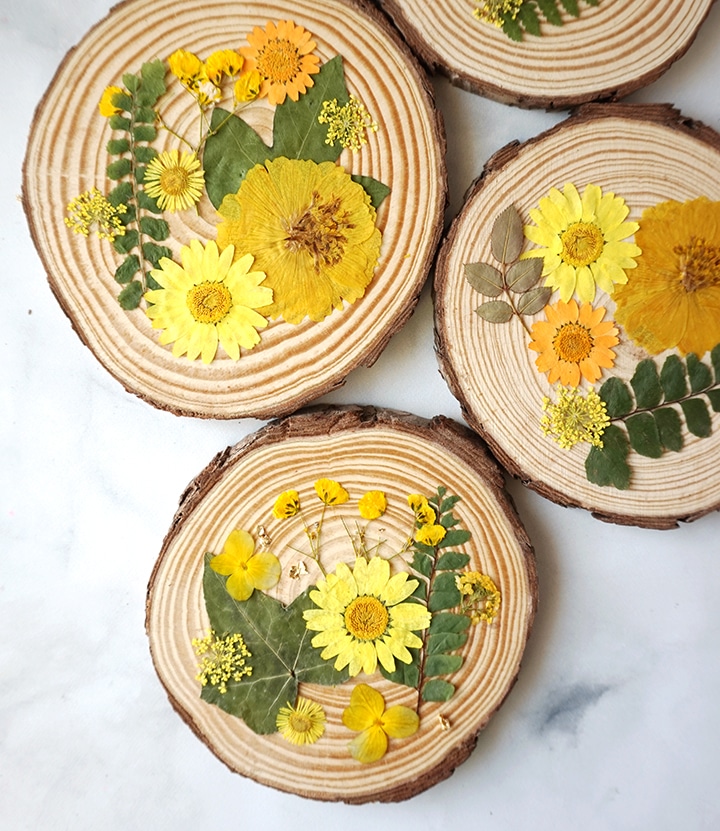
Place the wood slice in the center of your workspace and move your dried flowers close by. Use tweezers to carefully place the leaves and flowers on the top of the wood, and arrange them to your liking. Have fun combining different shapes, colors, and sizes. The dried flowers and leaves are very delicate, so work carefully and stay away from any kind of breeze!
STEP 2:
Repeat the process to arrange the dried items on each of the coasters. As long as you work slowly and carefully, the flowers and leaves will stay in place just fine. You can also add a little more Amazing Sealer to surface to help them stay put if you’d like.
STEP 3:
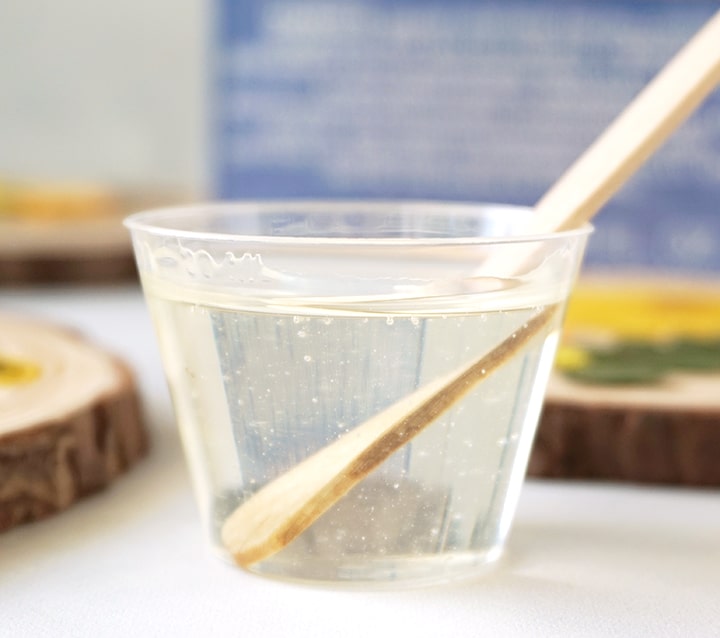
After measuring, mix Alumilite Amazing Quick Coat according to package directions. Pour in equal parts resin and hardener into a mixing cup. Stir the mixture together SLOWLY with a stir stick for 2 – 3 minutes. If the resin still has streaks running through it, keep mixing until it becomes clear.
STEP 4:
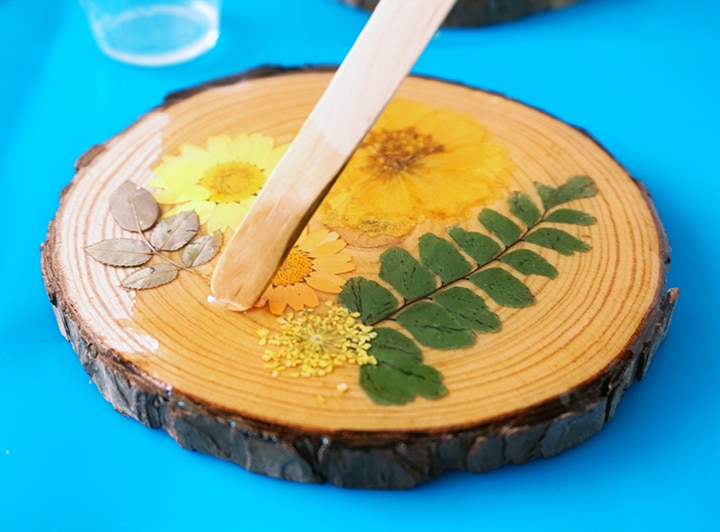
There is a good chance that some epoxy will leak down through the bark edges, so be sure to work on a silicone mat or a similar surface to catch spilled resin. Use a stir stick to add epoxy over the flowers and to carefully spread the epoxy to the edges of the coaster. To help prevent epoxy from going over the sides, use the stir stick to add a little epoxy “border” around the top edges, and then fill in the center last. Carefully pull the resin in the center to meet the outer border.
Amazing Clear Cast is self-leveling, so you don’t need to worry about any high spots. Using a stir stick instead of dumping all the resin at once helps to prevent too many bubbles from getting trapped in the resin and flowing over the sides. It should take about 10ml to completely cover the surface of the coaster.
STEP 5:
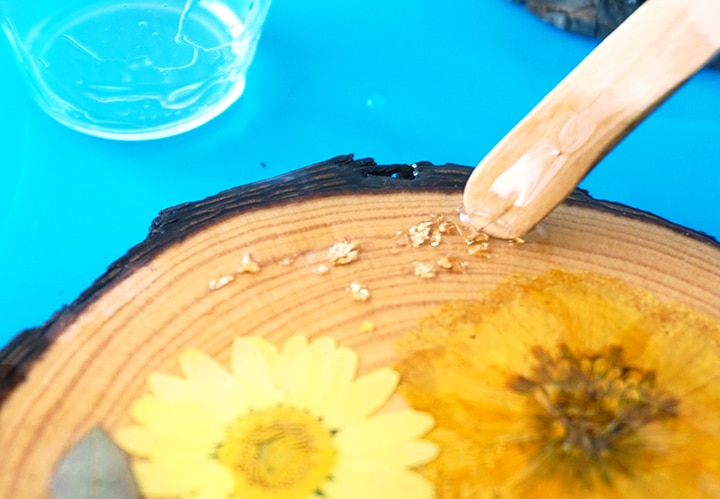
For a bit of shimmer, I added some gold foil flakes to the resin. Use your tweezers to grab a small piece of foil and drop it into the outer border of the coaster. Use the stir stick to poke and break the foil up into smaller pieces, and then carefully spread those pieces evenly around the coaster. Add as much or as little foil as you’d like!
STEP 6:
Check on the tumbler for bubbles after about 15 minutes. If there are any air bubbles visible, use a heat gun or kitchen torch to pop them. Check the tumbler periodically for the first hour or so for drips along the top and remove with a stir stick.
STEP 7:
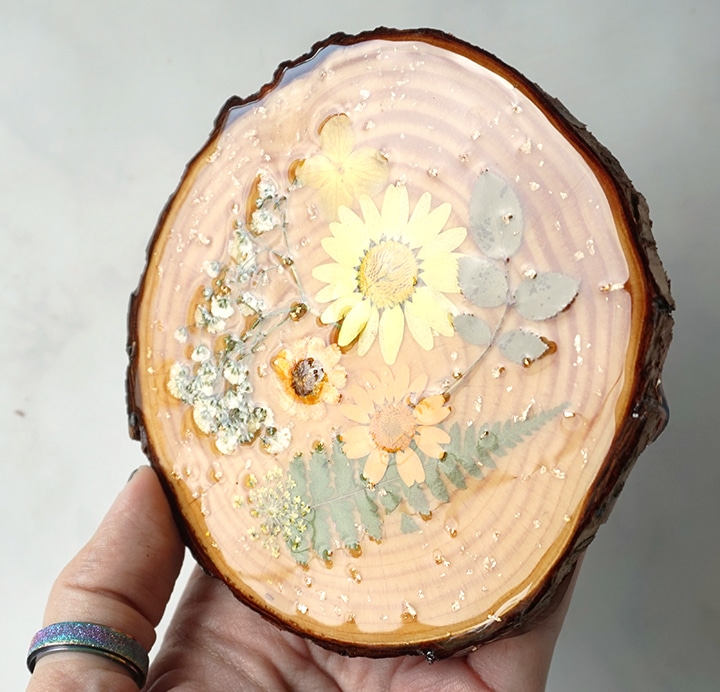
After my coasters were cured, I noticed that a couple of them had some flowers with higher spots poking through. The resin does self-level, but if you have an uneven surface (like different sized flowers), you will get this result. You can see what I mean in the image above. When I held the coaster in the light, and you can see the uneven areas in the glare. If you have this problem with your projects – don’t panic! It’s totally normal and can be easily fixed.
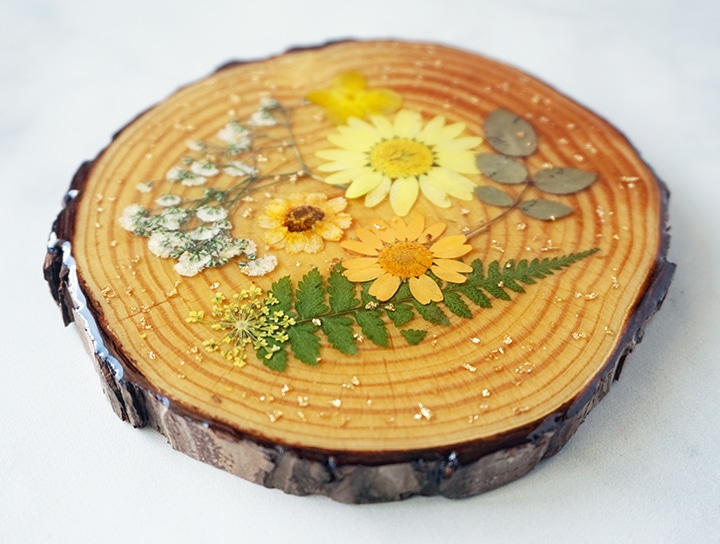
Prepare another 5ml of Alumilite Amazing Clear Cast for each coaster. Slowly pour it on top of the coaster and use a stir stick to bring it to the edges. Let the resin “rest” for 5-10 minutes and let the bubbles rise to the top. Use a butane torch, blow through a straw, or spritz the resin with alcohol to remove surface bubbles. Leave the coasters to cure in an undisturbed area for at least 12 hours. You will know that the resin is cured when the surface is no longer tacky.
STEP 8:
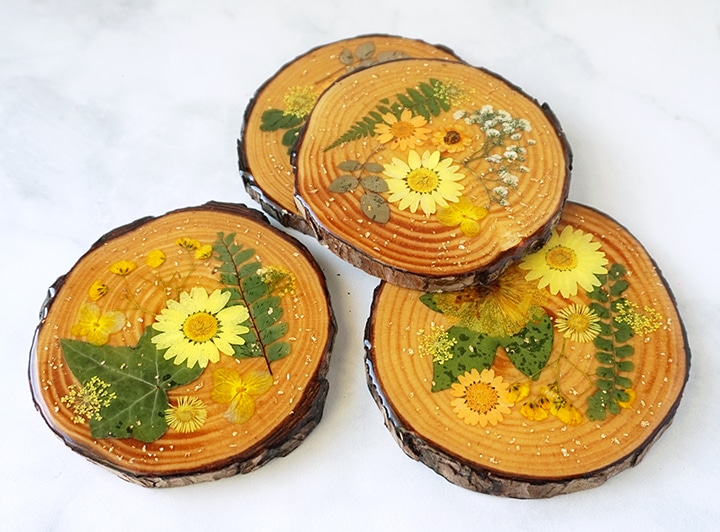
Once the coasters have cured, remove them from your silicone mat. Even though I was careful to not get any resin over the edges of the coasters, I still had some resin seep through the bark and puddle around the bottom edges. Use sharp craft scissors or a craft knife to carefully cut the excess resin away from the coasters. This is much easier to do if the resin is still pliable, but is still doable if the resin has completely hardened. Be careful to not cut yourself or scratch the surface of the coasters during the process!!
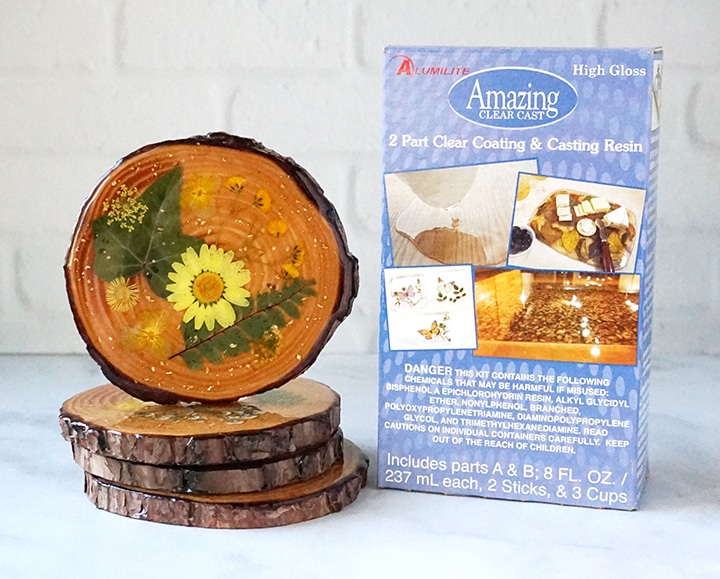
If you want, you can cut a piece of felt and attach it to the bottom of the coasters using your favorite adhesive to help protect your table. The coasters are now ready for use or to give as a gift. Either way, this is such a unique and eye-catching piece of decor that really makes a statement in any part of your home. One of my favorite things about working with natural items like this is that there are so many different variations to make each Wood Slice Flower Coaster unique!
As always, I would love to hear what you think about this set of Wood Slice Flower Coasters! Be sure to check out these other resin flower tutorials for more inspiration, and share your own creative resin projects in the ETI Facebook Group and be sure to tag us @resincraftsblogbyeti when you share on IG!
Like this project? Don’t forget to Pin, Like, and Share!
Lindsay is a crafter, graphic designer, and glitter enthusiast from Utah. She’s passionate about homeschooling her creative daughter, traveling, and spending time in the craft room. Lindsay shares DIY project tutorials, printables, recipes, kids crafts, and more on her blog, ArtsyFartsyMama.com, where she inspires readers to live a creative life.


Leave a Reply