Create a beautiful resin leaves wall hanging with Table Top Epoxy and either real or faux leaves!

Hey Resin Crafters! Amber Oliver here with another great resin craft. For this project I had the chance to try Pro Marine Table Top Epoxy. I wanted a clear, strong coating to go over some beautiful leaves and this stuff delivered! I used faux leaves for my project because we don’t get gorgeous fall foliage in Houston, TX but this would work PERFECTLY to preserve autumn leaves.

SUPPLIES NEEDED FOR RESIN LEAVES WITH TABLE TOP EPOXY
- 4oz of Pro Marine Table Top Epoxy
- Leaves (real or faux!)
- Brush
- Mixing Cups
- Stir Sticks
- Gloves


Step 1: First, prepare the Pro Marine Table Top Epoxy. This is a multi-step process so don’t start mixing until you are ready to do the whole process from beginning to end! Start by mixing EQUAL parts of the Hardener and the Resin.
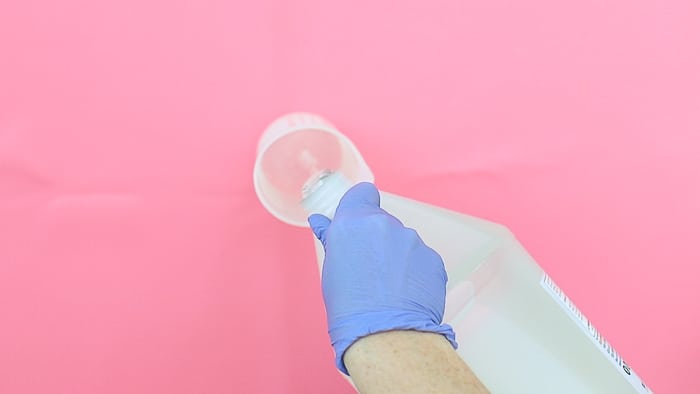
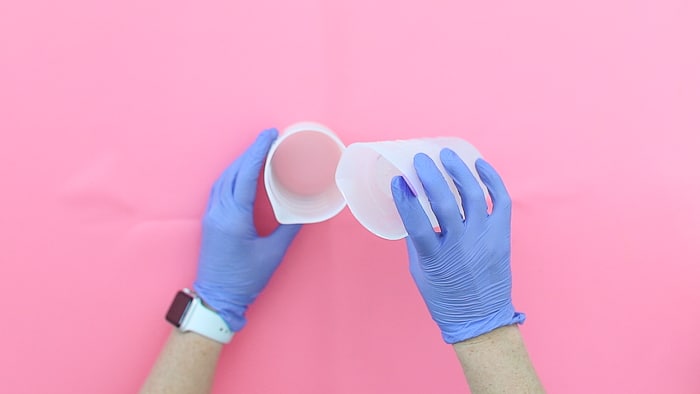
Stir for two minutes (be sure to scrape the bottoms and sides) then pour from the first cup into a second and mix with a new stir stick for another minute (or until there are no swirls visible).
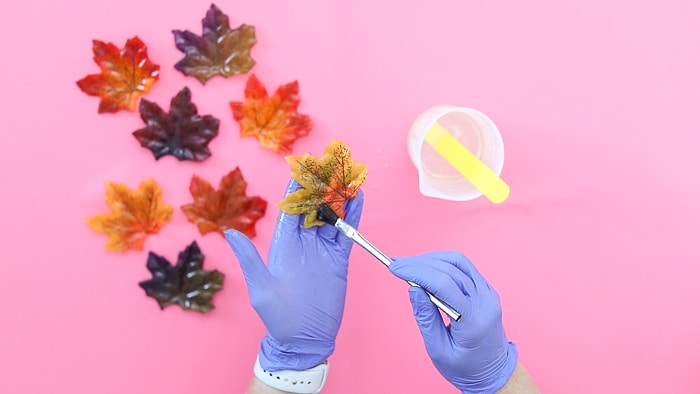
Step 2: Once the resin is ready, use a brush to “paint” on an epoxy coating! Place the leaves on a silicone mat to cure.
Step 4: Allow the resin to cure for 24 – 72 hours (climate dependent).
Step 5: Once the leaves are ready, make a hole in the top and bottom of each leaf.

Step 6: Use clear filament or fishing line to string several leaves onto it.

Step 7: Tie the hanging leaves onto a thin board.

You can use this as a wall hanging or do like I did: paint the board white and set on the top of your window molding. It blended in perfect and the leaves looked so beautiful hanging in front of the window! It would make a beautiful fall mantle garland as well.

Another ideas is to use double sided tape to suspend from the ceiling above your table. This would be a beautiful addition to your thanksgiving tablescape! The epoxy coating creates a beautiful finish that shines in the light. It would also perfectly preserve the leaves had I used real ones!

I didn’t have any trouble with air bubbles in this project! If you do, you can always use a straw to blow onto the surface and pop them. Also, Pro Marine Table Top Epoxy is self leveling so it spread nicely and evenly onto the leaves.

I hope this project inspires you to create your own resin leaves for a wall hanging or any other use you can think of!

How would you use your resin coated leaves? Let us know in the comments or tag us @resincraftsblogbyeti when you create your own!
Amber Oliver is a DIY and lifestyle blogger who shares easy DIY tutorials, colorful crafts, and more on her blog, Amber Oliver. She’s a native Oklahoman living “in the loop” in Houston, TX with her husband and dog. She’s an avid reader, world traveler, loves Tex Mex food, and creating everything from woodworking projects to websites. She focuses on budget friendly projects for the home and empowering women to try new things.


Awesome idea for our pretty maple leaves. thanks.
Thank you! Good luck with your project 🙂
when painting real leaves do you pain just one side or both front and back?