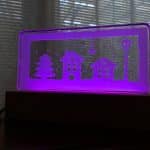
Light Up Resin Christmas Village
Amber Oliver here with another great resin craft! I have another resin and lights craft this time. This project is a beautiful Christmas project, but like with almost all the projects you'll find here - it could easily be customized!
Materials
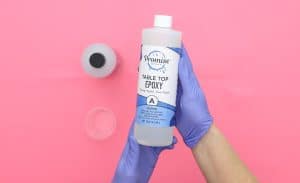
- 6 oz Promise Table Top Epoxy Resin
- Stencil Sheets
- Wooden Lamp Display Bases
- Mixing Cups
- Stir Sticks
- Nitrile gloves
- Scissors or X-Acto Knife
Instructions
- Cut out your winter or Christmas village scene by hand or with a cutting machine.

- Prepare Promise Table Top Epoxy Resin. Mix equal parts of resin and hardener together for two minutes, then pour from the first cup into a second cup and mix with a new stick for another minute. Mix until there are no swirls visible.
- Pour a small amount into your mold to cover the bottom, then use a heat gun to remove bubbles.
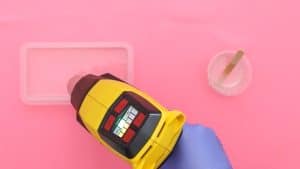
- Gently press the stencil sheet with your design into the resin.

- Pour a small amount of resin over the top to cover the design. Don't pour too thick as you'll want the finished piece to fit in the slot on the light-up wood base.
- Use the heat gun once more to remove any more bubbles that rise up. Allow the resin to cure for 24—72 hours.