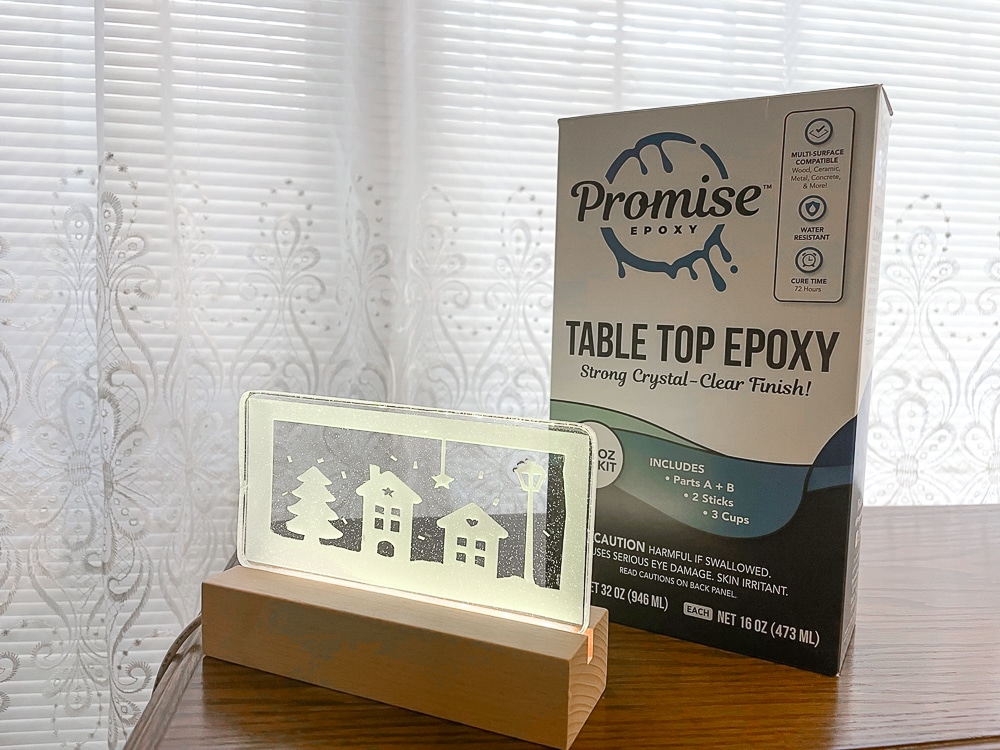
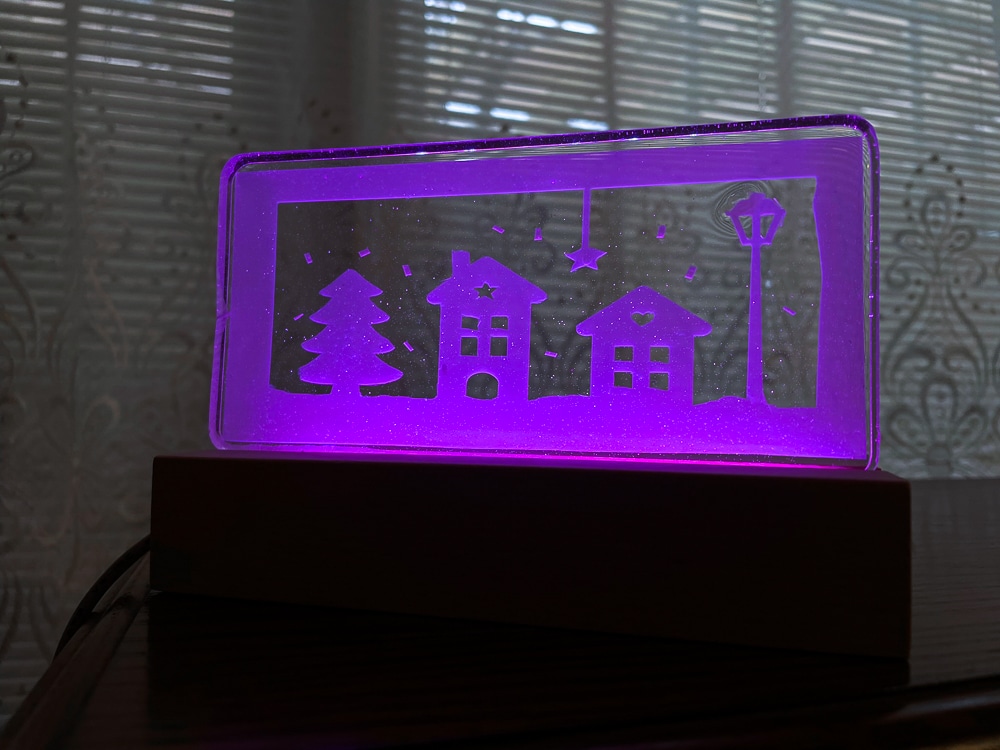
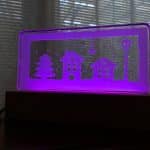
Create a custom resin Christmas village scene with Promise Epoxy and stencil sheets, illuminated by a light up wooden base!
Hey Resin Crafters! Amber Oliver here with another great resin craft! I have another resin and lights craft this time. This project is a beautiful Christmas project, but like with almost all the projects you’ll find here – it could easily be customized!

Light Up Resin Christmas Scene
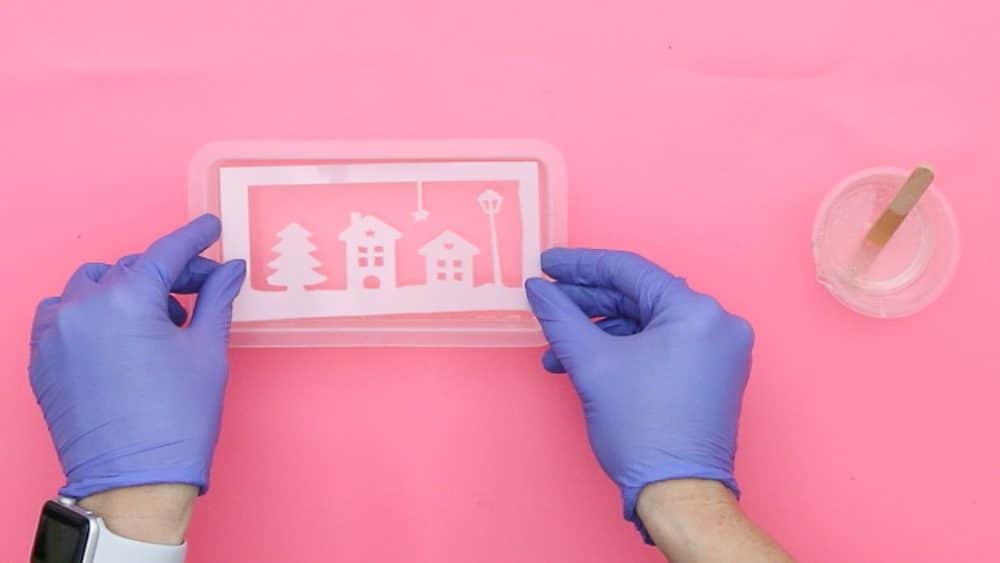
For this project I found a cute winter scene that gave me Christmas vibes in Design Space for my Cricut machine. You could also doodle your own design on the stencil sheet and cut with scissors and xacto knife if you don’t have a Cricut.
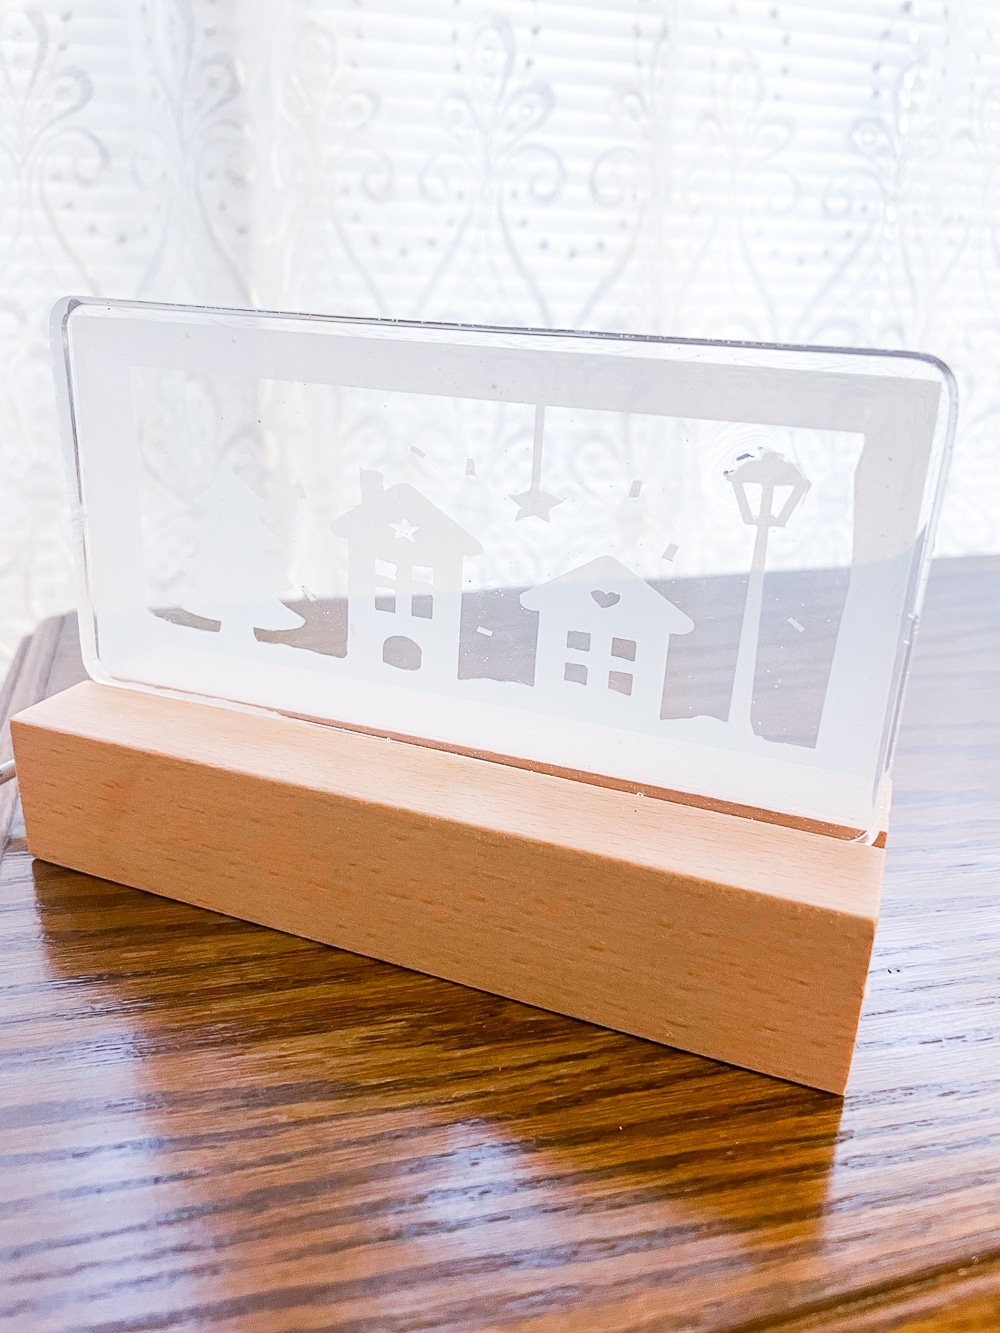
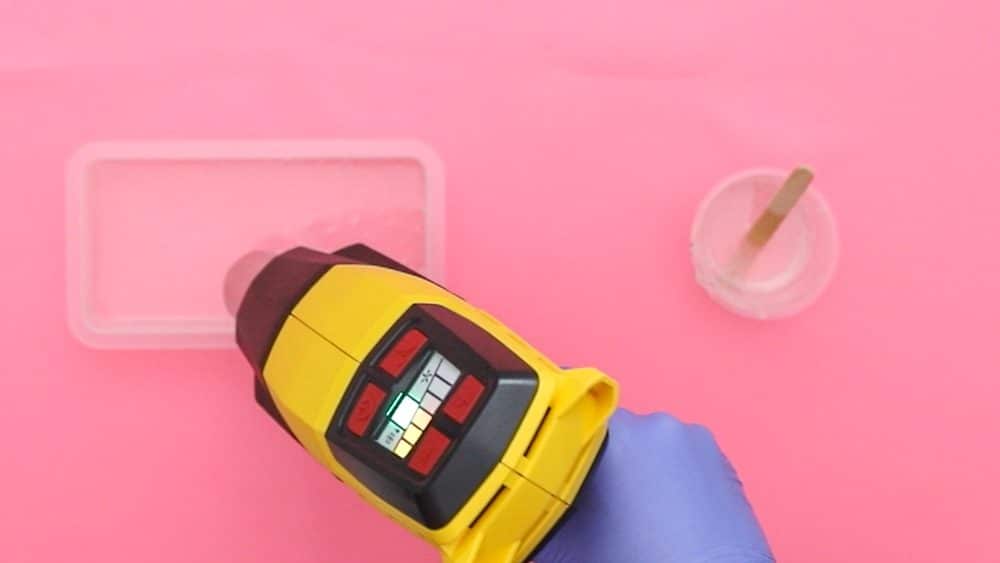
After cutting my design with my Cricut Maker and knife blade, I prepared the Promise Epoxy. I knew for this project I’d want crystal clear resin so my design would pop. Using a heat gun got the majority of the bubbles out, but I decided to leave a few so it would look like snow falling! I love how it turned out!
SUPPLIES NEEDED FOR RESIN CHRISTMAS VILLAGE

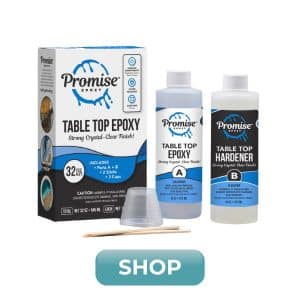
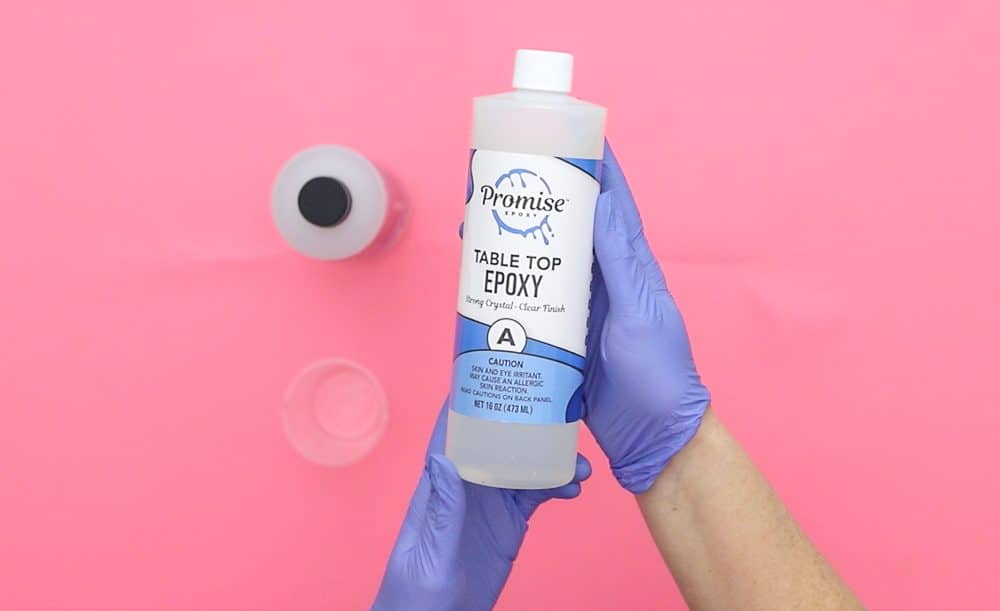
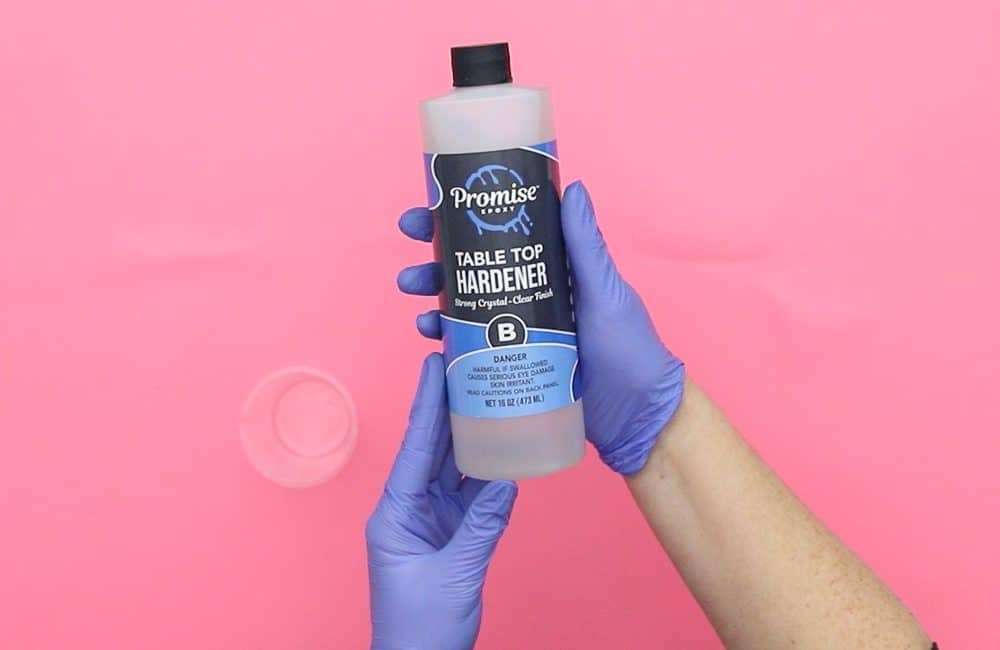
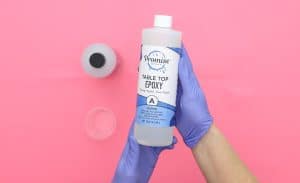
- 6oz of Promise Epoxy Table Top Epoxy
- Stencil Sheets
- Wooden Lamp Display Bases
- Mixing Cups
- Stir Sticks
- Gloves
- Scissors or Xacto knife
Epoxy Snowy Village Scene Instructions
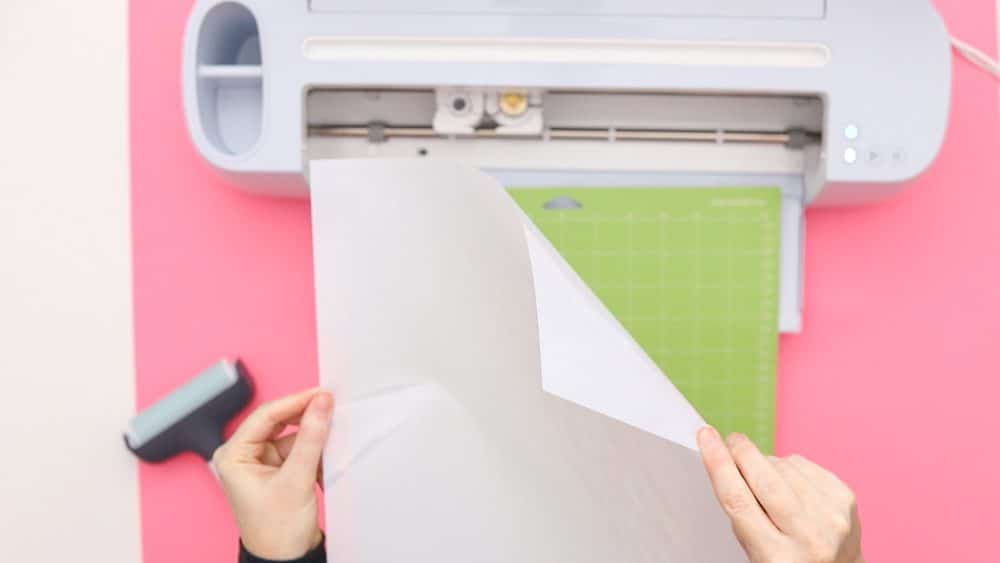
Step 1: Cut out your winter or Christmas village scene by hand or with a cutting machine.

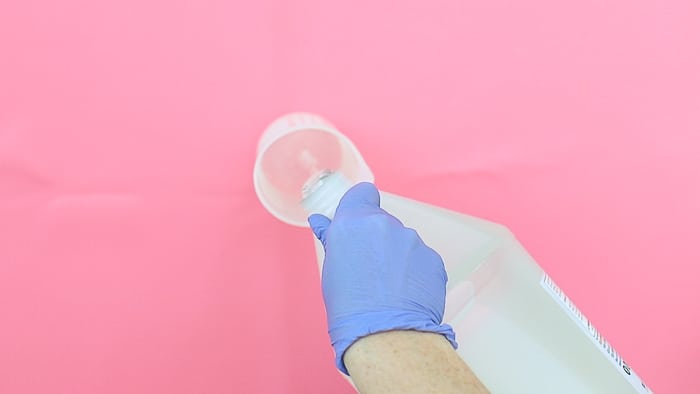
Step 2: Prepare the Promise Epoxy Table Top Epoxy. This is a multi-step process so don’t start mixing until you are ready to do the whole process from beginning to end! Start by mixing EQUAL parts of the Hardener and the Resin.
Stir for two minutes (be sure to scrape the bottoms and sides) then pour from the first cup into a second and mix with a new stir stick for another minute (or until there are no swirls visible).
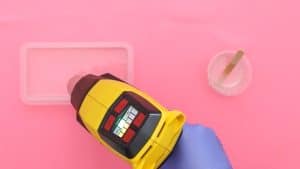
Step 3: Pour a small amount into the mold to cover the bottom.
Step 4: Use a heat gun to remove bubbles.
Step 5: Gently press the stencil sheet with your design into the resin.
Step 6: Pour a small amount of resin over the top to cover the design. Don’t pour too thick as you’ll want the finished piece to fit in the slot on the light up wood base.
Step 7: Use the heat gun once more to remove any more bubbles that rise up.
Step 8: Allow the resin to cure for 24 – 72 hours (climate dependent).
Once your project has completely cured, you can remove it from the mold. Sometimes the edges have a little “lip” on them. If you see that, use an xacto knife to trim away any of the excess resin. This will help your design fit snuggly in the light up base!
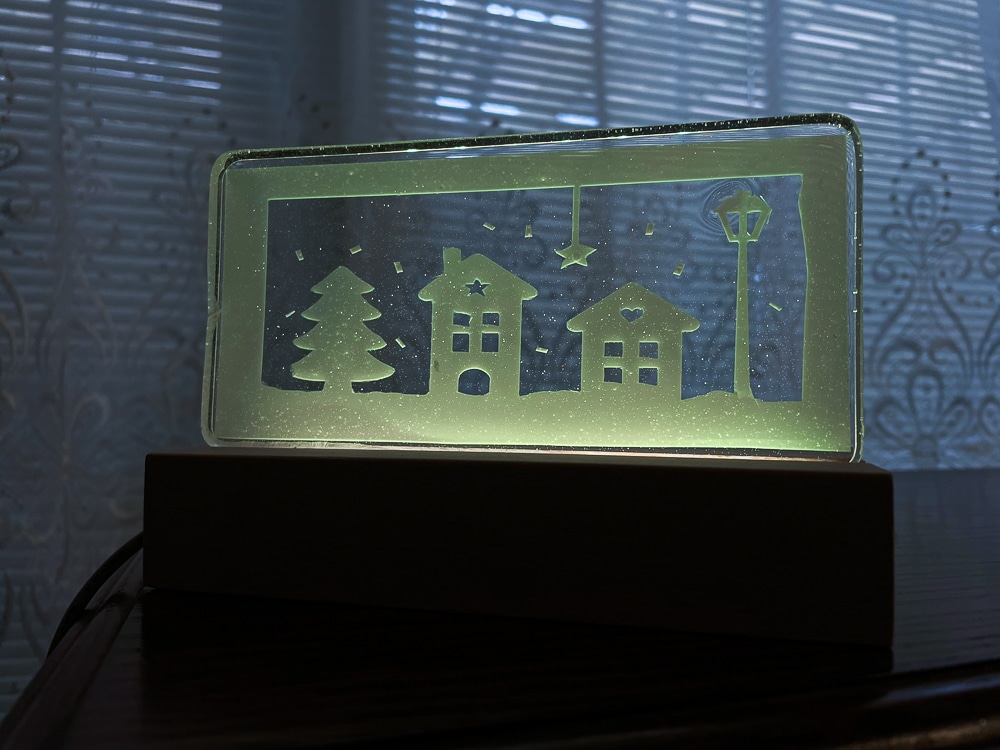
I love that the base I found has several different colors. As mentioned, I did a holiday design for mine project, but you can do anything you want! Make a custom night light or any other holiday decoration you want!
Light Up Resin Christmas Village
Materials
- 6 oz Promise Table Top Epoxy Resin
- Stencil Sheets
- Wooden Lamp Display Bases
- Mixing Cups
- Stir Sticks
- Nitrile gloves
- Scissors or X-Acto Knife
Instructions
- Cut out your winter or Christmas village scene by hand or with a cutting machine.

- Prepare Promise Table Top Epoxy Resin. Mix equal parts of resin and hardener together for two minutes, then pour from the first cup into a second cup and mix with a new stick for another minute. Mix until there are no swirls visible.
- Pour a small amount into your mold to cover the bottom, then use a heat gun to remove bubbles.
- Gently press the stencil sheet with your design into the resin.

- Pour a small amount of resin over the top to cover the design. Don't pour too thick as you'll want the finished piece to fit in the slot on the light-up wood base.
- Use the heat gun once more to remove any more bubbles that rise up. Allow the resin to cure for 24—72 hours.
Amber Oliver is a DIY and lifestyle blogger who shares easy DIY tutorials, colorful crafts, and more on her blog, Amber Oliver. She’s a native Oklahoman living “in the loop” in Houston, TX with her husband and dog. She’s an avid reader, world traveler, loves Tex Mex food, and creating everything from woodworking projects to websites. She focuses on budget friendly projects for the home and empowering women to try new things.


Leave a Reply