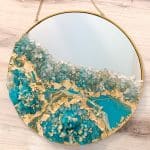
Resin Geode Wall Mirror
Create an epoxy resin geode wall mirror for a dazzling, one of a kind piece of functional art that catches anyone's eye who passes by!
Materials
- Promise Table Top Epoxy Resin
- Mixing cups and Stir sticks
- Color Creator Pacific Gift pack mica powders
- Mirror base
- Gloves
- Safety glasses
- Larger crystal pieces which you can also cast on your own
- Crystal molds if you’re casting your own
- Smaller bulk crystals or stones
- Glitter if you want to add lines of glitter resin
- POSCA paint markers
Instructions
- On the back of the mirror, set up tape around the edges to prevent bleed-over from the front. Then, you can flip your mirror back over. Clean off the surface of your mirror with some isopropyl alcohol.
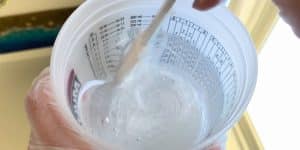
- Next, you’ll want to mix your epoxy. Promise Table Top Epoxy is a one-to-one by volume formula, so you combine one part Side A and one part Side B. Mix carefully together with a flat stir stick, and scrape the sides and bottom. You want to avoid introducing as much air to the mixture as possible to prevent more bubbles down the line. Additionally, you want the mixture thoroughly combined, without any swirls or striations.
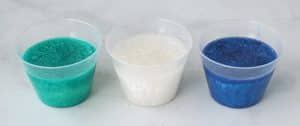
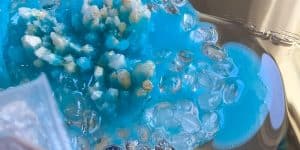
- Once mixed, divide your epoxy resin among the colors you're using. Use a cup for each different color, and thoroughly mix in whatever colorant you purchased.
- Group your resin and crystals on the surface of the mirror. Mix additional smaller crystal and stone pieces with resin to place around the larger crystals. You can use utensils like popsicle sticks to carefully arrange them.
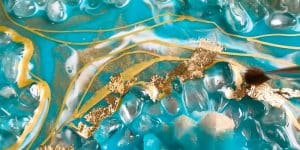
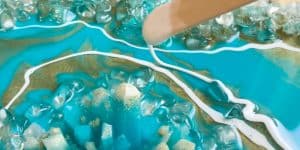
- Add drizzles of white, gold and whatever colors you like to create dimension.
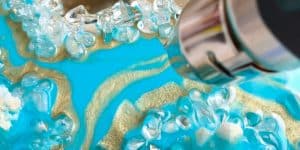
- Use a heat gun to blow the resin around and create more movement and waves in the lines, and also to pop any bubbles that rise to the surface after about 15 - 20 minutes. Allow 24 - 48 hours to the mirror to cure (climate dependent).
- Once cured, use a paint marker to create additional thin layers in accent colors. Once you finish, you can cut off any excess with an X-Acto knife or scissors.
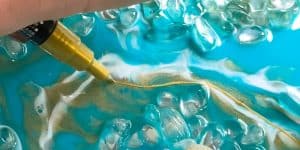
- Add gold foil for an extra shine and dimension. Use a paintbrush dipped in resin to delicately apply the pieces in the amount/pattern of your choosing.