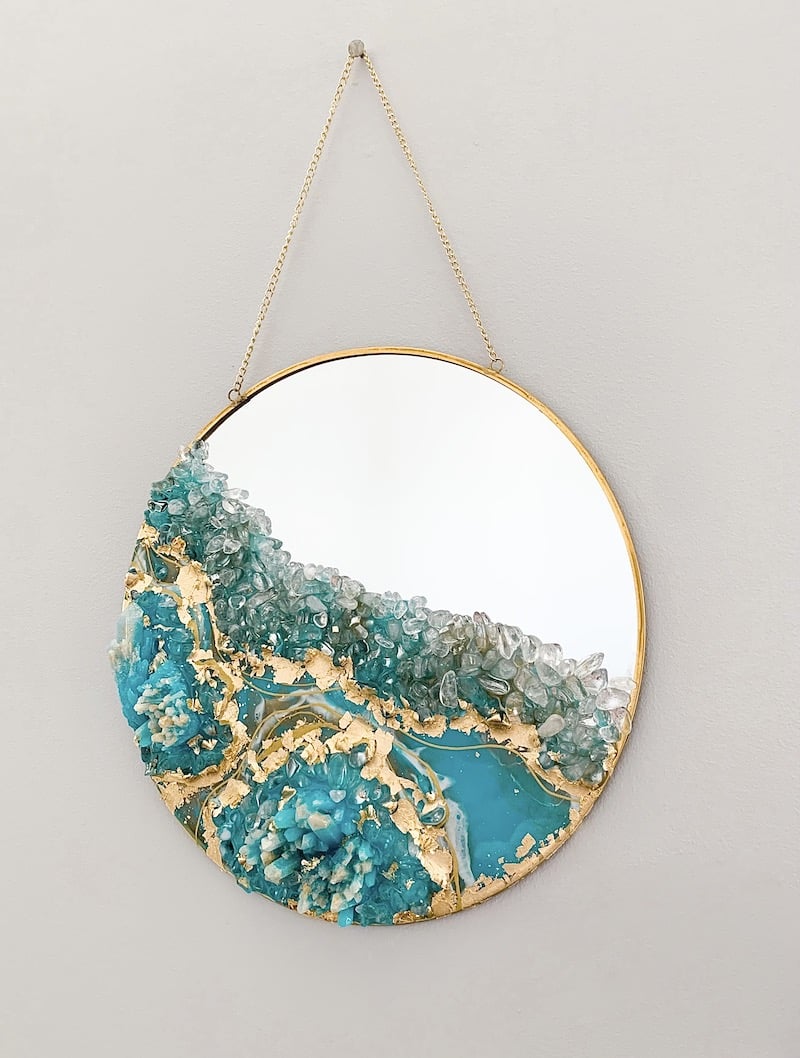
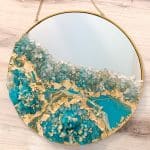
Create an epoxy resin geode wall mirror for a dazzling, one of a kind piece of functional art that catches anyone’s eye who passes by!
Follow along as we guide you through making your own one-of-a-kind customizable geode art wall mirror. If you’d rather watch a video on the process, you can view it below, and you can also find a printable instruction card at the bottom of this post.
Here’s what you need to get started!
Supplies for Resin Geode Art Mirror
There are several basic supplies that you will need for any geode mirror project—and some that vary depending on your vision. Overall, here’s a good list to start:
- Promise Table Top Epoxy Resin
- Mixing cups and Stir sticks
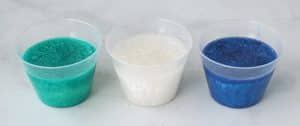
- Color Creator Pacific Gift pack
- Mirror base
- Gloves
- Safety glasses
- Larger crystal pieces (which you can also cast on your own)
- Crystal molds (if you’re casting your own)
- Smaller bulk crystals or stones
- Glitter (if you want to add lines of glitter resin)
- POSCA paint markers
How to Make an Epoxy Geode Wall Mirror
Gather all your supplies and set them up nearby. Take your pre-purchased mirror and flip it around. On the back, you’ll want to want to set up tape around the edges to prevent bleed-over from the front. Then, you can flip your mirror back over.
Before you get to your epoxy, it’s a fantastic idea to clean off the surface of your mirror with some isopropyl alcohol. That way, you have a smooth surface to work with.
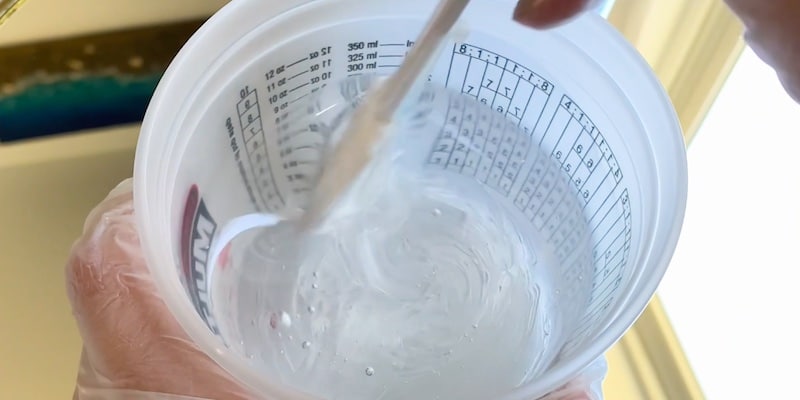
Next, you’ll want to mix your epoxy. Promise Table Top Epoxy is a one-to-one by volume formula, so you combine one part Side A and one part Side B. Mix carefully together with a flat stir stick, and scrape the sides and bottom. You want to avoid introducing as much air to the mixture as possible to prevent more bubbles down the line. Additionally, you want the mixture thoroughly combined, without any swirls or striations.
There are a few different approaches to how you can start decorating. You can mix crystal pieces with clear or colored resin and arrange them how you’d like. You can wait to put the crystals on until after you have poured your resin layers. For this instance, we’ll follow the first example.
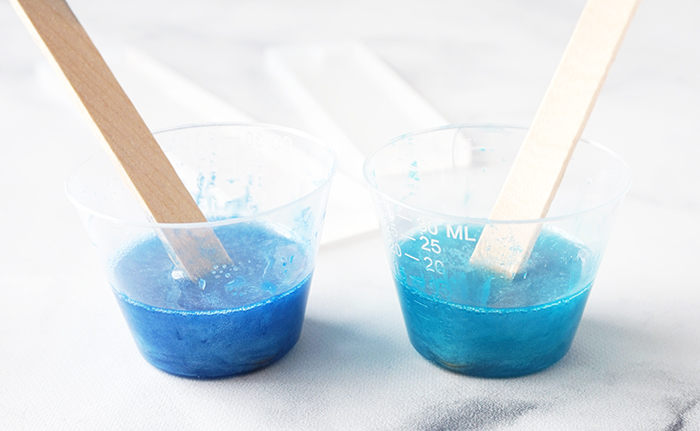
Once mixed, you divide your epoxy resin among the colors you’re using. Use a cup for each different color, and thoroughly mix in whatever colorant you purchased. Color Creator pacific mica powders are perfect for this project, but you can use whatever colors make you happy. This process is applicable for both casting your own resin crystals, if you plan on making your own, or for creating the colored resin you plan on pouring.
When mixing color, remember that a little of the colorant goes a long way. You ultimately don’t want your colorant to make up more than 5% of your mixture. Additional coloring tips can be found on our
how to color resin blog post.
Bouncing back to the subject of crystals, there are various molds you can purchase online. Make sure with any crystals you cast, you allow them to be fully cured before applying them to the mirror. Better yet, you can create your own crystal molds in whatever shapes you like with Amazing Mold Maker. See how it works here.
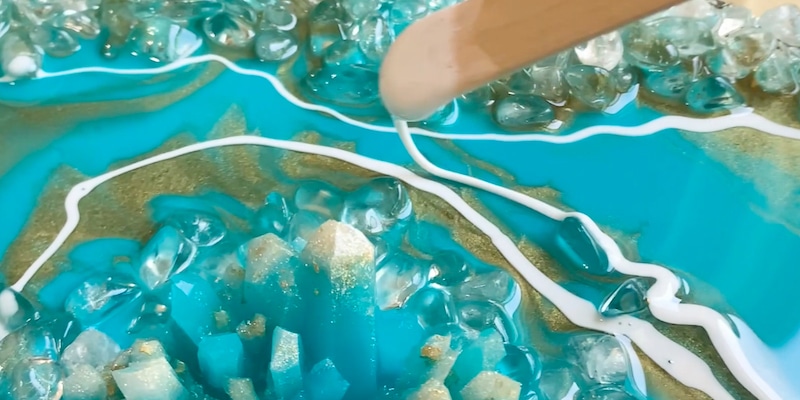
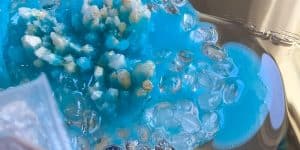
Then it’s time to get to work! Group your resin and crystal concoction on the surface as shown above. Mix additional smaller crystal and stone pieces with resin to place around the larger crystals. You can use utensils like popsicle sticks to carefully arrange them.

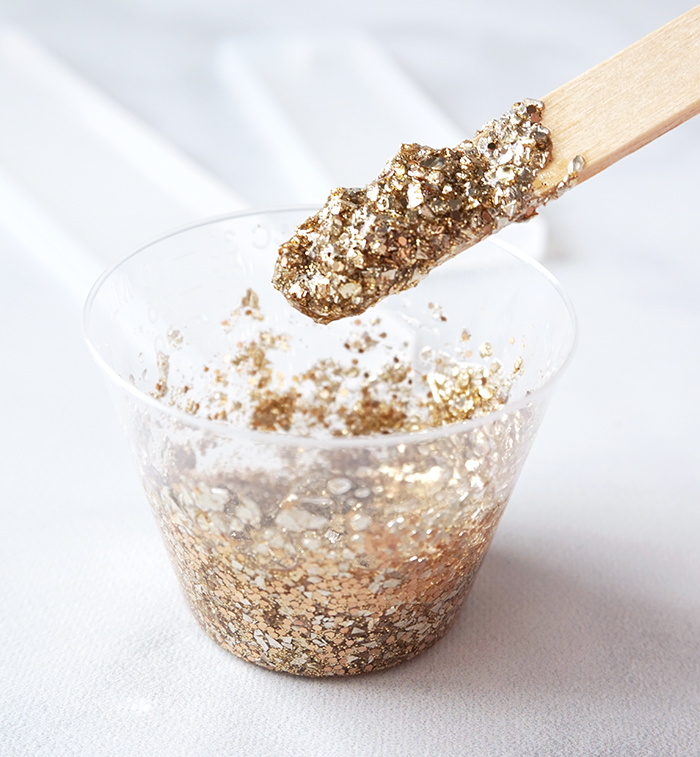
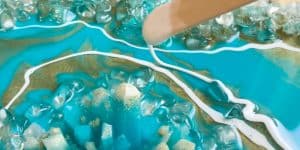
The next part involves mixing epoxy and adding colors. You want to try to create the different lines that simulate the natural layers of geodes. A lot of crafters mix glitter with resin and pour thin lines of that throughout their piece as well. Either way, most creators try to mimic multiple layers of color and texture around the groups of adhered crystals.
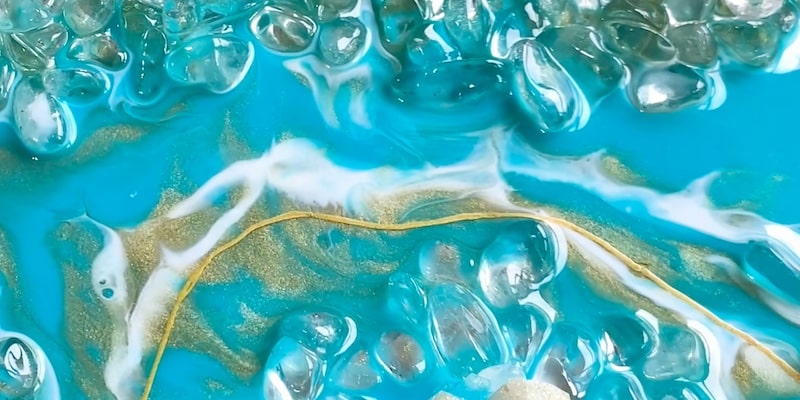
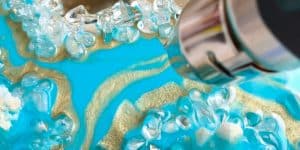
When you’ve finished pouring your lines, use a blow torch to get rid of the bubbles. Always be mindful when using a blow torch. Hold it several inches away from the resin and then move it around as it is activated. Never leave it in one spot for too long.
You can also use a heat gun to blow the resin around and create more movement and waves in the lines.

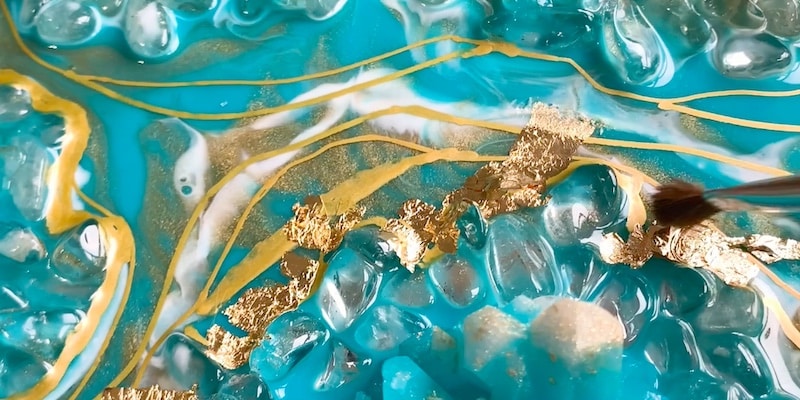
After that’s done, you need to leave it to cure. When the resin has cured, you can use a paint marker to create additional thin layers in accent colors. Once you finish, you can cut off any excess with an X-Acto knife or scissors.

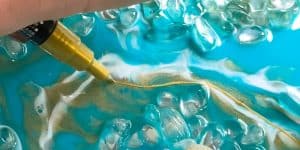
For this guide, the crafter also added some gold foil for an extra shine. Use a paintbrush dipped in resin to delicately apply the pieces in a way that speaks to you. Allow to cure for 24 – 48 hours (climate dependent). You’ll know your geode wall mirror is fully cured when it is not tacky at all.
Once you allow everything to cure and dry fully, your work is complete! Hang it up in your home to show it off, or gift it to friends or family!
Resin Geode Wall Mirror
Materials
- Promise Table Top Epoxy Resin
- Mixing cups and Stir sticks
- Color Creator Pacific Gift pack mica powders
- Mirror base
- Gloves
- Safety glasses
- Larger crystal pieces which you can also cast on your own
- Crystal molds if you’re casting your own
- Smaller bulk crystals or stones
- Glitter if you want to add lines of glitter resin
- POSCA paint markers
Instructions
- On the back of the mirror, set up tape around the edges to prevent bleed-over from the front. Then, you can flip your mirror back over. Clean off the surface of your mirror with some isopropyl alcohol.
- Next, you’ll want to mix your epoxy. Promise Table Top Epoxy is a one-to-one by volume formula, so you combine one part Side A and one part Side B. Mix carefully together with a flat stir stick, and scrape the sides and bottom. You want to avoid introducing as much air to the mixture as possible to prevent more bubbles down the line. Additionally, you want the mixture thoroughly combined, without any swirls or striations.

- Once mixed, divide your epoxy resin among the colors you're using. Use a cup for each different color, and thoroughly mix in whatever colorant you purchased.
- Group your resin and crystals on the surface of the mirror. Mix additional smaller crystal and stone pieces with resin to place around the larger crystals. You can use utensils like popsicle sticks to carefully arrange them.
- Add drizzles of white, gold and whatever colors you like to create dimension.
- Use a heat gun to blow the resin around and create more movement and waves in the lines, and also to pop any bubbles that rise to the surface after about 15 – 20 minutes. Allow 24 – 48 hours to the mirror to cure (climate dependent).
- Once cured, use a paint marker to create additional thin layers in accent colors. Once you finish, you can cut off any excess with an X-Acto knife or scissors.
- Add gold foil for an extra shine and dimension. Use a paintbrush dipped in resin to delicately apply the pieces in the amount/pattern of your choosing.

Lydia Nordhoff is the creator of Lydi Out Loud, a blog where she shares her adventures in crafting and DIY. Lydi Out Loud has been featured on the Home Depot Blog, House Beautiful, Good Housekeeping, Southern Living, Elle Decor, Brit + Co., Buzz Feed, Cricut and Somerset Home Magazine.


