Ingredients
Method
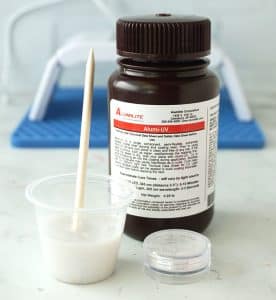
- PREPARE THE RESINAlumi-UV is different than the other epoxy resins shared here at Resin Crafts Blog. This crystal clear resin cures in minutes via UV light, and is great for coating or doming your projects. Pour about 15 ml of Alumi-UV into a small mixing cup. You don't need to do any mixing - this is a one pour resin!
- COLOR THE RESINAdd a little bit of pearl white mica powder (found in the Alumilite Creation Kit) to the cup of resin. Mix it in slowly with a stir stick until evenly combined.
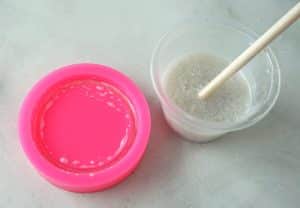
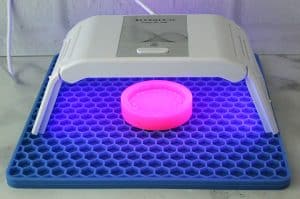
- Ideally, you would use a clear mold when working with UV resin to get the best results. However, it can be done in an opaque mold, but you need to work in very thin layers. Use the stir stick to pour a very thin layer of resin into the base of the mold.
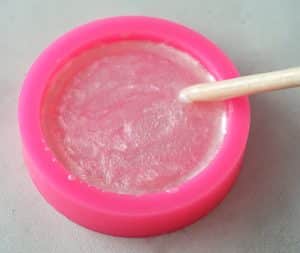
- Place the mold under UV light for about 5 minutes. Be sure to keep the mixing cup of resin covered and far away from this light to prevent it from curing in the cup!
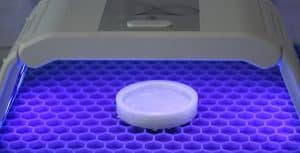
- Add another thin layer of resin to the mold (do not remove the previous layer) and cure for another 5 minutes. Repeat this process until the mold has been filled to the top.
- Remove the resin from the mold. Since I used an opaque mold, sometimes the surface needs a little more curing time since the light couldn't penetrate the mold. Try not to touch the surface of the resin, and place it under UV light for an additional 5-10 minutes to allow the resin to cure completely.
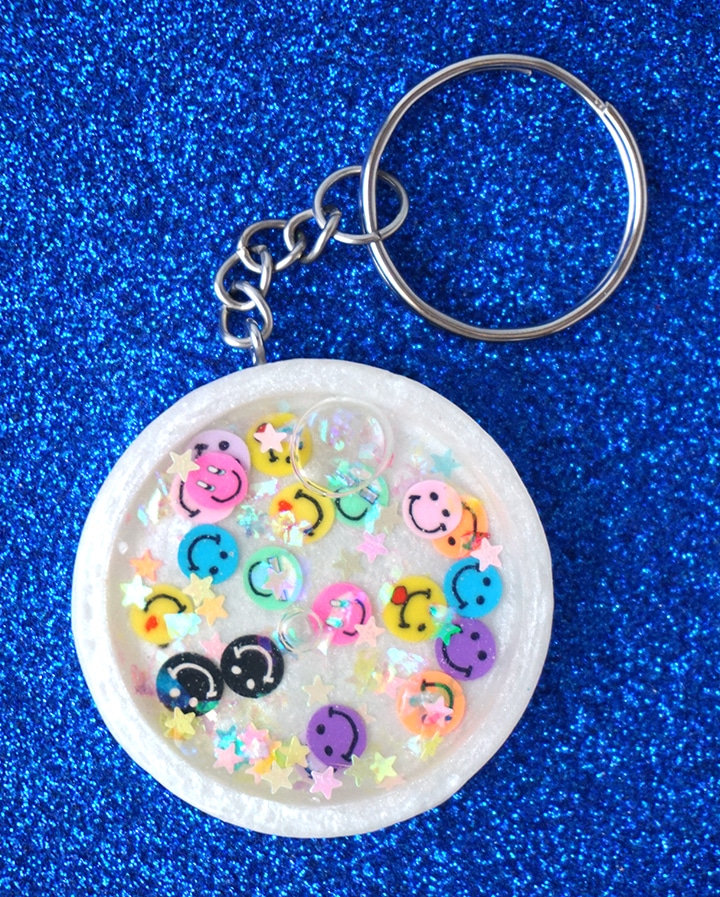
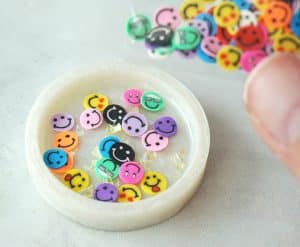
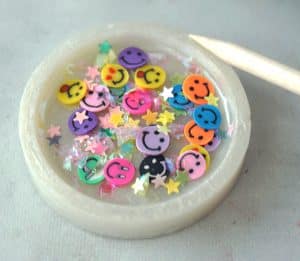
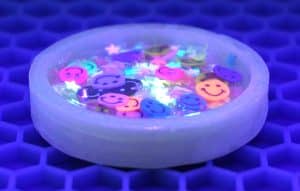
- Fill the shaker charm base with smiley faces, mylar flakes and/or additives of your choice.
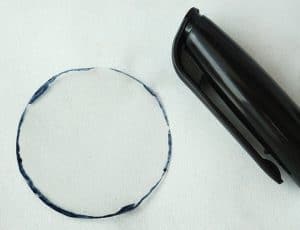
- Cut a small square of transparency film and place it on top of the charm. Carefully trace the opening with a permanent marker. Cut the transparency film along the tracing. Remove the marker lines with a little bit of alcohol and a lint-free cloth.
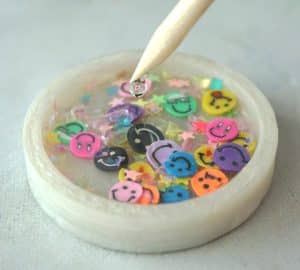
- Use a toothpick or a small stir stick to add a thin line of clear Alumi-UV around the top edge of the charm. Place the transparency cutout on top of the charm and press it down into the resin.
- Place the charm face-up under the UV light again for about 5 minutes to allow the resin to cure, which will also seal the edges of the transparency to the top of the charm.
- Carefully cover the top of the charm with Alumi-UV resin and use a toothpick or a stir stick to drag the resin to the edges to create a doming layer. Use a lighter or spritz the surface with alcohol to remove any bubbles. Place the charm under the UV light for at least 5 minutes until the dome layer is completely cured.
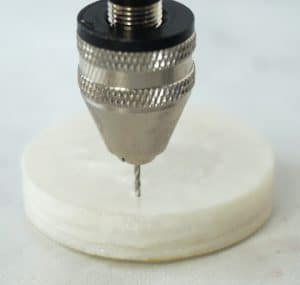
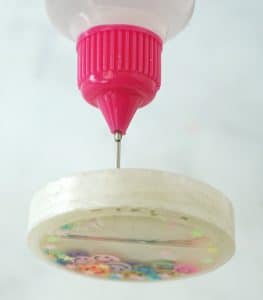
- (OPTIONAL): To give the shaker charm a "waterfall" effect, use a hand drill to carefully drill down through the back of the charm.
- (OPTIONAL): Fill an oiler bottle with baby oil or glycerin. Put the needle through the opening and slowly squeeze the bottle to fill the charm with oil. Take your time - sometimes the oil will come back up through the opening and can spill out.
- Dome the back of the charm the same way as you did the front. Keep the layer thin, and use a toothpick or stir stick to bring the resin to just the edges. Not only will this make the charm look professional, but it will permanently seal up the drilled hole at the same time. Place the charm under the UV light for a at least 5 minutes until the dome layer is completely cured.
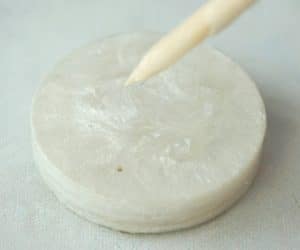
- Use the hand drill to make a small hole in the top of the charm, but be sure to drill toward the back of the charm. This will prevent it from going through to the inside of the open area, which creates leaks. Remove the drill, and then twist an eye screw into the hole. For a permanent hold, put some super glue on the screw before putting it in.
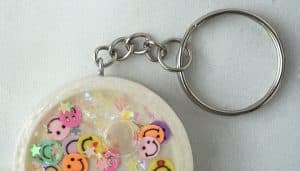
- Use pliers to hook a jump ring through the eye screw, and then attach the key ring chain to the jump ring. Close the jump ring to connect the key ring to the charm.
Notes
Before you start working with resin, make sure that you’re wearing disposable gloves & protective eyewear, to cover your work surface, and that you are working in a well-ventilated area.