You guys, these geographic tile coasters turned out really cool. I’m super excited to share this tutorial with you!
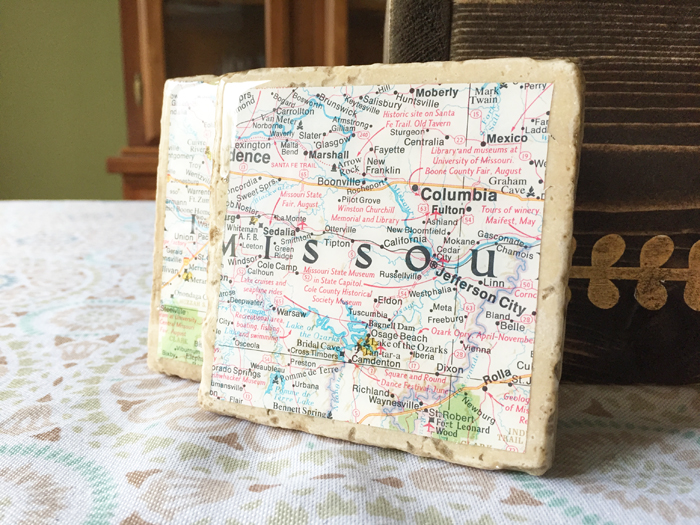
For this project I chose a map of the state of Missouri, where my husband was raised and where we used to live. The reason I chose that particular map was because somehow, even with our 13 moves in 15 years to 7 different states, all of my four children were born in Missouri. We left and came back a few times, so it has a special place in my heart. I chose to use two maps that encompassed the cities in which my children were born. These tile coasters were made specifically for our bedside tables, so we only needed two.
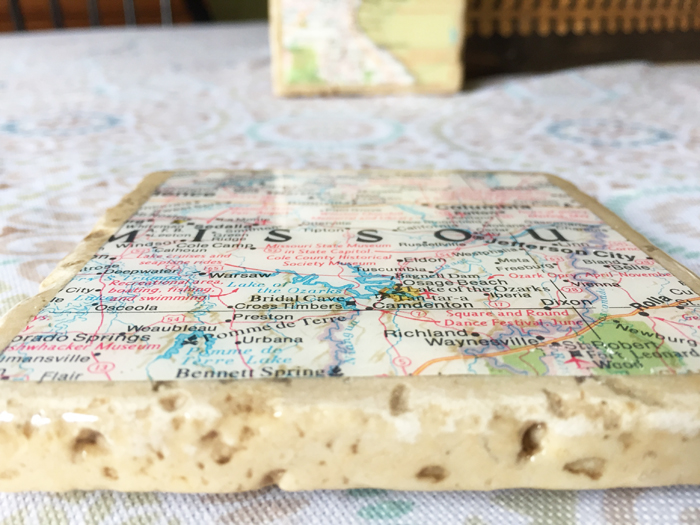
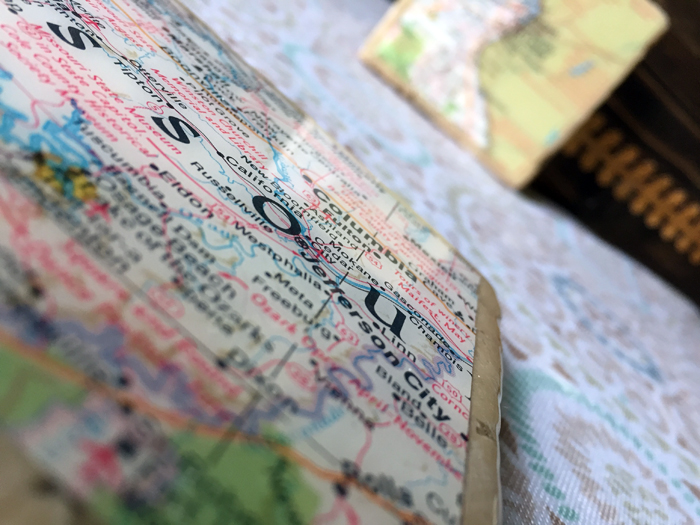
It’s a bit hard to see the amazing glossy surface in this photo (look at top left corners to see the shine) but check out the rest of the pics and you’ll see how gorgeous it is.
Alright, so here’s what you need!
SUPPLIES:
- Tiles
- Maps
- Ultra-Seal Multi-Purpose Sealer
- Disposable Craft Brushes
- Wooden stir sticks with flat end
- Disposable cups for mixing resin
- Disposable tray or box for excess resin to pour into. You don’t not want it to leak onto your work surface! (I used a cardboard box lined with press n seal.)
- Something disposable to elevate your workpiece – I used small pieces of wood and just threw them out afterward.
- Envirotex Lite
- Felt fabric or pads for the bottom of the coaster
GETTING STARTED ON TILE COASTERS:
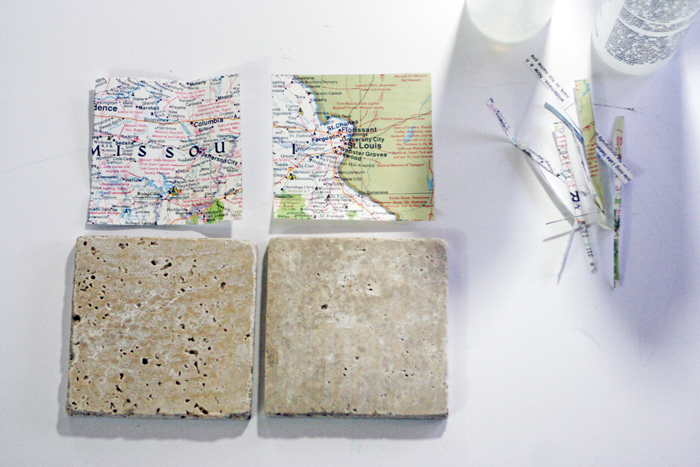
The first step for the tile coasters is to cut your map pieces to fit your tiles. Leave a border of tile on the edges by cutting smaller than the tile, or just cut it to fit to the edges, either way works.
ADHERING MAPS:
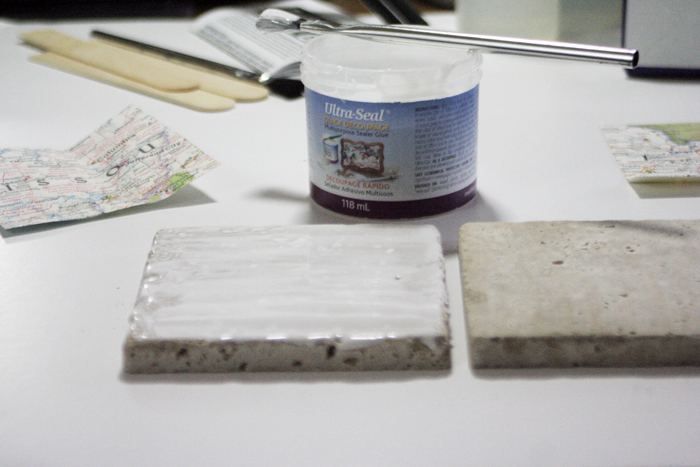
Next, take your Ultra-Seal and spread an even coat across the entire tile. I was sure to add enough to fill in the small holes on the travertine tiles. This will help prevent bubbles during the epoxy stage. Using a smoother tile will make this step easier.
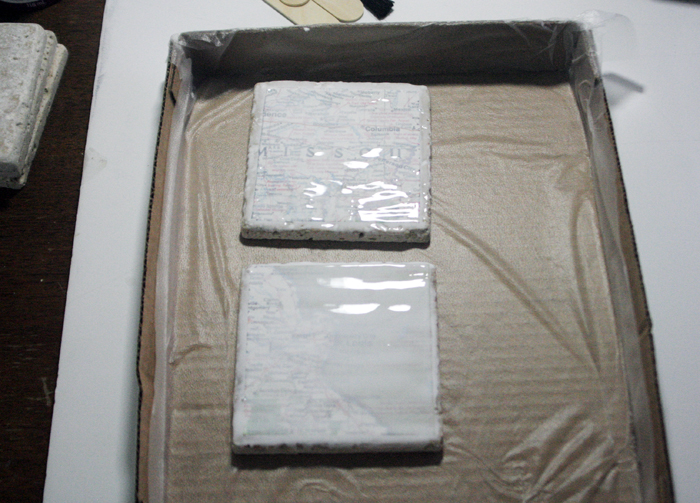
As soon as you have the Ultra-Seal coating the tile, take your map images and press them into the wet Ultra Seal as evenly as possible. Push out any bubbles, then apply Ultra-Seal over the paper maps as well! Let dry. I let mine dry overnight.
And here’s what you have:
PREPPING FOR ENVIROTEX LITE:
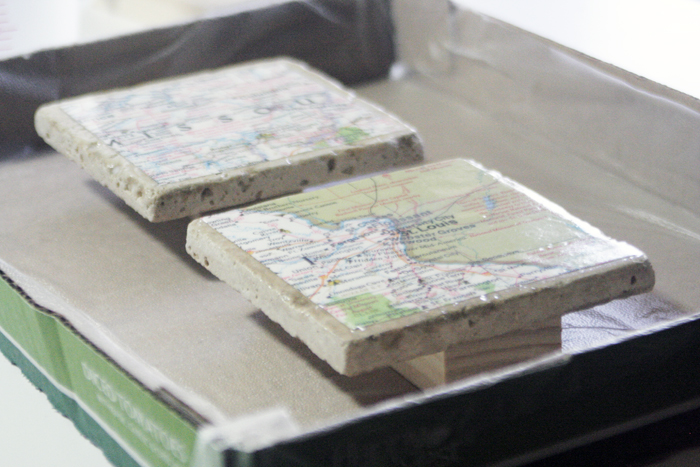
Alright, so the next step for the tile coasters is to make sure your work surface is protected. As you can see in my images I had the tiles resting on small pieces of wood (be sure this doesn’t touch the edges as epoxy will seep onto the underside. ) I used a cardboard box lined with Glad Press n Seal, and it worked perfectly.
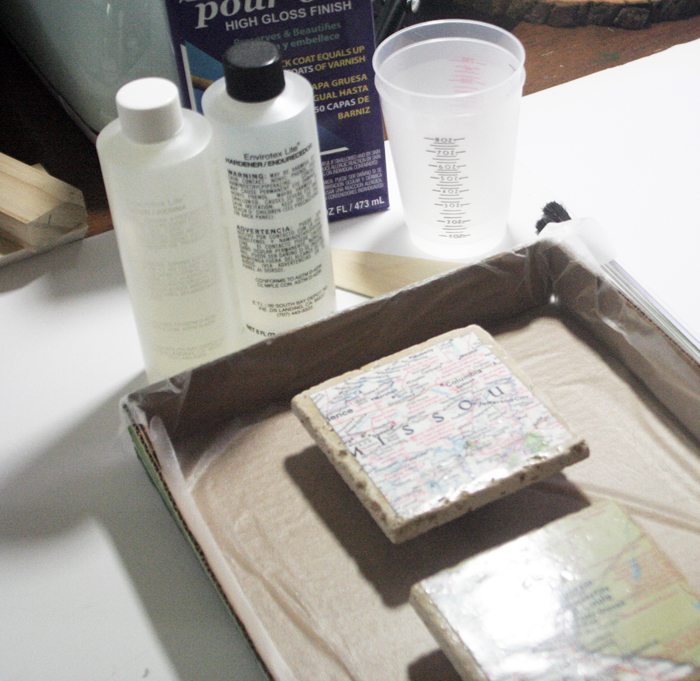
Be sure you have all your epoxy resin supplies so that you don’t have any reason to need to jump up and grab something while in the mixing process. This would be the mixing cups, stir sticks, craft brushes, work surface protection, and Envirotex Lite.
ADDING ENVIROTEX LITE:
All of the instructions are found inside the box of the Envirotex Lite, or on the ETI Website here.
I’ll run through the steps, which are pretty simple and easy to do, but be sure to read the directions thoroughly. There are a few things like temperature or time that have strict guidelines for a perfect cure of the resin.
In the box you’ll find two bottles, one Part A which is the resin and Part B which is the hardener. Pour part A into your disposable measuring cup and follow that with the exact same amount of part B. It is important to get equal amounts. Stir them together with your stir stick for a few minutes. At first it will seem a bit cloudy, but as it mixes it will become more clear. Don’t worry about the bubbles just yet!
After everything is stirred together, pour the mix into another cup and stir again. This ensures that you don’t have any unmixed resin or hardener going onto your project, which will make for an uneven cure and possibly sticky spots.
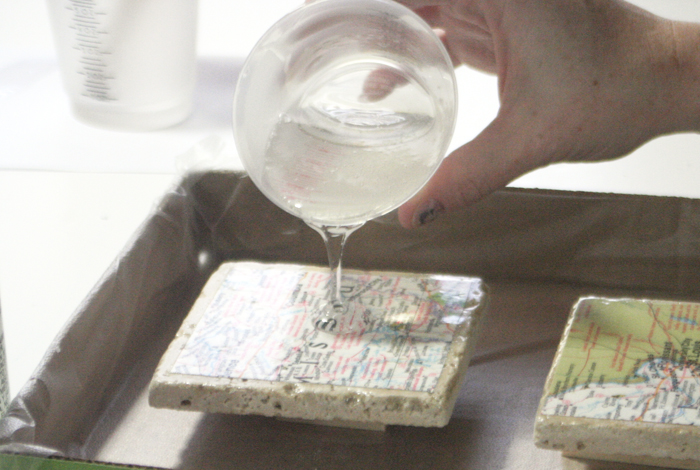
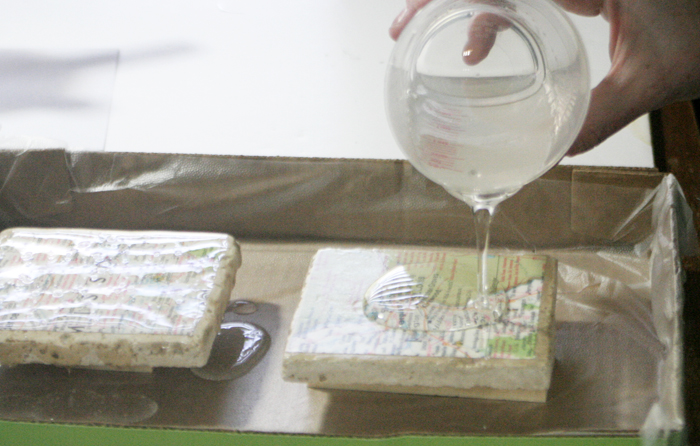
After you stir that for a bit, then you’re ready to pour! Be sure that your work pieces is completely level and that your work surface is protected, then begin pouring in the center of the tile and move slowly outward. The epoxy will begin to pour off the edges, which is what it is supposed to do!
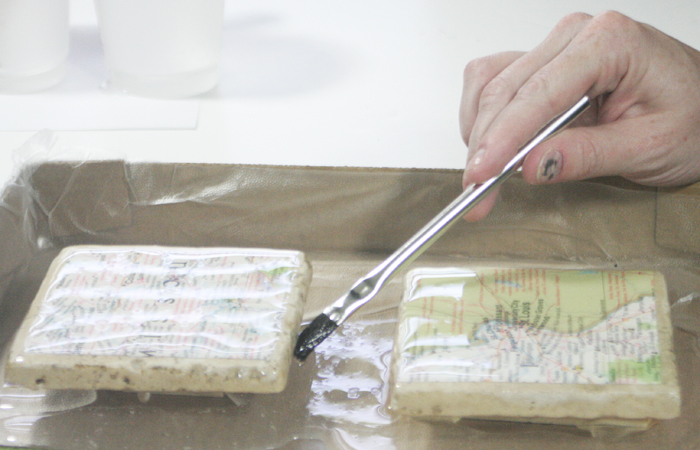
The Envirotex Lite will self-level (as long as your piece is level) but there will be many drips coming off the sides. Just use your craft brush to wipe those off as they appear. I waited for a minute or two then went and wiped the drips until it stopped dripping.
CURING:
The final step is to somehow cover your tile coasters to prevent any dust or debris from landing on the wet resin. I used some tall bottles on each side and laid a flat box on top of them, then carefully draped fabric over top to make a sort of tent. Just be careful as even your fabric can have dust particles that will land on the resin. Alright, so you let it cure for at least 48-72 hours. Maybe longer if your room is cool (the warmer it is, the faster it cures.)
After it is cured for a couple days, go ahead and use it, as it’s cured. But first, add some felt to the bottom so it won’t scratch any tables!
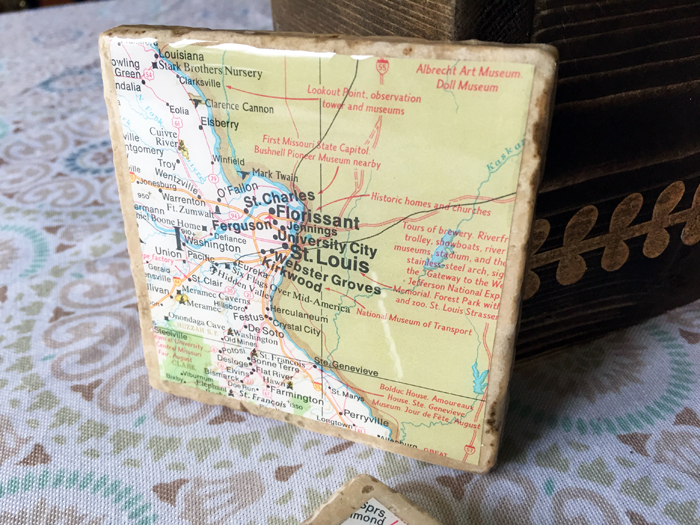
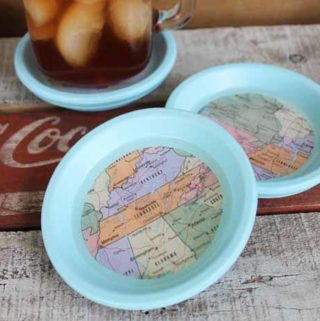
And there you have it! Two awesome tile coasters that will hold drinks and prevent water stains on my tables. Definitely worth it and so cool looking too!
I hope this tutorial was useful to you, and if you decide to make your own coasters, be sure to share! The coolest thing is that you can use any type of paper, like a photo or ticket stub or designed paper to get any look that you want. I just love maps.
Here’s a great pinnable image, please share on Pinterest if you like this tile coasters project!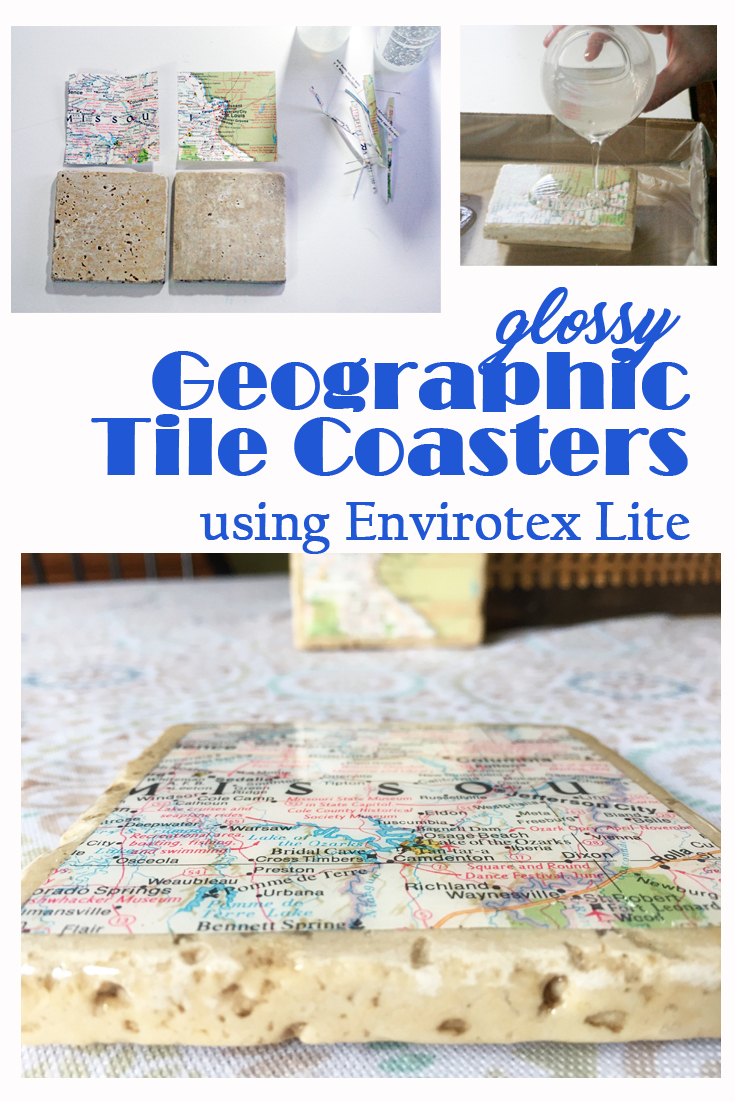 Thanks again for stopping by!
Sheri is a Maker and DIY blogger at Hazel + Gold Designs. She is usually in the middle of multiple projects at once and finds great satisfaction and joy in creating something new. She is constantly learning new skills, putting them to the test, and sharing her experience and knowledge with others. Her favorite hobbies are crafting, painting, crocheting and basic woodworking. Her goal is to inspire others to step out of their comfort zone, learn a new skill and have the confidence to make their life a little more beautiful!

Hi! I love this idea and made some recently with Envirotex Lite! By chance do you know how well they hold up against hot mugs, water drops, etc?? I want to give them as gifts but want to make sure the person receiving them won’t be disappointed. Thank you!
They hold up wonderfully, that’s the beauty of ETL! Those will make a wonderful gift!
I used unglazed tiles to make coasters. After the tiles cures there were brown spots on the sides of them. I’m assuming it’s from the Envirotech Lite. Should I use glazed tiles for future coaster projects? Is there a way I can fix this and get rid of the brown spotty edges? I thought about painting the sides.
Hi Gail, I’m guessing it may be from an accumulation of the resin on the sides, did you by chance wipe down the sides at all during the curing process to get rid of drips? You can lightly sand the sides, that should remove the spots but painting them sounds really cool!