Have you ever heard of Galentine’s Day (yes, that’s right, I said Galentine’s Day)? It’s relatively new but is increasingly gaining popularity amongst women of all ages. It’s a day for women to celebrate the female friendships in their life and occurs the day before Valentine’s Day.
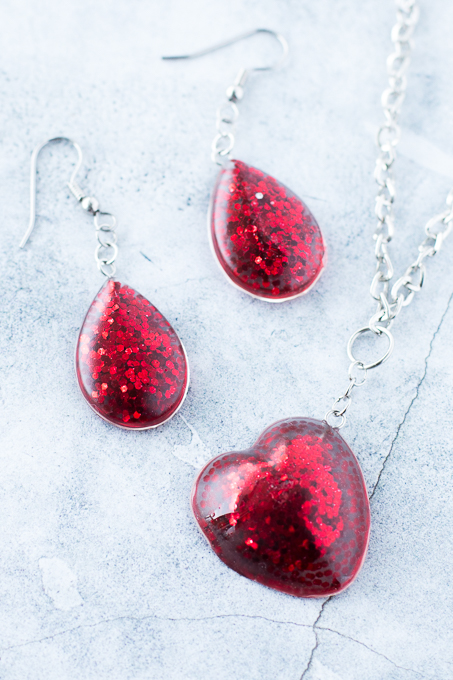
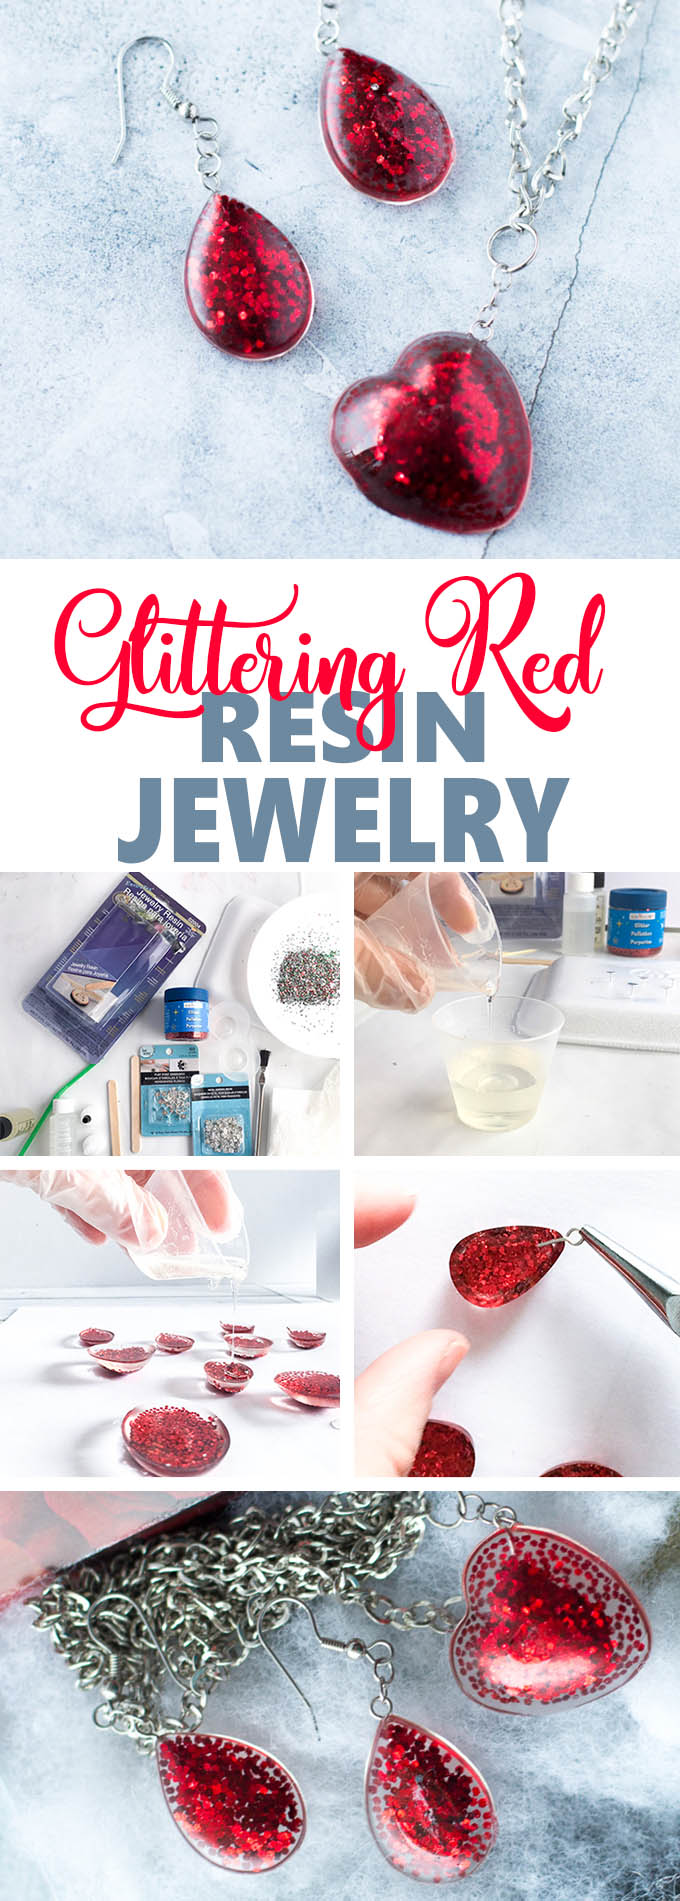
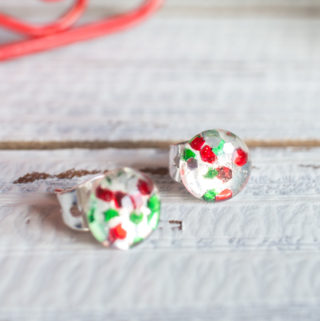
Hello friends! Jane here from Sustain My Craft Habit, a DIY, crafts and home decor blog where my sister Sonja and I share new nature-inspired ideas each week. Ever since I made these glitter stud earrings and pendants for all my nieces this past Christmas, I wanted to make a set of jewelry for the lovely ladies in my life. And what better reason than for Galentine’s Day? I’ll show you how to make dangle earrings and hanging pendants using resin for just about any occasion.
Using the leftover red glitter from our DIY Christmas glitter earrings and pendant, I was able to to easily make this beautiful new jewelry. All you need to do is pick up a few basic jewelry making supplies at a local craft store and get started.
Materials Needed:
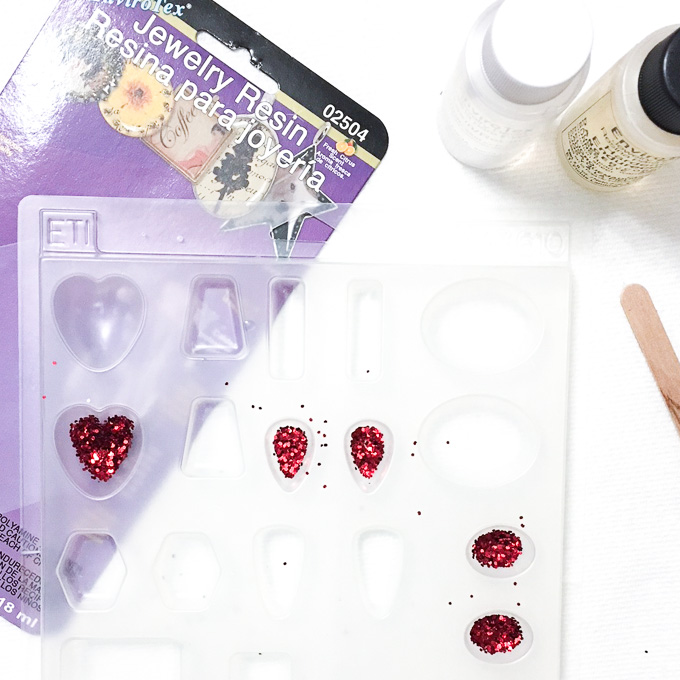
- EnviroTex Jewelry Resin kit
- Red glitter
- Castin’ Craft Mold Release
- EasyCast Resin Jewelry Molds
- Gloves
- Stirring Sticks
- Straw
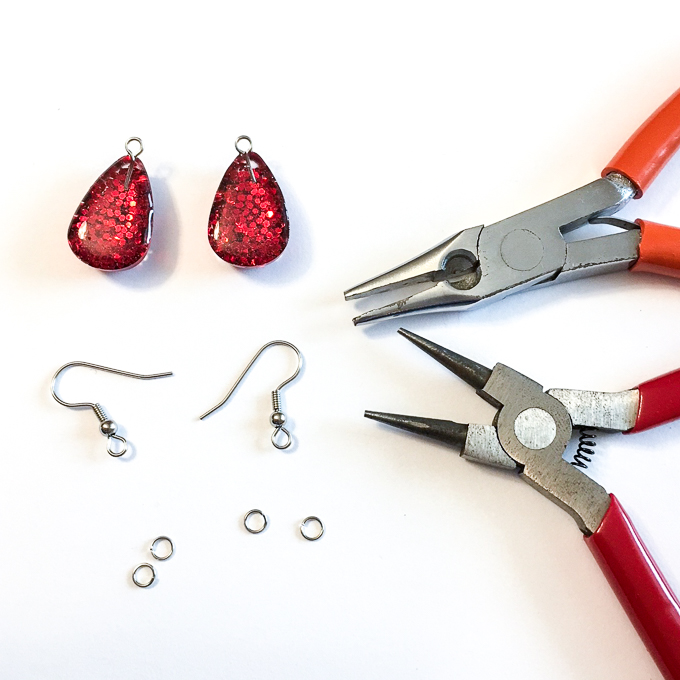
- Round jump rings, 5mm, in silver (2 rings per earring)
- Eye pins, in silver
- Chain Nose Plier (for jewelry making)
- Round Nose Plier (for jewelry making)
- Side Cutter (for jewelry making)
- Earring hooks with coil for dangle earrings, in silver
How to make dangle earrings and hanging pendants:
Preparing the EnviroTex Jewelry Resin:
Work in the well ventilated area and be sure to read all the instructions on the products before beginning your project.
Apply a mold release / conditioner to the jewelry molds as per the instructions in the package.
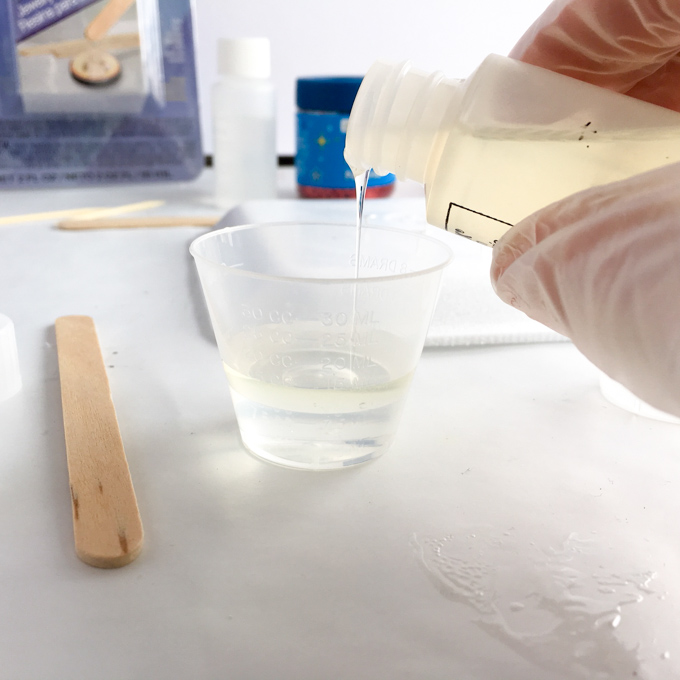
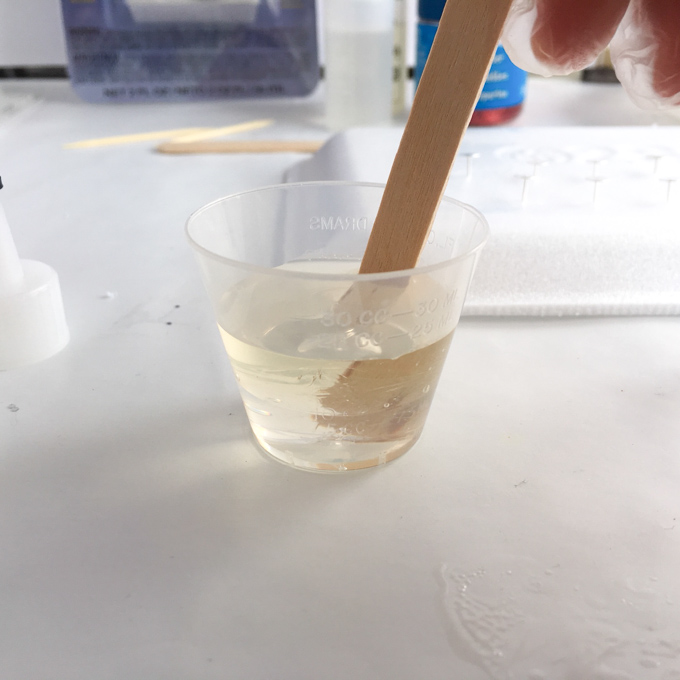
Mix exactly equal amounts of Resin and Hardener into one measuring cup. I used very little of each, only about 10 mm and it went along way as you’ll see.
Stir continuously for 2 minutes, scraping the sides of the container.
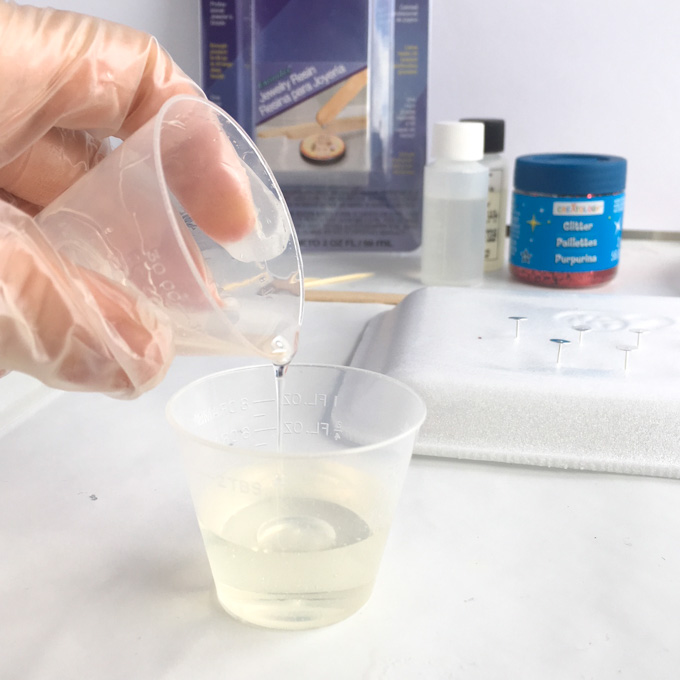
Pour the mixture into a second cup and stir for an additional minute, scraping the sides of the container and stir stick.
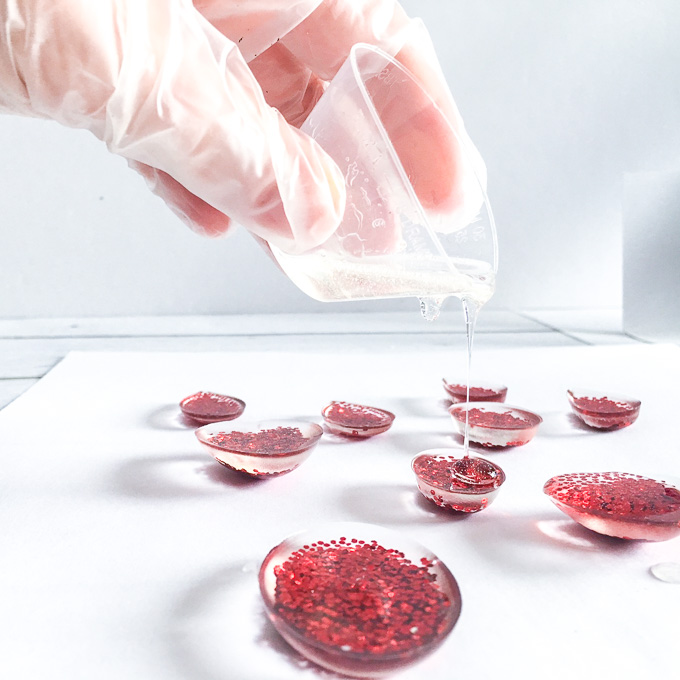
Once combined add a generous amount of glitter to the desired molds.
Pour the resin into your glitter filled jewelry molds and fill molds to the top with resin.
Gently blow off any air bubbles that have risen to the surface of the resin (you may need to repeat this a couple of times during the initial curing process). Cover the pieces to keep dust out and let cure overnight. 24 hours for a soft cure and up to 72 hours for fully cured jewelry.
Remove the pieces from the mold. With a sharp utility knife trimmed around any of the sharp edges on the back of the pieces if needed.
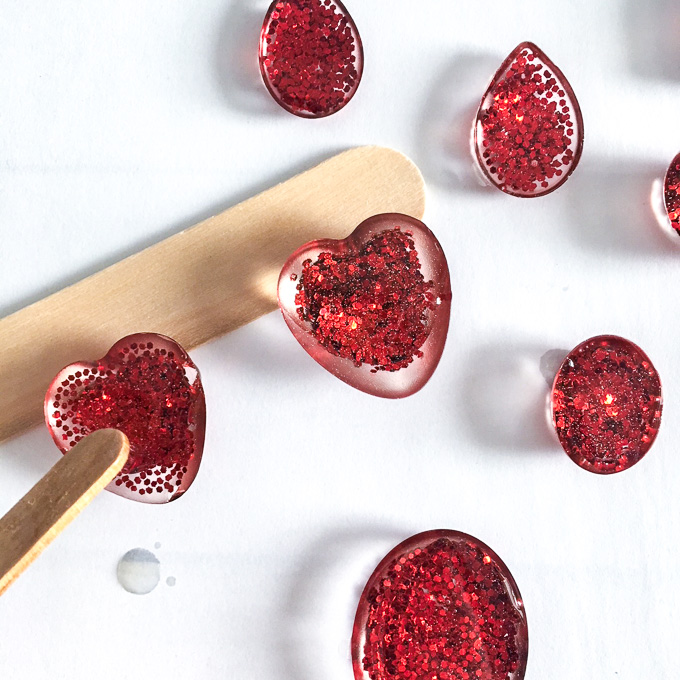
Place all the pendants on a protected work surface with the bottom side facing upward. Repeat the previous steps to prepare another small batch of resin. Pour a layer of resin over top of each pendant to create a dome-like surface.
Ensure all the pieces are level and prop something underneath if necessary to level the pieces while they cure. Cover the pieces to keep dust out and let cure for 2 hours.
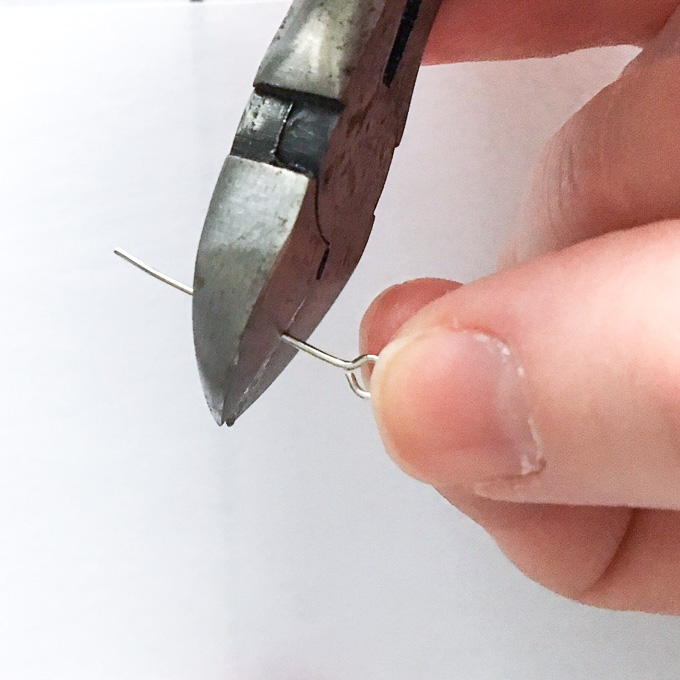
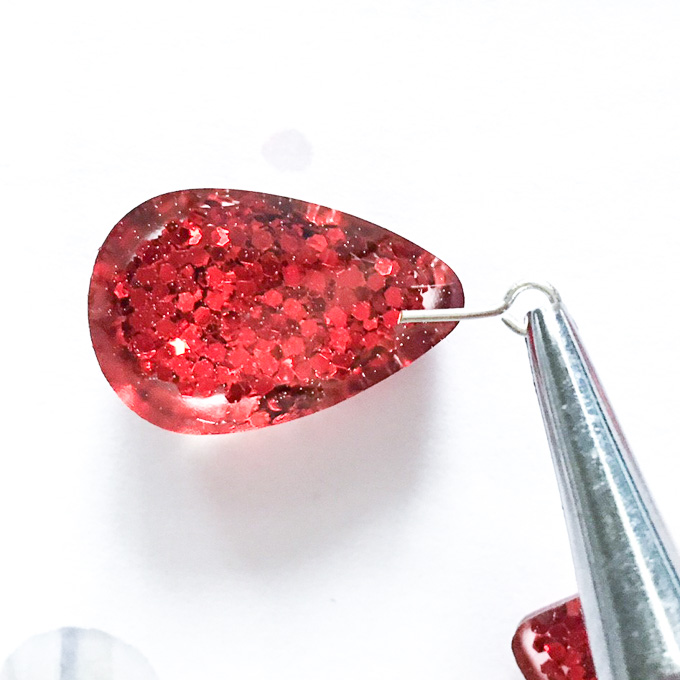
Using a side cutter, trim away the excess wire from the eye pin, leaving about 1/4″ to 1/2″ in length. Using the chain nose pliers, carefully place the eye pin onto the hardening resin as shown. Gently push eye pins into place. Cover and leave to cure for 5 hours.
After 5 hours, prepare another small batch of resin to pour a thin layer over the previous layer to fully secure the eye pin in place. Cover and leave to fully cure for 72 hours.
How to Assemble the Jewelry Pieces:
Once fully cured, begin to assemble the jewelry pieces.
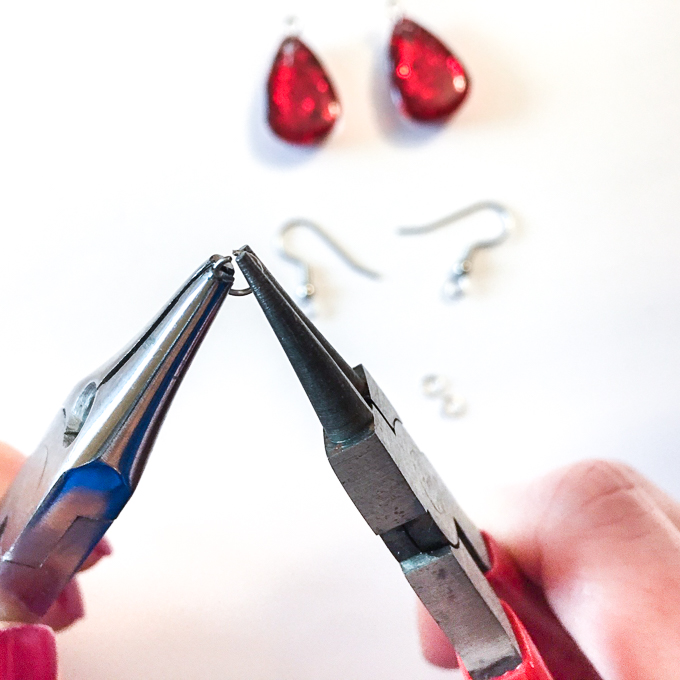
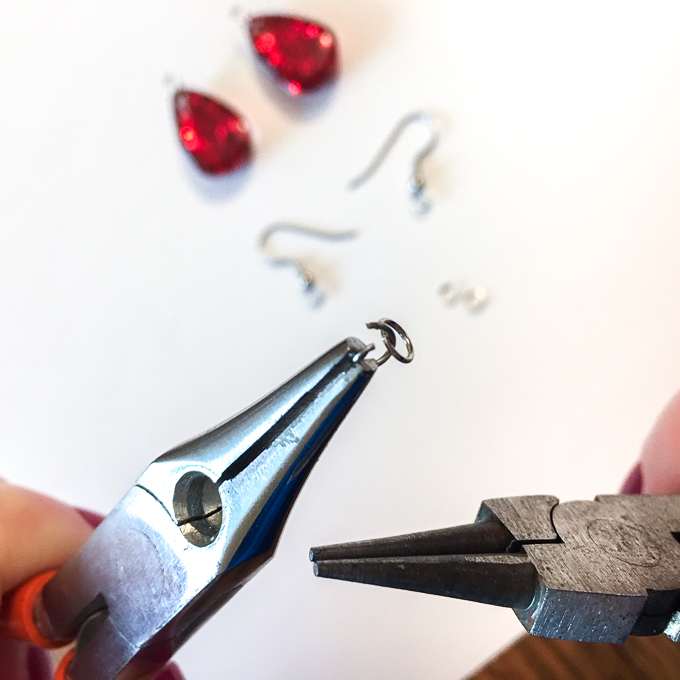
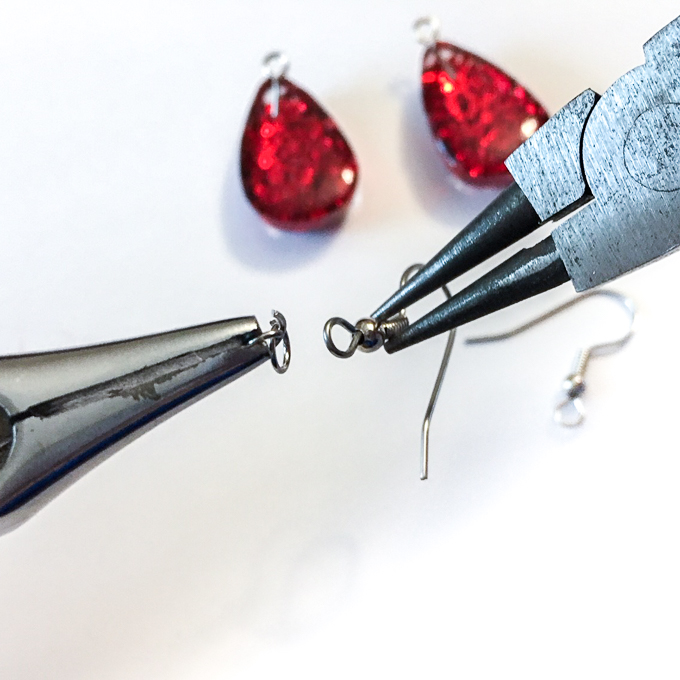
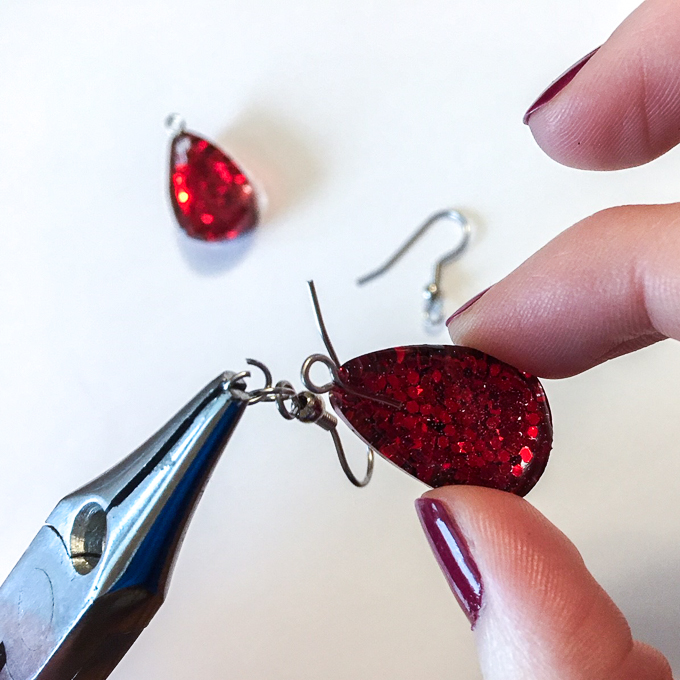
For the earrings, open one jump ring and connect the second jump ring and the earring hook. Close the jump ring. Open the bottom jump ring in the chain and connect the pendant. Close the jump ring.
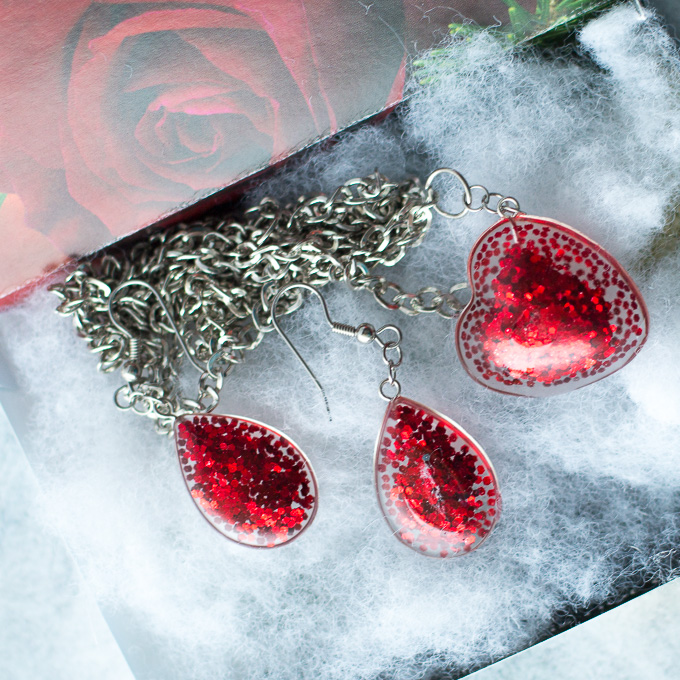
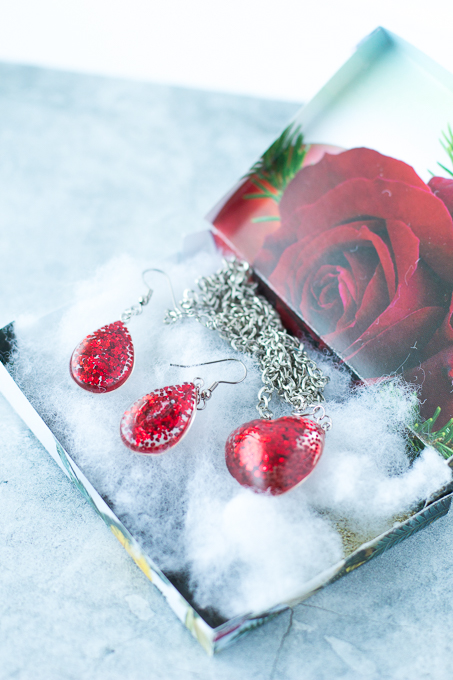
How wonderful would it be to show your best friends how much you care and appreciate them by making them each a beautiful piece of jewelry. To make a handmade gift box like we’ve made here, check out our DIY gift box, which comes with a free printable. We also have an adorable printable Valentine’s Day card for that special someone in your life.
Additional DIY Jewelry Gift Ideas:
If you’re looking for other beautiful and creative jewelry gift ideas for the holidays be sure to check out these other DIY jewelry ideas here on the Resin Crafts Blog:
- resin pendants with dried lavender
- birth month flower pendants
- wood slice and resin pendants
- jewelry clay pendants with ink transfer
Like it? Pin it for later!
Jane and Sonja are sisters, moms and lifelong craft addicts both living near Toronto, Canada with their families. They share their love of creativity, nature and coastal DIY ideas on their blog Sustain My Craft Habit. They craft and decorate their homes using repurposed and upcycled items and materials found in nature.

[…] Resin Crafts. […]