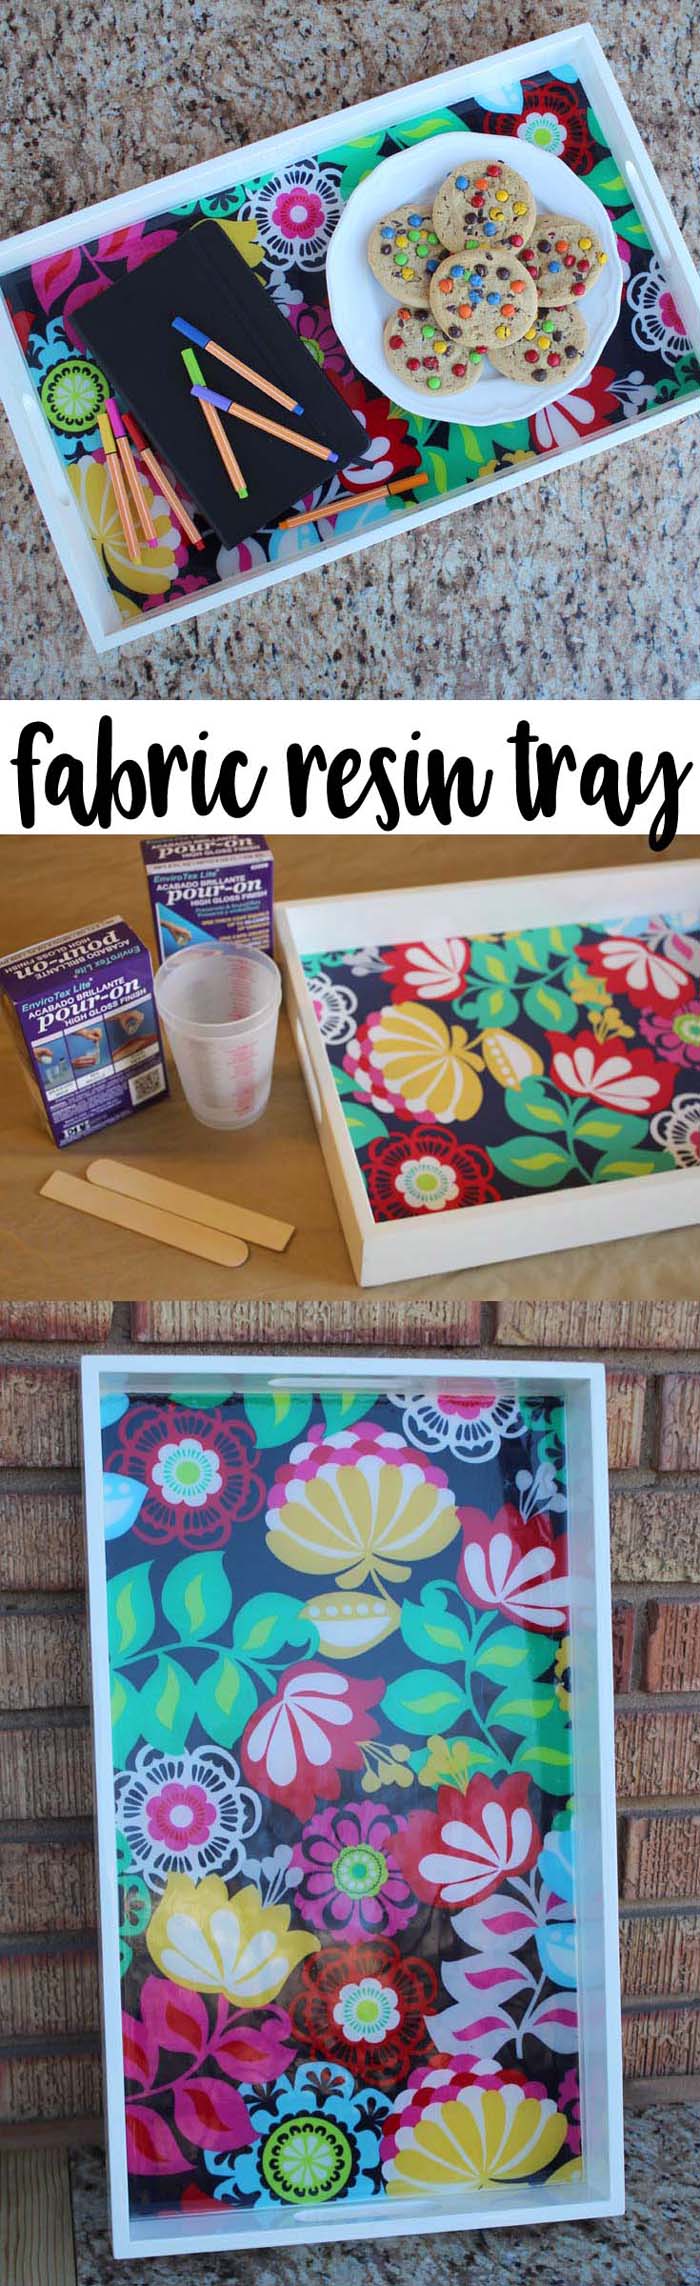
Fabric Resin Serving Tray DIY
Hi Resin Crafters, it’s Natalie from Doodlecraft. I love serving trays. They are functional and can make especially unique decorations. Make them for specific seasons and holidays, or ultimately, just to brighten your day.
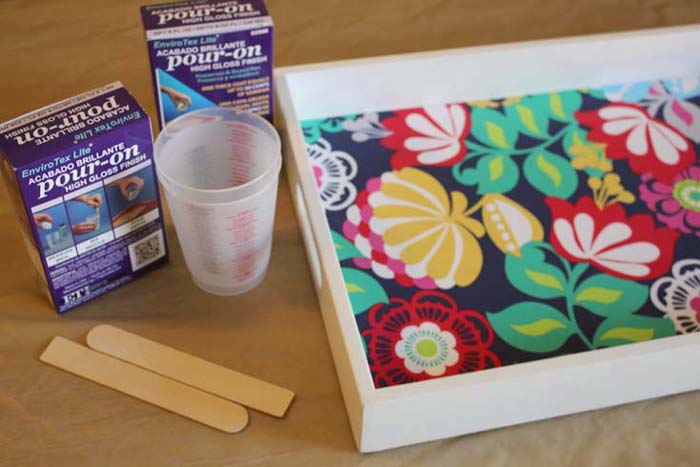
Gather supplies:
- White lacquered serving tray (or other fun thrift store find)
- Colorful fabric
- Spray adhesive
- Ultra Seal Multi-Purpose Sealer
- Envirotex Lite High Gloss Finish
- 2 Mixing Cups
- 2 Stirring Sticks
- Cover for tray
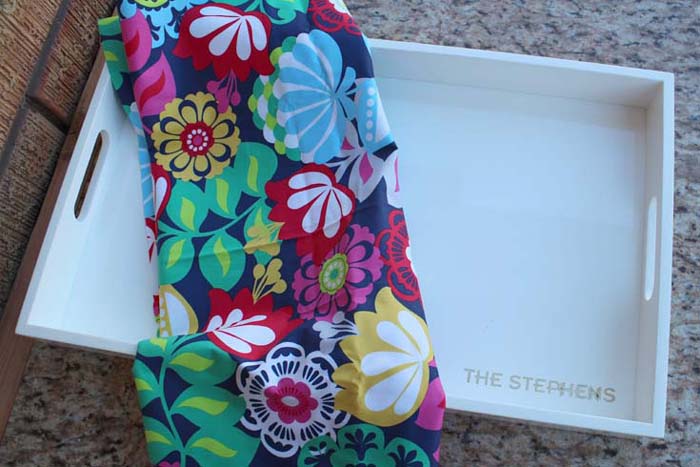
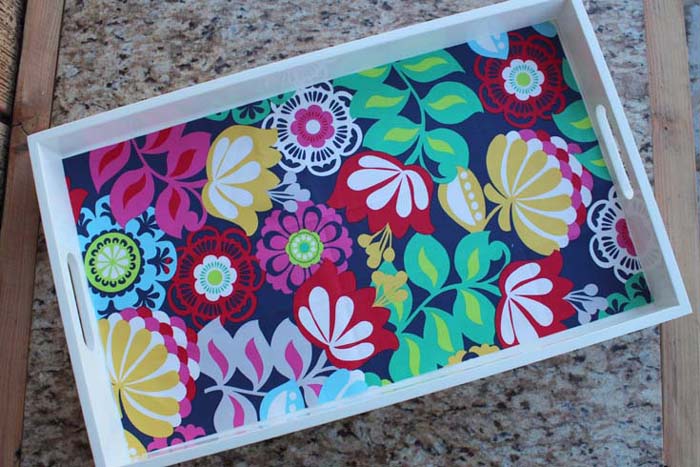
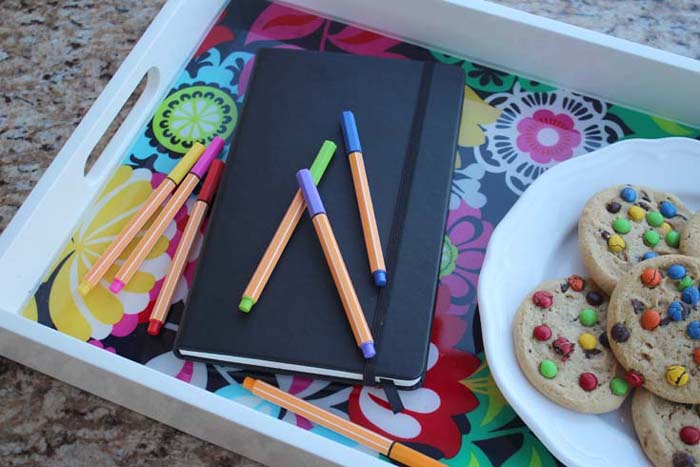
Begin by cutting a piece of fabric to fit the inside of the tray. Next, use the adhesive spray to lightly coat the backside of the fabric, then smooth it down inside the tray. Then paint the surface of the fabric with Ultra Seal Multi-Purpose Sealer and let it dry completely.
Next, move the serving tray onto a covered working surface. Prepare the EnviroTex Lite for glossing the tray.
Read the instructions explicitly and get the mixing cups set up for the mixing of resin.

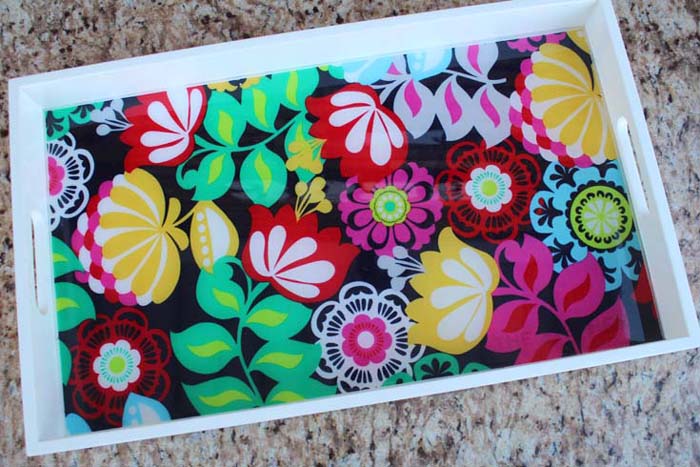
After mixing the resin thoroughly, pour the resin in the center of the serving tray. Tip the tray from side to side until it gets a thin layer of resin all over the base of the tray. This large tray took 16 oz. of resin to finish. After about 20 minutes, blow over the resin with a heat gun gently to remove any bubbles that have formed.
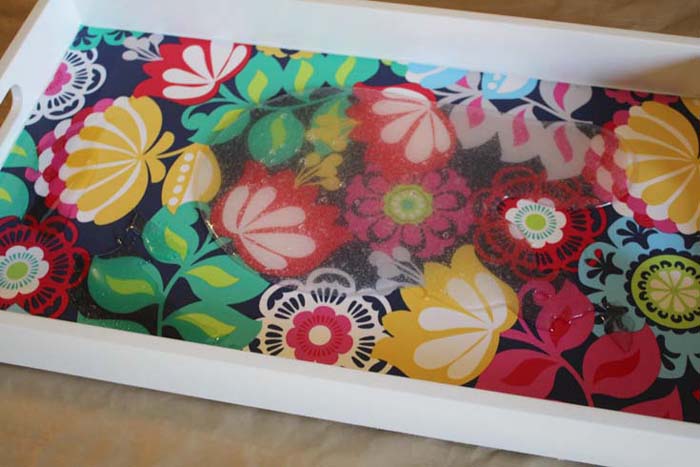
Cover the top of the tray with something for protection to keep the dust and debris off it while it is curing.
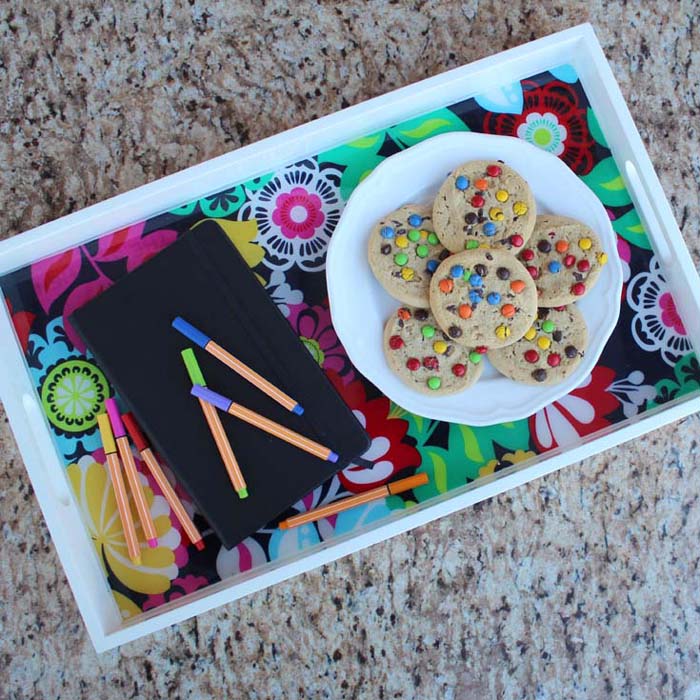
Let the serving tray dry and cure overnight (in 70*F-90*F temperature). The tray is perfection, ready to serve a breakfast in bed!
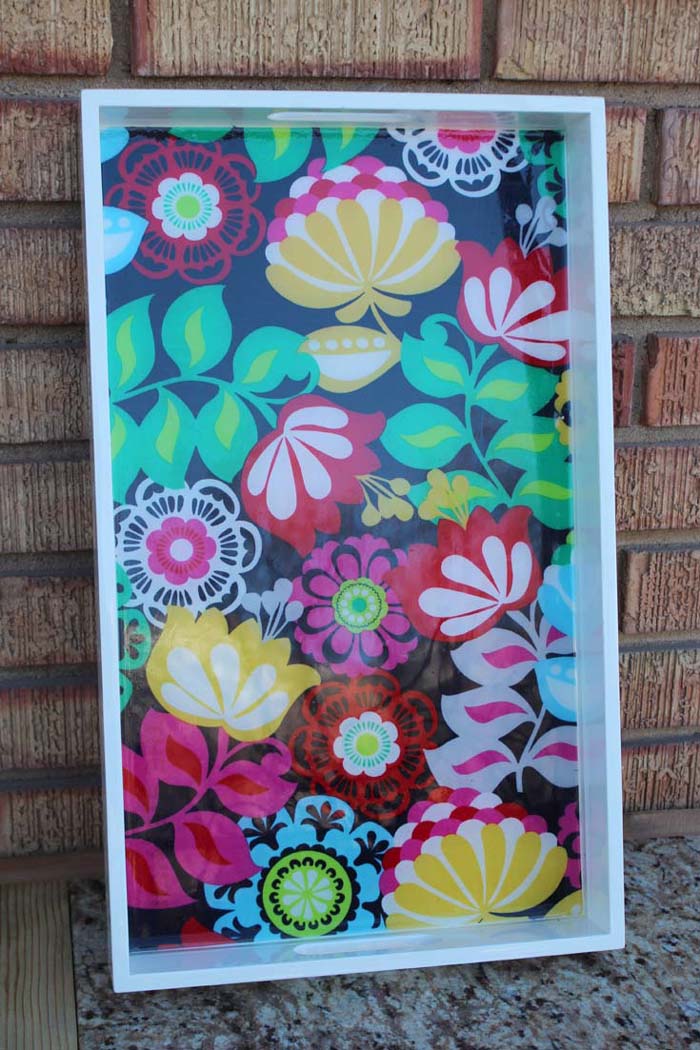
During the cold winters, I love curling up on the couch or in bed and writing in my journal. A serving tray like this is perfect for those moments of cuddling up and having a sturdy, adorable, surface to work on.
I love the vivid fabric in shades of navy, pink, yellow and red. Better than the fabric is the thick layer of glossy resin. Easy to clean and durable for years to come.
Do you have a tray you could spruce up? Get some colorful fabric and high gloss resin and make a stunning serving tray to enjoy any time of year.
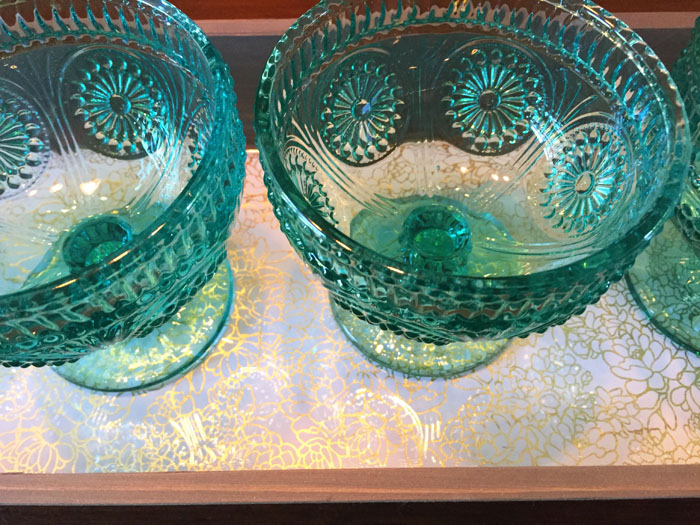
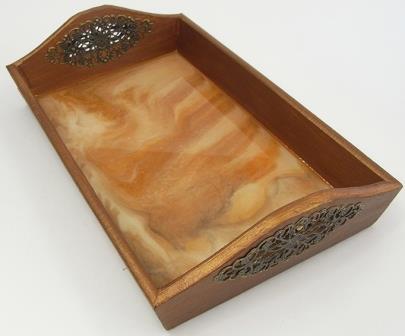
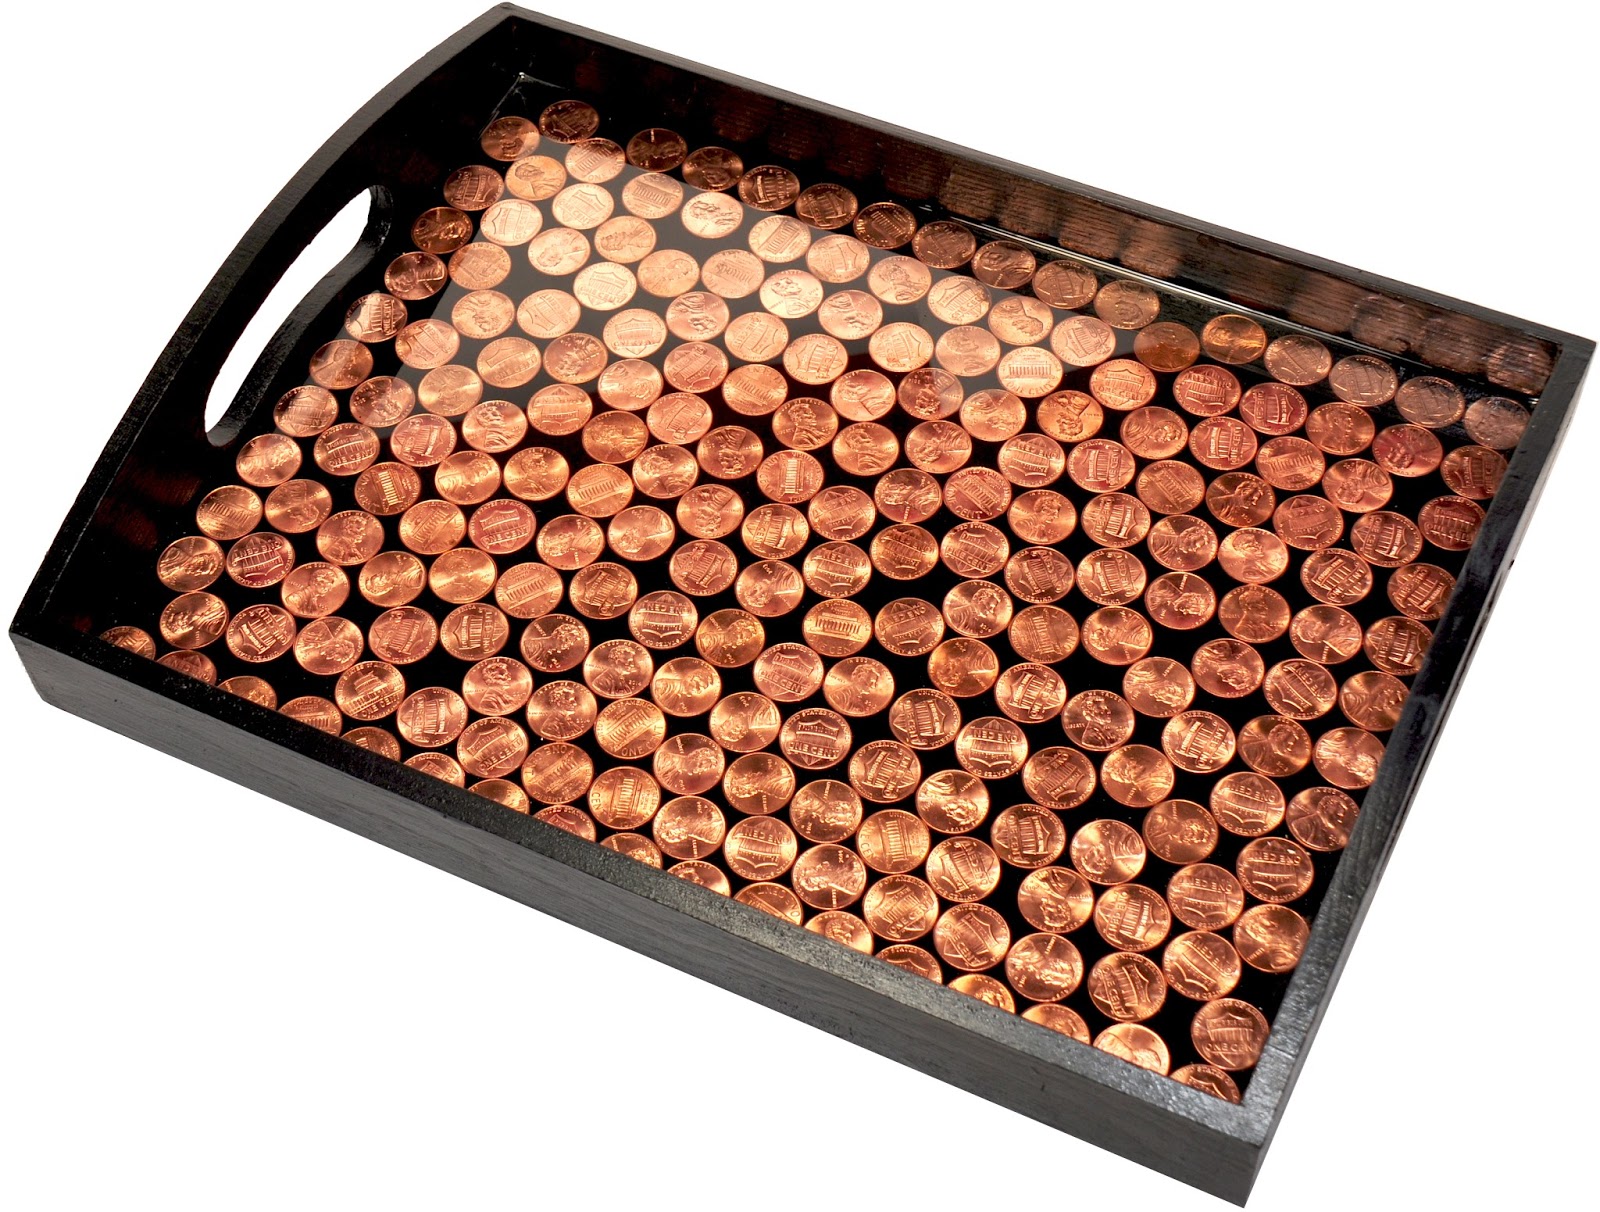
Check out these other amazing tray makeovers too:

Natalie Shaw is a Craft/DIY blogger at Doodlecraftblog.com. She loves sci-fi, fantasy and video game geekery and that comes out in many of her projects. She posts budget conscious DIY’s, crafts, jewelry, kid friendly projects, upcycled treasures and other fun on her blog 5 days a week.


Leave a Reply