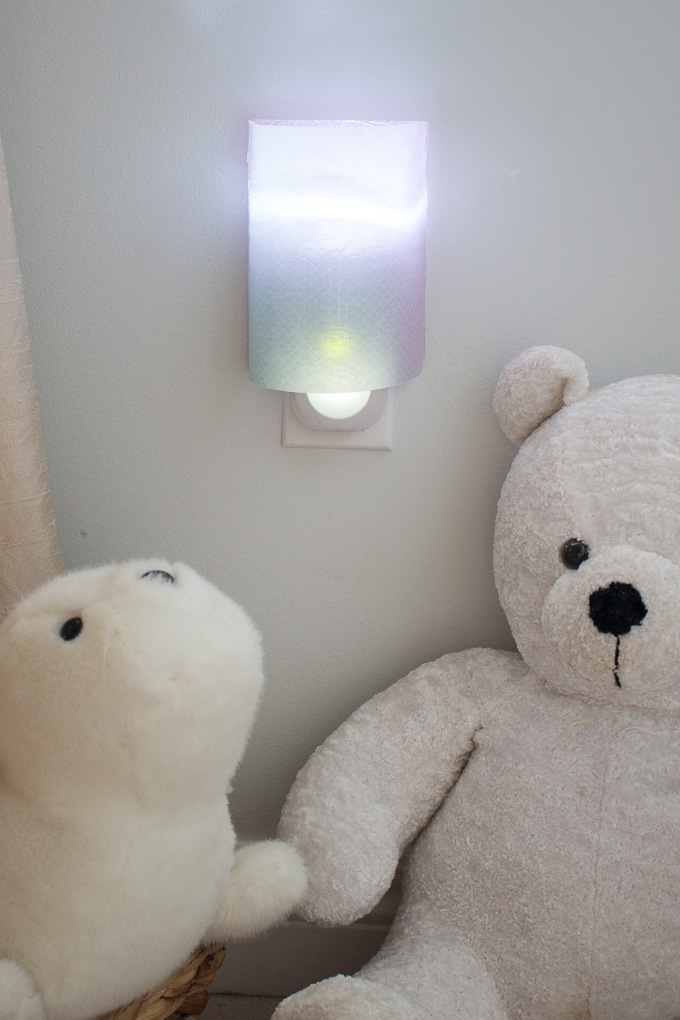
Sometimes a project doesn’t go quite as planned. While this DIY resin paper nightlight shade was supposed to be something completely different, it ended up even prettier and more practical than I’d imagined!
Hi friends! It’s Jane from Sustain My Craft Habit and I’m happy to be back with another fun resin craft idea for you. I was recently inspired to try and recreate this resin paper night light idea. It seemed pretty simple: make some pretty resin paper, re-cover a nightlight lampshade with it and away we go.
Well, you can imagine how excited I was to find a little lampshade at our local thrift store for $0.25. Surely it would fit on the little nightlight I remembered that we had at home! So, away I went and made the resin paper using a lovely mermaid scale design I found at Michaels. Then it was time to put it all together and I discovered that nothing fit. The lampshade was way too big for the nightlight I’d found. So I checked back at Michaels and they didn’t carry a nightlight kit (I discovered too late though that you can find them on Amazon).
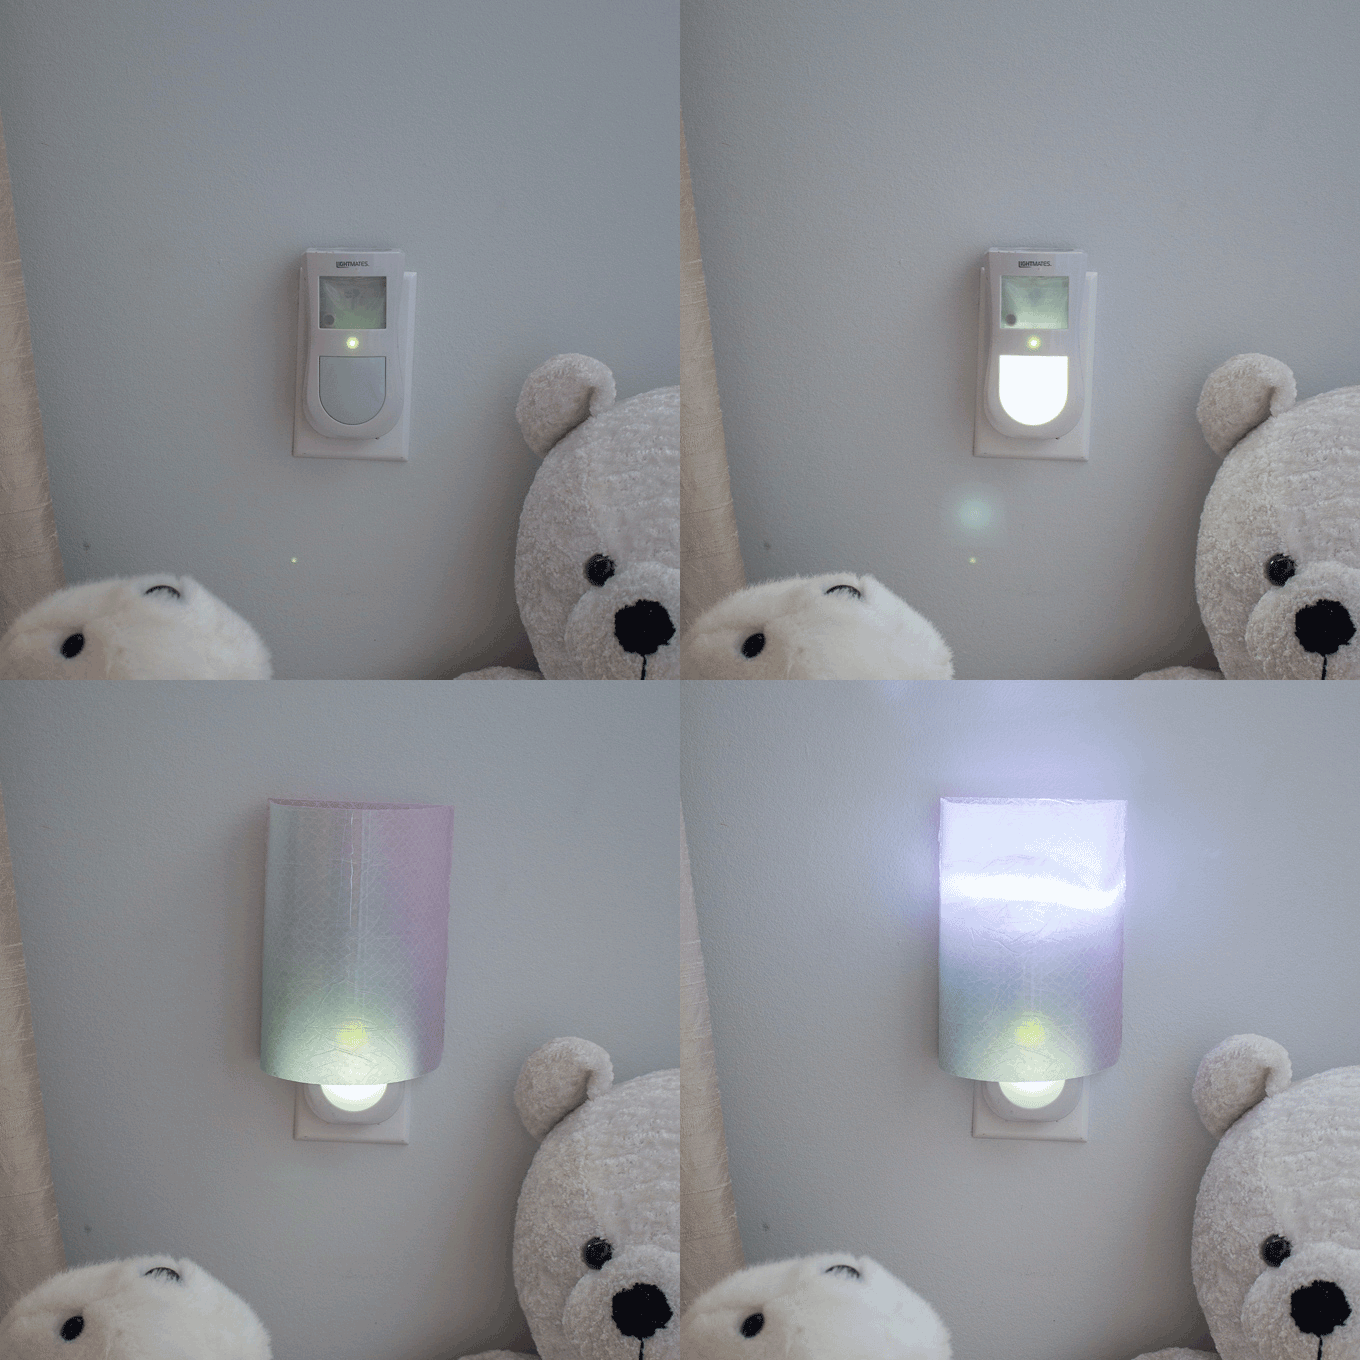
I didn’t really want to buy more nighlights though. My husband has bought so many of them over the years. We have motion-sensor activated ones by all the stairs and the kids each have them in their rooms. But… they’re not very pretty.
So my plan of action changed. I hope you like the solution I came up with.
Note: if you’re liking the idea of resin paper, check out our beach-themed resin paper embellishments post!
Materials Needed for a DIY Resin Paper Night Light Shade
To make two nightlight shades you will need:
- EnviroTex Lite High Gloss Pour-On Resin
- Decorative scrapbook paper (12”x12” sheet)
- Mixing cups, stir sticks, small sponge, gloves
- Garbage bag, tape
- Ruler, pencil, scissors, hot-glue gun and clear craft glue
- Adhesive velcro dots
How to Make a Resin Paper Nightlight Shade
Making the Resin Paper
Work in the well ventilated area and be sure to read all the instructions in the product packages before beginning your project. Ensure that your resin bottles are warm to the touch before starting for best results.
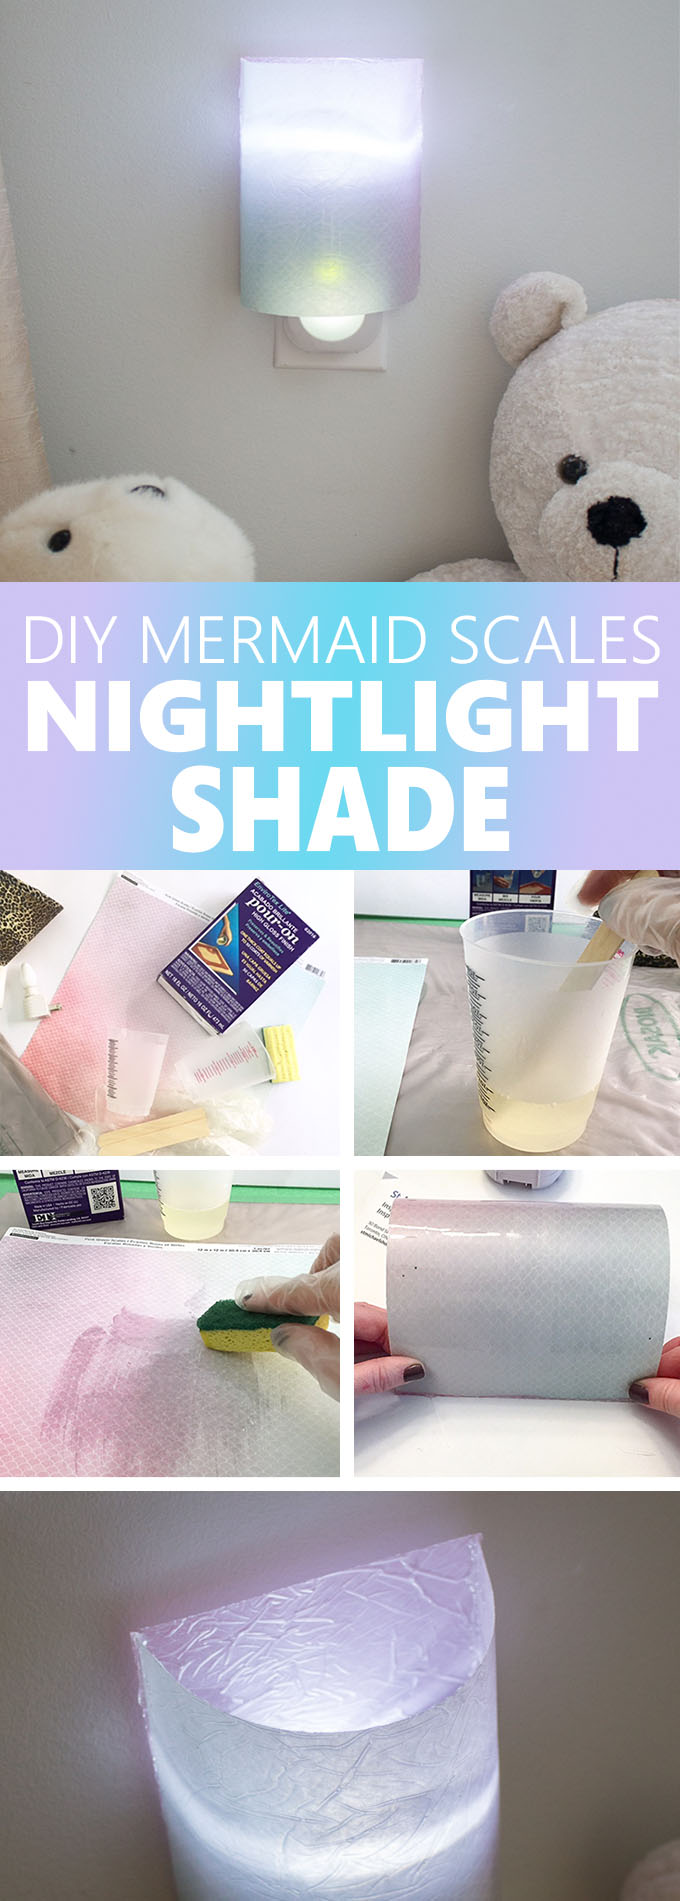
Tape down a heavier-weight plastic bag to ensure it stays completely flat. The bag I used was a bit too flimsy and ended up leaving a crinkled pattern in the resin. I think it looks really interesting in the end, but if you want a smooth finish on your resin paper, use a thicker bag.
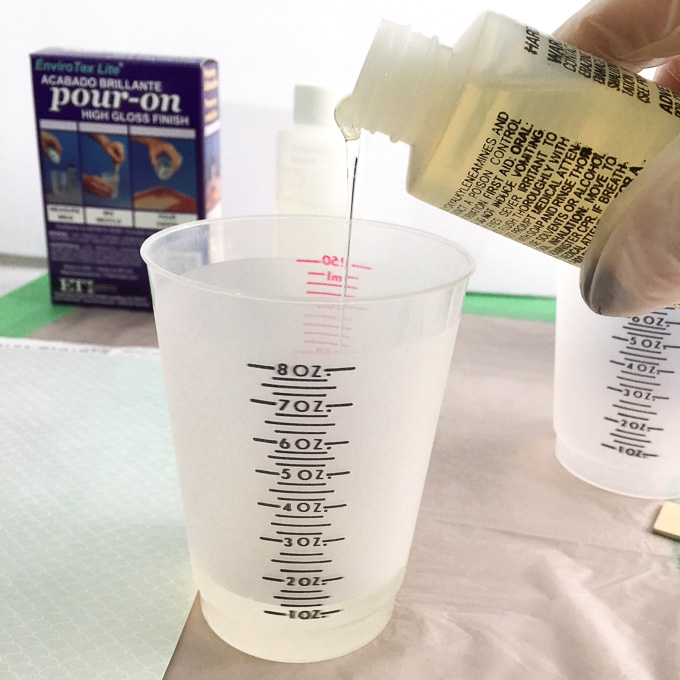
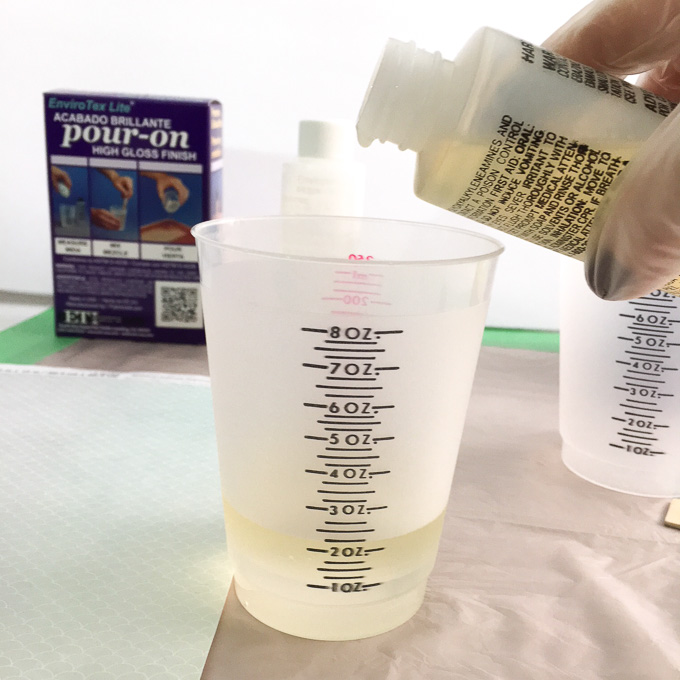
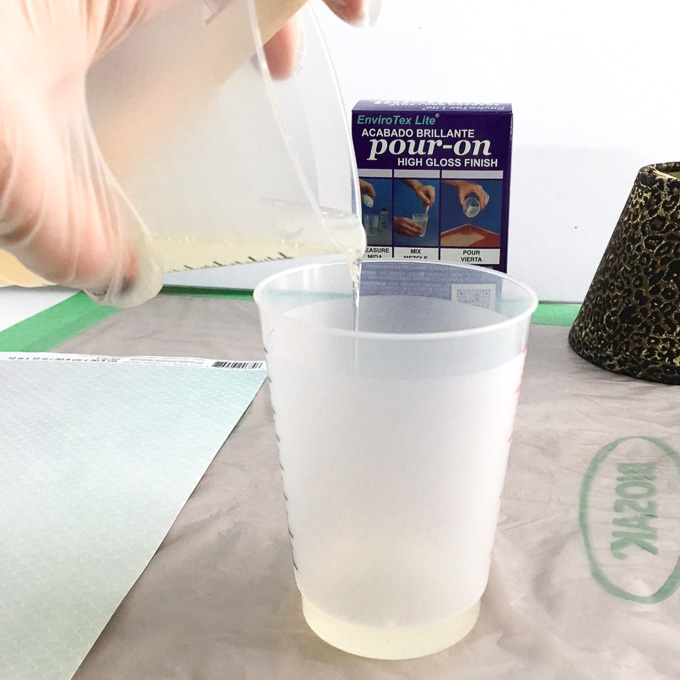
Prepare the resin mixture by mixing exactly equal amounts of Resin and Hardener into one measuring cup (0.5 ounces of each is plenty for the project).
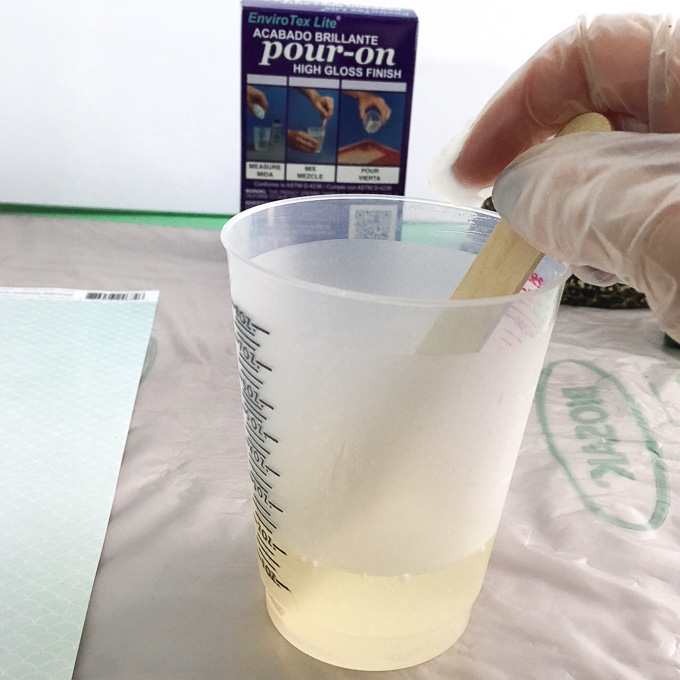
Stir continuously for 2 minutes, scraping the sides of the container.
Pour the mixture into a second cup and stir for an additional minute, scraping the sides of the container and stir stick.
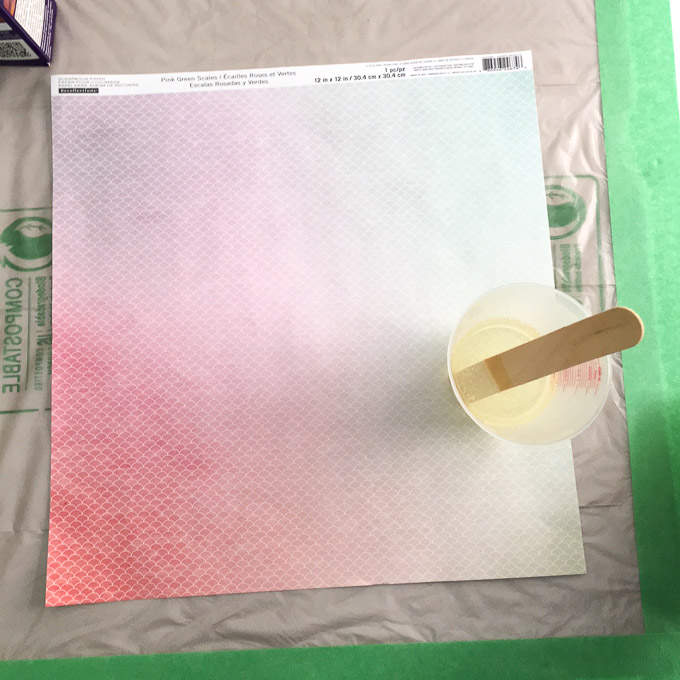
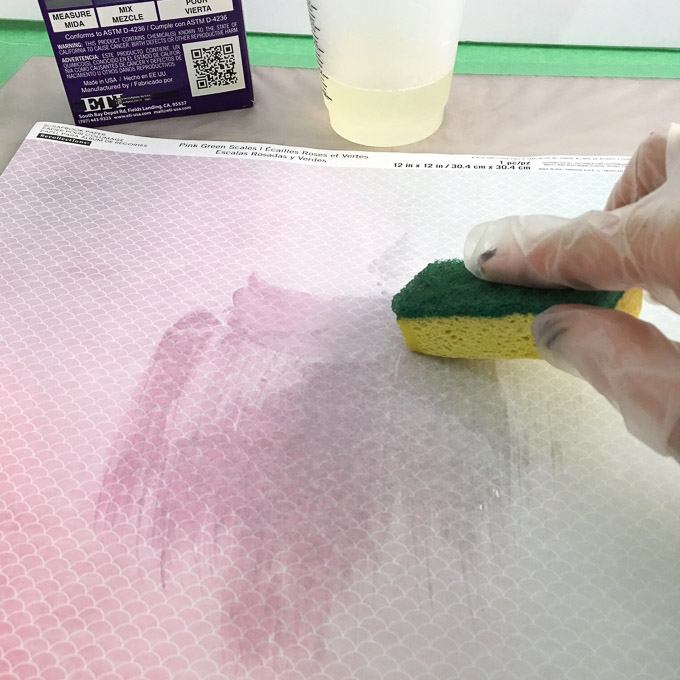
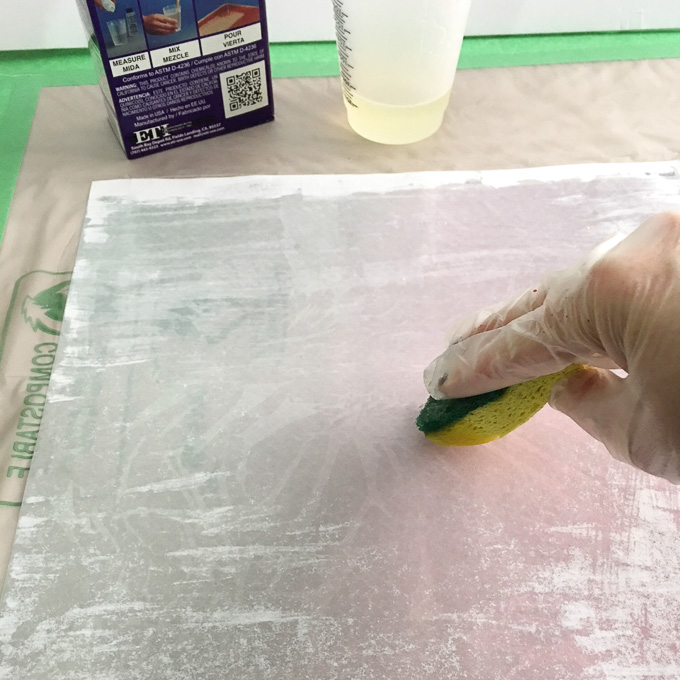
Apply a coat of EnviroTex Lite® onto the front of paper using the sponge.
Flip the paper over and apply a coat of the resin onto the back side.
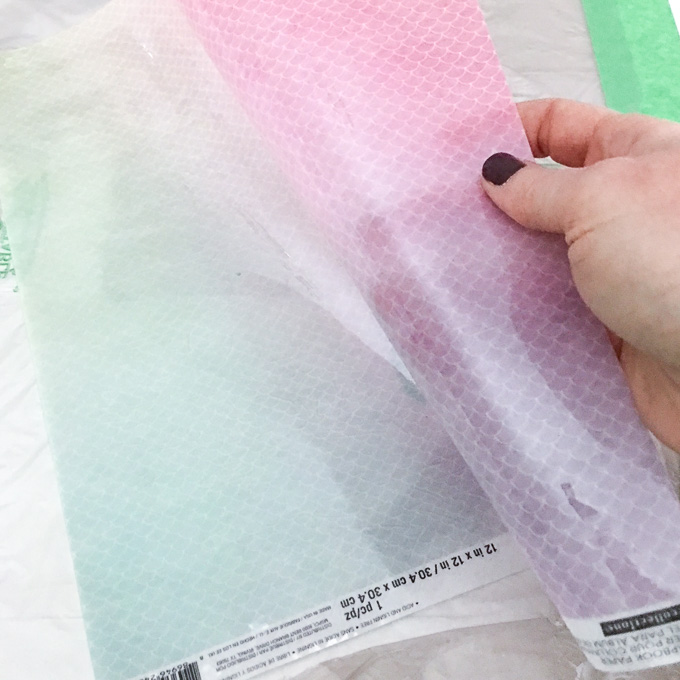
Flip the paper back to the front and smooth out any rough areas. Cover the paper to keep dust from settling onto it. Let the resin paper cure for 12-24 hours depending on your environment.
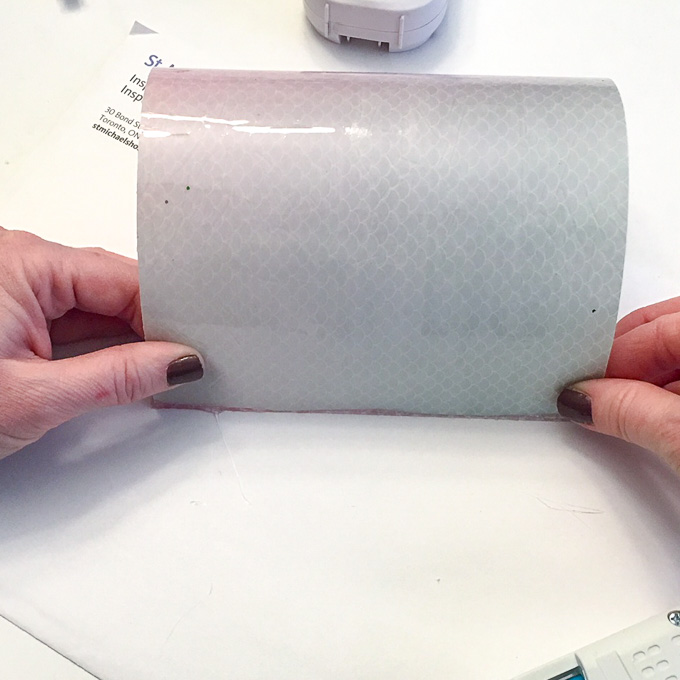
You can see here that the resin paper is glossy, flexible and translucent, perfect for a nightlight shade!
Making the Night Light Shade
To create the nightlight shade we basically made a light-weight sleeve using the resin paper which secured to the back of our nightlights. These shades could work with any nighlight with a flat surface on the back.
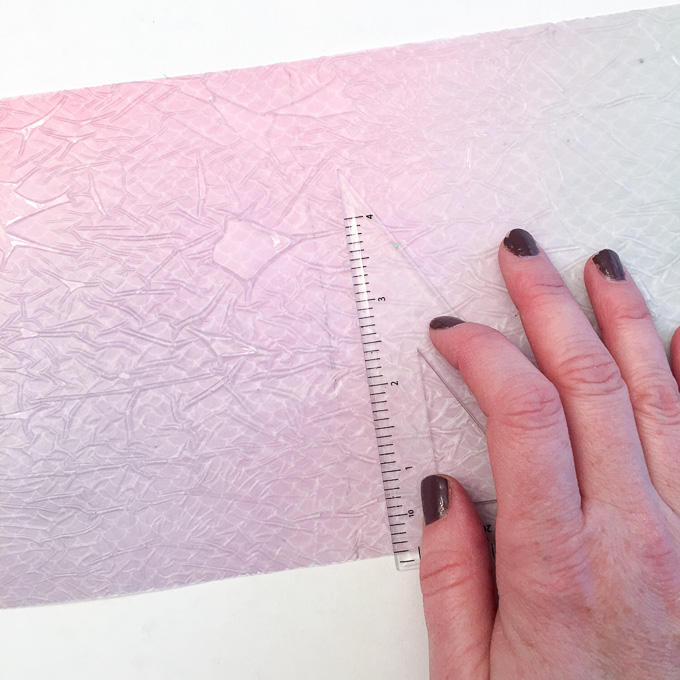
With a good pair of scissors or a rotary paper cutter, trim off any text on the paper and cut the sheet of resin paper in half. You’ll end up with two pieces, each ~6″x12″. Set one sheet aside to make a second nightlight shade with.
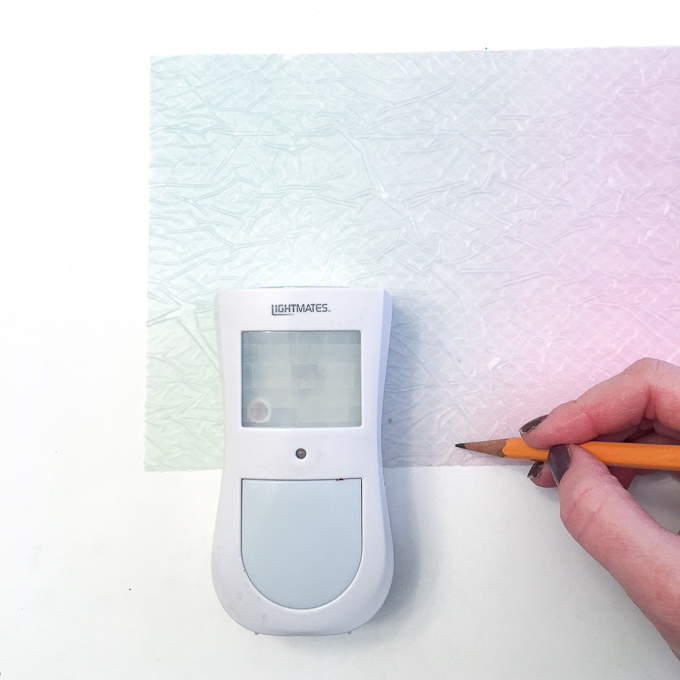
Lay your nightlight on the resin paper. Mark the resin paper on the wrong side so that there’s about 1″ on either side of the night light.
Measure a straight line and mark it with a pencil. Cut the resin paper along the line using scissors or a paper cutter. This shorter piece will become the back of the shade whereas the remaining bigger piece will be the front of the night light shade.
Lay the smaller piece on your work surface with the right side facing down. Place a line of clear hot glue along one of the longer (side) edges. Quickly press in one of the side edges of the longer piece of resin paper and hold it until the glue cools. Repeat with the other side of the shade to create a domed front side of the night light shade.
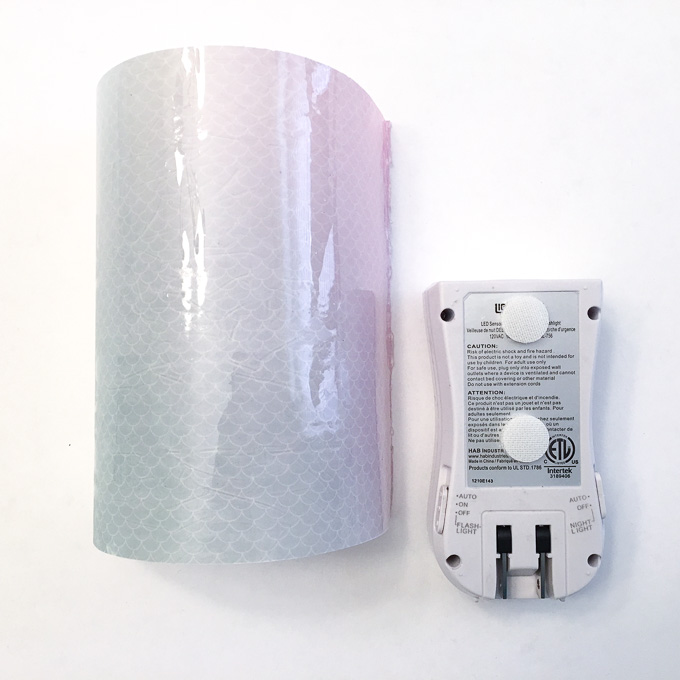
We affixed our shade to the nightlight using adhesive velcro dots. Stick both sides of the dots along the center back of the nightlight. Then carefully stick it to the inside flat side of the shade.
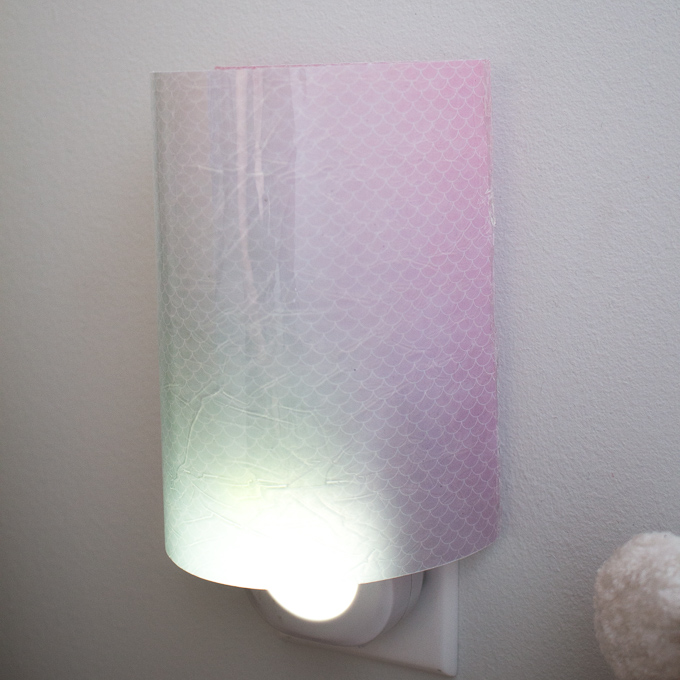
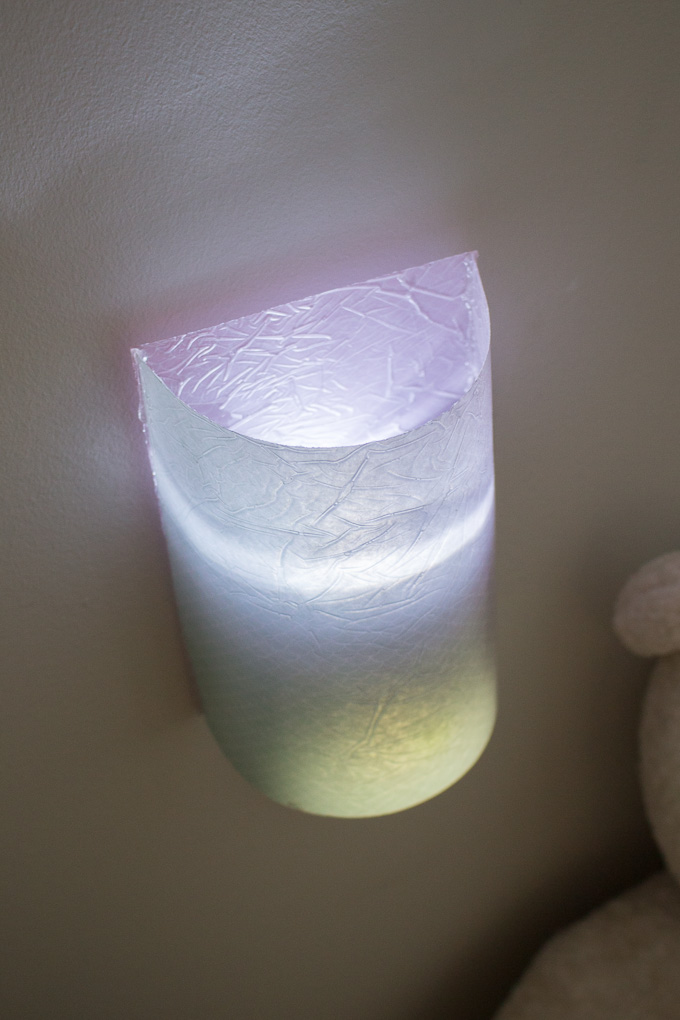
You’re done! Just plug your nightlight with it’s pretty translucent lamp shade into the wall. The nice thing about using the velcro is that you can adjust it if need be, or remove the shade completely if you don’t want it anymore.
Additional Kids Room Decorating Ideas
As soon as my 6-year old saw her new mermaid-inspired nightlight shade she had to have it! I was quite relieved that she gave her seal of approval, given the challenges I had in making it all work. But if she’s happy, I’m happy 🙂 . And if you are interested in more kids’ bedroom decorating ideas, visit our nursery-friendly nightstand makeover , this woodland themed wood slice and resin garland, and this cute cactus wall art idea.
Are night lights used in your home?
Like it? Pin it for later!
Jane and Sonja are sisters, moms and lifelong craft addicts both living near Toronto, Canada with their families. They share their love of creativity, nature and coastal DIY ideas on their blog Sustain My Craft Habit. They craft and decorate their homes using repurposed and upcycled items and materials found in nature.




Leave a Reply