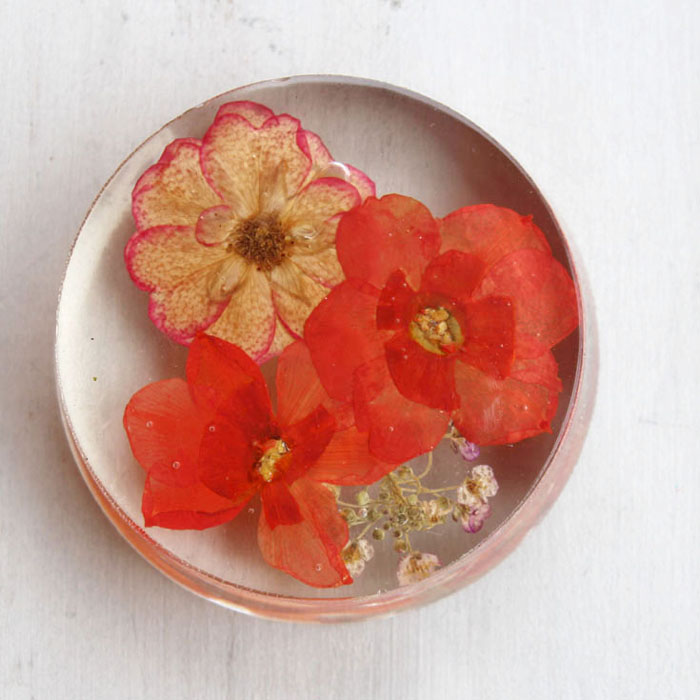
Pressed Flower Paperweight DIY
Hi Resin Crafters! It’s Natalie from Doodlecraft, sharing another fun resin project with you. I love fresh flowers but, in the first place, I have major allergies to them–so beautiful bouquets for Valentine’s day are simply out of the question. This simple pressed flower paperweight is the perfect way to enjoy the beauty of flowers, without the allergies. Additionally, you can press your own flowers and then enjoy the loveliness of a bouquet for years to come!
Let’s get started! Gather supplies:
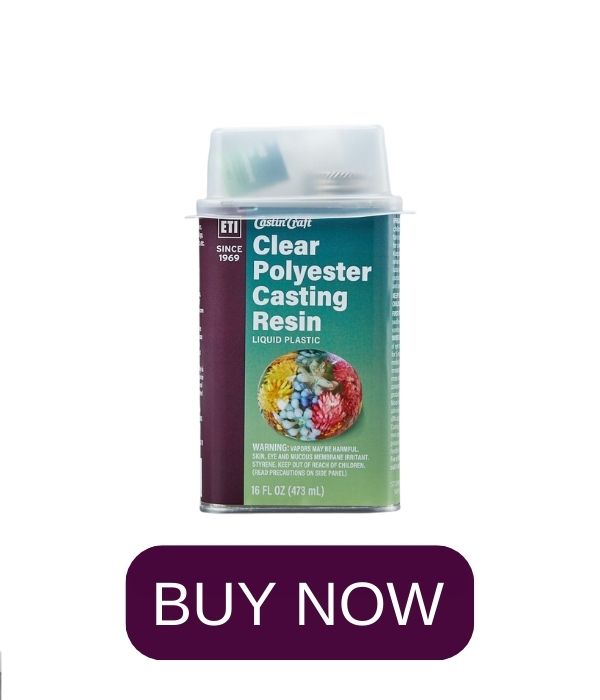
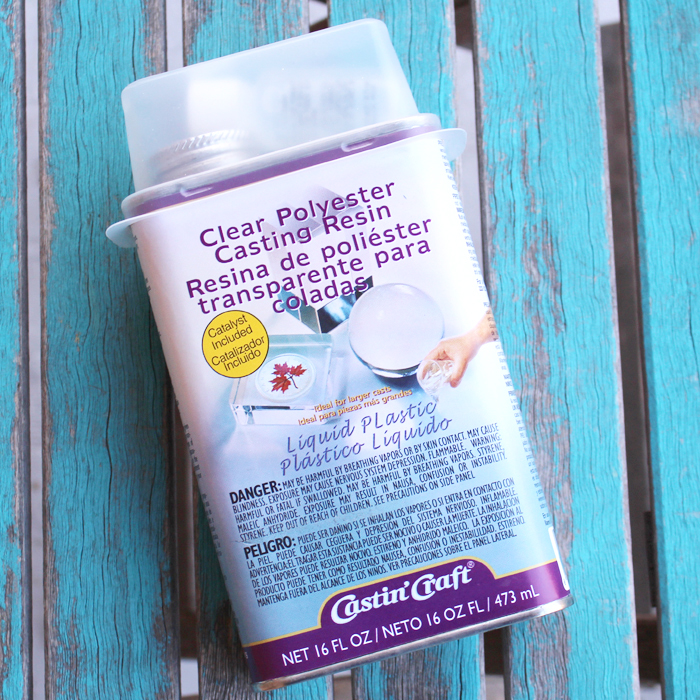
- Castin’ Craft Clear Polyester Casting Resin
- Pressed Flowers (you can smash your Valentine Flowers in a flower press or between the pages of a heavy book)
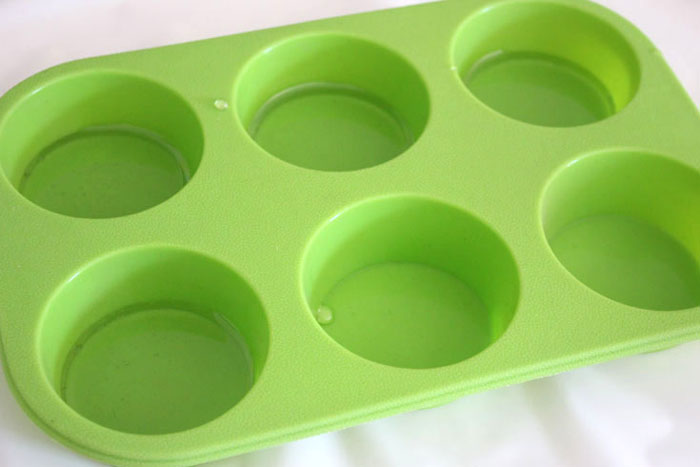
- Silicone Mold
- Disposable work surface, gloves, cups and stirring sticks

Set up the silicone mold on a disposable work surface. Wear gloves and read the directions when working with the casting resin. Mix the clear resin and catalyst in a disposable cup and stir according to package directions. Fill a few cavities in the mold with about 1/4 inch of the mixed resin.
Let it sit and gel for about twenty minutes. Next, add a few pressed flowers right on top of the clear resin. Next, mix up more clear casting resin as done previously.
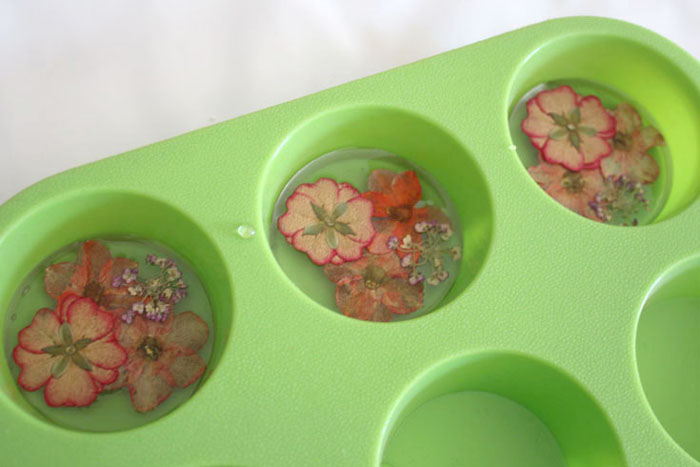
Pour the resin over the top of the flowers to encase them completely. Let them sit for 24-48 hours to cure.

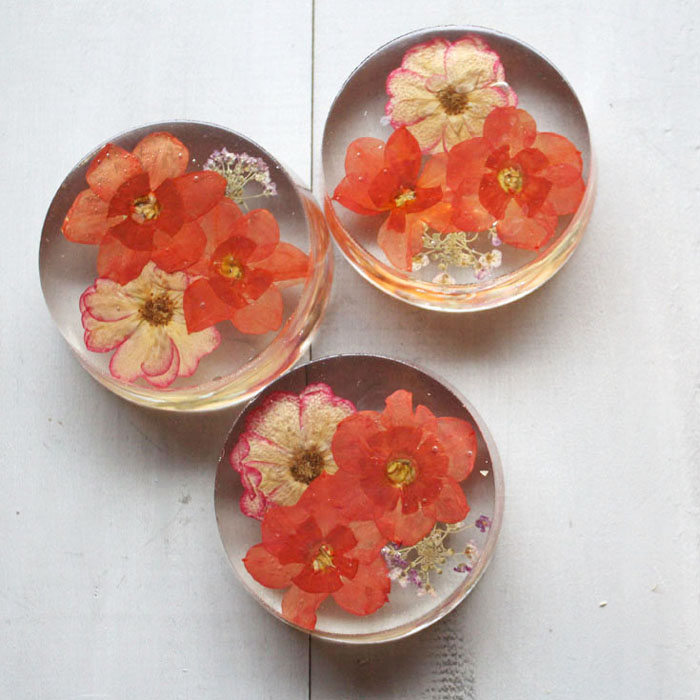
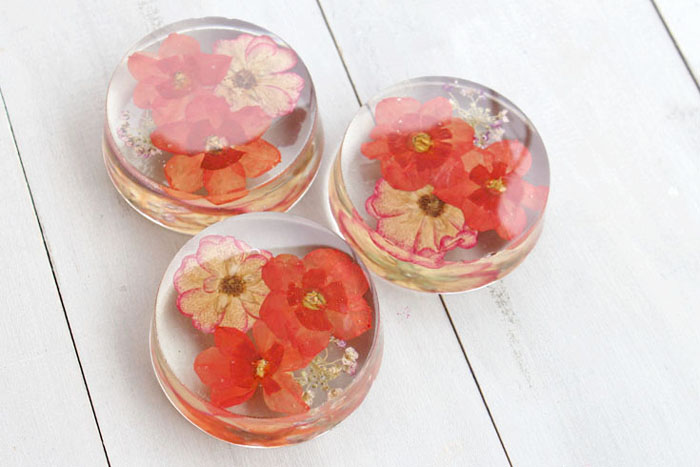
Temperature will make a difference, it needs to be fairly warm to set well. Once the resin feels firm and doesn’t smell (that’s a good indicator if it’s completely cured), then pop them out of the mold. Use a nail file and gently file any edges that are rough, until they are smooth. Now the paperweights are ready to use and enjoy.
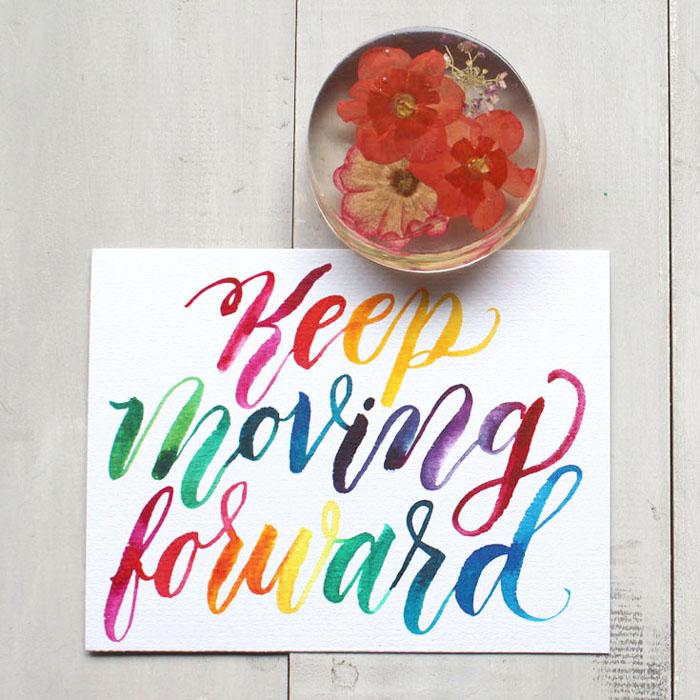
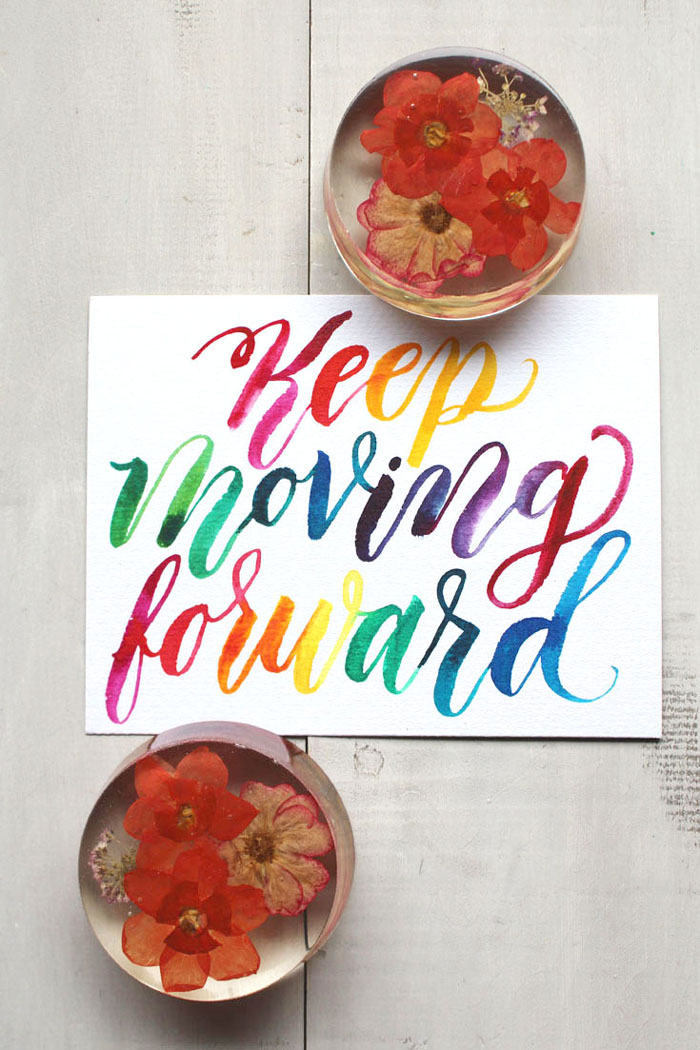
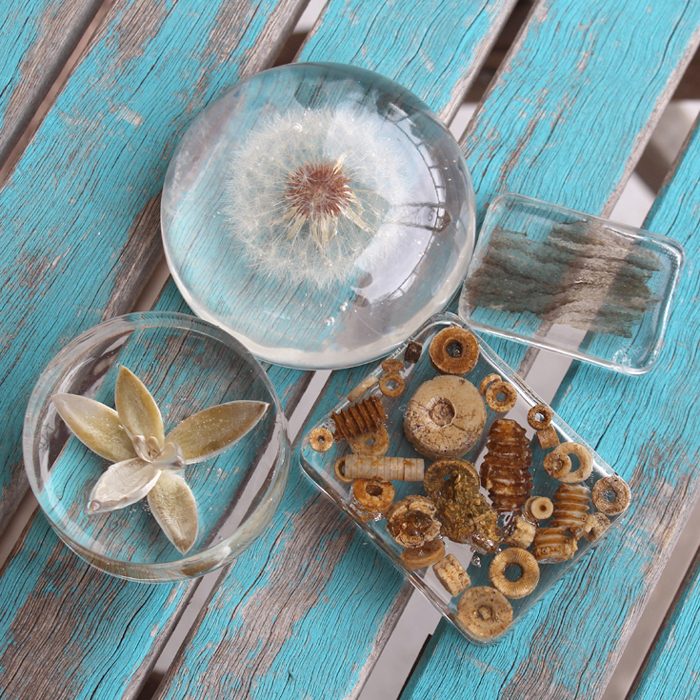
They are stunning and vibrant. It looks great with an inspirational quote on the desk. Another option would be to glue a magnet to the back and stick them up on the fridge.The layers of flowers are fun and fresh, a great bouquet for those of us that have allergies…or want to enjoy Valentine’s bouquets for years to come. If you haven’t used resin yet for crafting, now is the perfect time. Get creative and make something beautiful!
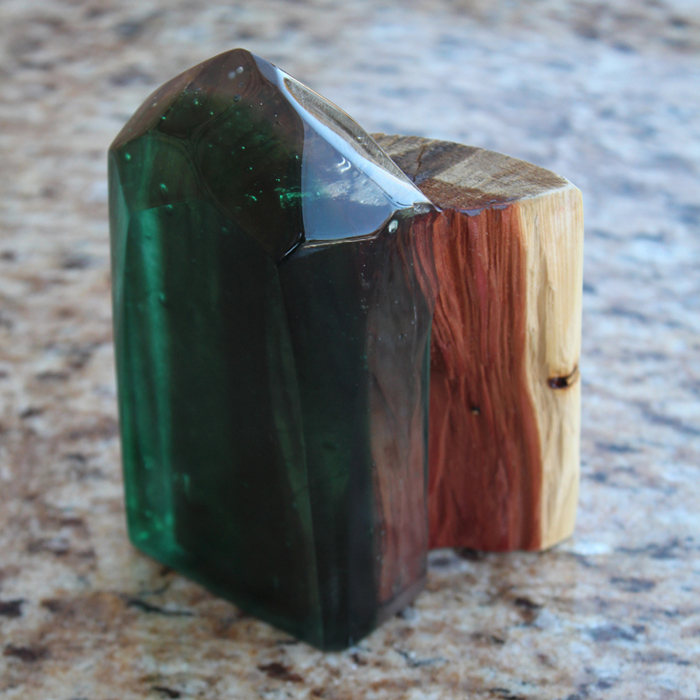
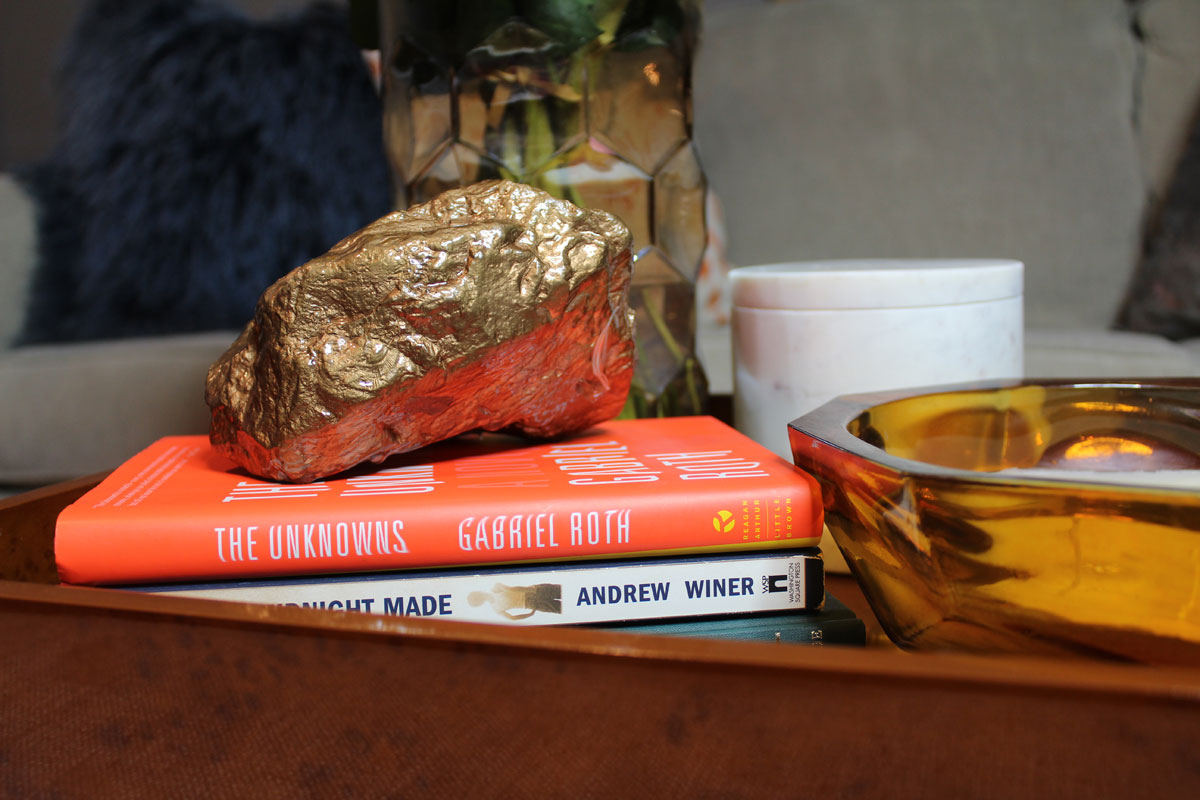
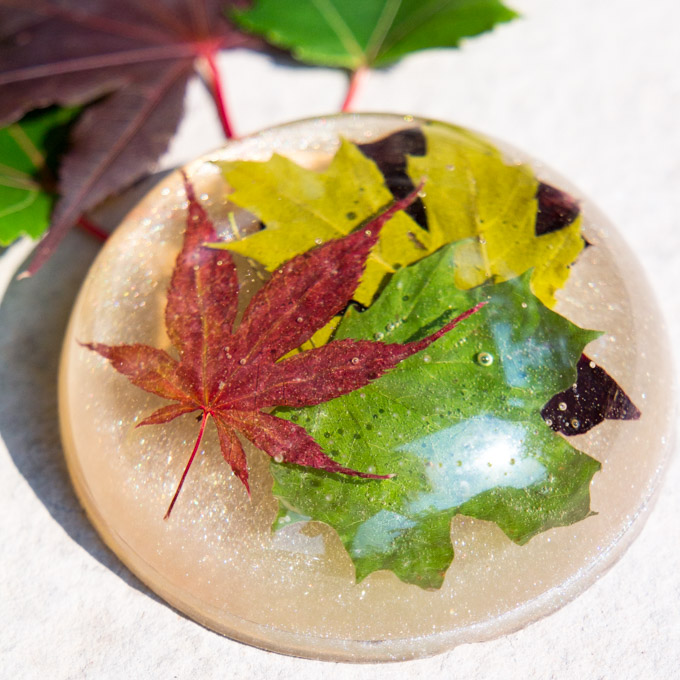
Check out these fun paperweights too!


Natalie Shaw is a Craft/DIY blogger at Doodlecraftblog.com. She loves sci-fi, fantasy and video game geekery and that comes out in many of her projects. She posts budget conscious DIY’s, crafts, jewelry, kid friendly projects, upcycled treasures and other fun on her blog 5 days a week.


Really pretty Natalie! I still love the leaf paperweight I made in the fall. Such a nice, personal touch of nature in my office at work.
I have different size molds. I have a couple that are 2 oz. , a few that are 2 1/2 oz. , and a couple that are 4 oz., the 2 and 2 1/2 oz ones are about an inch thick the 4 oz ones are about 1 1/2 inches. how much catalyst would I need to put in.
Hi Jill,
If you still need to buy the resin, using EasyCast is much simpler, just a 1 to 1 ratio. If you already have Clear Casting Resin, mix small batches and read the package directions carefully, based on the quantity you are mixing at a time is the amount of drops of catalyst to add. If you are still unable to figure it out with confidence, please call for staff help the “contact us” section at ETI-USA.com.
Hi,
Do you ever use a pressure pot ?
I am new to this and of what I have seen while reading reviews etc etc I believe it removes all the bubbles and makes it a crystal clear finish.
I just wonder if it makes any difference when casting ?
Never used one, sounds like something I need to check out too. Thank you for reaching out!
What is ‘catalyst’? Is it the Castin Craft that is shown in the post or is it two different products?
The Castin Craft comes with the big bottle of resin and the catalyst (small bottle) which activates the resin. This way the resin doesn’t harden and cure in the container. Just add the recommended amount of drops to the resin and it will enact the chemical change that allows the resin to harden. 🙂 Hope this helps!