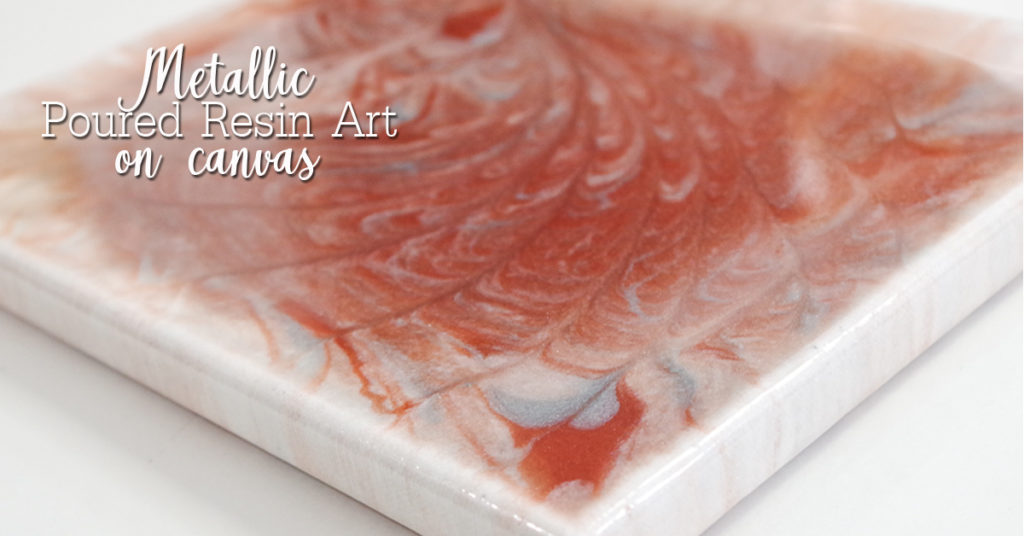
I absolutely love making poured resin art, and this project was no exception! Today I’m going to show you how I experimented with acrylic paints and resin and how I created this beautiful shiny piece of metallic poured resin art on canvas.
Supplies:
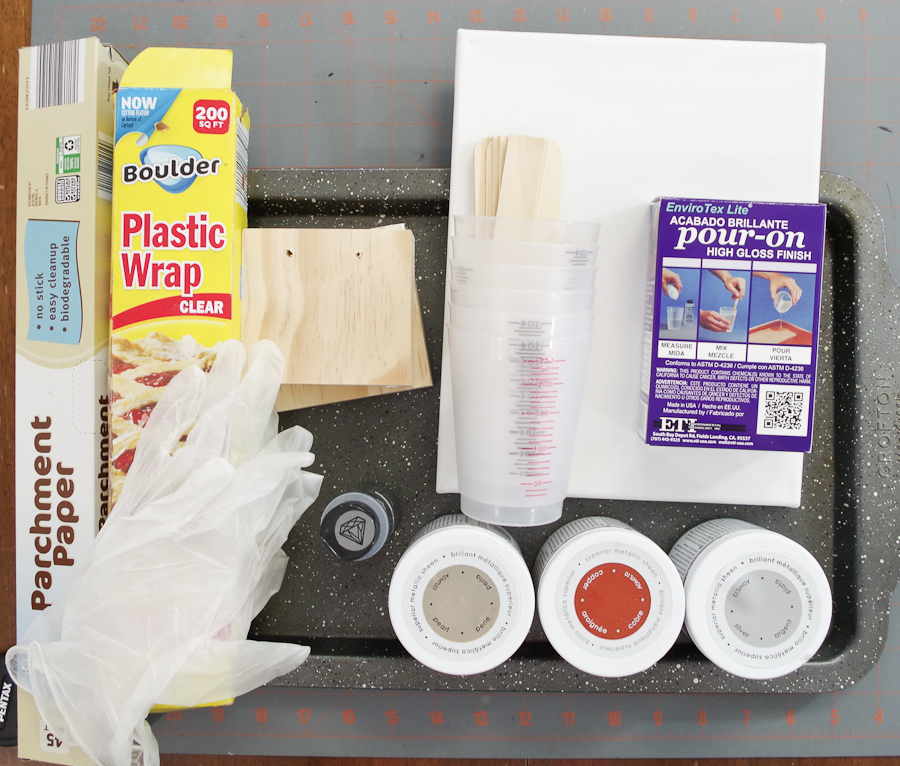
- Art Canvas
- Envirotex Lite
- Metallic acrylic paints
- Disposable Cups and Stir Sticks
- Vinyl gloves
- Eye protection
- Cookie Sheet, plastic wrap and parchment paper (surface to catch excess resin, you could also use a cardboard box.)
- Spare blocks of wood or something to elevate your canvas
- paint brush
Prepare Surface:
The first step is to protect your table or floor by creating a surface to catch the excess resin after the pour. I used an old cookie sheet, covered it in plastic wrap, then added a layer of parchment paper. This worked very well and was easy to clean up when I was done. 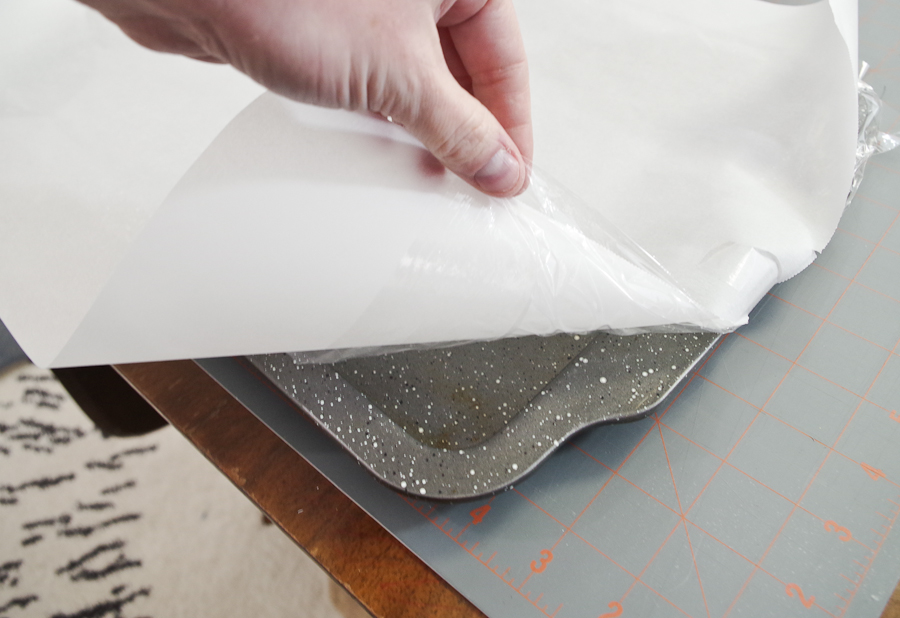
Next, you’ll want to elevate your canvas onto a couple of scraps of wood or something that is disposable. The excess resin may make contact with these and you will want to just throw them out. Another thought would be plastic cups or old containers that you can toss.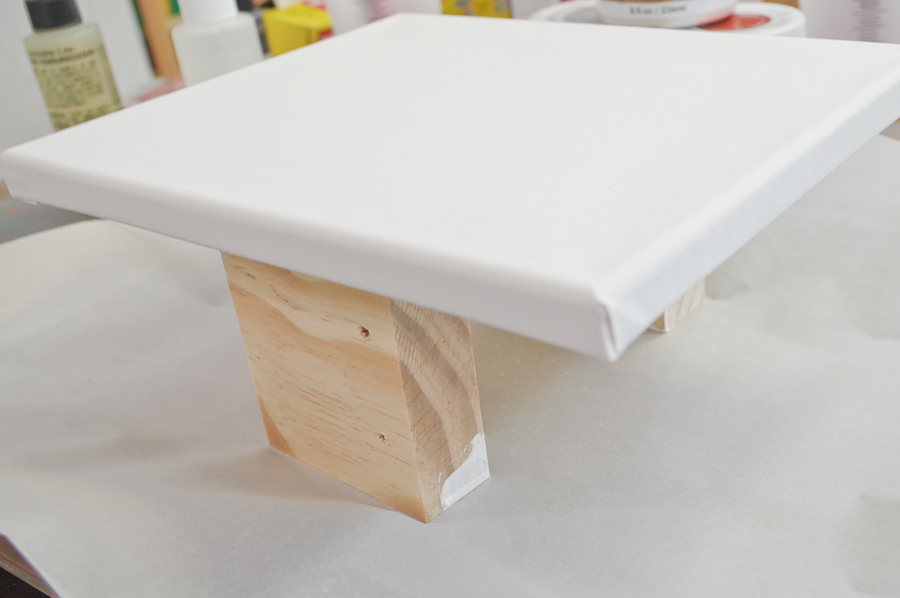
Mix and Color Resin:
Envirotex Lite comes with great instructions on mixing, so be sure to read those. Put on your gloves and eye protection and get ready to mix.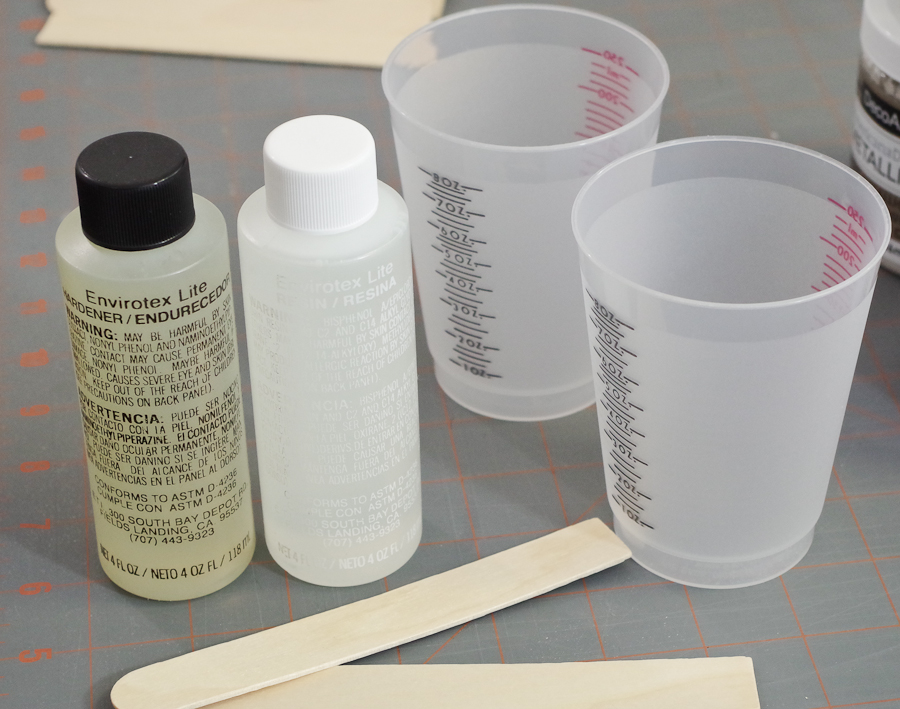
Add equal parts of A and B into a disposable measuring cup.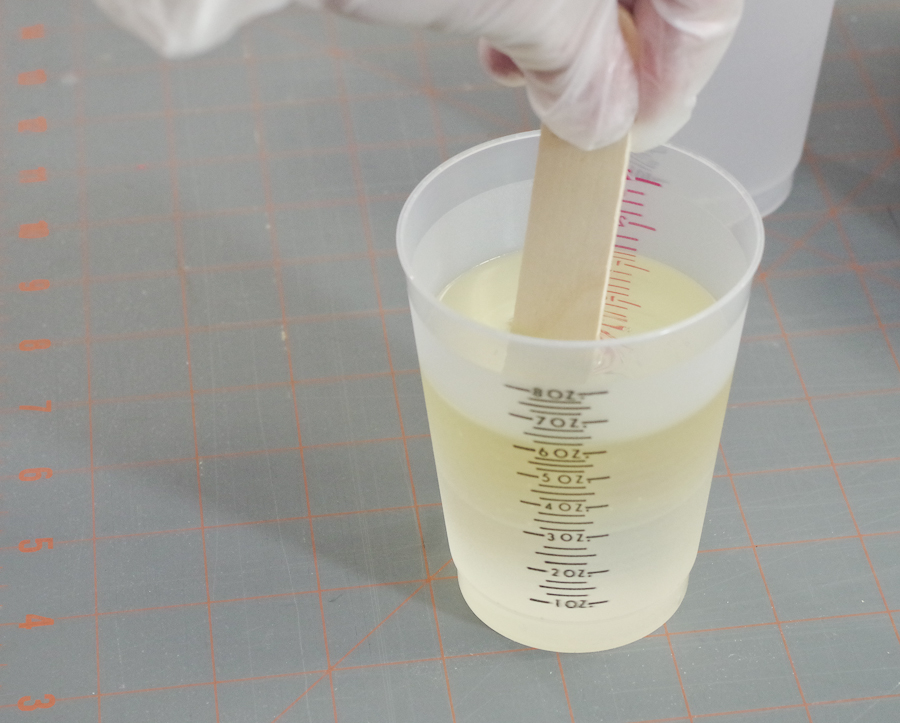
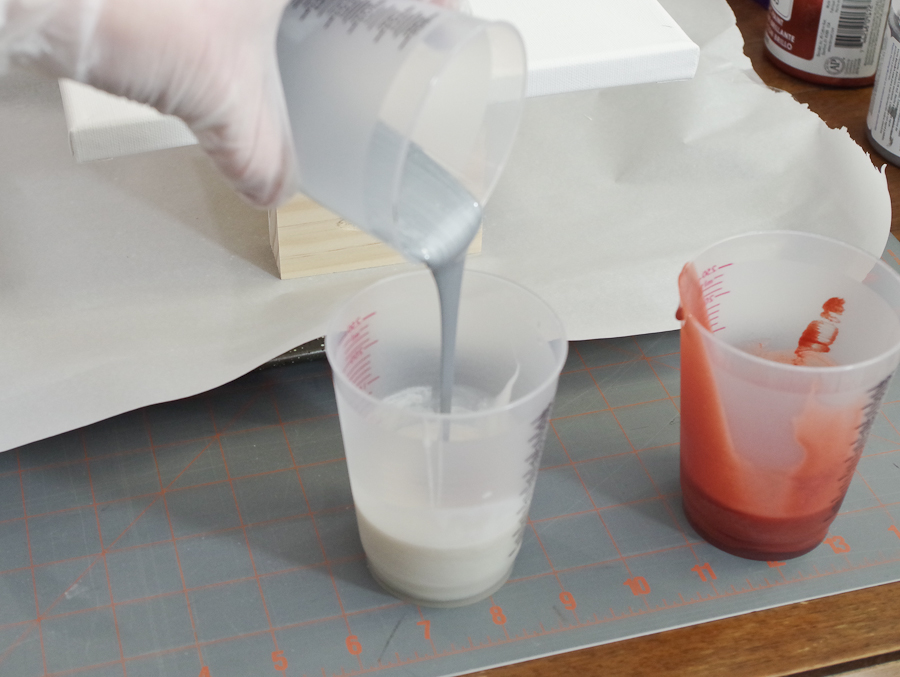
Next, stir this completely until it is clear and no longer cloudy. Pour various amounts of the mixed resin into three other cups for coloring.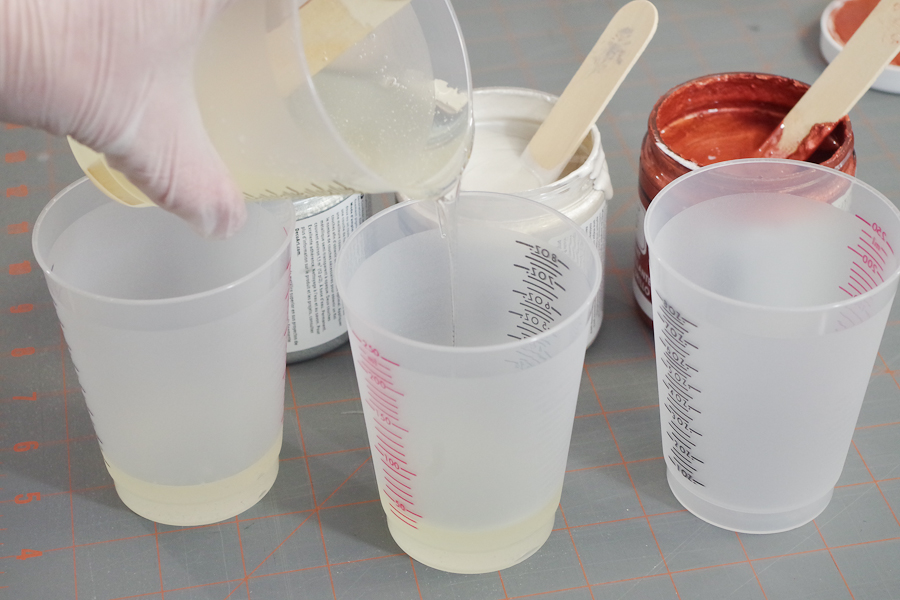
Use stir sticks or paint brushes to add the metallic acrylic paint to your resin. Be sure to only use as much as you need for the color, the less paint the better for the resin to cure later on. Stir the paint and resin thoroughly. Use clean stir sticks to do a final stir.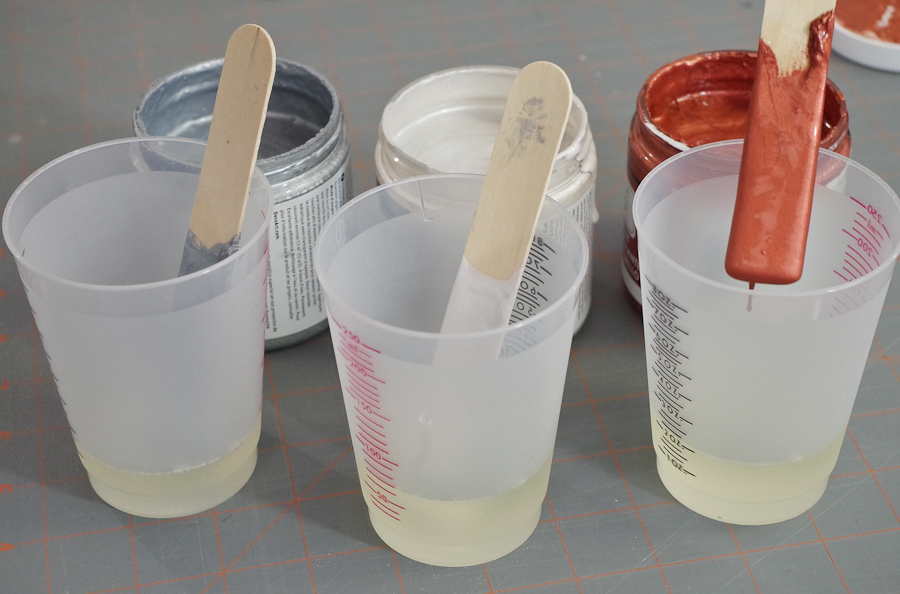
Pour Resin:
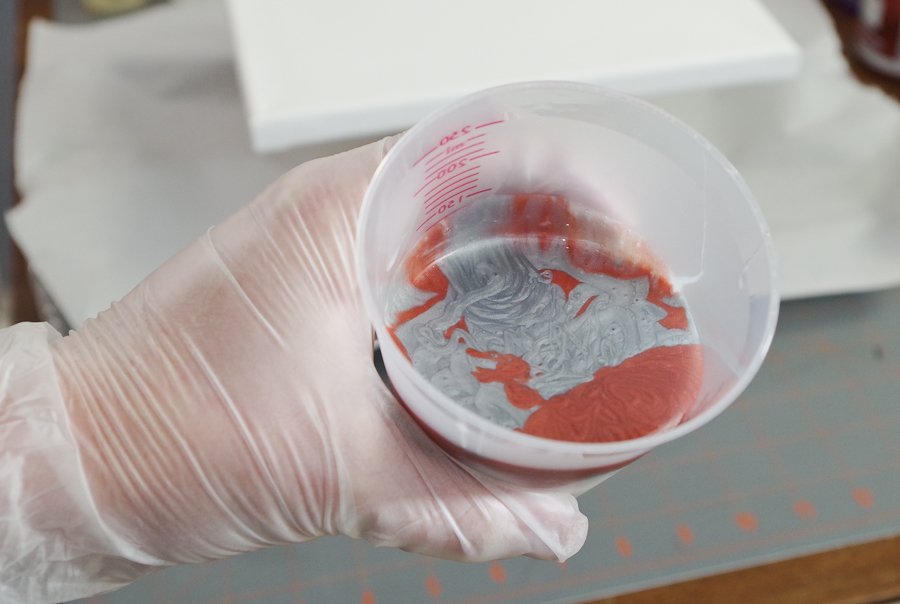
Once you have each color mixed, you are going to what is often called a “dirty pour”. Pick one color to be your base, then pour different amounts of the other colors in a little at a time. 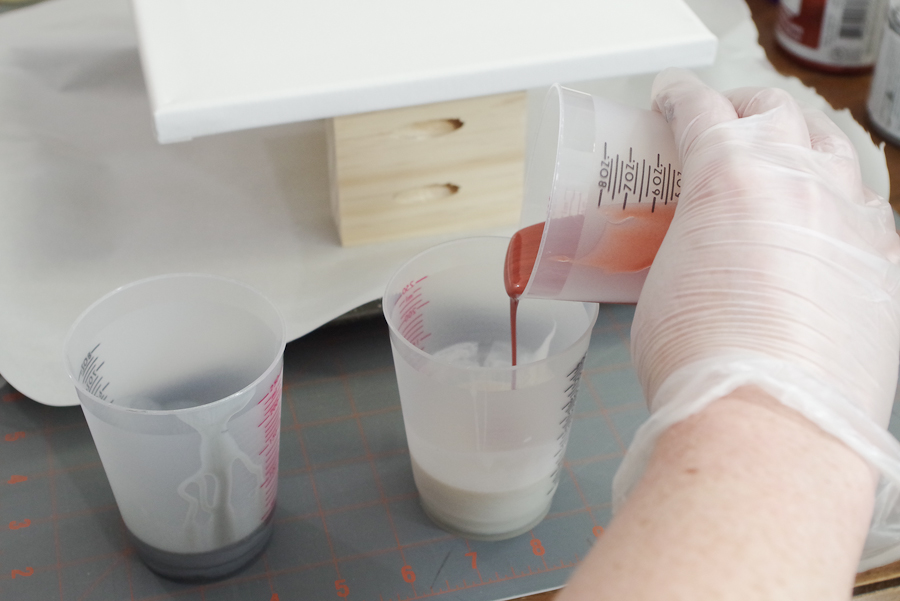
Once they are in, stir just one time to add variety to the layers.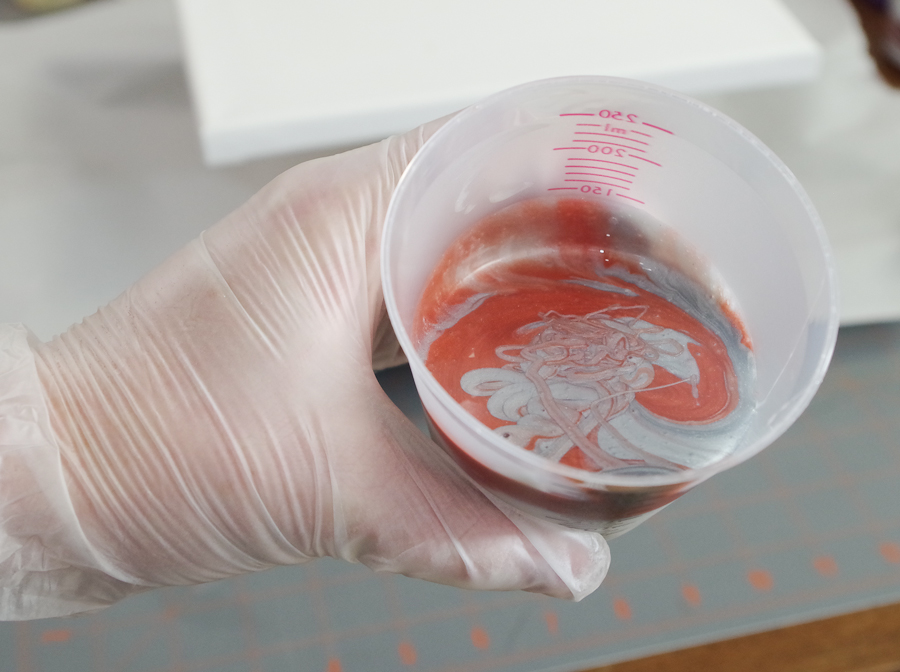
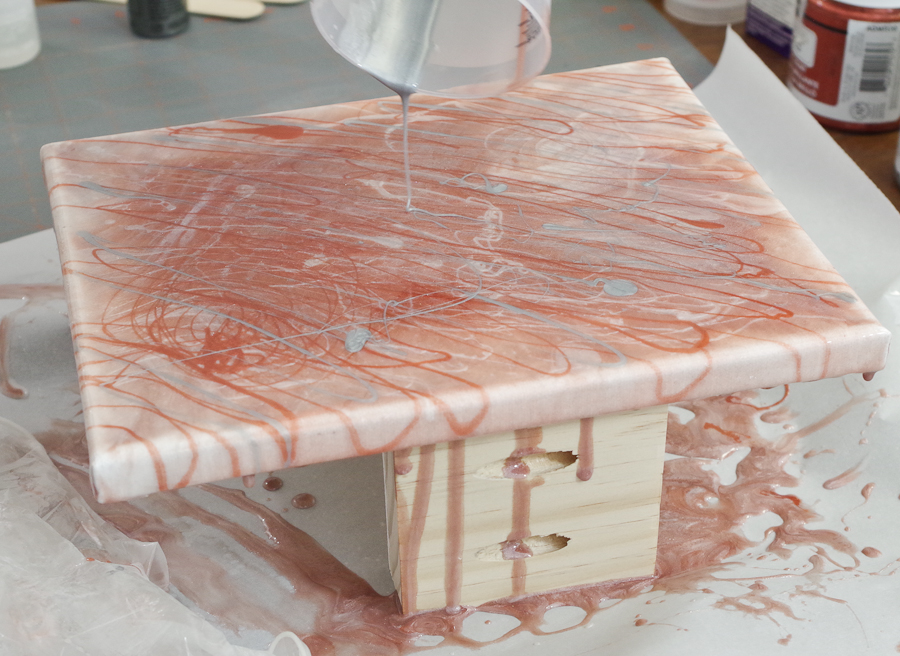
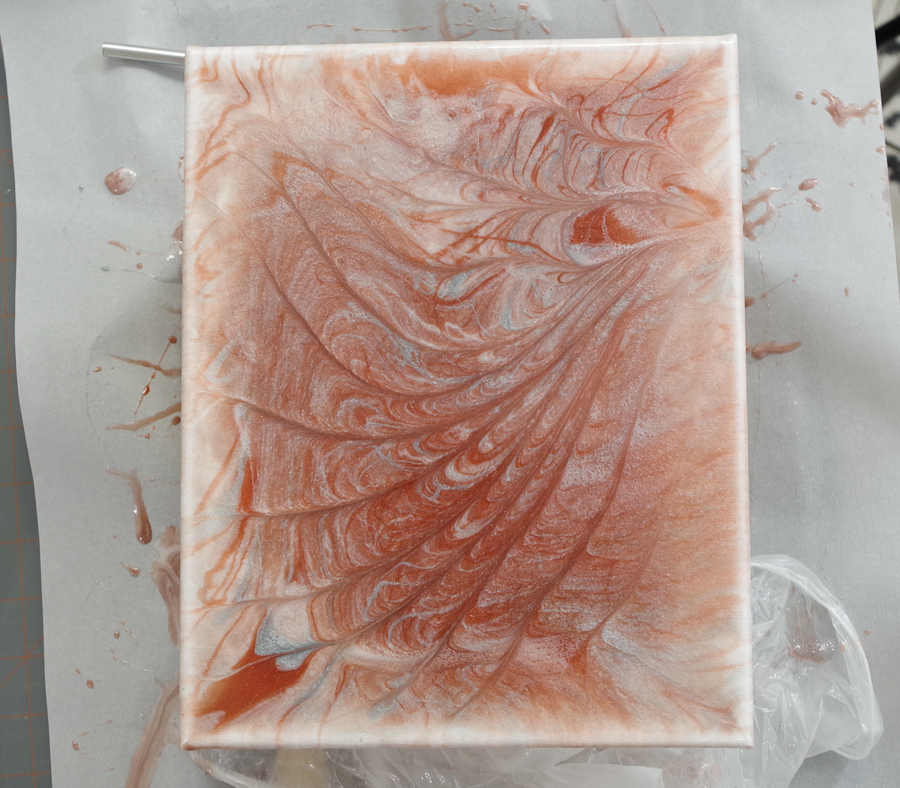
Pour the resin onto the canvas.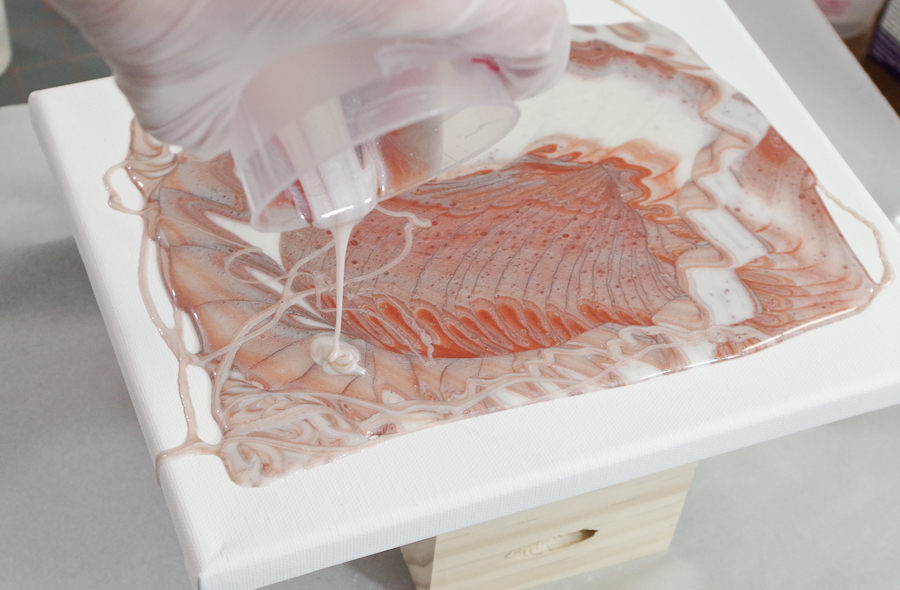
Tip the canvas slightly to spread the resin across the entire thing. Then, pour any excess resin from each cup making a pattern over the base layer.
Here, I opted to use a stir stick and drag it through the resin creating a unique look, but that’s just up to the artist, you!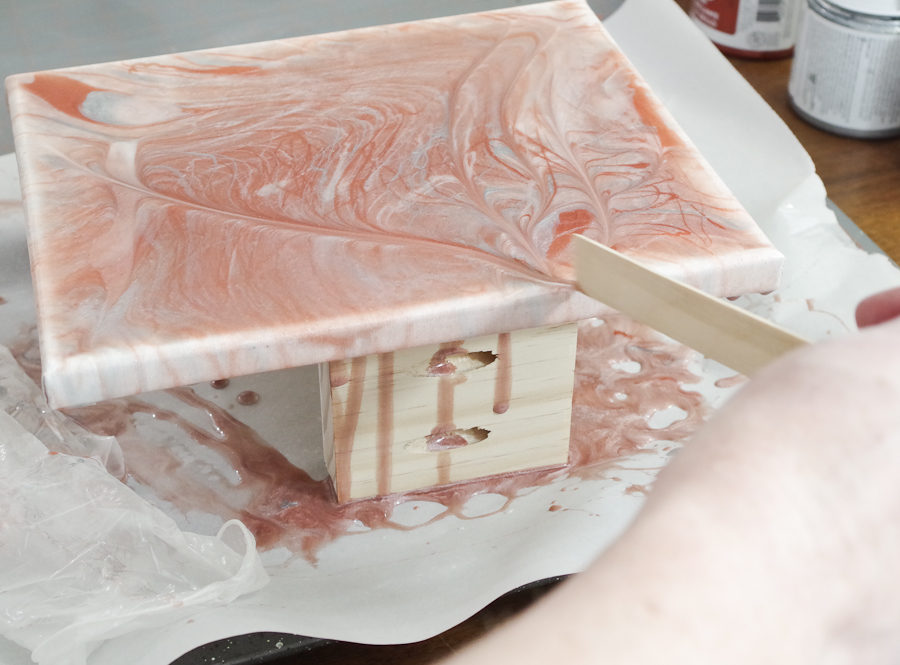
Use a micro-butane torch to pop any bubbles. You can also exhale over the entire thing and it will pop bubbles, the micro torch is just much faster.
Once you have fulfilled your artistic desires, let the resin set for 24 hours. It will continue to shift and change a little before it totally sets.
Finished:
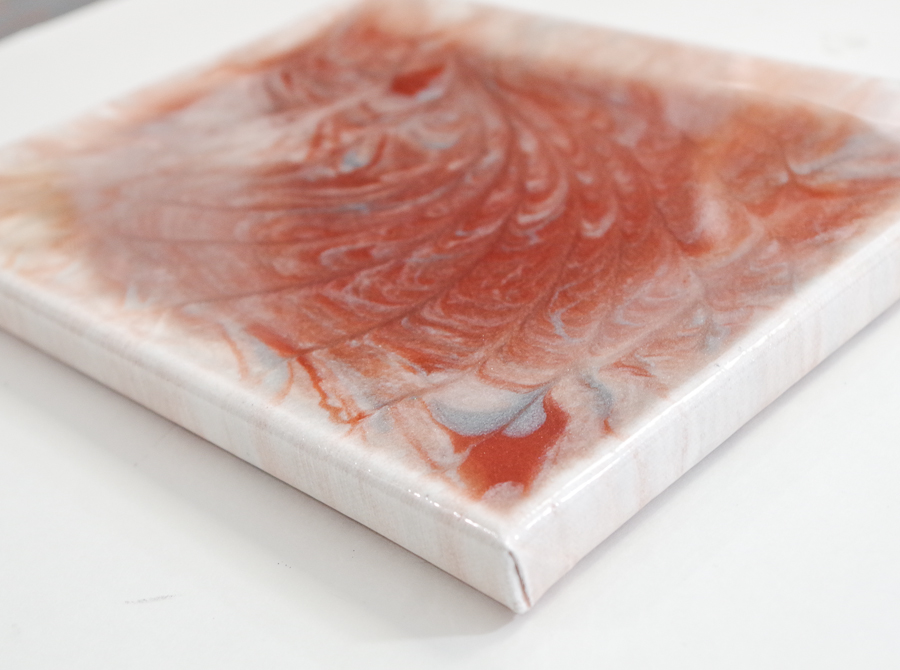
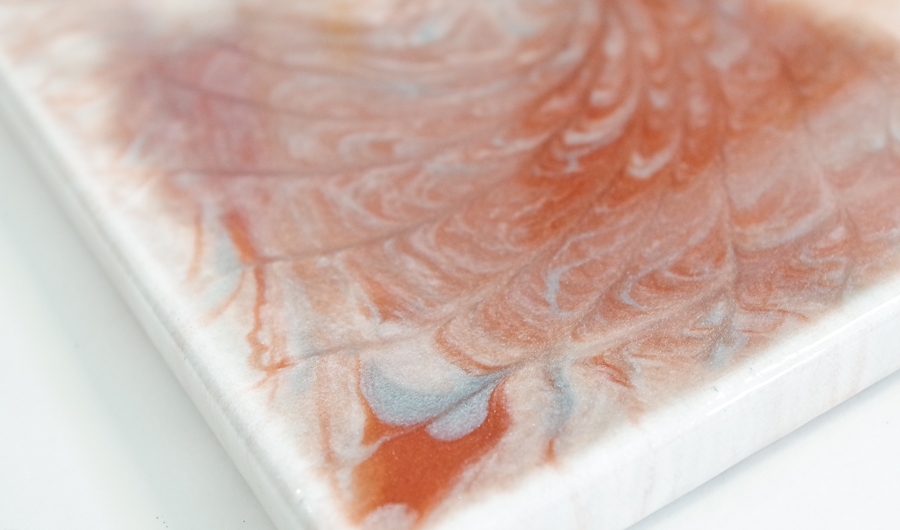
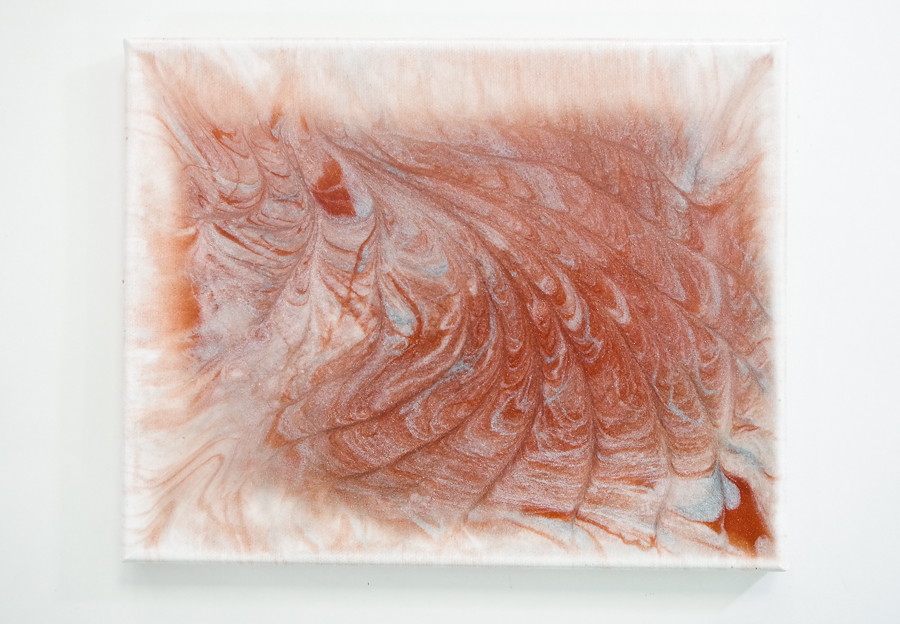
And there you have it. A beautiful piece of art on canvas that can be hung anywhere you want in your home. I just love the sparkle and shine that the metallic paints added.
I hope you can see the metallic sparkle in this, it’s really very pretty and adds a lot of dimension.
Thanks so much for reading! And as always, if you have questions or ideas, please share in the comments. Pin this project on Pinterest too! 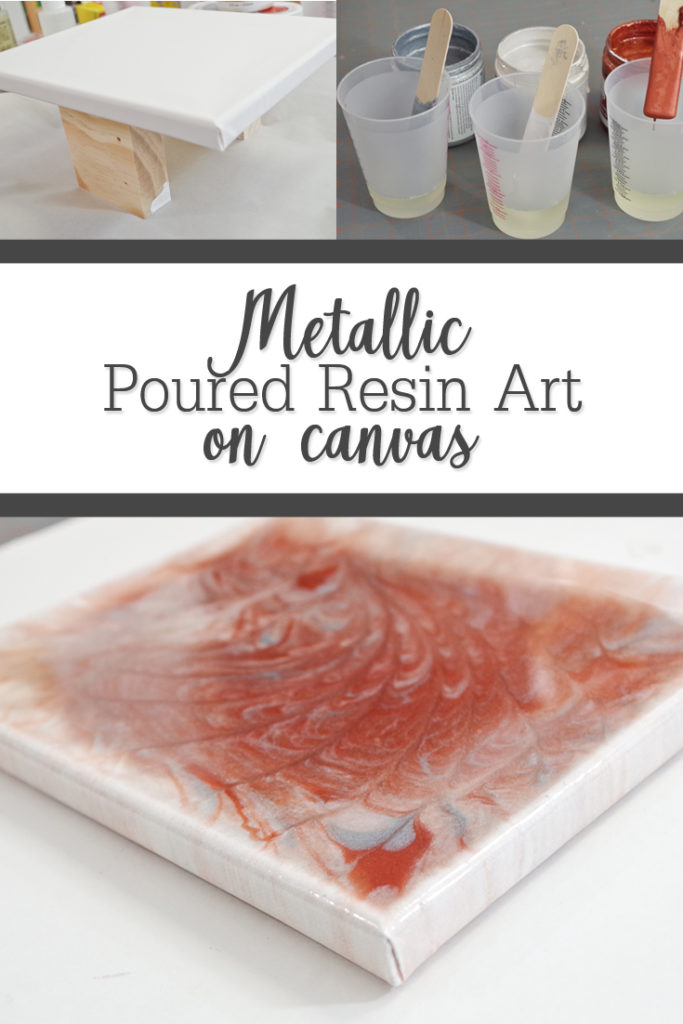
Thanks again!
~~Sheri
SaveSave
Sheri is a Maker and DIY blogger at Hazel + Gold Designs. She is usually in the middle of multiple projects at once and finds great satisfaction and joy in creating something new. She is constantly learning new skills, putting them to the test, and sharing her experience and knowledge with others. Her favorite hobbies are crafting, painting, crocheting and basic woodworking. Her goal is to inspire others to step out of their comfort zone, learn a new skill and have the confidence to make their life a little more beautiful!


Leave a Reply