Mermaid Tail Glitter Resin Keychain Charms
Hi Resin Crafters, it’s Natalie from Doodlecraft, sharing another fun resin craft. Mermaids and glitter are truly so much fun–are you into the mermaid craze? These uniquely simple mermaid tail charms are perfect for zipper pulls, keeping track of keys, party favors and more.  Supplies:
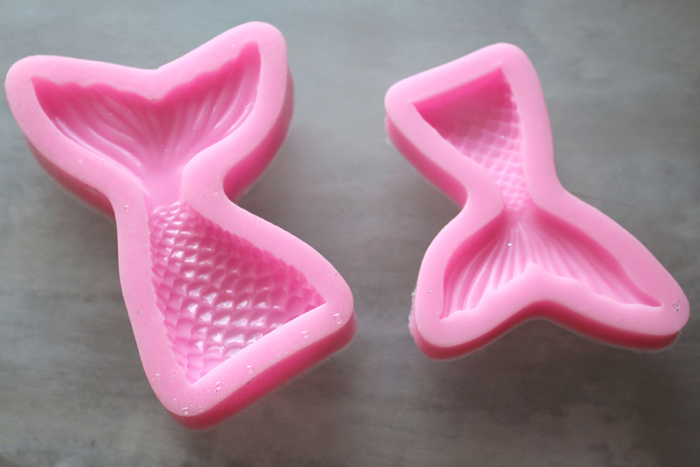
Silicone Mermaid Tail Molds
Green and Blue Transparent Dyes
Ultrafine Glitter
Keychain hardware
Drill and drill bits
Disposable work surface/gloves/cups/stirring sticks

Silicone molds are so flexible, so mold release spray is not necessary, but can be used if desired.
 Read the directions for the EasyCast resin thoroughly and prepare your work station. I worked right inside a shallow box. Mix the EasyCast according to the package directions, be sure to wear gloves and work in a well ventilated area.
 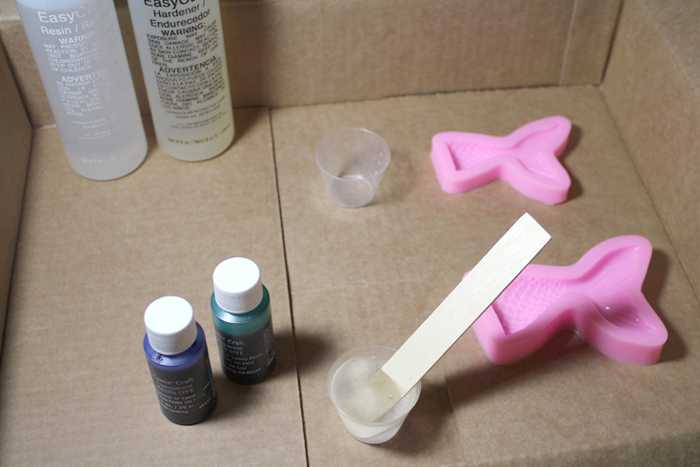 Begin by mixing up 3 ounces of hardener with 3 ounces of resin, then added one drop of blue dye and 3 drops of green dye. Then mix constantly for 2 full minutes. Pour into a different mixing cup and mix again for 1 full minute.
 Now pour the resin in the mermaid tail molds.
 The resin is just colored enough to be fun, but clear enough to see through.
For a ombre effect, just fill the mermaid tail till mostly full, but not the fin. Mix up another 2 ounces of resin and leave it clear and then pour it in to fill the tail.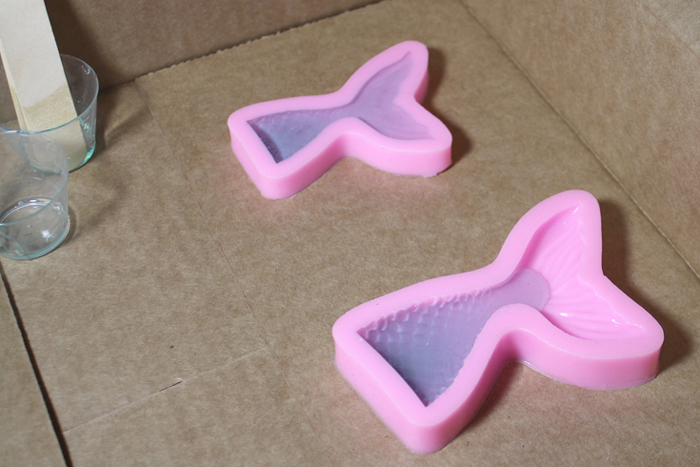 Next, sprinkle some ultra fine glitter right on top of the resin. Let them sit for about 20 minutes, then pop any bubbles that have surfaced with a light heat gun or torch.
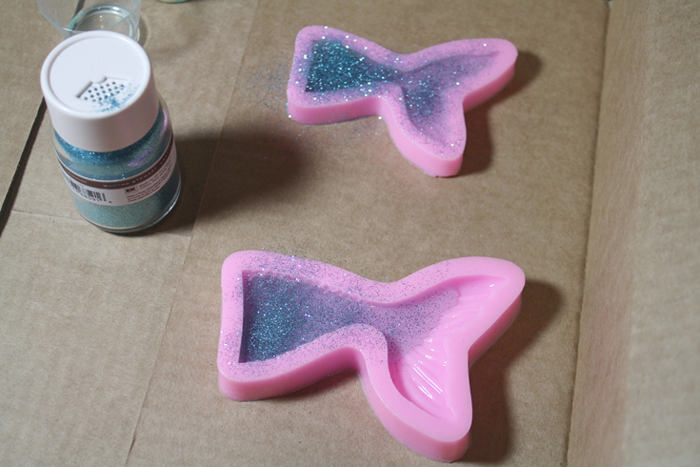 Now let the resin cure overnight, or about 24-48 hours, then pop the resin tails out of the molds.
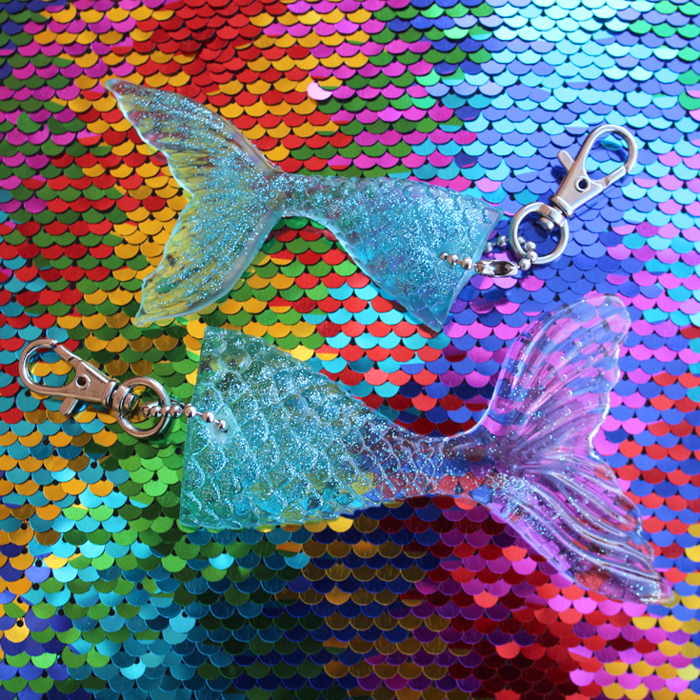
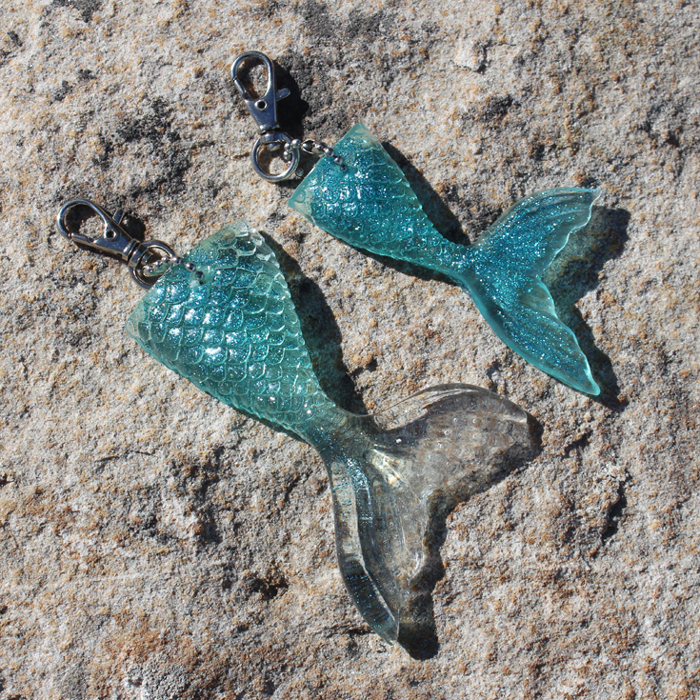
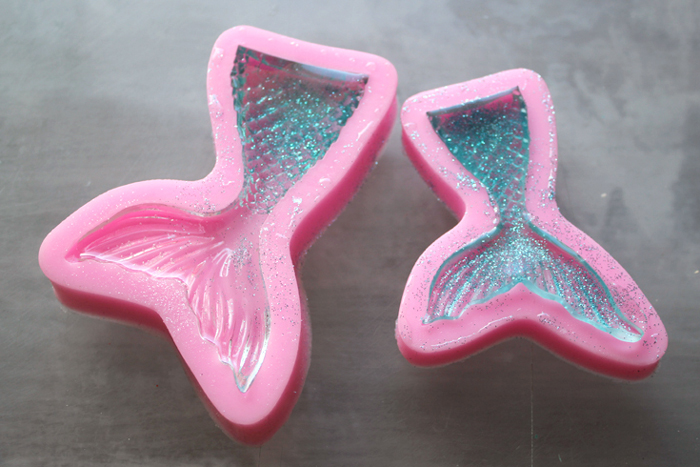 The resin looks shiny and amazing, the glitter settles amid the resin for the perfect effect!
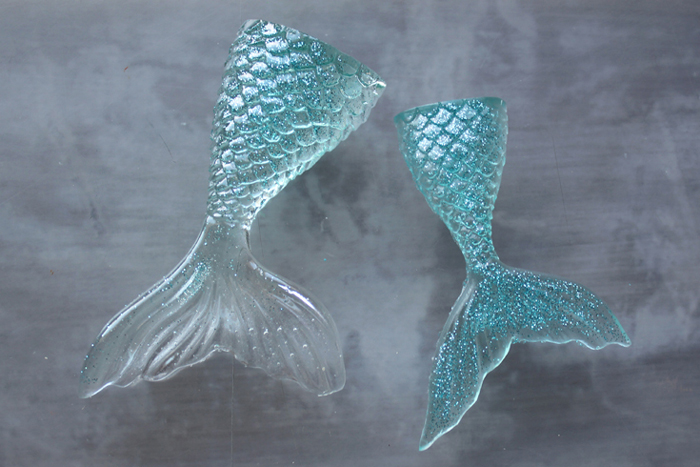
Now get the drill and a bit to drill a hole in the top of the mermaid tails. Start with a small bit and then step up to bigger bits until the hole is big enough to thread the keychain through.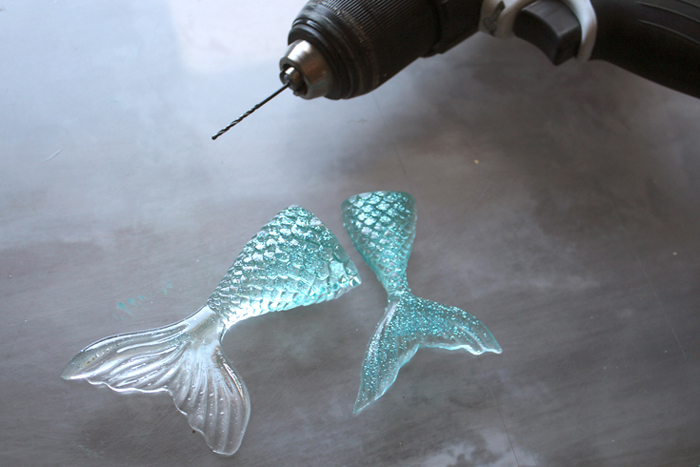 Thread a chain through the hole and hook a clip through it.
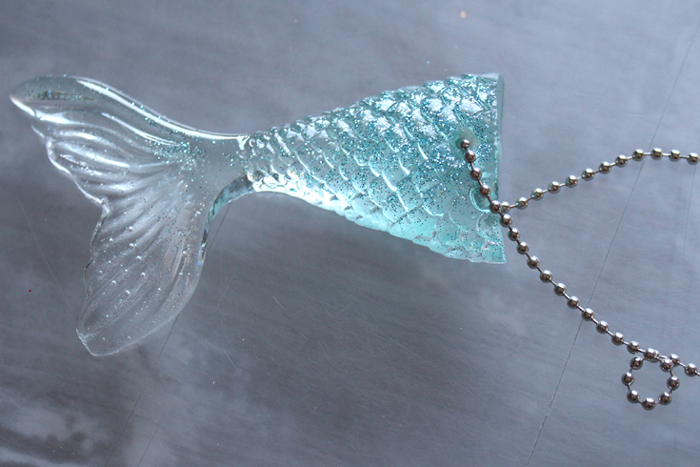 These fabulous mermaid tail keychains are ultimately ready to clip on zippers, bags, keys and party favors.
 Resin is such a fun, and altogether, versatile crafting medium. If you haven’t given it a try, now is the perfect time.
 Share and pin for later!
SaveSave
Natalie Shaw is a Craft/DIY blogger at Doodlecraftblog.com. She loves sci-fi, fantasy and video game geekery and that comes out in many of her projects. She posts budget conscious DIY’s, crafts, jewelry, kid friendly projects, upcycled treasures and other fun on her blog 5 days a week.


I made these as party favours but the fin broke off immediately. Help! What have I done wrong?
That’s really unusual. The resin may have been too thin in the mold, resin might not have been mixed properly, the temperature may have been too cold…you can email tech support at http://www.eti-usa.com and they may have a better solution.
Ok thank you. So when you say unusual I must be doing something wrong? I wasn’t sure if it was the nature of the shape that meant the Fin would always be vulnerable to snapping off. I know room temp was fine so maybe mix wasn’t correct.