Jewelry Clay Jewel Christmas Tree Ornaments DIY
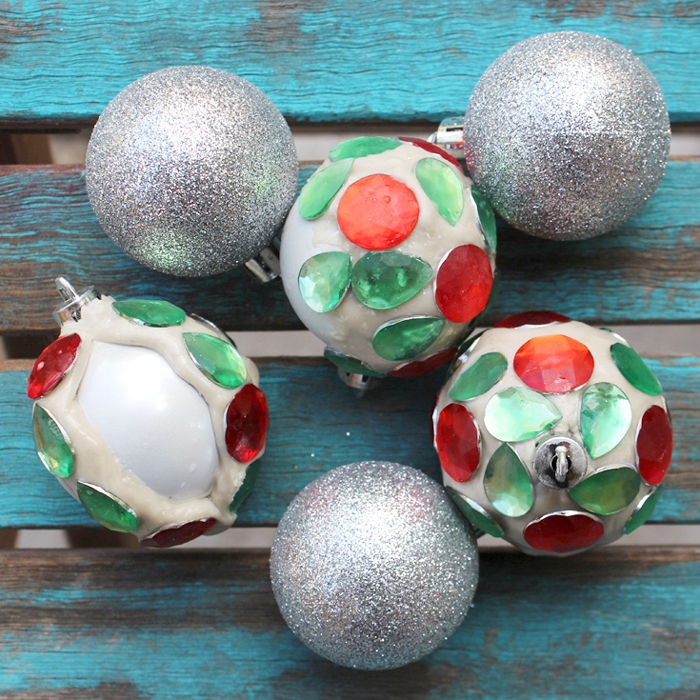
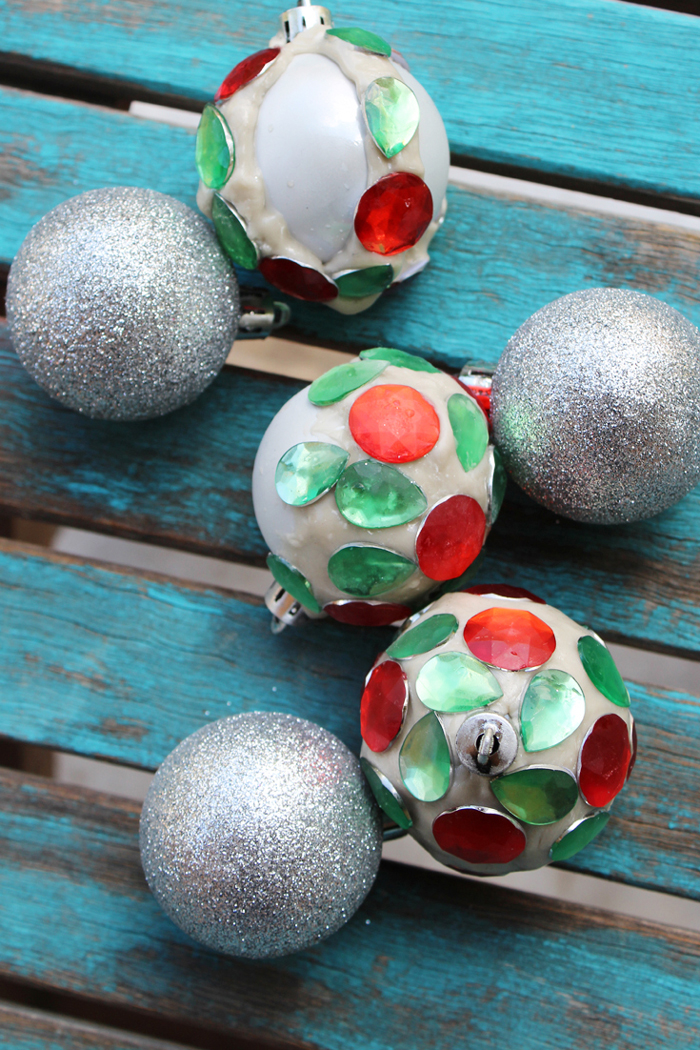
Hi Resin Crafters, it’s Natalie from Doodlecraft. Making jewel encrusted holiday tree ornaments is a fun way to amp up a simple ornament. I love making new ornaments each year for the tree and combining them with the old. It’s a fun way to see years of history hanging on the Christmas tree. They are easy to make, let’s get started!
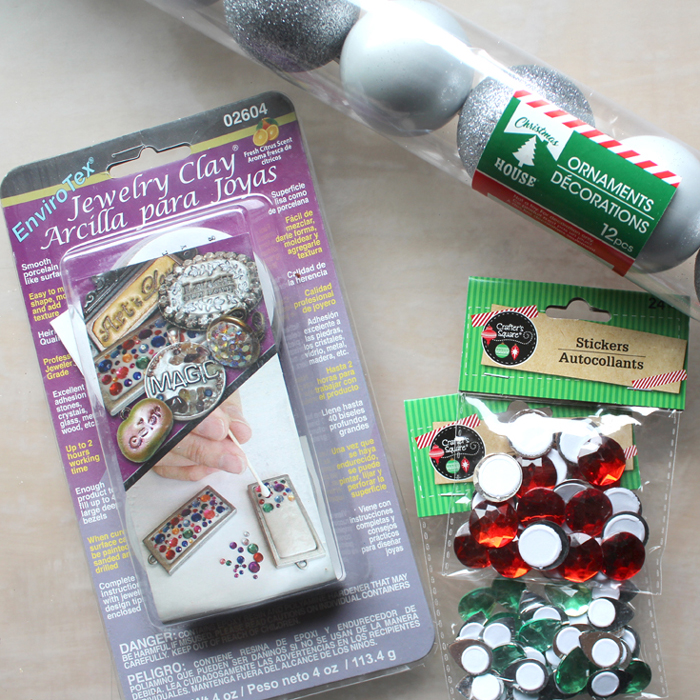
Supplies needed:
- EnviroTex Jewelry Clay
- Plastic Ornaments
- Plastic Jewels or Rhinestones
- Disposable gloves and work surface
 Begin by mixing one part of the white clay and one part of the tan clay. Definitely wear disposable gloves while working. The clay becomes very sticky.
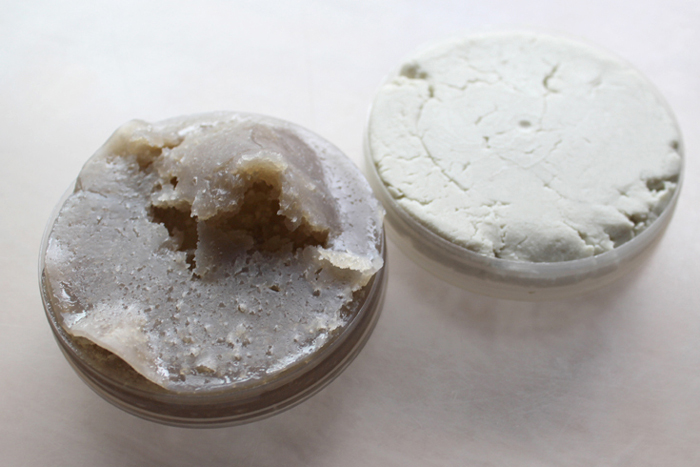 Start by mixing the equal parts together so they are combined completely, without marbling.
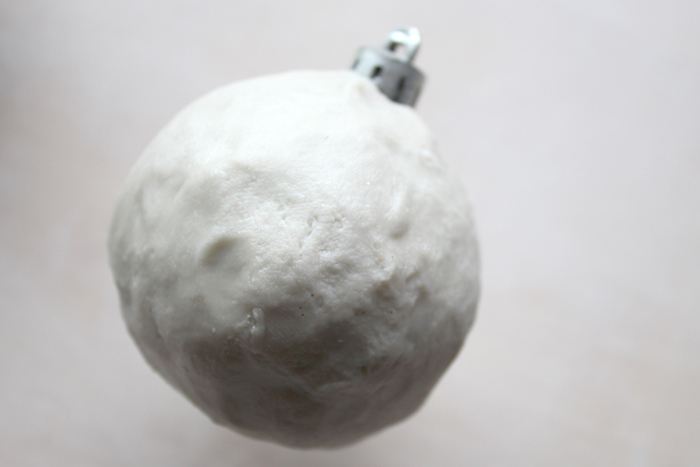
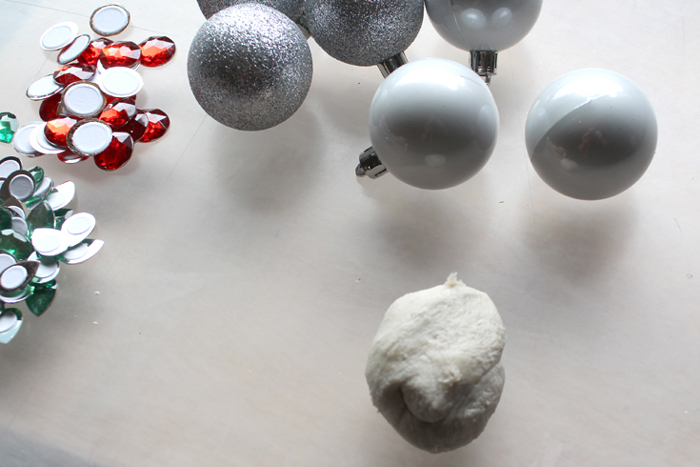 Next, use the mixed clay to cover the entire ornament with a thin layer of resin clay.
  Then press jewels gently into the clay. When the Jewelry Clay dries it will keep those jewels in place securely.
Now get creative! Cover the ornament with jewels completely…using varying sizes of jewels too. Jewelry clay has a working time of up to 2 hours, so place jewels on the ornaments without delay. 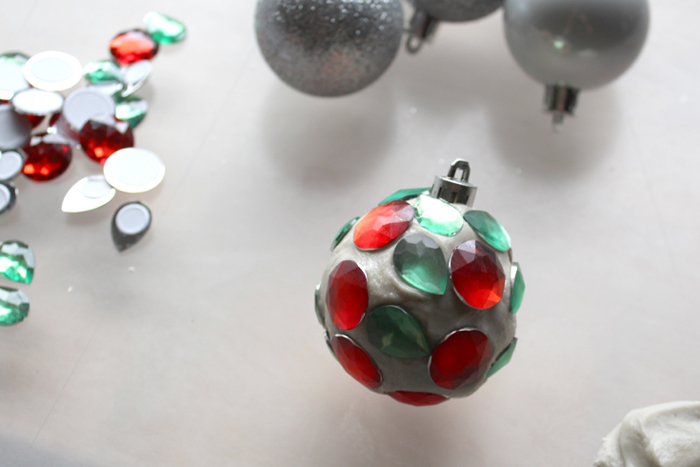 On the other hand, you can just add rows of clay filled with jewels.
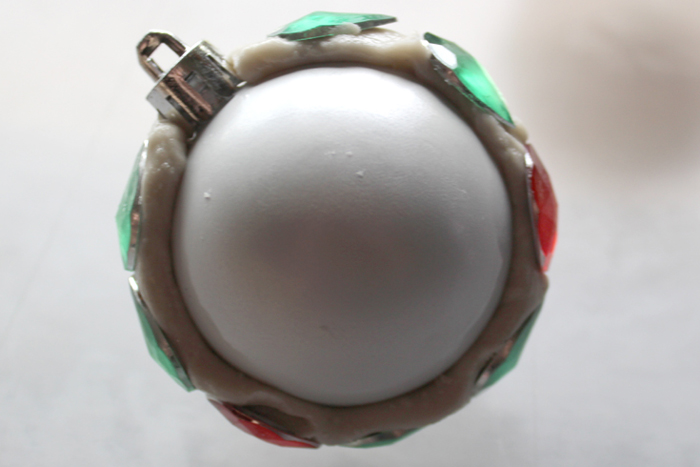 Now let the Jewelry Clay dry completely for about 4 hours and they are ready to add ribbon to and hang on the tree.
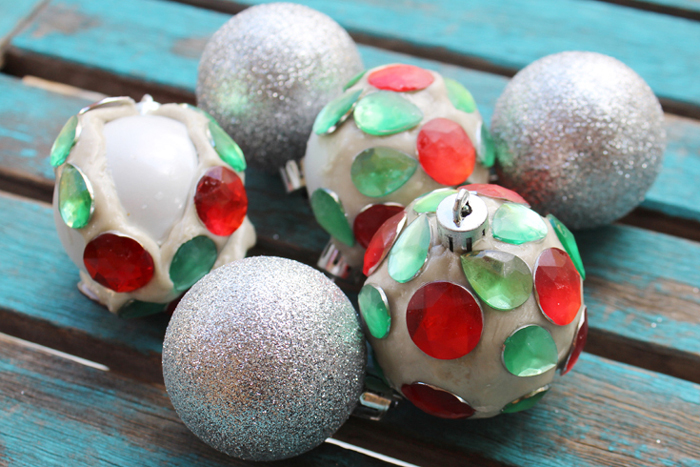 This craft is particularly fun to do with older kids. Let them add little charms, steampunk cogs and watch parts, jewels or other little treasures. This is an especially fun way to decorate a Christmas tree ornament.
Natalie Shaw is a Craft/DIY blogger at Doodlecraftblog.com. She loves sci-fi, fantasy and video game geekery and that comes out in many of her projects. She posts budget conscious DIY’s, crafts, jewelry, kid friendly projects, upcycled treasures and other fun on her blog 5 days a week.


Leave a Reply