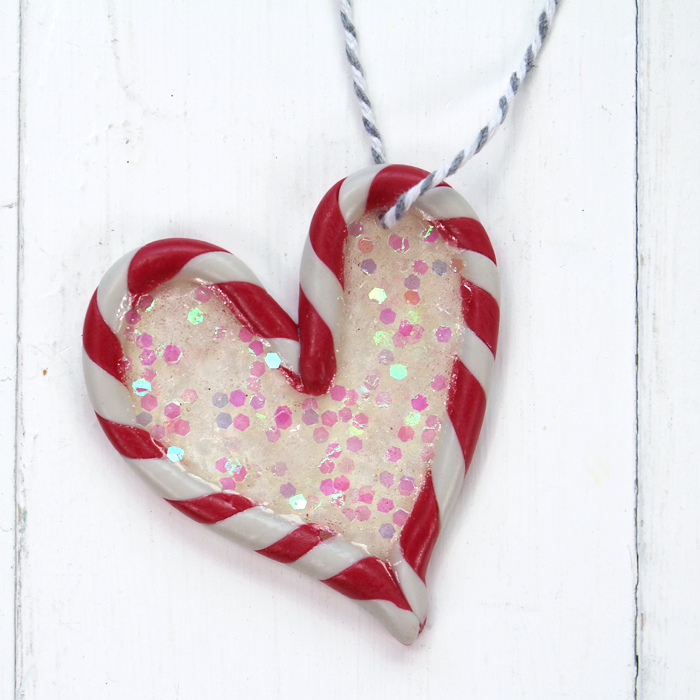
Resin Candy Cane Heart Glitter Ornament
Hi Resin Crafters, it’s Natalie from Doodlecraft inspiring you with a holiday resin craft! Tis the season to get started on handmade gifts and crafts. Make a heart shaped candy cane using EasySculpt Epoxy, then filled with glittered EasyCast resin, reminiscent of a snow globe or stained glass for the perfect ornament.
This is a two phase craft utilizing two types of epoxy. Let’s get started!
Supplies Needed for Candy Cane Hearts:
- EasySculpt Self Hardening Epoxy Modeling Clay
- Castin’ Craft Color Pigment in Red and White
- Cornstarch
- Non stick surface
- Disposable Gloves
![]()
Step 1: Mixing EasySculpt
Begin by getting an equal amount of each tub of the EasySculpt. Weigh it on a scale or just eyeball it.
![]()
Wear gloves when working with EasySculpt, it’s very sticky. Then mix the EasySculpt together, these textured gloves make it blend super quickly by rolling it between both hands.
![]()
Then separate the EasySculpt into 2 sections. Add a drop of the pigment color to each ball.
![]()
Next mix the color into the EasySculpt until well blended.
![]()
Step 2: Candy Cane Stripes
Use cornstarch to make working with the EasySculpt easier, it is very sticky. EasySculpt stays workable for a while but takes some resting time before starting.
![]()
Dust the surface with cornstarch and let the clay sit for about 20 minutes. Then check it to see how soft it is. It needs to firm up a little to hold shape.
![]()
Then roll out 2 long tubes of clay in each color, about 1/4 inch diameter.
![]()
Next, twist the white and red tubes together.
![]()
Then roll it gently to smooth out the edges.
![]()
Form candy cane shapes and then stick 2 of them together to make a heart shape. Then let the heart harden completely by setting it out overnight.
![]()
Supplies Needed for Resin Snow Globe Fill:
- Jewelry Resin
- Resin Tape
- Chunky Iridescent Glitter
- Fine Sparkle Glitter
- Mixing Cups, Stirring Sticks, Disposable Gloves
- Drill/bit
- Twine
![]()
Step 1: Resin Tape
Begin by taping off the candy cane heart with the resin tape. The tape sticks on the candy cane, so the center is sticky. Set it on a level work surface.
![]()
Step 2: Mix Resin
Now mix up the jewelry resin using equal amounts of each. I used 1 teaspoon of each bottle. Then mix them together for 2 full minutes.
![]()
After 2 minutes of careful mixing, pour into a second cup and use a new stirring stick to mix the resin for 1 more full minute.
![]()
Step 3: Pour Resin
Now pour the mixed jewelry resin into the candy cane heart. The resin tape holds the resin in place perfectly!
![]()
Then sprinkle some chunky and fine glitter into the resin. I poured in a lot because I love sparkles! This would be a cute little snow globe scene with little snowflakes or miniatures set in it. Let the resin cure for 24-48 hours.
![]()
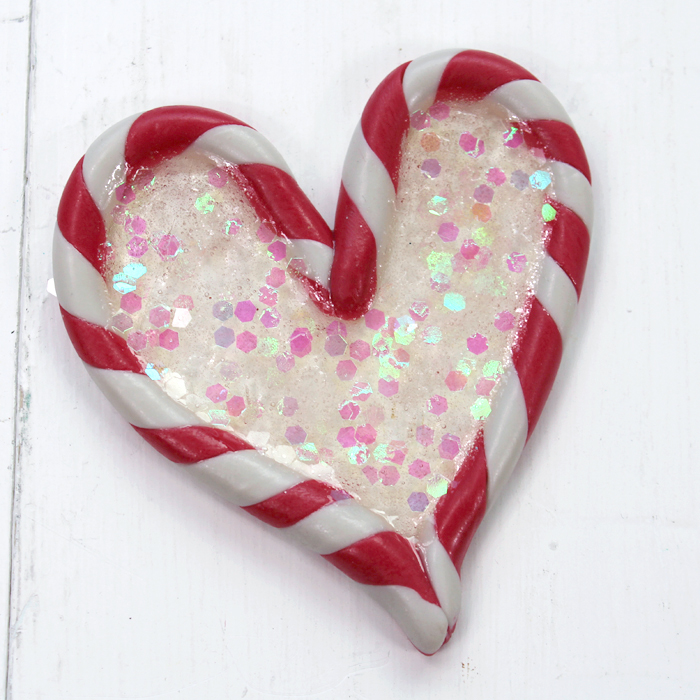
Once the EasyCast resin is cured the resin tape will peel off the back easily. It looks gorgeous as is!
Now use a drill bit and drill a small hole through the clear resin.
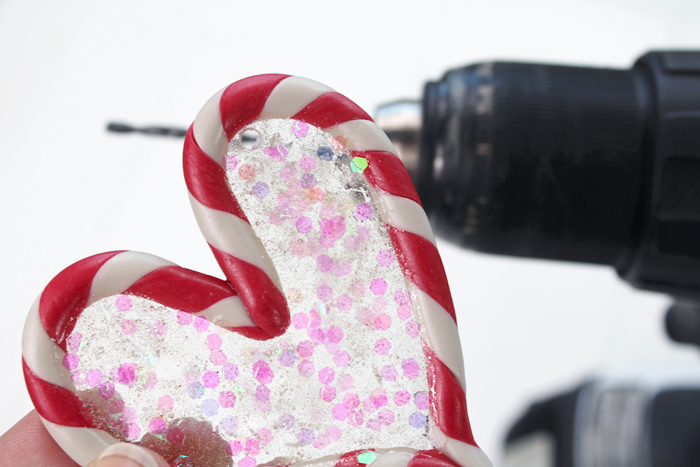
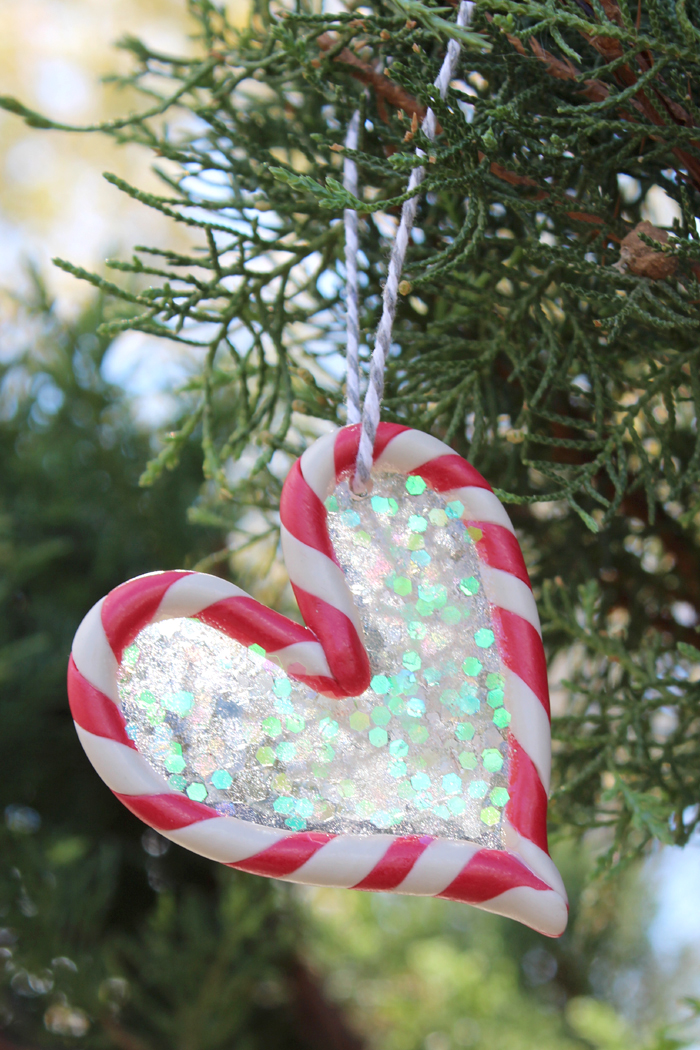
Tie a piece of twine through it for the perfect sun-catching tree ornament! That glitter will sparkle so much on a lit tree.

That’s it! This fun ornament craft featuring two types of resin is perfect for all skill levels.

Natalie Shaw is a Craft/DIY blogger at Doodlecraftblog.com. She loves sci-fi, fantasy and video game geekery and that comes out in many of her projects. She posts budget conscious DIY’s, crafts, jewelry, kid friendly projects, upcycled treasures and other fun on her blog 5 days a week.


Leave a Reply