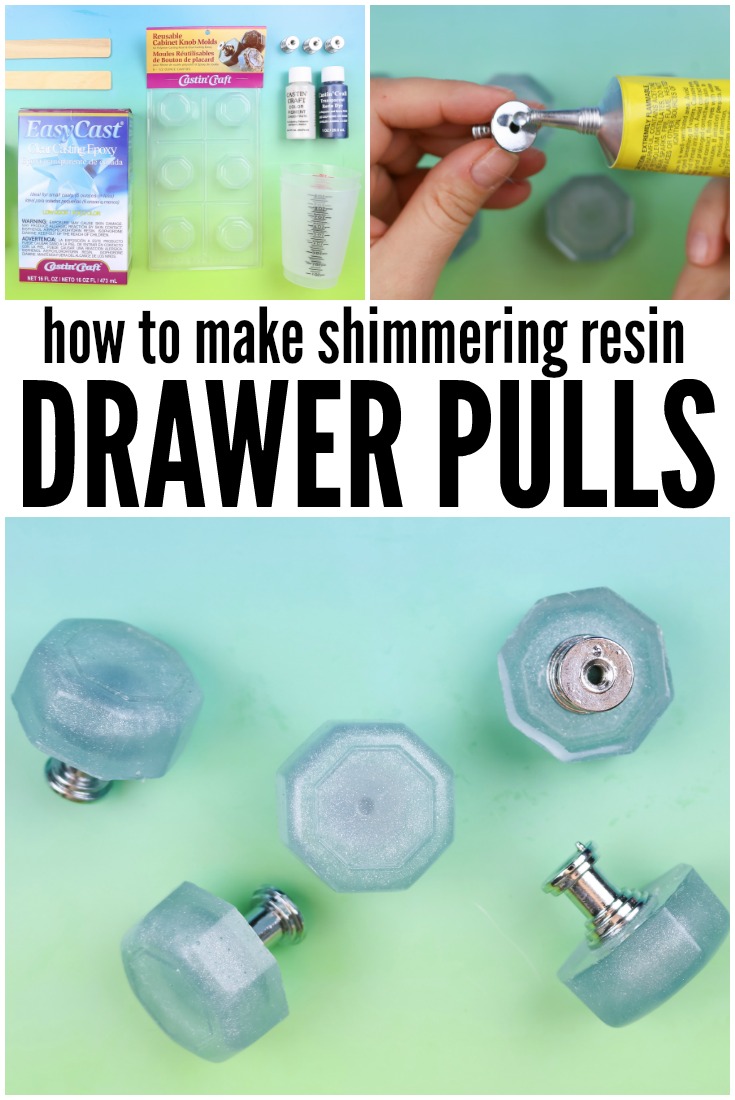
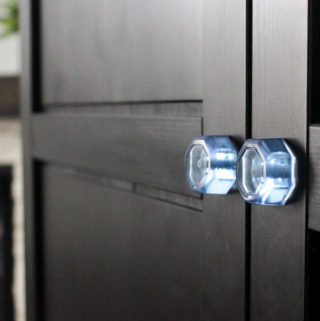
Over the summer, family friends gave us a larger dresser for my daughter’s room. They no longer needed it, but it was perfect for her room. The only problem is that the dresser was missing several drawer pulls. Instead of paying for basic builder-grade hardware, I created my own shimmering drawer pulls from resin. It’s a fun process that results in unique, customized furniture hardware.
Supplies:
- Easy Cast Epoxy Resin
- Knob Mold
- Mold Release Spray
- Mixing Cups and Stir Sticks
- Protective Gloves
- Pearl Opaque Pigment
- Blue Transparent Dye
- Cabinet Knob Bases
- Adhesive for Plastic and Metal
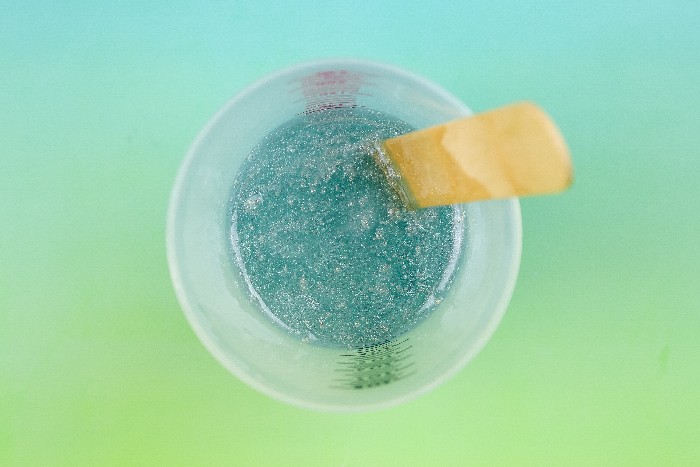
Begin by mixing enough Easy Cast Resin to fill the mold. If you use the Castin’ Craft mold, it tells you that each mold cavity holds 0.5 ounces of resin — meaning you will need a total of 3 ounces of resin to fill all six cavities. Wearing protective gloves, be sure to mix together equal parts resin and hardener. Stir in one cup for two minutes, scraping down the sides of the cup as you stir. Then pour into a second cup and stir for another minute. Add in a small squirt of pearl pigment, and 1-2 drops of the transparent resin dye color of your choice. Stir until the pigment and dye are fully mixed into the resin.
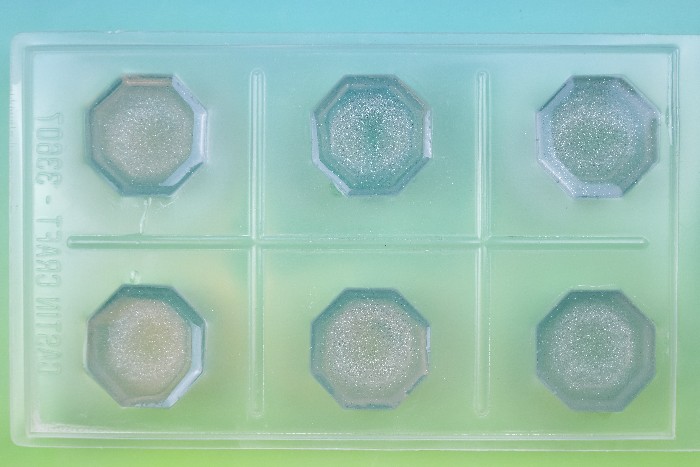
Next, prep your cabinet knob mold by spraying it with mold release. Allow the mold release to dry. Then, carefully pour the resin into the cavities of the cabinet knob mold. Do not overfill the mold! Place the mold on a level surface, cover, and let cure for 24 hours.
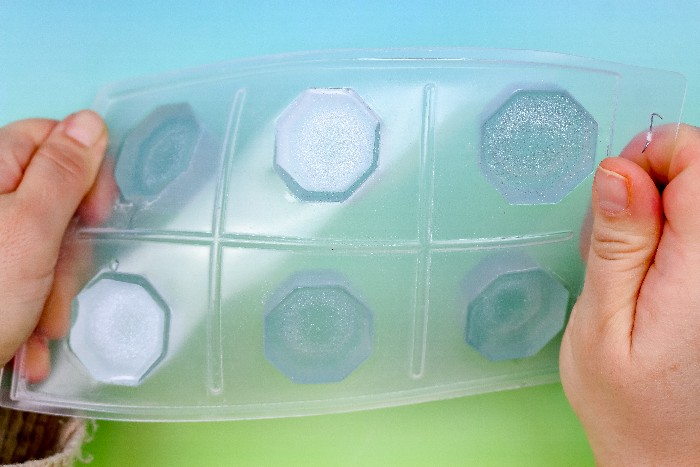
After the resin has fully cured, gently twist the mold to loosen the resin pieces from the mold. Press the back of each mold cavity or gently tap the mold on a table to dislodge the resin pieces.
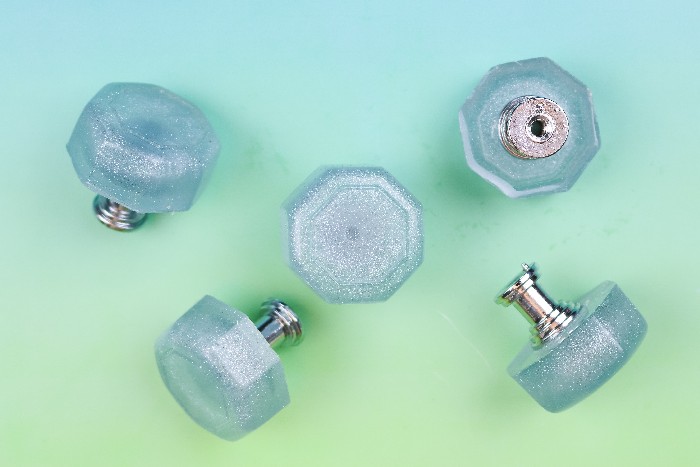
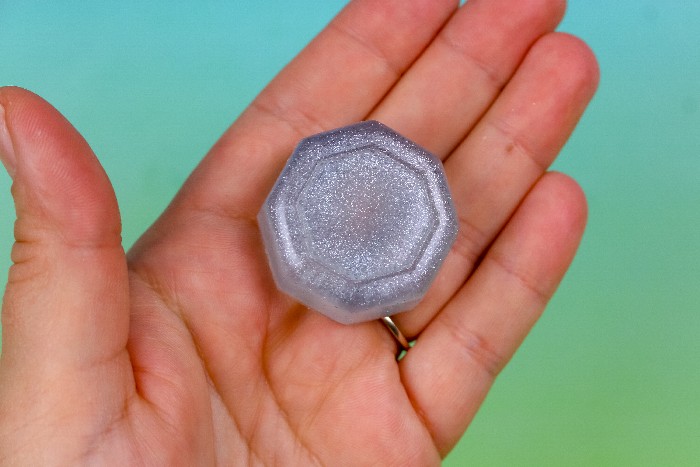
Look at these beautiful knob tops! Fully customized for your project!
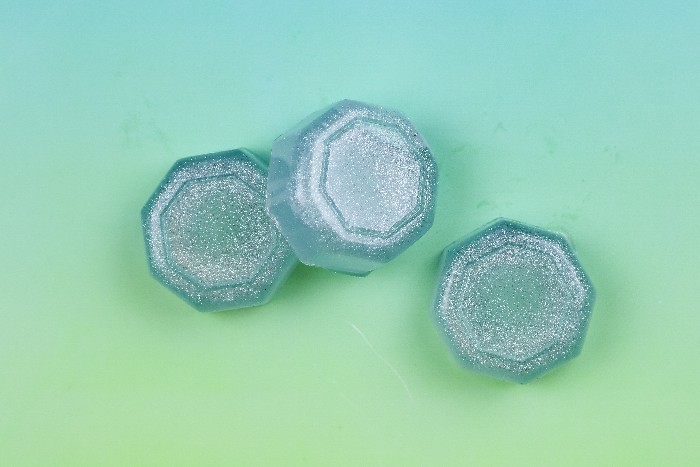
This is my cautionary tale not to bang the mold too hard trying to remove the resin from the mold. I cracked one of my resin pieces by doing this. I might save the broken pieces for another project. They kind of look like pieces of ice, don’t they?
I was able to get five good resin casts from my first batch, and six from my second batch.
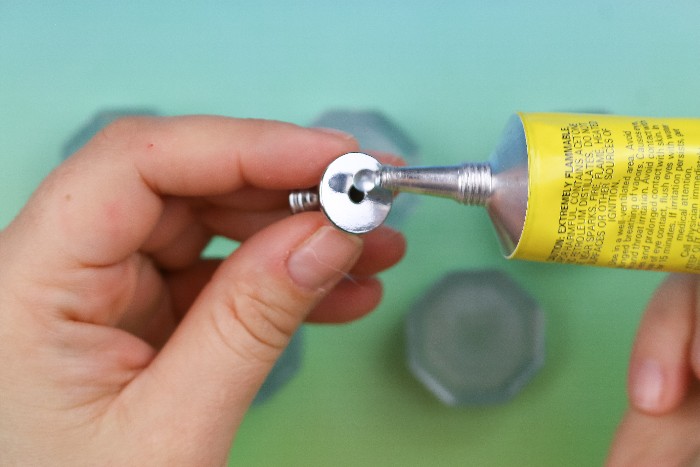
You can find drawer knob bases online. These are the metal “stems” that sit between the knob and the front of the drawer. Use an adhesive made for plastics and metal to adhere the bases to the resin knobs.
Be sure to center the bases on the back of each resin knob.
Place the knobs right side down on a level surface and let the adhesive cure according to package directions. You can then add your DIY drawer knobs to your pieces of furniture just like you would store-bought hardware. But you have the satisfaction of knowing your piece is now one-of-a-kind!

Jessica Hill is the creative mind behind the blog, Mad in Crafts. For nearly 9 years, Jessica has shared crazy good creativity from her Mad House to yours. When she’s not creating, Jessica loves the Detroit Tigers, craft beer, and spending time with her family and rescue dog.





Well done.
What a fabulous idea! Another way to add sparkle to a room. I love this!
I love this project. I am going to make some of these for my youngest granddaughter using small unicorn frames. Such a great idea. Thank you.
Love these! They turned out great!
Hi i cant find on line the knob bases i was looking in Amazon but all comes together with knobs thanks Love your project
Hi there! Try a hardware or home improvement store. Good luck!
Hi
Have you found them yet??? I am still searching!
same here Where did you get the hardware?