Petrified Rainbow Resin Coasters with Alcohol Ink DIY
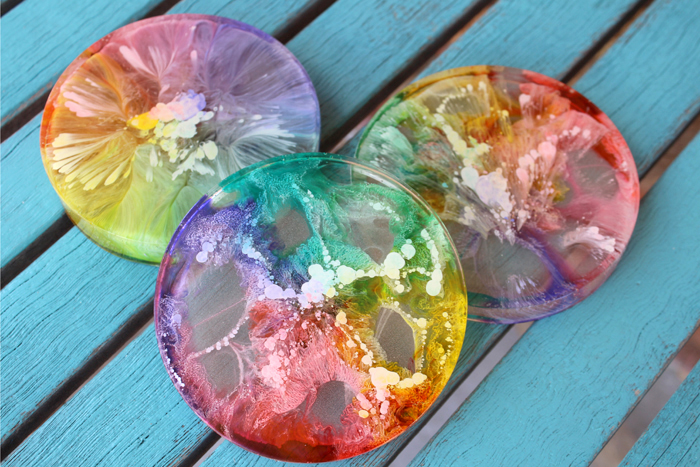
Hi friends, it’s Natalie from Doodlecraft with the most amazing resin craft to date. Petrified rainbows are especially stunning! These rainbows make great coasters for drinks, fun paperweights and perfect conversation pieces on the coffee table too.
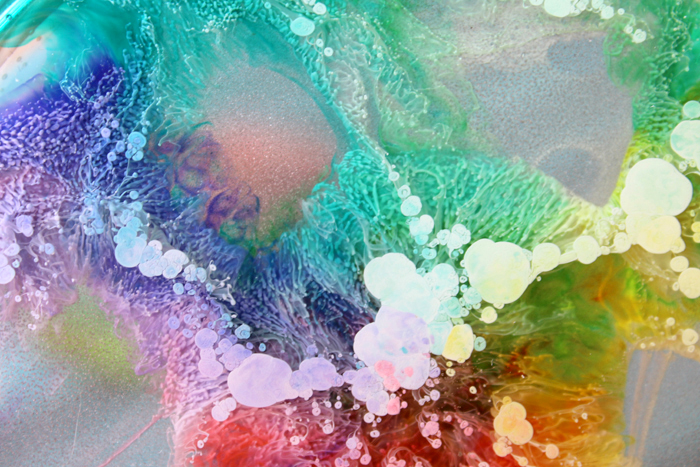
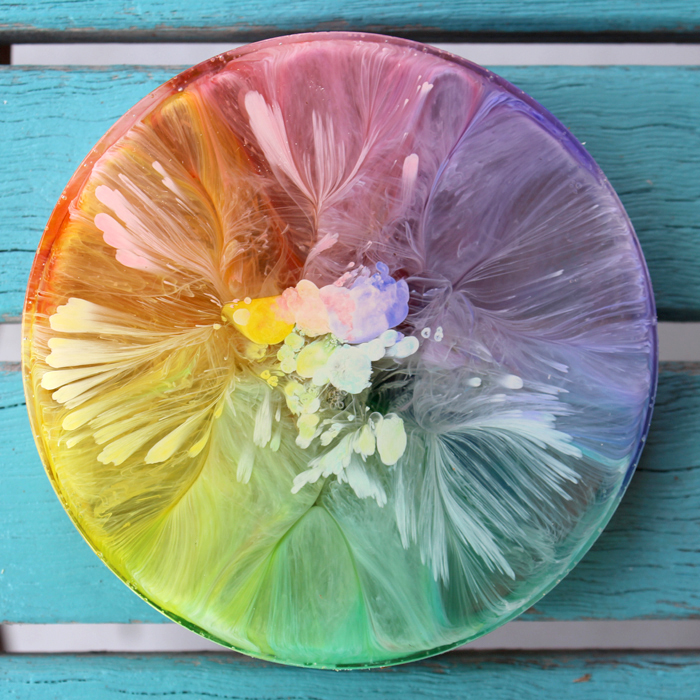
Check out this amazing close up pictured below, the colors are vibrant and playful.
Make these uniquely colorful rainbow coasters with EasyCast resin and alcohol inks.
Supplies Needed:
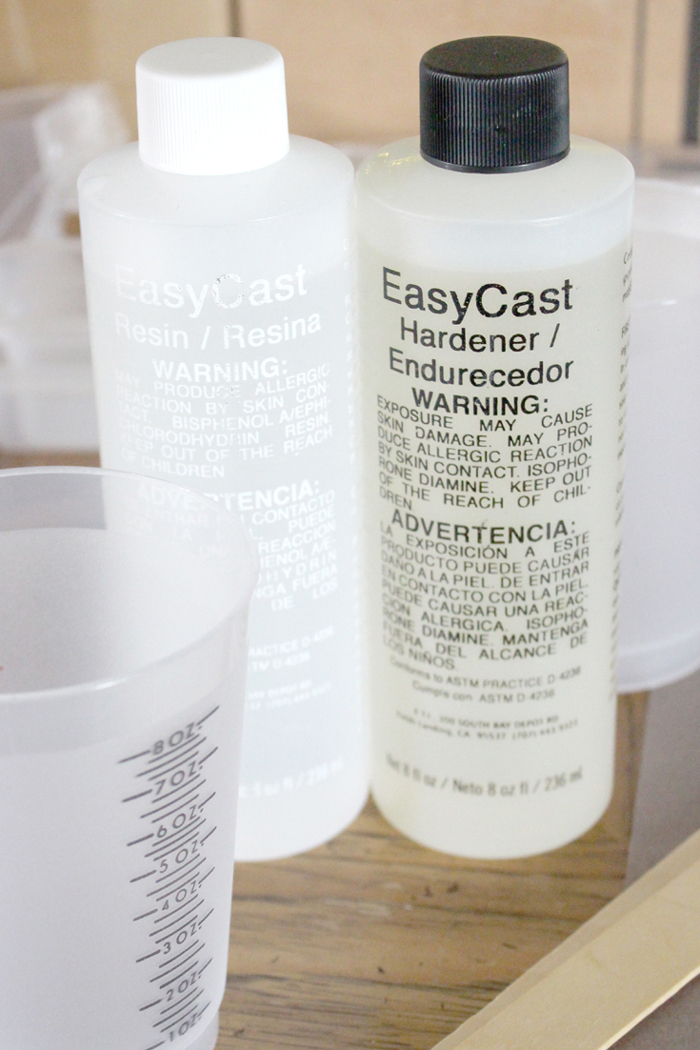
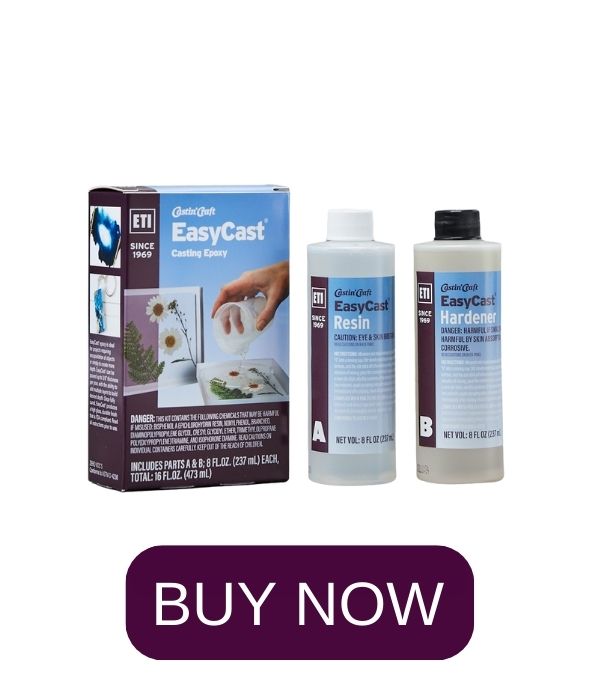
- EasyCast Clear Casting Epoxy
- Cardboard Box
- Measuring Cups
- Stirring Sticks
- Disposable Gloves
- Alcohol Inks (available online or in craft stores)
- Silicone 4″ Round Coaster Mold
- Heat Gun or Torch


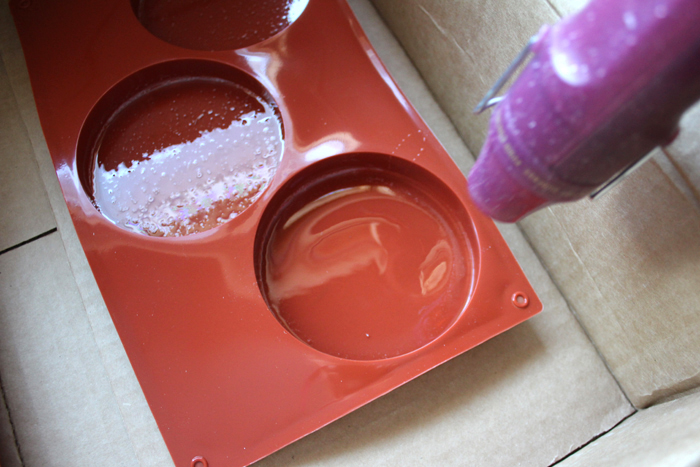
Begin by setting the silicone molds inside the box to work. Next, read the EasyCast instructions and mix up about 6 ounces of resin. Then pour just a thin layer in the base of each silicone circle.
Next, use a heat gun or torch to pop all the bubbles formed in the resin. Fold the flaps of the box over to prevent dust from landing in the resin and leave on a level surface overnight.
The next day mix up 8 ounces of resin according to the package directions in the 2 phase mixing process.

Now fill the molds with the newly mixed resin. Pop the bubbles as done previously. Then drip the alcohol ink right into the uncured resin.

Drop the ink in a bulls-eye pattern including some white ink as well. The white ink is heavier and will sink more…so use it sparingly.
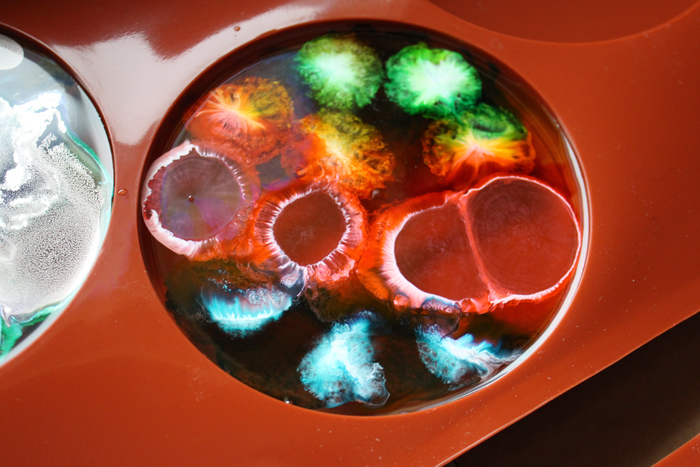
Similarly continue adding colors, dripped in a rainbow pattern.
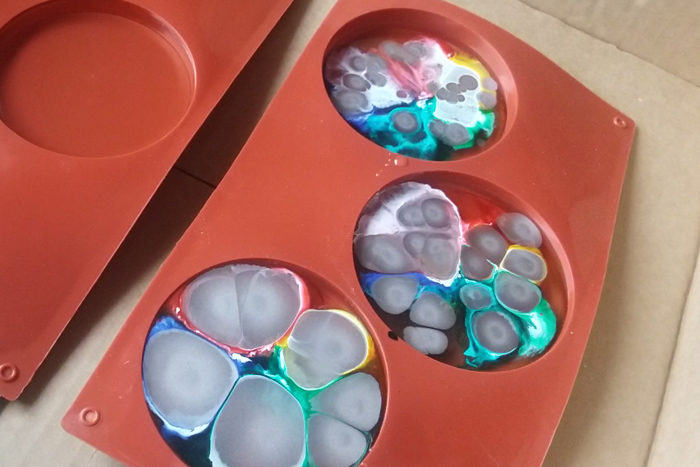
Finish off by dripping metallic alcohol ink into the molds. Then close up the box and wait patiently for the resin to cure overnight again.
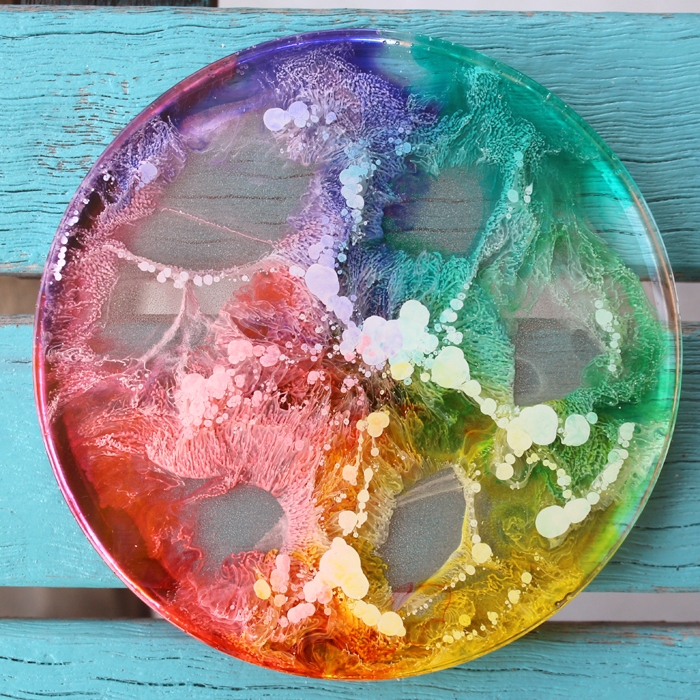
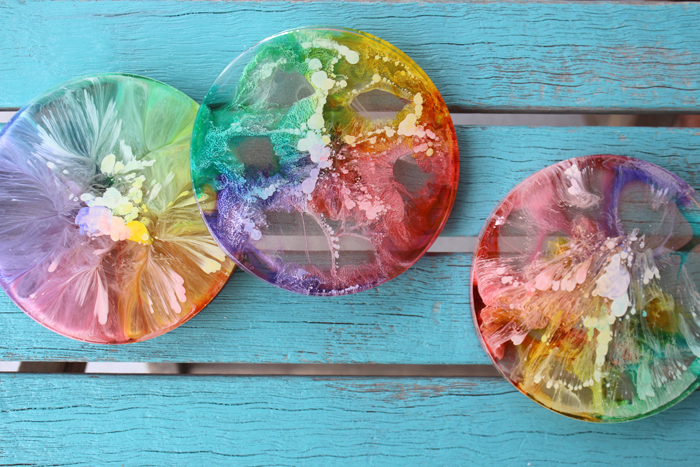
The next day, peel the petrified rainbows from the molds and stare in awe. The drips of ink are dancing and twirling in a sea of crystal clear resin.

After mine cured, I realized the place I set them to cure was not completely level, so the alcohol ink slid in the same direction. However, I thoroughly love it!

From the side view, it’s obvious that a thin layer of clear was added first, but it keeps the alcohol inks from puddling on the top surface.
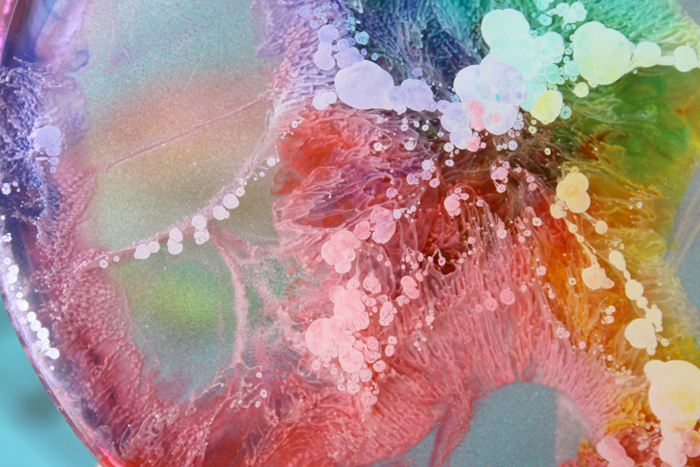
Each coaster turns out uniquely different and amazing! More white ink was added in this one pictured below.
These petrified rainbows will add magic into your life!

Natalie Shaw is a Craft/DIY blogger at Doodlecraftblog.com. She loves sci-fi, fantasy and video game geekery and that comes out in many of her projects. She posts budget conscious DIY’s, crafts, jewelry, kid friendly projects, upcycled treasures and other fun on her blog 5 days a week.


Love this idea!
These look amazing. I’m thinking about making a set as a birthday gift for a friend of mine.
Amazing color!
Can you share the alcohol ink colors you used to achieve the effect?
They are really fun and brought a smile.
Thank you, I’m so glad! I used Tim Holtz inks in each of the rainbow colors…plus some metallic gold. 🙂
Do you think you would get the same effect blending without the metallic??
Yes, the colors blend together without metallic.
I’m fascinated. In the one where the white almost looks like veins of a flower petal in each of the colors, how did you get the white to move in straight lines from the center out?
That’s the beauty of this project, there’s really no predictable way to get the alcohol inks to dance the way you want. It’s exciting to reveal them when taking out of the molds! Try it, you’ll be hooked!
Hi, what color metallic ink did you use? Can you bypass the 1st step or is the thin clear layer important?
I think it was rose gold metallic, but any metallic alcohol ink is perfect. You can bypass the 1st step but the results will be a little different. Just try it and you’ll be hooked!
Did you have to sand them after taking them out of the molds?
I sand the edges with a nail file if they need it.
I’ve tried this and my colors NEVER sink ???? any idea why? I absolutely love these coasters!
Oh no, that’s so discouraging. I have only done this technique with the supplies listed in the post, but it’s worked every time. The white and metallic inks are heavier than the colors, so putting them over the colors is supposed to help the colors drip.
Hi! Thanks so much for posting this! How many layers of color do you use? Is it 1 drop of white then 1 drop of color on top of white and then 1 drop of metallic on top of the color? Also what do you mean by the inks puddling? Thank you 🙂
This is a fun resin project that doesn’t have a super scientific method…the alcohol inks will sink in the resin as it cures. If too much ink is adding it will all fall to the bottom while curing and look like a spot or puddle on the top surface once the resin is unmolded. I use a drop of white, a drop or 2 of colors and then another white or metallic, in each resin coaster there are probably 30-50 drops of alcohol ink. Hopefully this helps!
What depth of white do you use with this? Middle or the deeper sinking white? Very eager to try this but don’t want to use the wrong sinker white. Super cute!
Hi Brittany, so sorry for the delayed answer! The Castin Craft Opaque White is perfect for these!