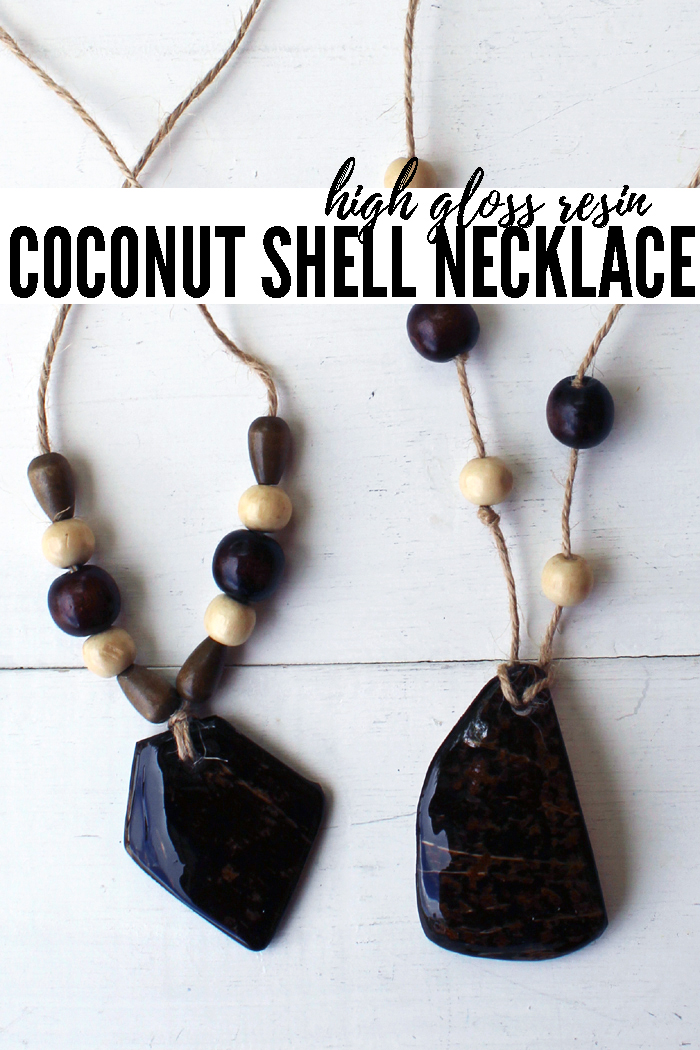
Coconut Shell High Gloss Resin Necklace DIY
Hey Resin Crafters, it’s Natalie from Doodlecraft sharing a simple coconut and resin DIY perfect for Summer. I love everything about coconuts; the smell, the taste and how quickly it brings me back to Summer sunshine. Plus, coconuts come in such an especially amazing hard shell, perfect for crafting. This ecology chic necklace is made of natural elements and makes a great Summer camp craft.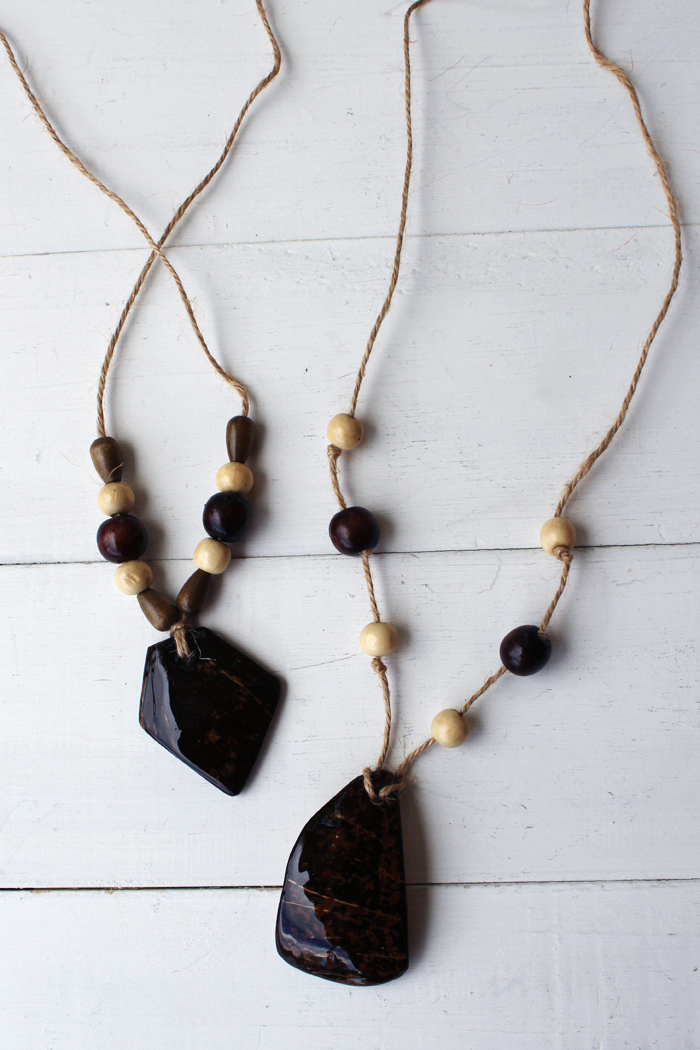
Supplies Needed:
- Envirotex Lite High Gloss Resin
- Coconut
- Rock or Hammer
- Sand Paper
- Disposable Gloves, Mixing Cups, Stirring Sticks and Work Surface
- Straw or Heat Gun
- Drill and 1/4″ Wood Drill Bit
- Jute Twine
- Wooden Beads
Coconut Cracking:
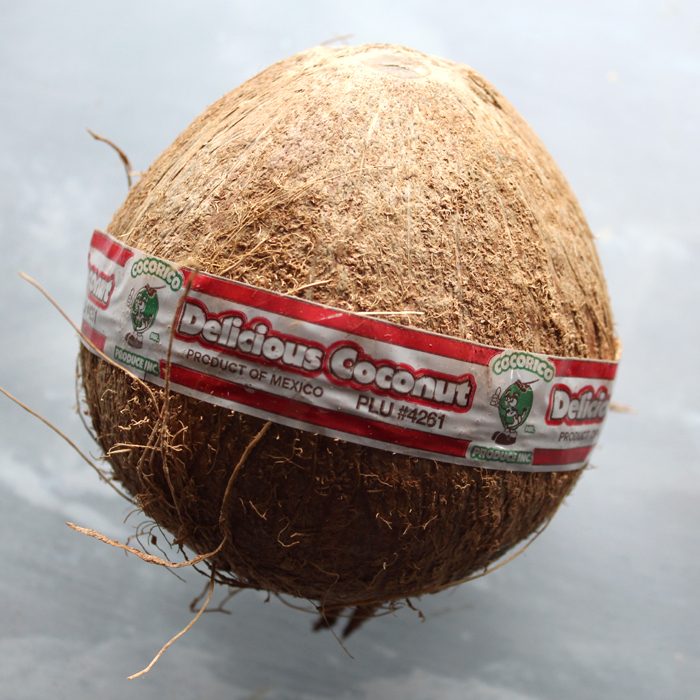
Begin by cracking open the coconut. Set up outside for easy clean up when the water spills out. Simply hit it with a rock or hammer and pound the rock on the coconut where you see the natural lines. 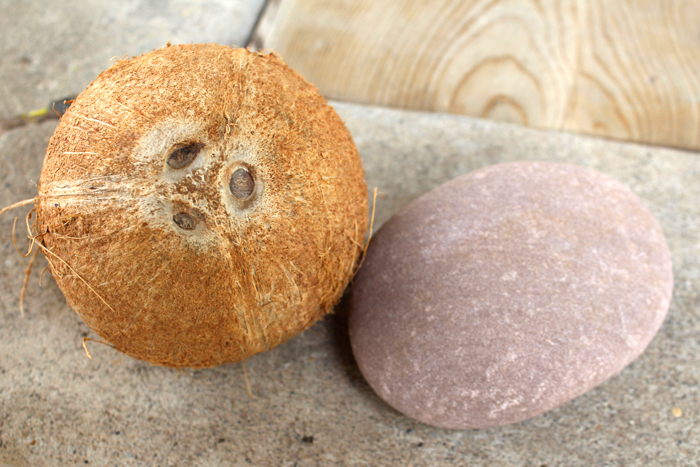
Once the coconut is cracked, pry it apart with your hands. Kids love helping with the coconut cracking too.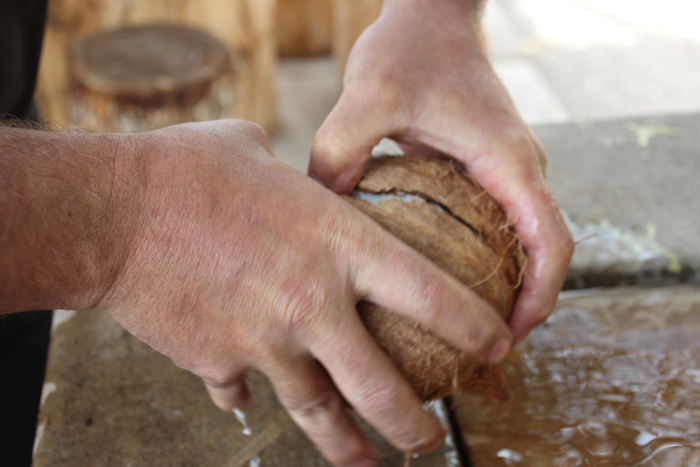
Then sift through the shell pieces until you find a couple that look interesting.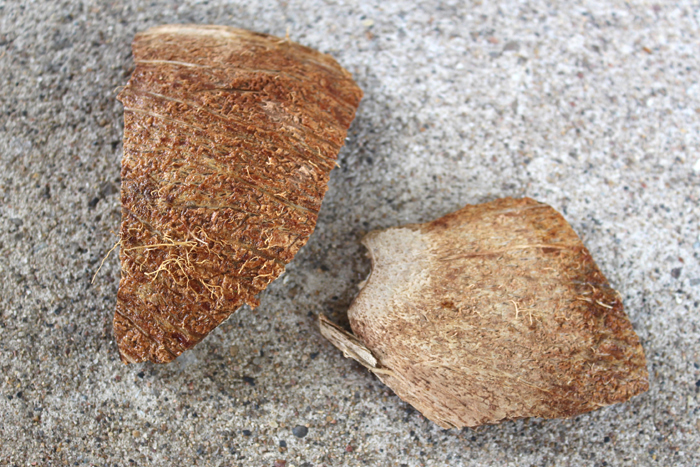
Use sandpaper or a sanding belt to smooth off the edges as well as the top of the coconut shell.
The natural shell is beautiful once the rough bark is sanded off.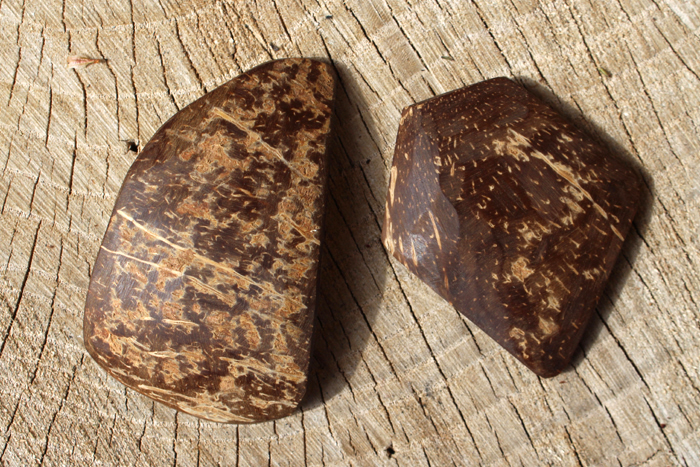
After sanding, drill a hole in the top of the coconut shells.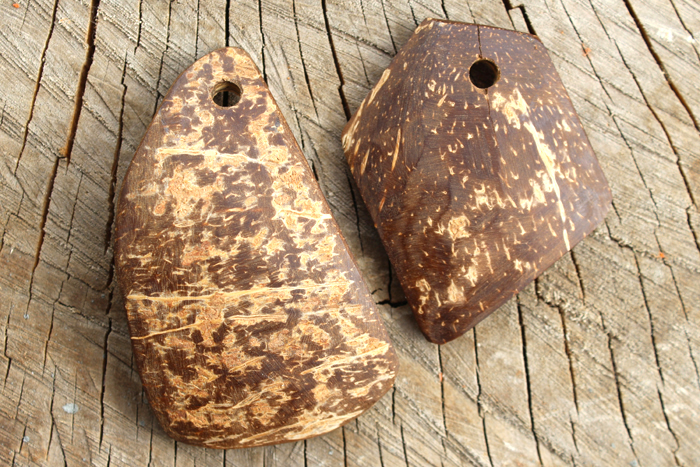
High Glossing:
Now mix up one ounce of High Gloss Finish in a mixing cup, using the 2 phase mixing process according to package directions.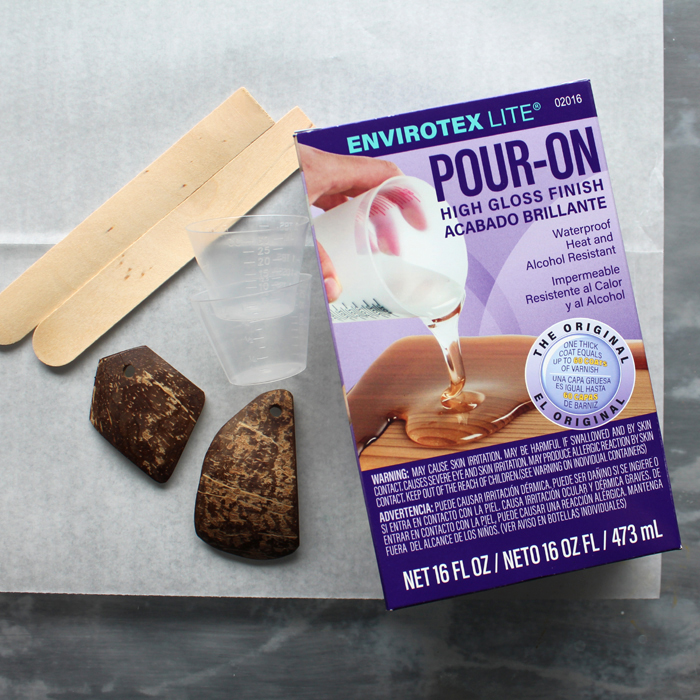
The shells just need a light layer of high gloss resin, so it does not take much.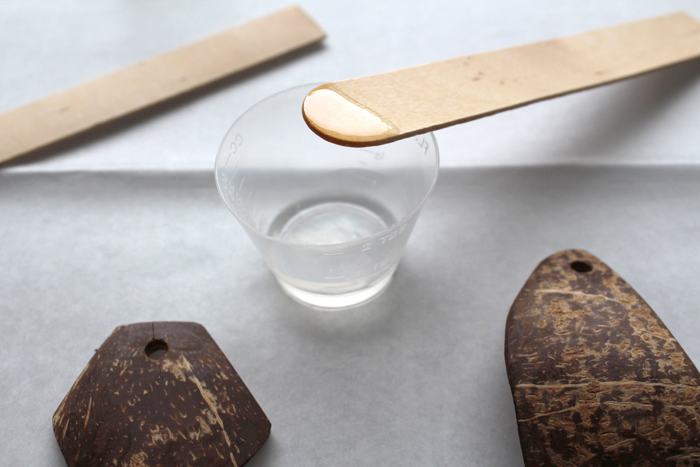
Use the stirring sticks to spread the Envirotex Lite on the top surface of the coconut shells. Work on a disposable worksurface for easy clean up. A paintbrush could be used instead of the stirring stick too.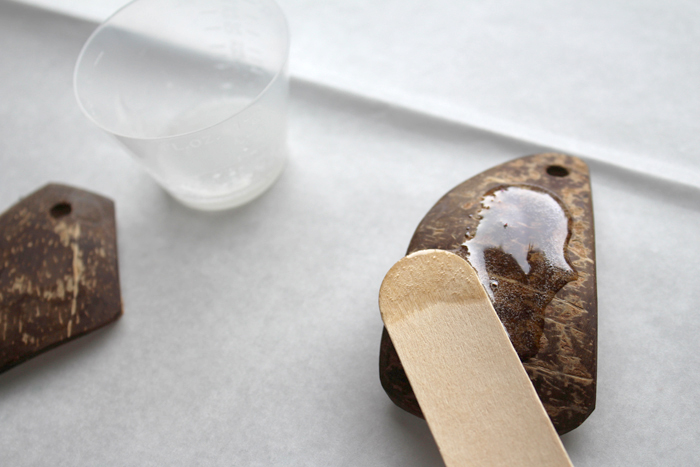
Use a straw and blow gently about an inch away from the surface of the coconuts to pop any bubbles that form.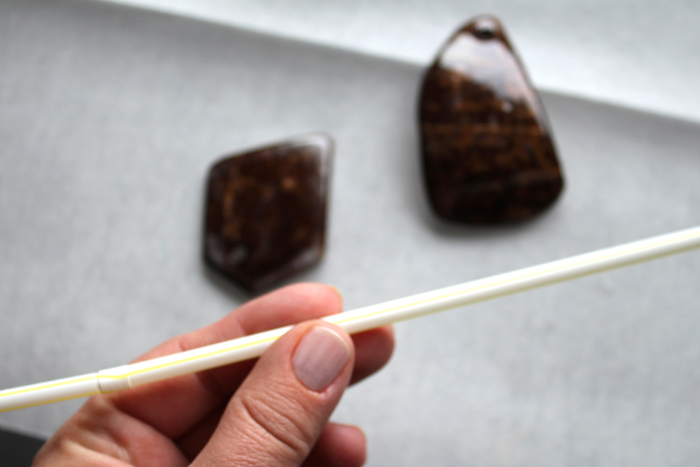
Then set the coconut shells aside and let them cure overnight.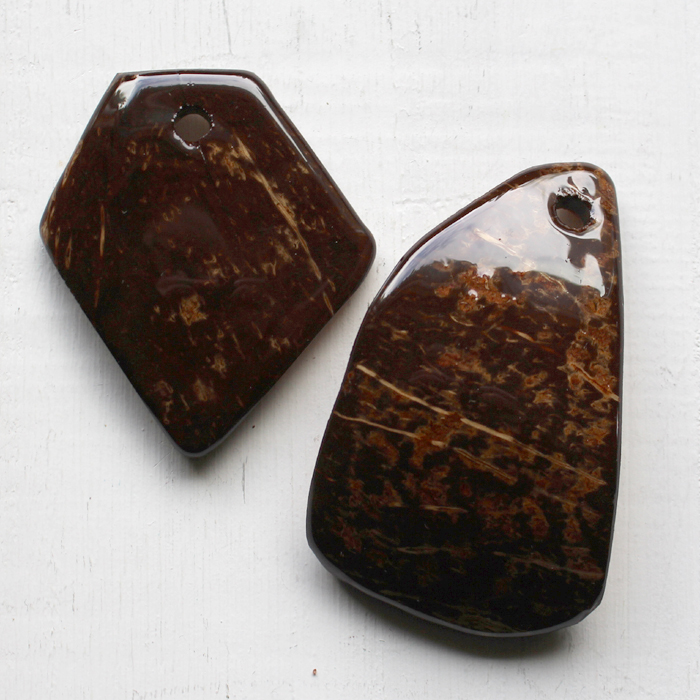
The next day the coconut is ready to make into necklaces. Cut 30 inches of twine for each necklace and select a few wooden beads.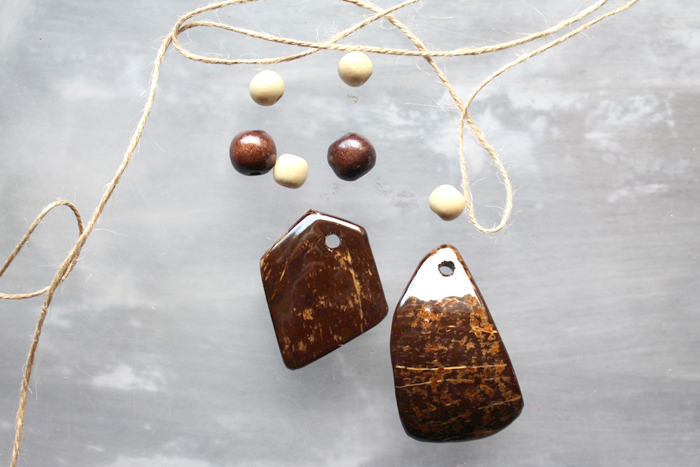
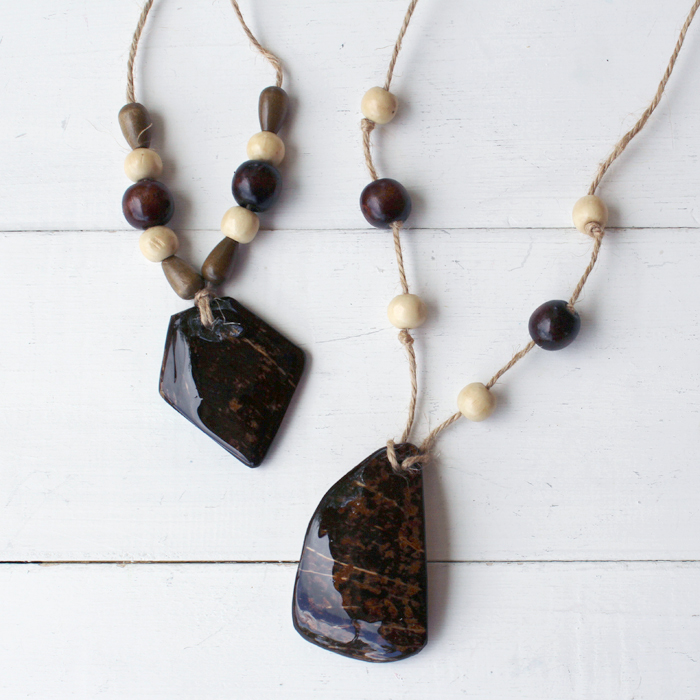
Tie the twine on the pendant with a simple larks head knot. Then string on the beads, either close to each other or separated with simple overhand knots. Tie the ends together and slip over the head. 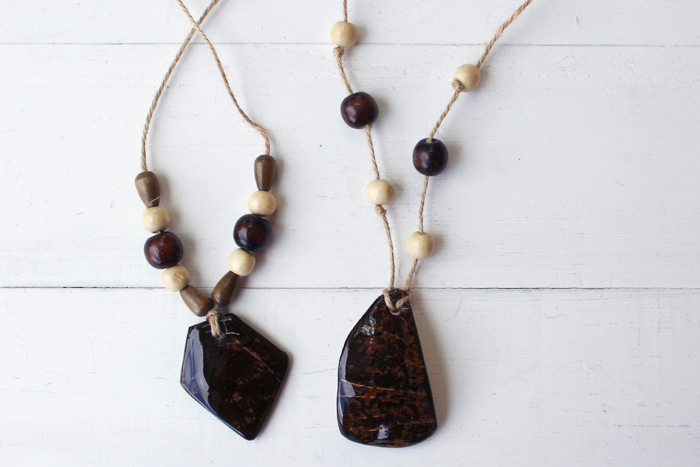
Like, Pin and Share
Natalie Shaw is a Craft/DIY blogger at Doodlecraftblog.com. She loves sci-fi, fantasy and video game geekery and that comes out in many of her projects. She posts budget conscious DIY’s, crafts, jewelry, kid friendly projects, upcycled treasures and other fun on her blog 5 days a week.

Leave a Reply