Sunset Rainbow Poured Resin Coasters DIY
Hi Resin Crafters, it’s Natalie from Doodlecraft showing how to make bright sunset rainbow coasters. The bright colors are mixed just enough to make new colors, blending a gorgeous sunset rainbow look. Pick some favorite colors and pour out an especially unique project.
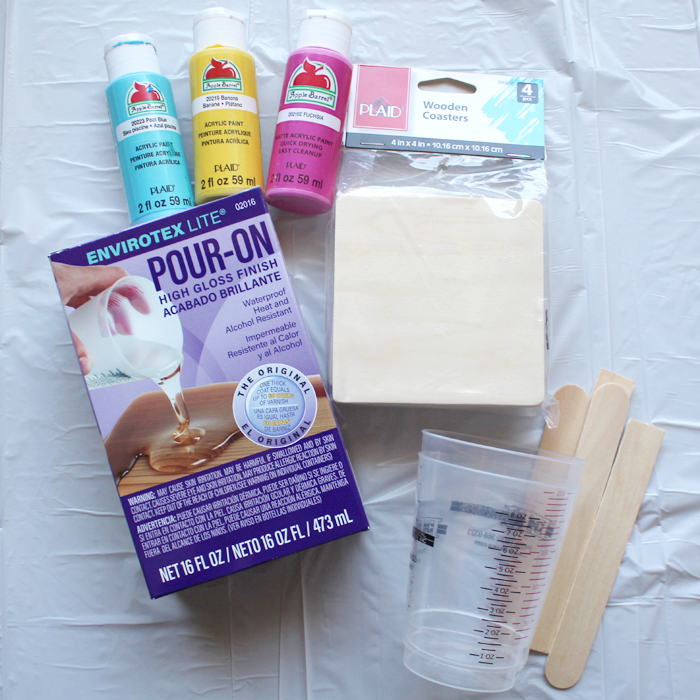
Supplies Needed to Start:
- Envirotex Lite Pour-On High Gloss Finish
- Wooden Coasters
- Acrylic Craft Paint in fuchsia, yellow and blue
- Mixing Cups, Stirring Sticks, Disposable Worksurface and Gloves
- Heat Gun or Embossing Gun
Get Started:
Begin by placing a disposable work surface on the table. Set small cups on the tablecloth. Place the wooden coasters on top of the small cups.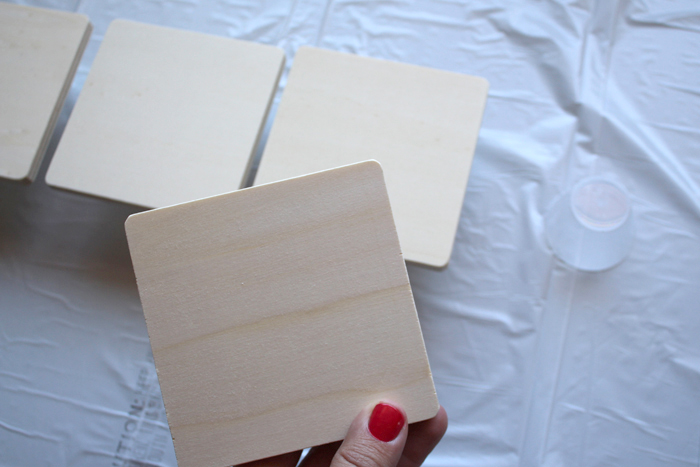
As pictured below, this keeps the coasters off the table and lets the excess paint/resin glide off the edges.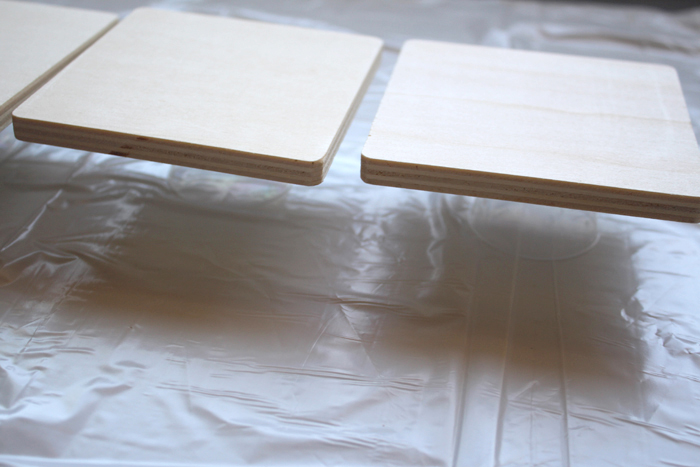
Mixing Resin:
Next is time for resin. Begin by reading through the instructions thoroughly. 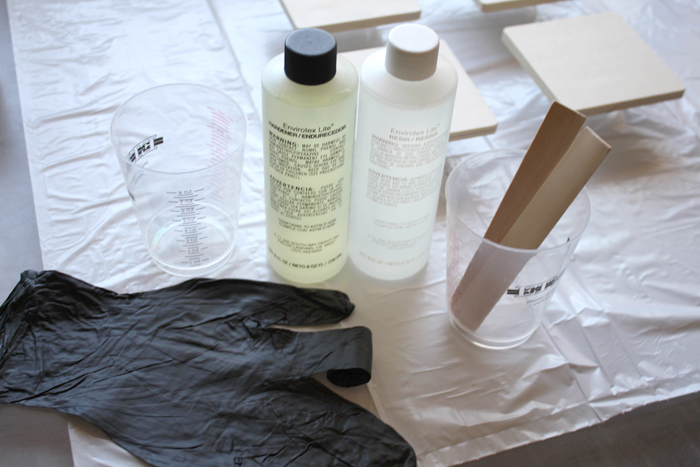
Then mix the resin in the 2 phase process using 1 part resin and 1 part hardener. If using 4″ coasters, only 1 ounce of resin is needed per coaster.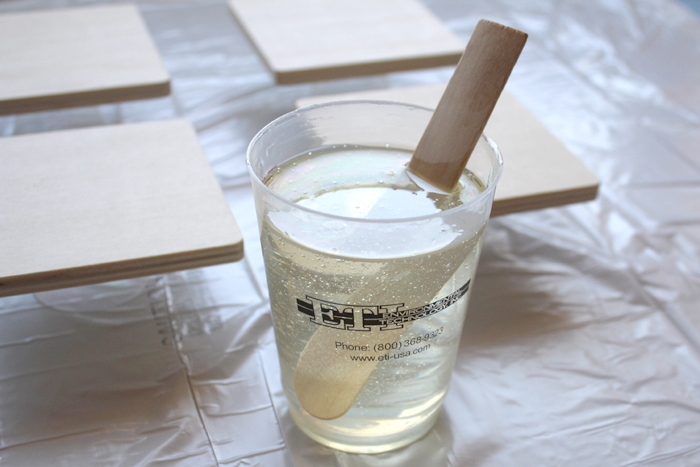
After mixing the resin for 2 minutes, pouring into a second cup and mixing again for 1 minute, pour some resin into 4 smaller cups. Add about a teaspoon of acrylic paint in each cup and mix thoroughly until the resin is the paint color.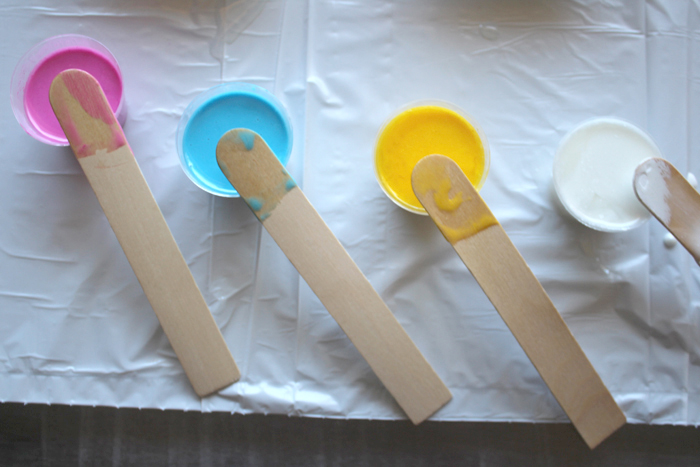
Pouring Resin:
Wear disposable gloves when working with resin. To make the sunset rainbow effect, start by pouring the fuchsia resin across the top of each wooden coaster.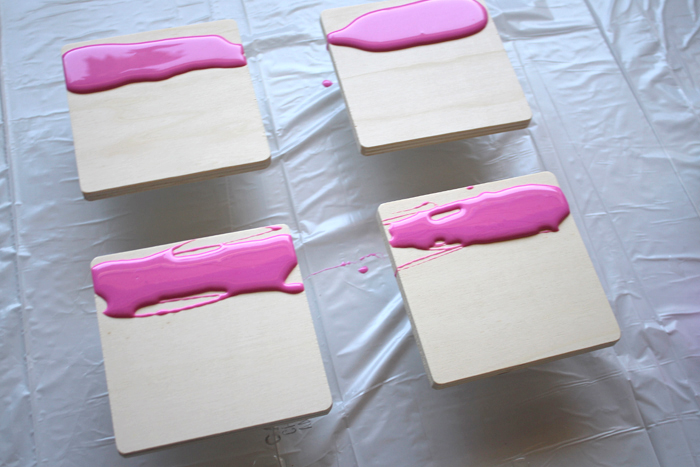
Followed by the blue resin in the center of the wooden coaster.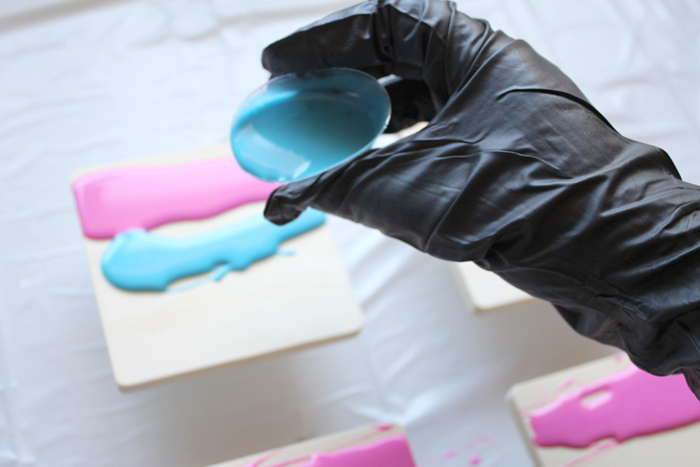
Finally pour the yellow resin on the bottom of the coaster. Do not worry about covering every part of the wooden coaster yet.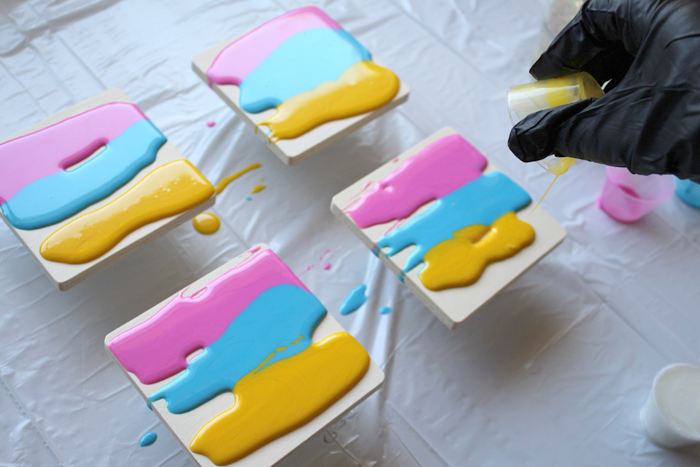
Blending Resin:
Now use your gloved finger to move the resin around slightly. Cover the edges across the top. Wipe the glove on a paper towel and then blend the pink resin into the blue resin.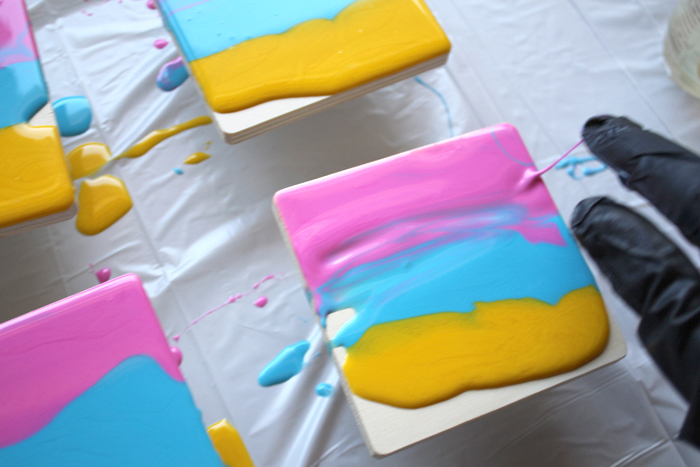
Repeat the process of blending and moving the resin to the edges. Let the colors blend a little together where they touch.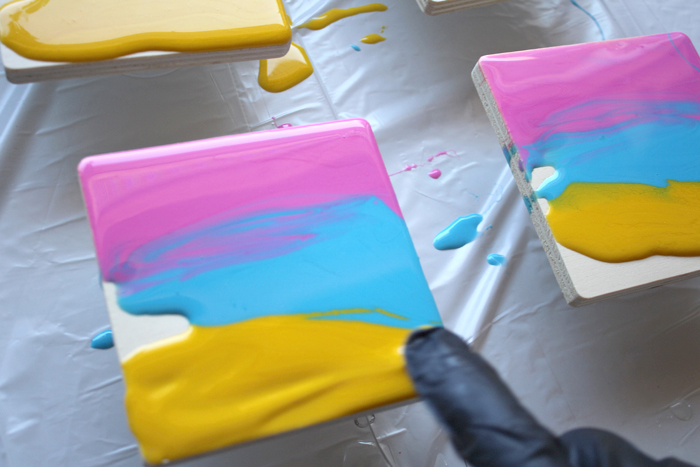
Finally take the white resin and drip some of the white across the coasters where the colors blend.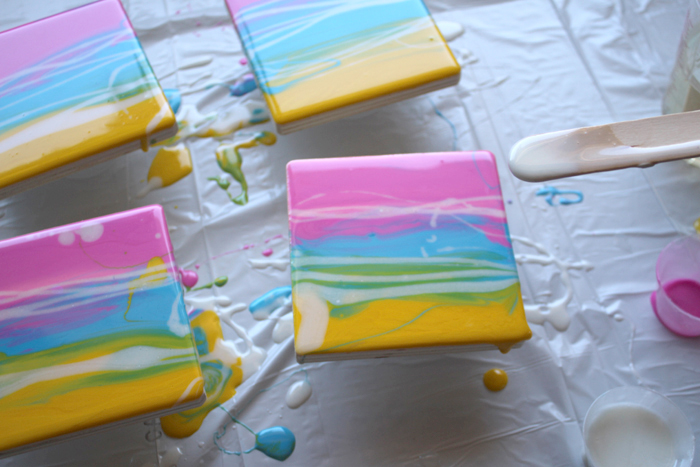
Add Waves:
Next take the embossing gun and do one hot pass across the coasters where the white resin was added. Do not overheat the resin, just blow it across to add waves and dimension.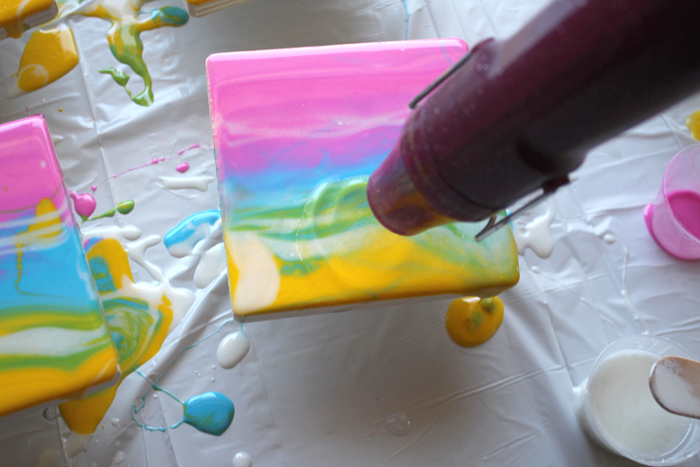
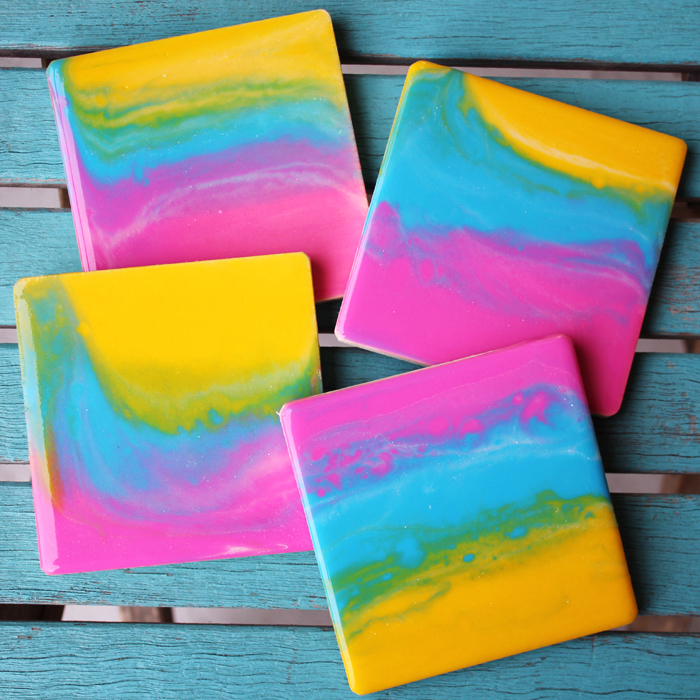
The way the colors blend and move make a stunning sunset rainbow effect. Let the coasters sit overnight to dry and cure.
Next day use a hobby knife or sandpaper to remove any drips that formed underneath the wood coasters. That’s it! They are ready to protect your table from condensation and water drops. Add some thin cork material to the underside if desired.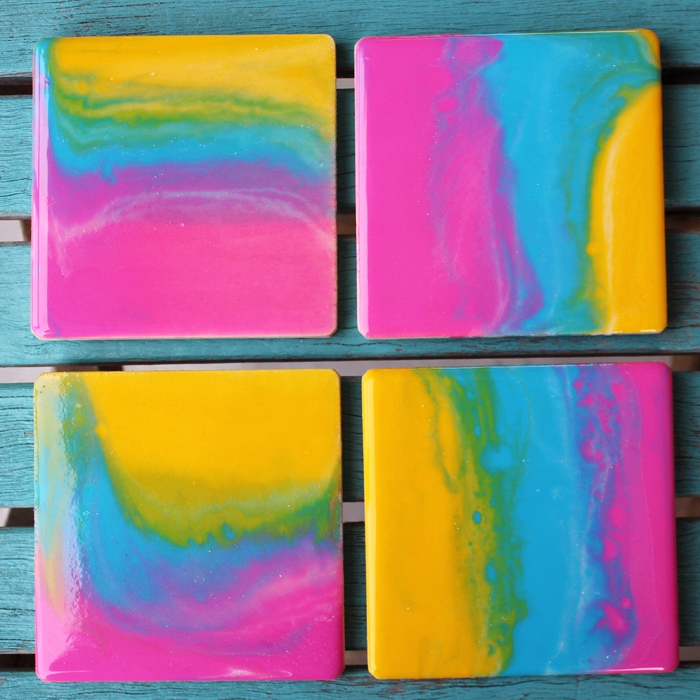
Enjoy the sunset rainbow poured resin coasters! They are a stunning conversation piece as well as a useful addition to any table. Like, Pin and Share!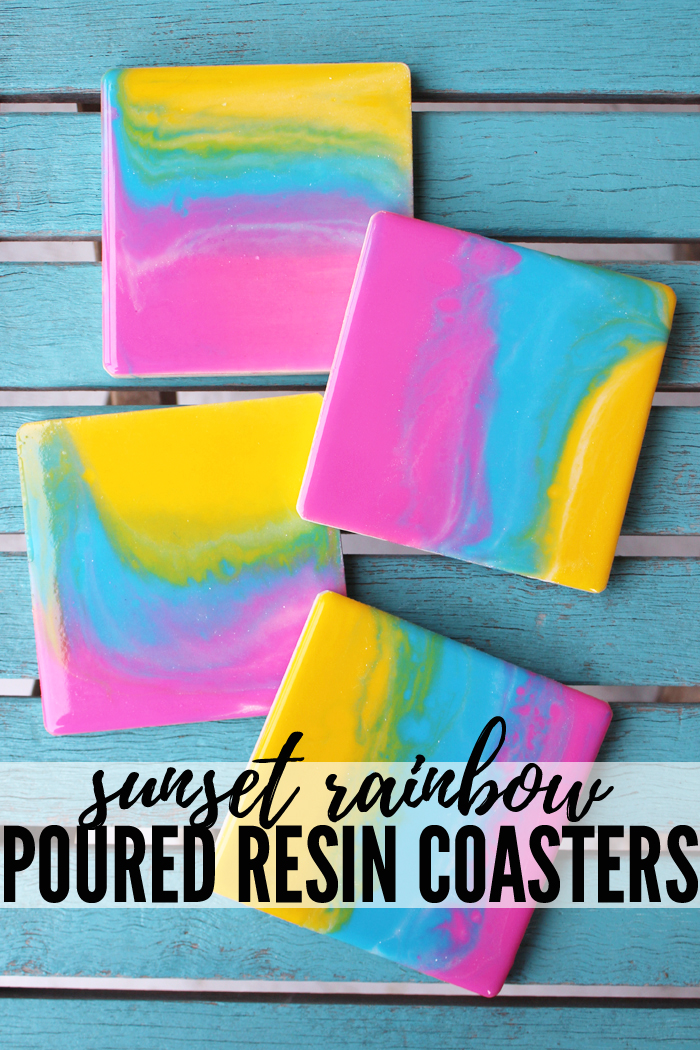
Natalie Shaw is a Craft/DIY blogger at Doodlecraftblog.com. She loves sci-fi, fantasy and video game geekery and that comes out in many of her projects. She posts budget conscious DIY’s, crafts, jewelry, kid friendly projects, upcycled treasures and other fun on her blog 5 days a week.



Leave a Reply