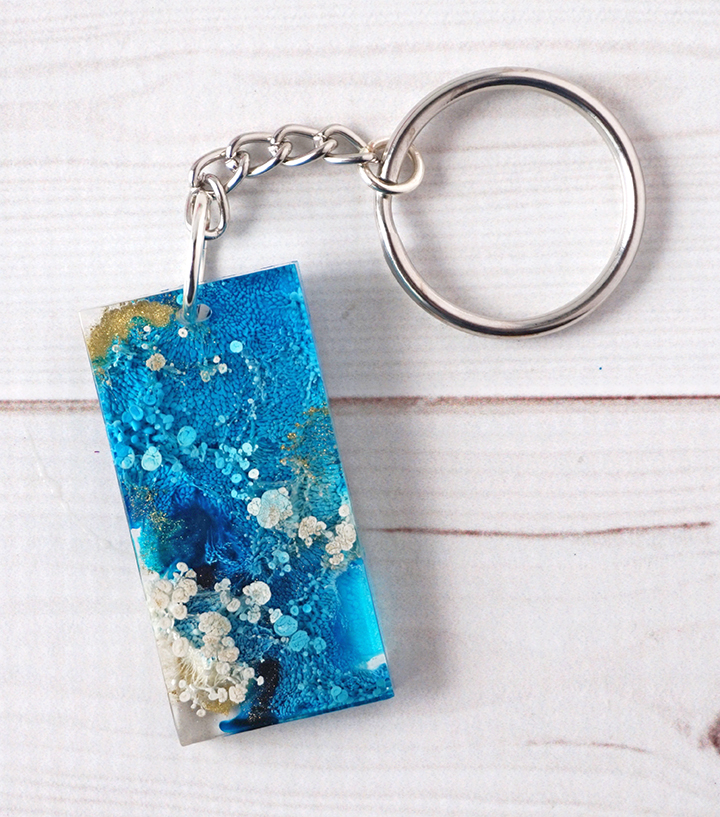
Create unique and artistic DIY Alcohol Ink Resin Keychains using resin and colorful drops of alcohol ink!
Hello, Resin Crafters! Lindsay here from Artsy-Fartsy Mama with a fun, new, resin craft for you to try. I am a huge fan of the “petri dish” resin method, and wanted to try using it to make some gorgeous pendants/keychains. I had a ton of fun making these DIY Alcohol Ink Resin Keychains, and am excited to share how you can make them for yourself and your friends!
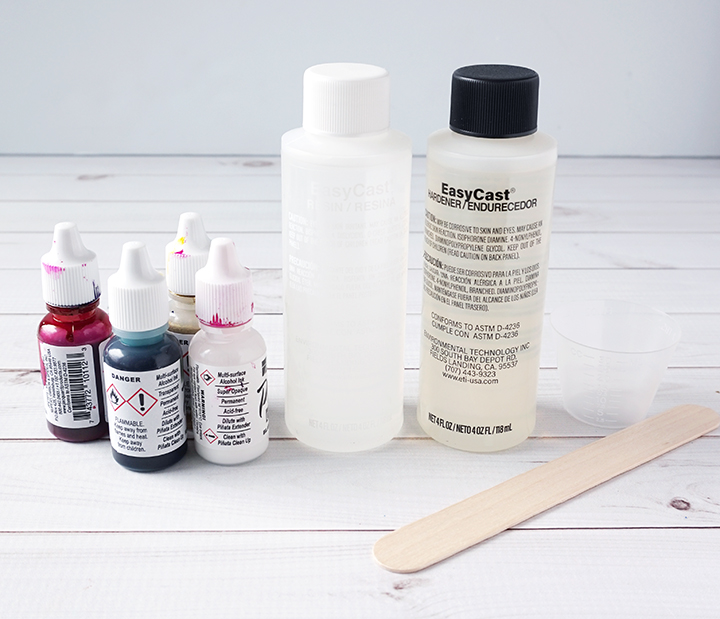
Supplies Needed to make DIY Alcohol Ink Resin Keychains:
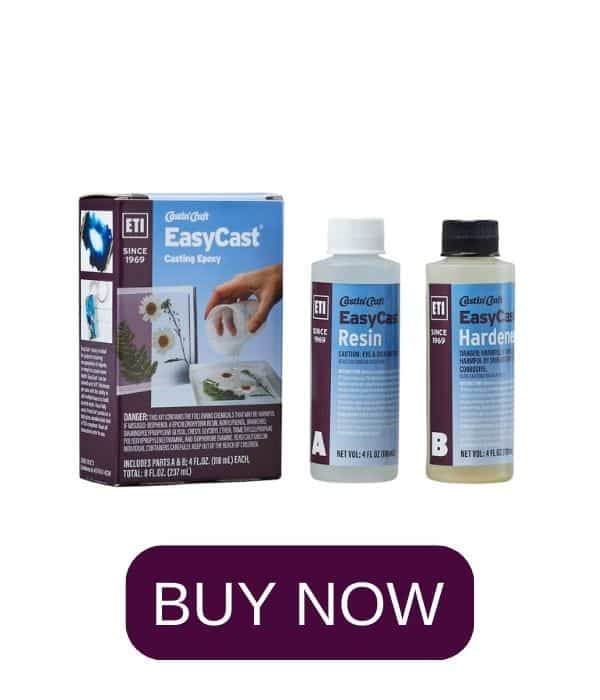
- EasyCast Clear Casting Epoxy
- Mold Conditioner and Release Spray
- Measuring Cups
- Stirring Sticks
- Disposable Gloves
- Alcohol Inks
- Jewelry Mold
- Jump Rings
- Jewelry Chain
- Jewelry Pliers
- Key Rings
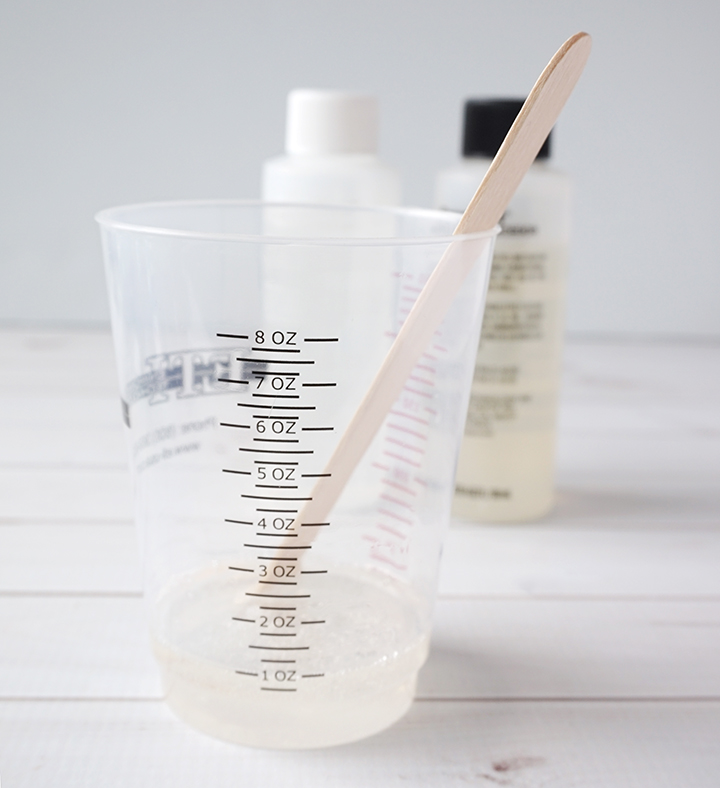
Step 1: Prepare the EasyCast Clear Casting Epoxy according to package directions. Be sure to work in a well-ventilated area and wear disposable gloves. Pour in equal parts of resin and hardener to the mixing cup.
Stirring the resin mixture together with a stir stick for two minutes, and then make sure to scrape the bottom and sides of the mixing cup, Pour the resin into a clean mixing cup and then stir the resin again for another minute or two with a clean stir stick. Spray mold with Mold Release and Conditioner.
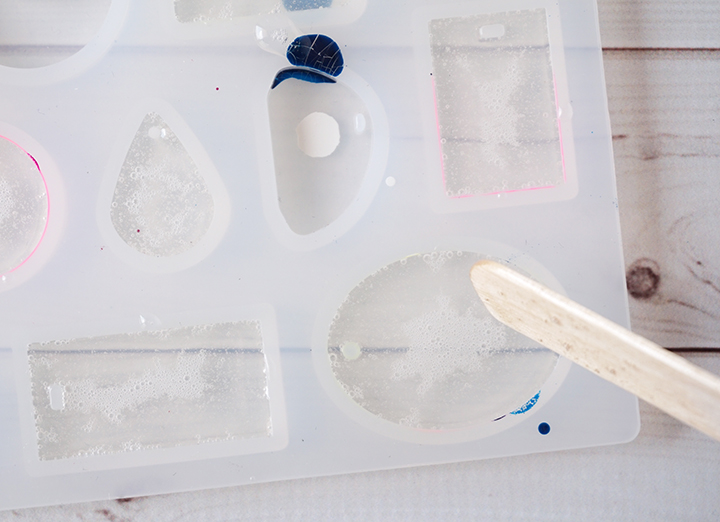
Step 2: Using alcohol inks can get a little messy, so lay something down to protect your work surface before getting started. Carefully pour resin into each of the molds using a stir stick. Try your best not to overfill the molds. Let the resin sit for a minute, and then use a straw, lighter, or a toothpick to remove any air bubbles that come to the top.
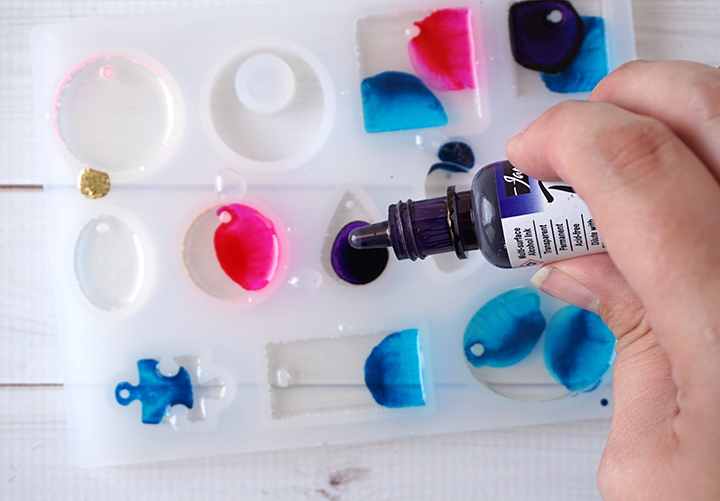
Step 3: Add a drop of alcohol ink on top of the uncured resin. Be careful not to add too much ink or combine colors that can become muddy (red/green, blue/orange, etc). Protect your workspace and wear gloves, because alcohol inks will stain your hands and surfaces!
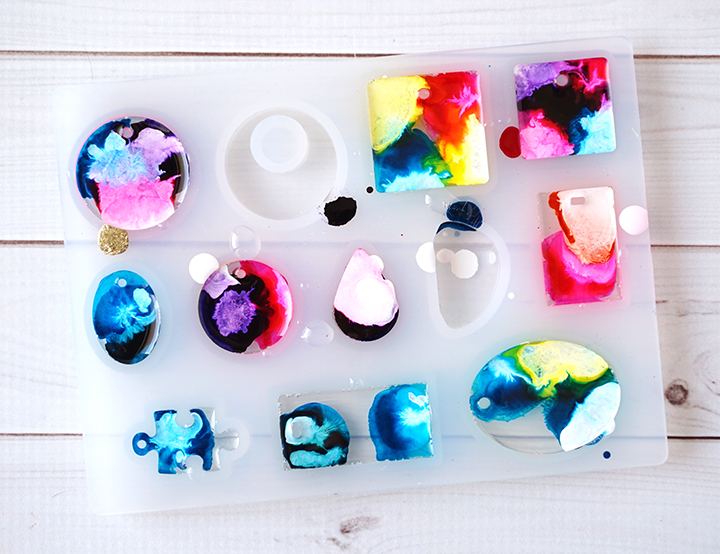
Step 4: White alcohol ink is what makes the the magic happen! White alcohol ink is heavier, so it pushes through the resin to create this awesome “petri dish” effect. Add one drop of white ink to the center of the colored ink drops.

Step 5: Add one more drop of colored ink over the white ink drops. The ink will spread out with every drop. As tempting as it is, try not to add too much ink. It can affect the way the resin cures and can potentially muddy up your pendants. Leave the resin to cure in an undisturbed area for 12-24 hours.
Step 6: Carefully remove the pendants from the mold and admire your work. Use a fine grit sandpaper to smooth any uneven edges.
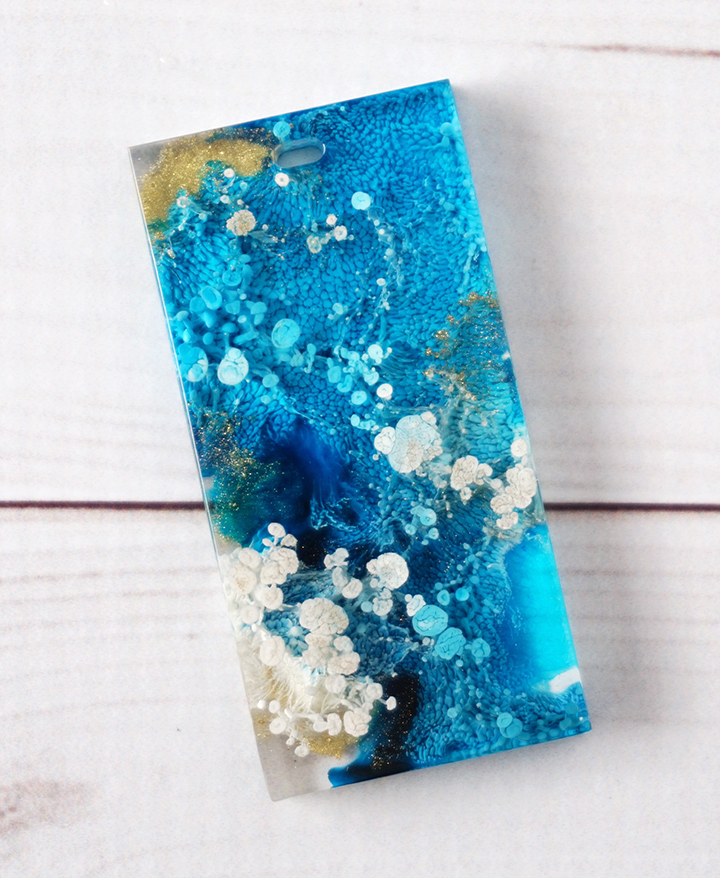
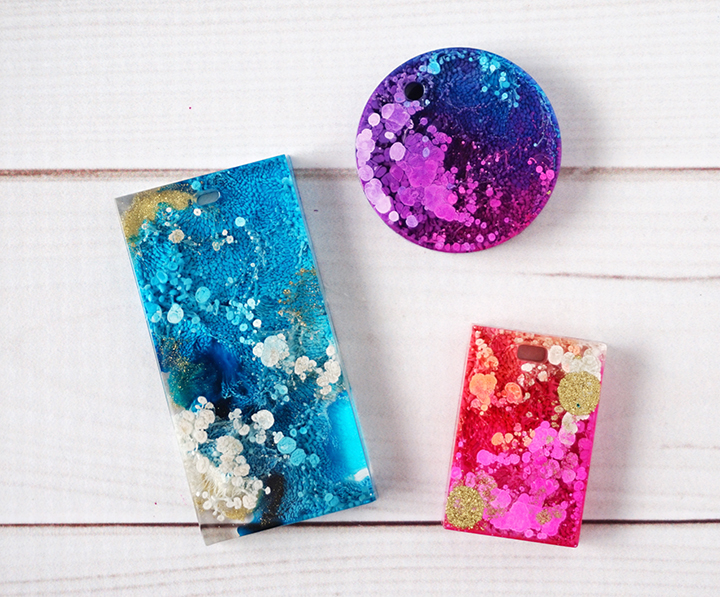
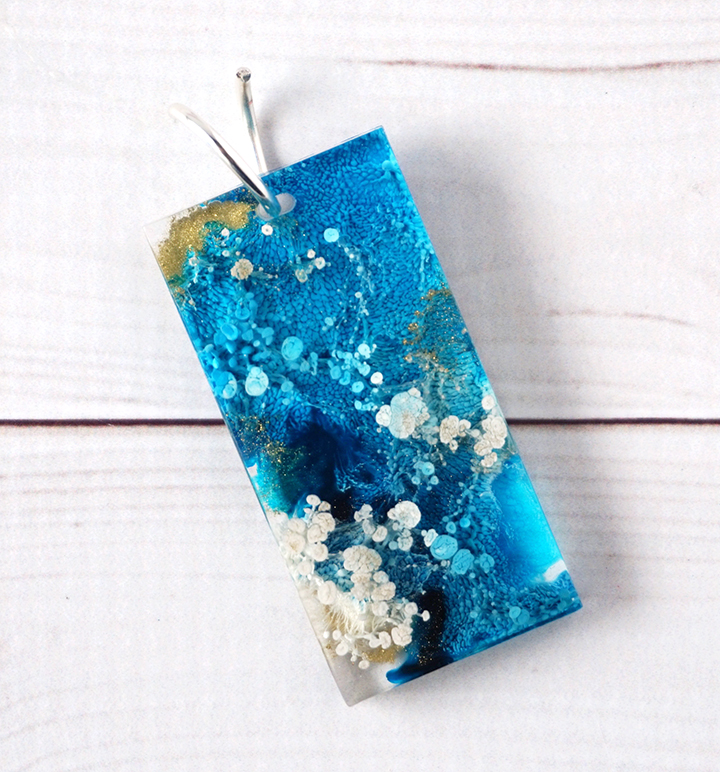
Here’s a close-up of one of the pendants I made using blue, white, and gold inks. The way the ink settles into the resin creates such a cool effect, and no two pendants are the same.
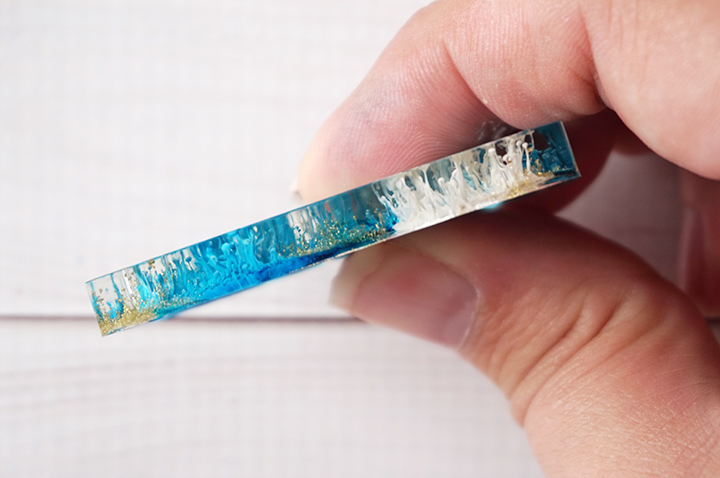
One thing I love about this technique is looking through the sides of the pendants. The dripped ink suspended in resin is simply amazing!
Step 7: Use jewelry pliers to open a jump ring and hook it through the hole in the pendant. If your mold doesn’t have a hole in the pendant like mine does, no problem! You can add a hole using a drill and small drill bit. Just make sure the hole is large enough that you can fit a jump ring through it.
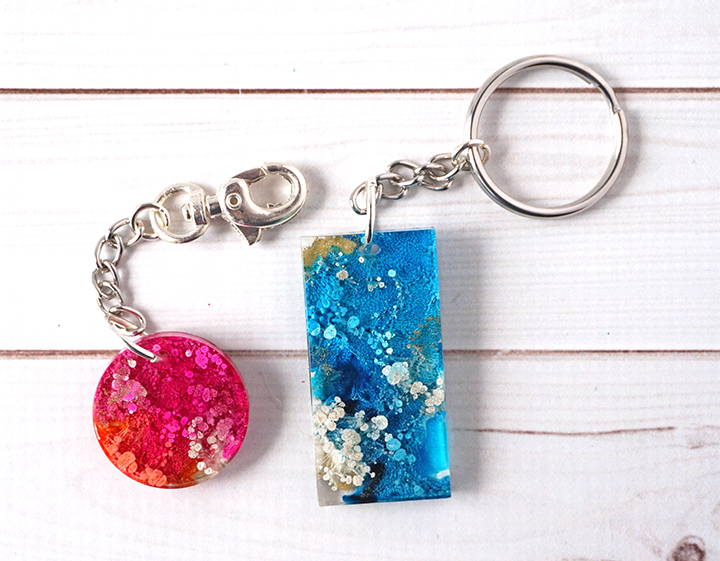
Step 8: Attach a keychain to the jump ring, and use jewelry pliers to close it. Not sure how to do that? The tutorial for these DIY Resin Flower Keychains will show you how!
Attach your keys to these keychains, or use them as zipper pulls. Alternatively, you can use the pendants to create a one-of-a-kind necklace! I love that no pendant is exactly the same, and there are all kinds of variations with colors and shapes

Lindsay is a crafter, graphic designer, and glitter enthusiast from Utah. She’s passionate about homeschooling her creative daughter, traveling, and spending time in the craft room. Lindsay shares DIY project tutorials, printables, recipes, kids crafts, and more on her blog, ArtsyFartsyMama.com, where she inspires readers to live a creative life.


Where is a good place to find the molds? They are not sold in the stores in which I bought the other supplies!
NOTE: not just for this project. Applies to just about alll of them. The molds in craft stores are not for resin.
I found mine on amazon. Trying searching “silicone jewelry mold”.
such a great tutorial and effect, thank you for sharing ❤️