Hey Resin Crafters! Amber Oliver here with another great resin project! I have been hard at work during the One Room Challenge trying to makeover our guest bathroom on a budget. Our weapon of choice? PAINT! We completely transformed our existing bathroom vanity with paint and Envirotex Lite Pour on Resin! This bathroom countertop makeover is going to blow you away!
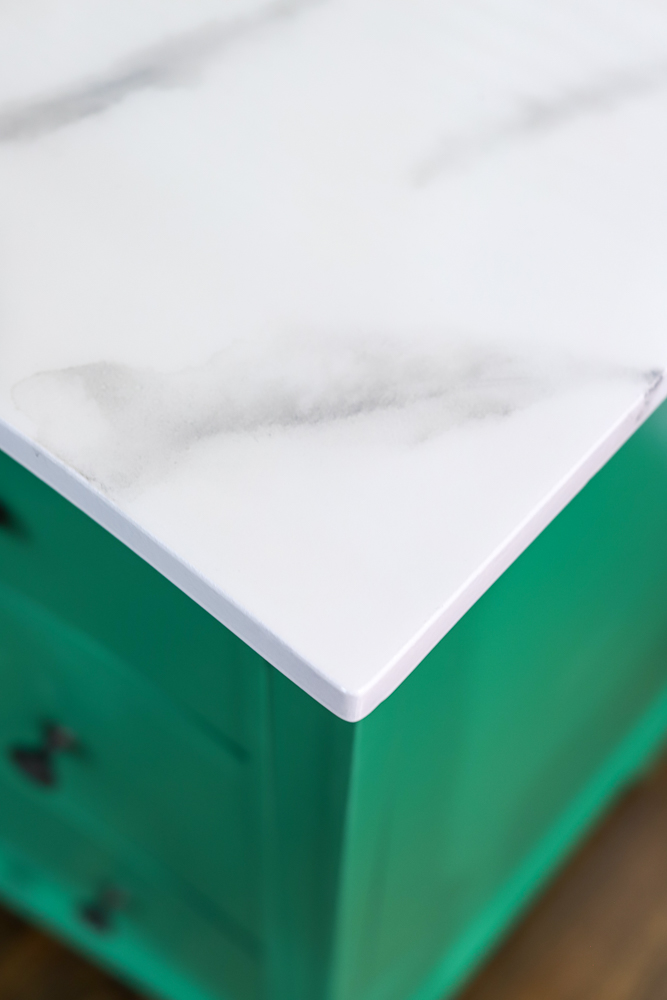
After painting the wood base of the vanity a bright, beautiful green we needed to brighten the black countertop. I decided to try painting a faux marble countertop and topping with pour on. To say it turned out well was an understatement! We are completely blown away by how amazing this project turned out! Ready for a bathroom countertop makeover? Let me show you how we did it.
Bathroom Countertop Makeover
Painting the countertop
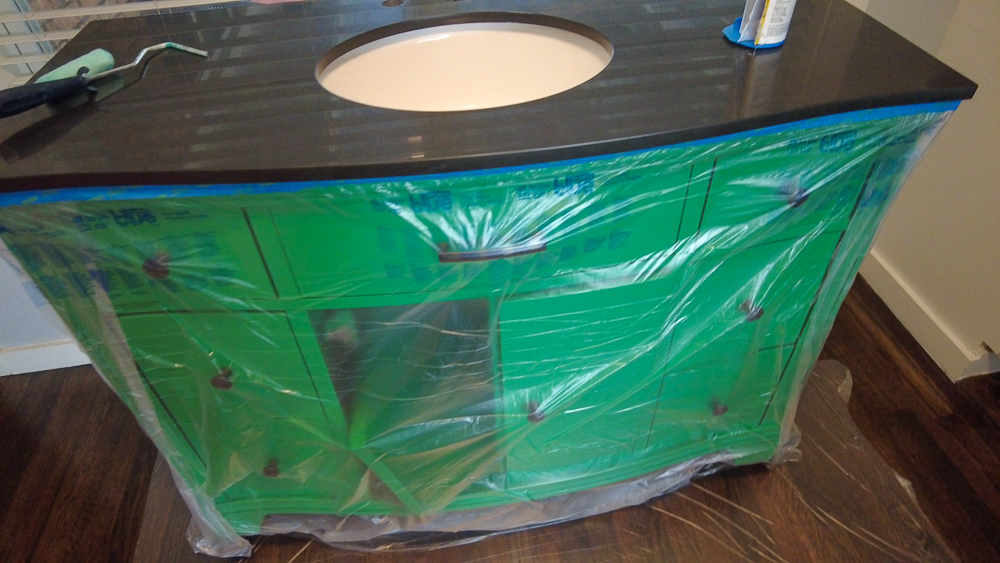
The first thing you need to do is prep your work area! Put down something to protect the floor and tap off the areas you DO NOT want paint or resin on. The best product to use is a painters tape/plastic wrap combo. You simply tape off then unroll the plastic! Use tape around your faucets and the sink but better yet remove them!
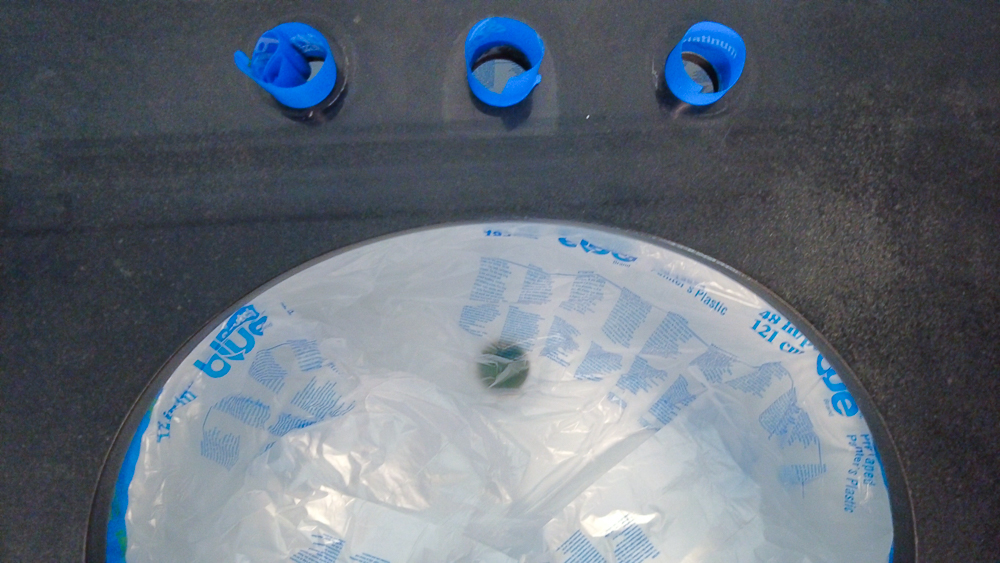
Now you can paint your countertop with the primer. The best product for this is called Stix!
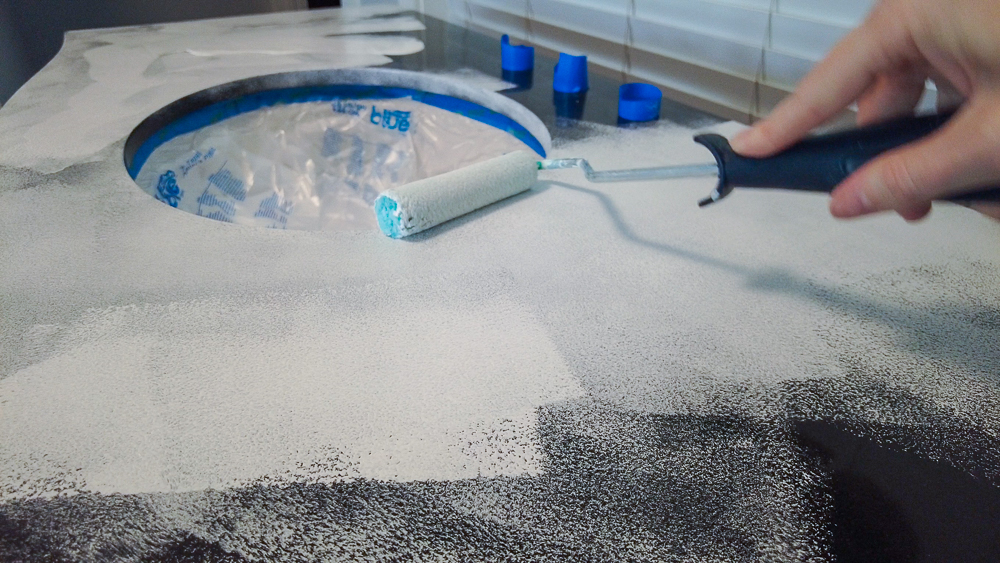
Next paint your coats of white paint. Best to use a satin sheen.
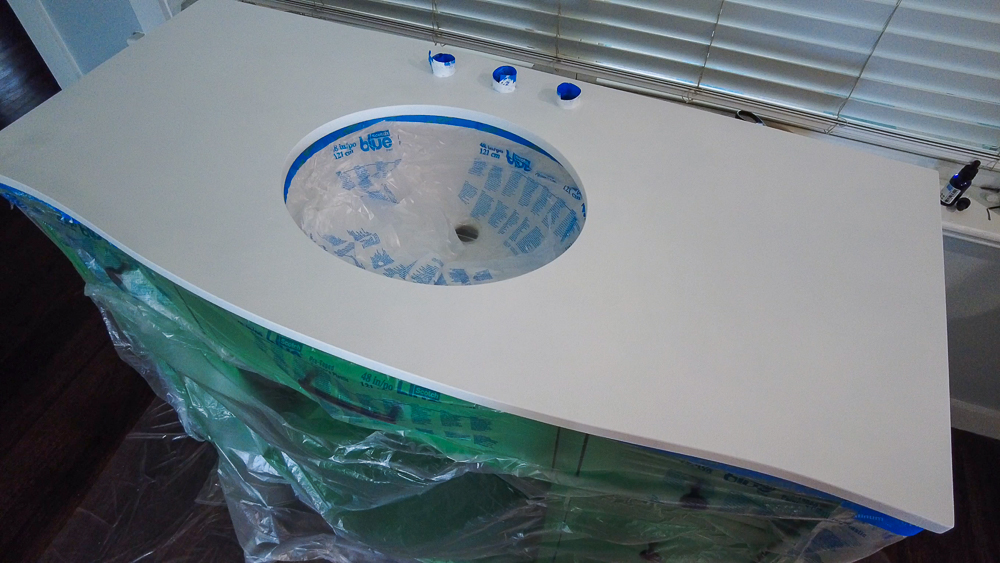
Now you can slowly add your lines with dark gray paint. I found it best to do one line at a time!
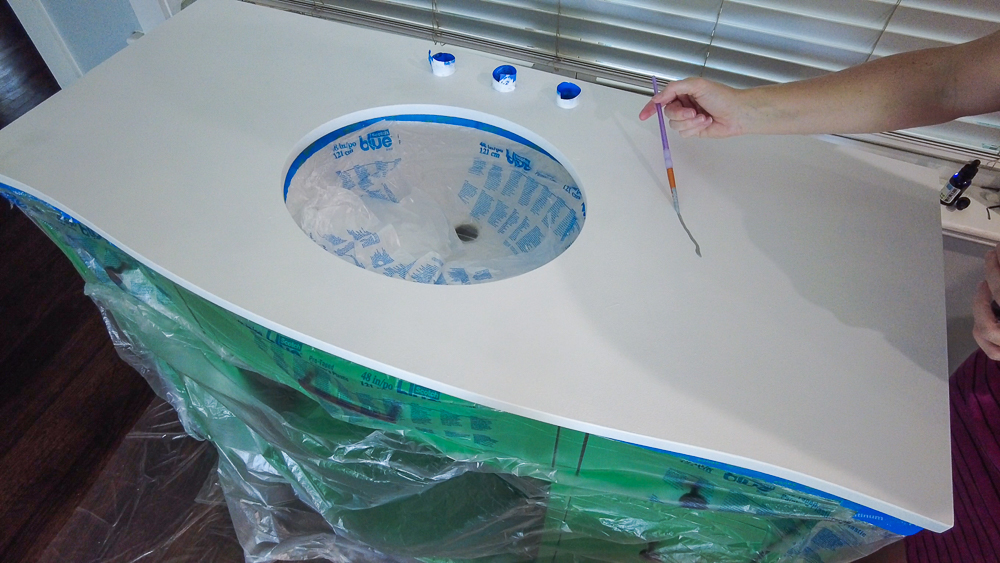
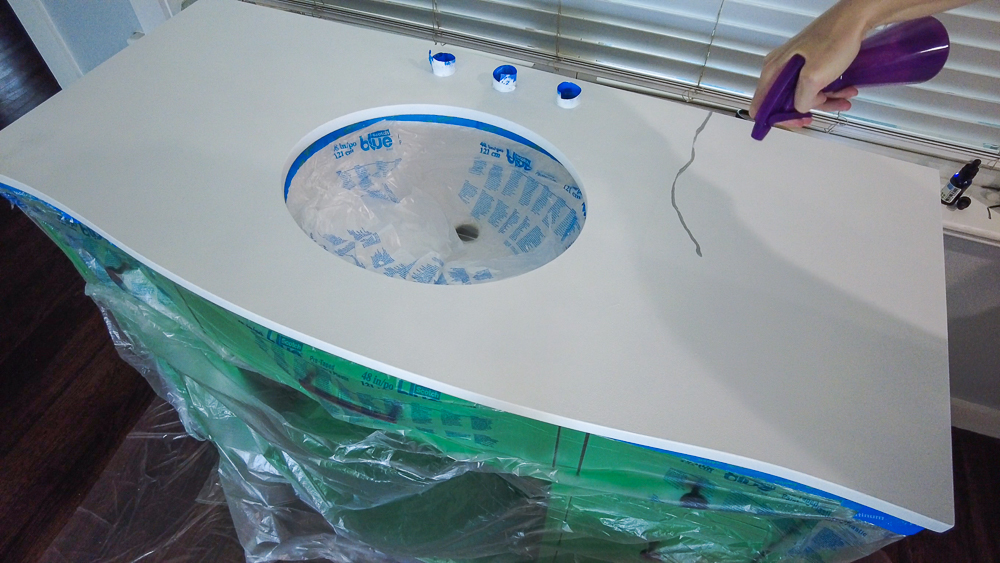
Now use a squirt bottle to mist the line with water until you see it starting to run a little or start spreading.
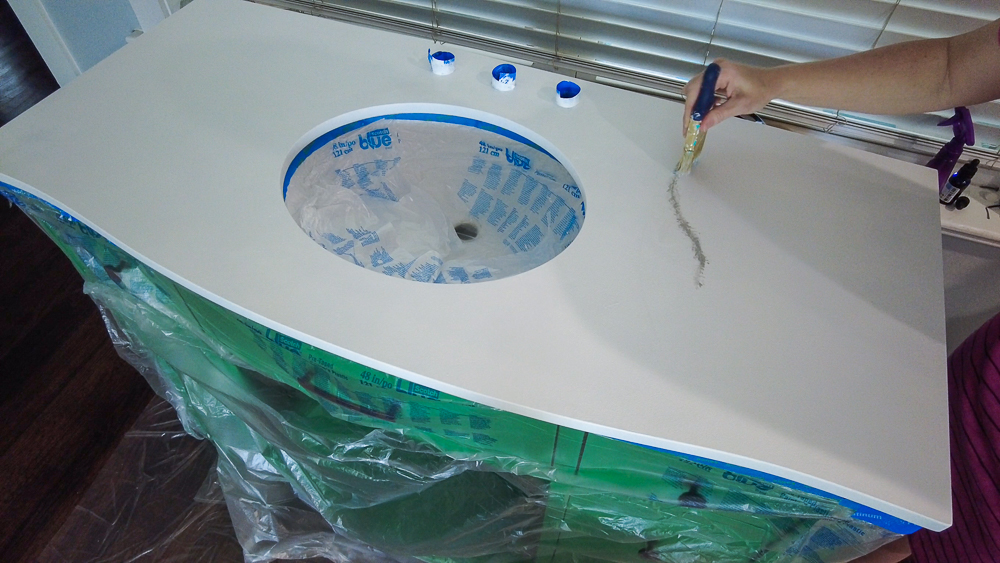
Now use a stiff bristle brush to tap at the line and spread the paint. Your goal is to soften the line to have it look more natural like the veins in marble. You’ll be surprised how easy this is! The best part is, if you don’t like it simply wipe it away.
Allow the countertop to dry completely before starting with the resin.
Adding Resin to Countertop
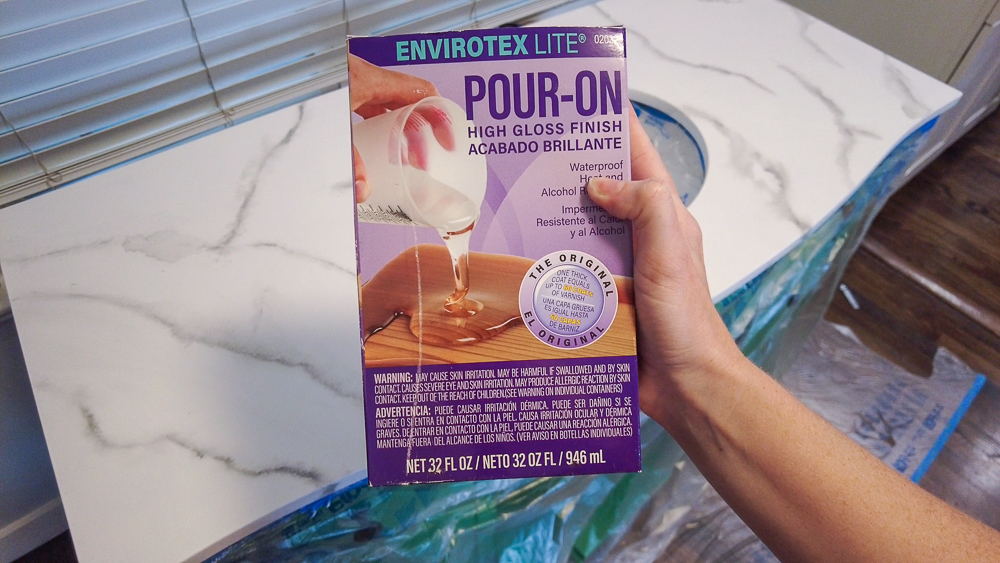
Before you start mixing, allow your bottles to sit in a bowl of warm water to reduce the amount of bubbles in the pour.
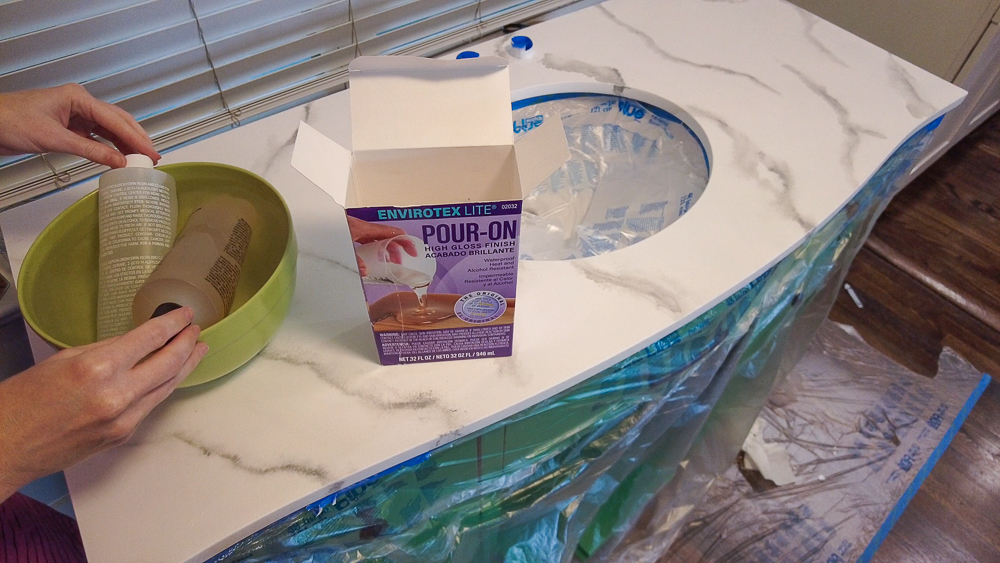
Now you’re ready to start mixing! I used a 32 oz pack and had plenty to cover my countertop! First add equal parts of the resin and hardener and mix for 2 minutes.
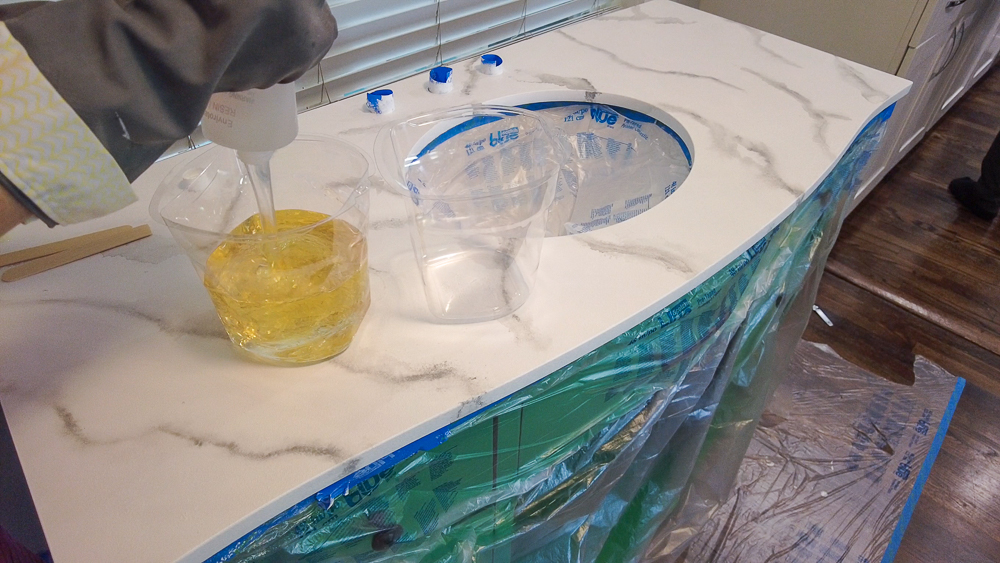
Then pour from one container to another and mix gently for another minute.
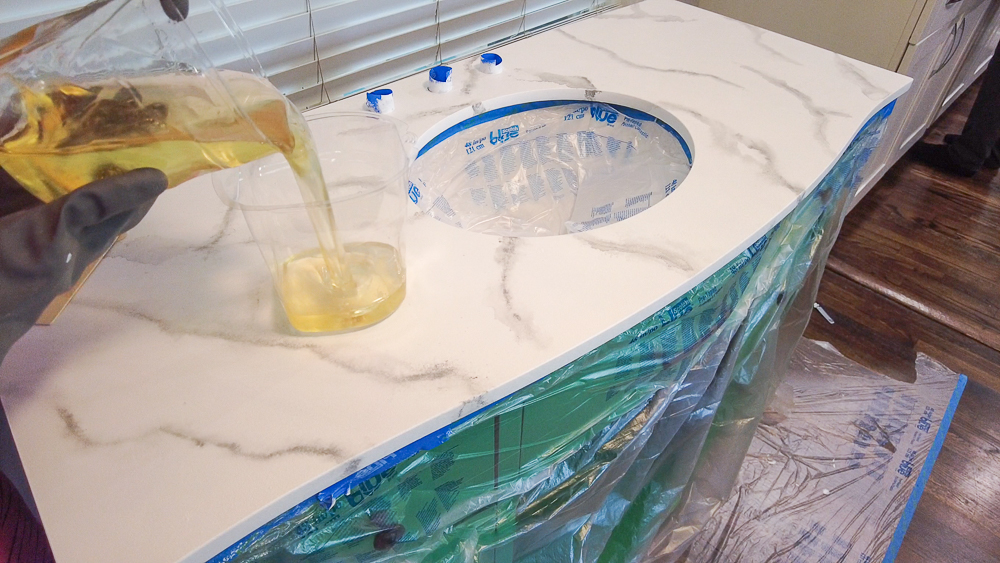
Now it’s time to pour your resin!
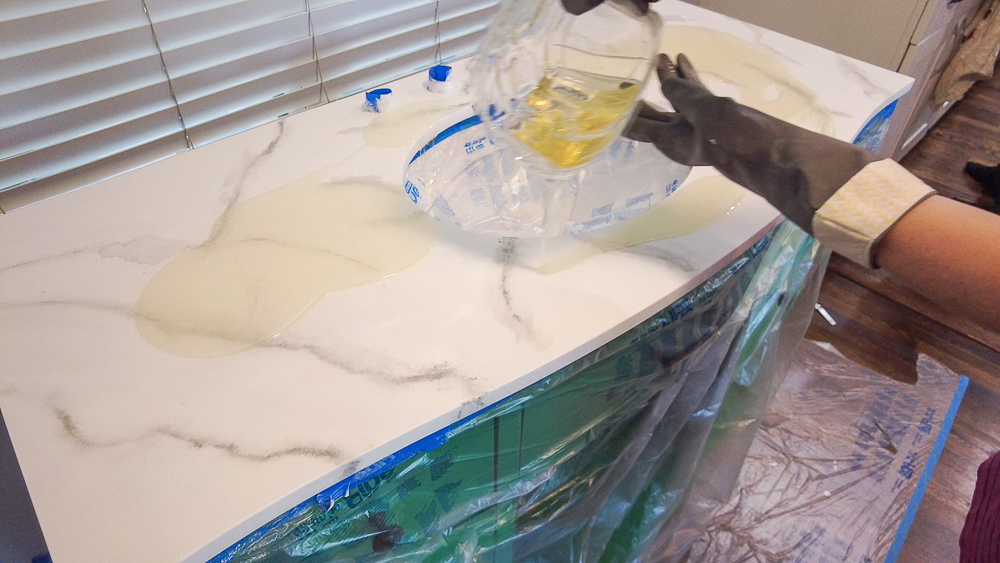
Gently push the resin to cover the entire surface until it drips off and covers the sides. Use a small brush to ensure coverage and get any drips under the edges. Keep an eye for the next hour or so and wipe the drips away.
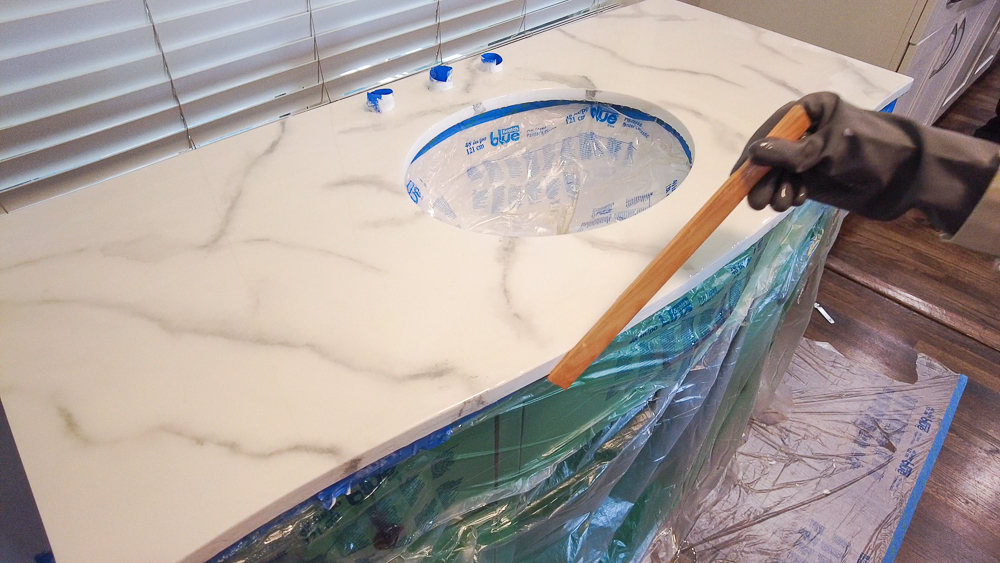
Use a handheld torch to get the pop the bubbles that rise to the surface. Just pass the flame quickly over the resin!
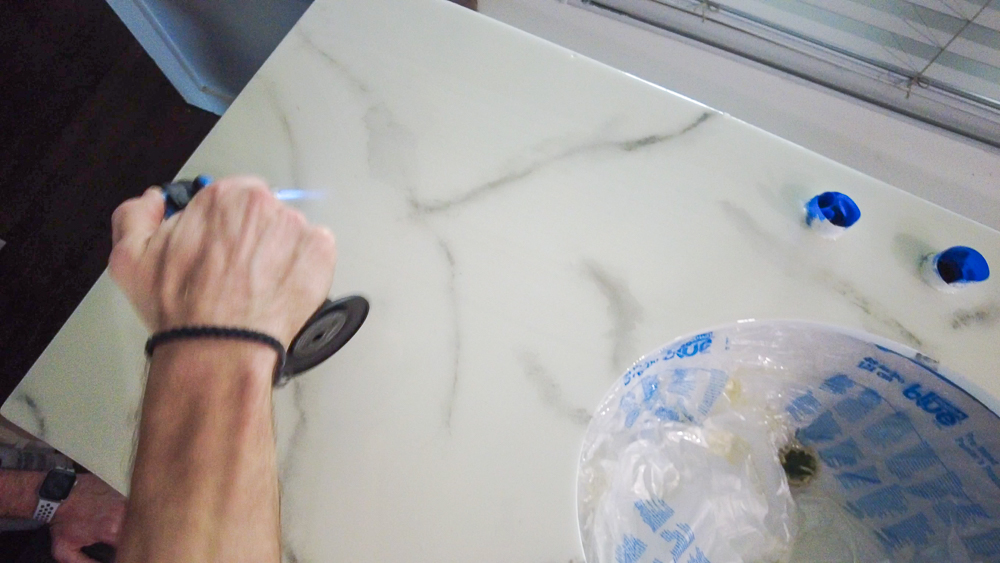
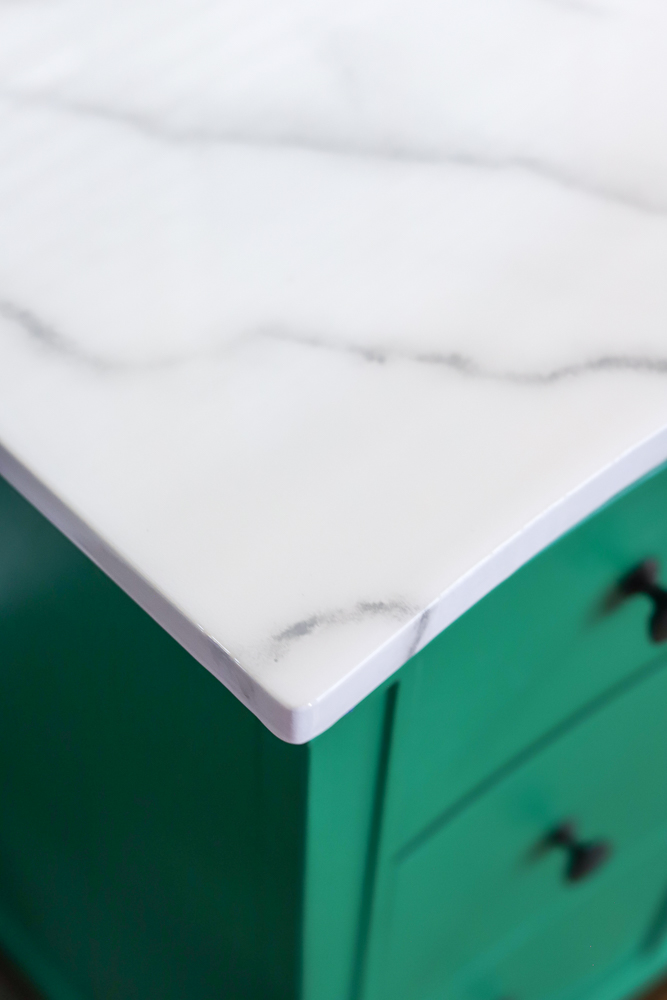
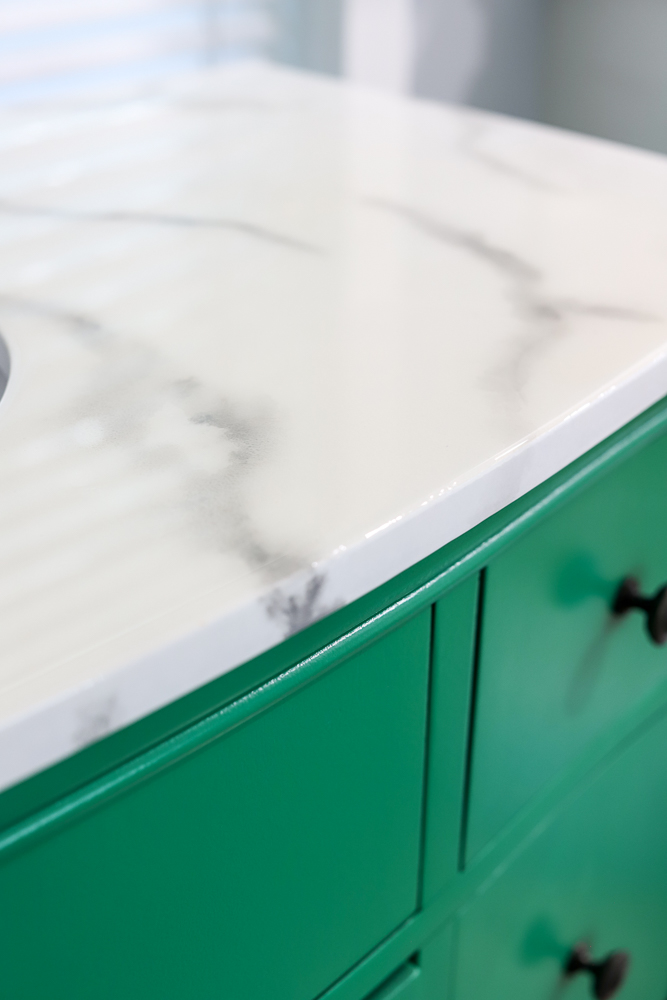
Once your resin has cured you’ll have a BEAUTIFUL surface for your new bathroom countertop!
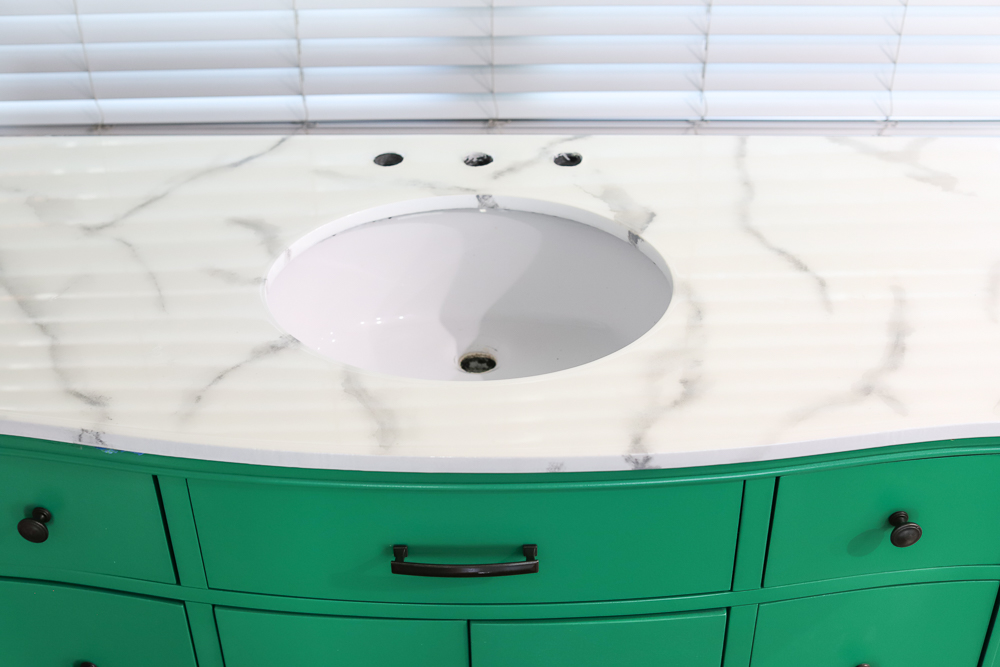
I can’t wait to add new hardware and get this back in our bathroom! Our new faucet will be matte black and will match all the new bathroom hardware.
Amber Oliver is a DIY and lifestyle blogger who shares easy DIY tutorials, colorful crafts, and more on her blog, Amber Oliver. She’s a native Oklahoman living “in the loop” in Houston, TX with her husband and dog. She’s an avid reader, world traveler, loves Tex Mex food, and creating everything from woodworking projects to websites. She focuses on budget friendly projects for the home and empowering women to try new things.


Looks very easy. I will be trying this
Awesome! Good luck!!
Looks amazing. Would this product work on an ikea bathroom vanity/sink where the sink dips down and is apart of the vanity? Or maybe it best to only use on a flat/level surface for it to properly cure?
Hi Carly! It would have to be a flat/level surface to cure evenly.