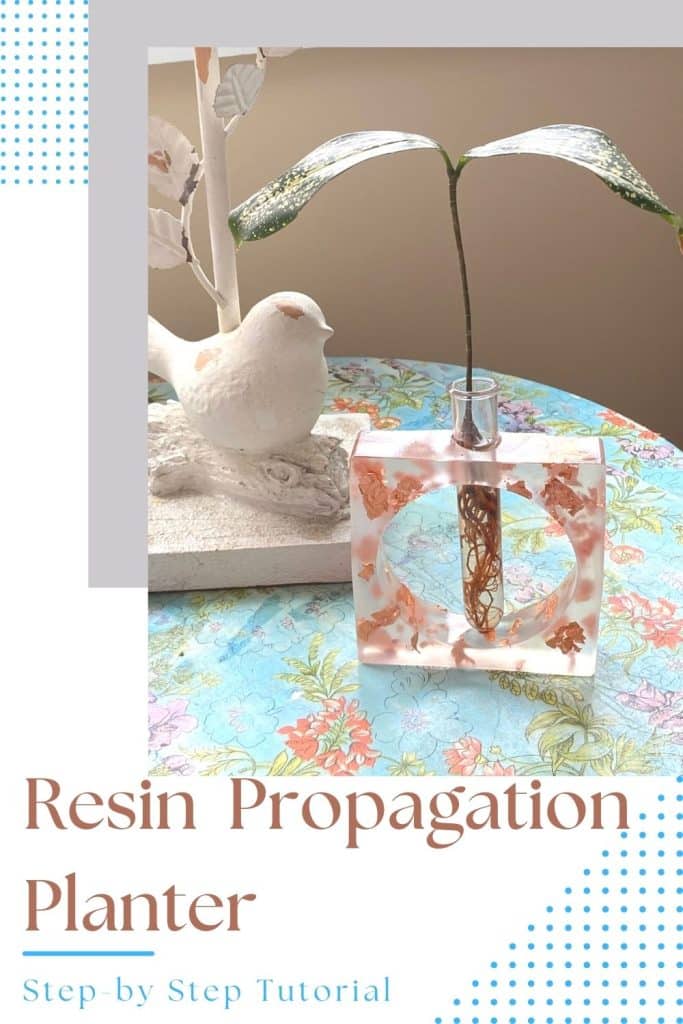
Learn how to make a modern polyester casting resin propagation planter that will look beautiful in any style of home.
Do you like plants, but don’t have a lot of room to grow them? Or maybe you just want to gift one of your favorite plants to someone.
Well, have I got the solution for you! By using some clear casting resin and a resin mold, you can create your very own resin propagation planter.
This project is perfect for anyone who loves plants and is looking to propagate their own. Let me show you how it’s done.
Hello, Resin Crafters! Michelle from Our Crafty Mom back with a sleek and modern resin project for you to try. My niece is a huge plant lover and definitely has a green thumb.
I asked her for some tips and she offered to give me some cuttings from a few of her plants. She recommended using a propagation planter. Of course, I could buy one online, but that is not my style at all!
I immediately thought of making one with resin. That is how this lovely polyester casting resin planter came about.
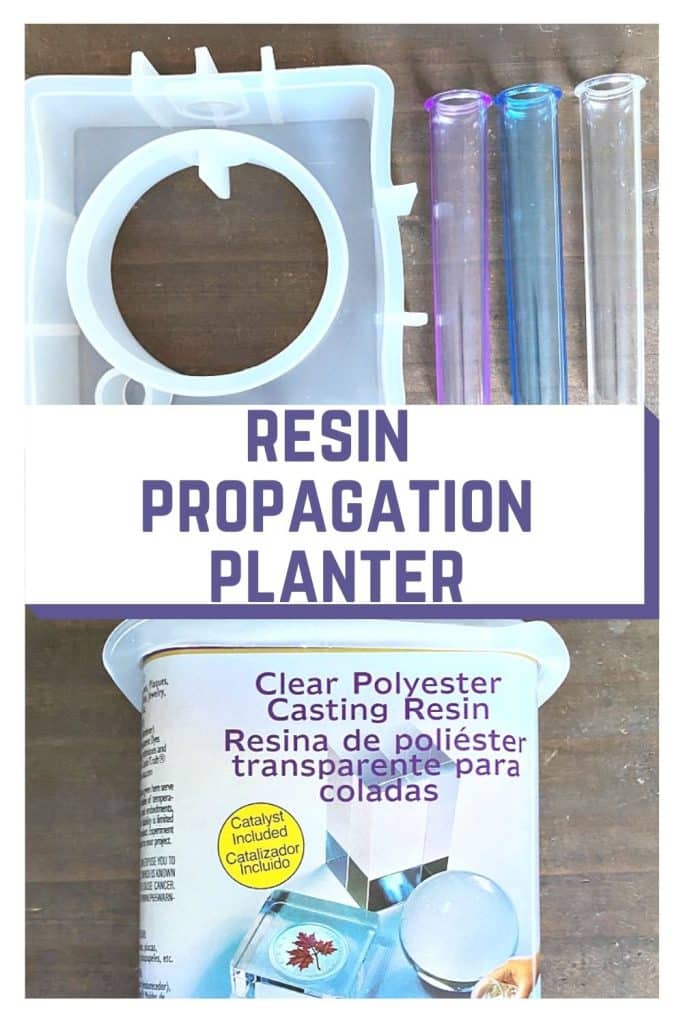
Supplies Needed for Resin Propagation Planter
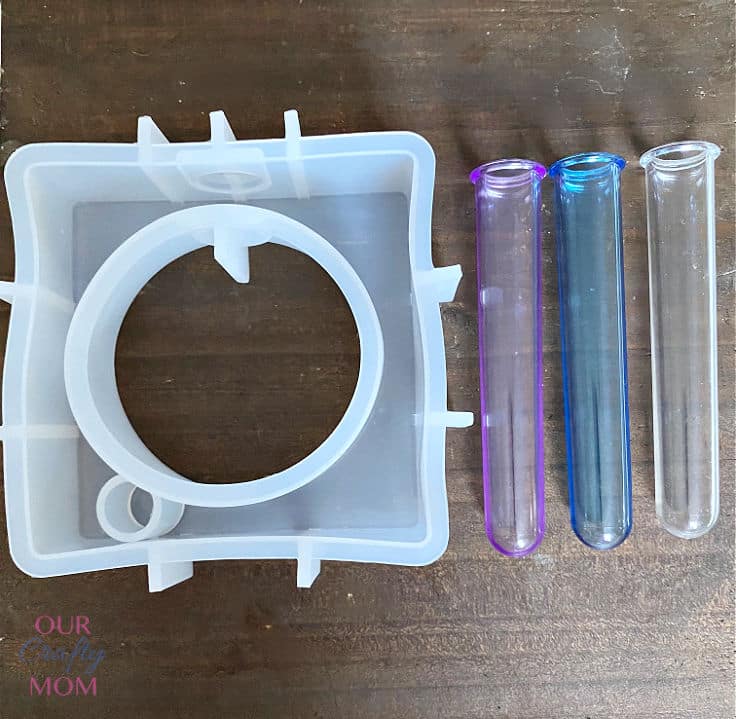
- Resin Vase Mold
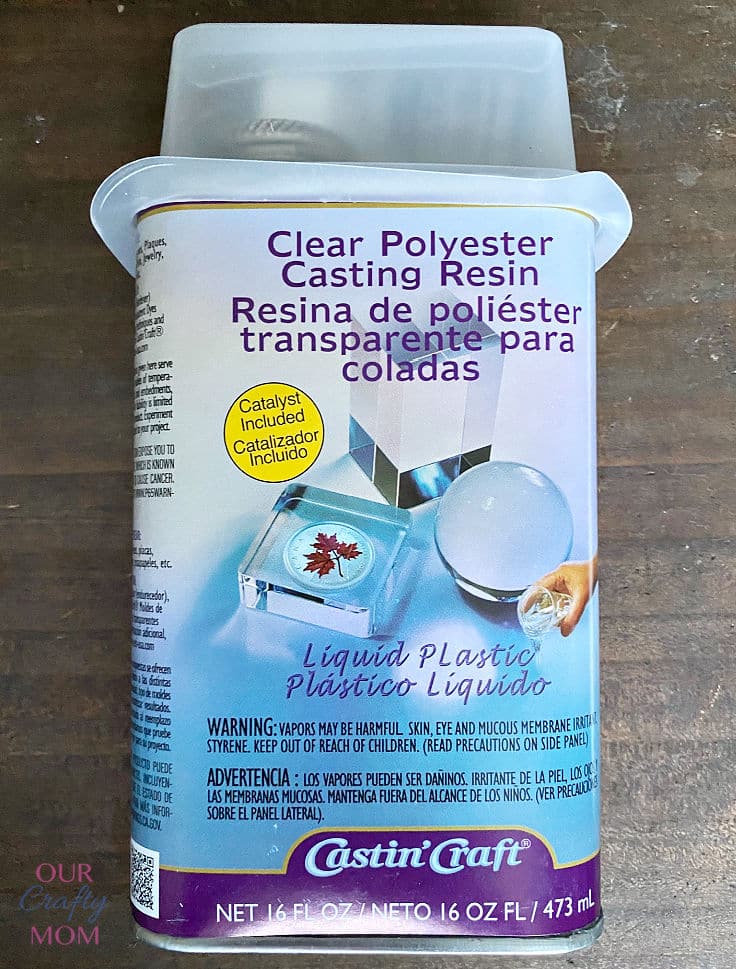
- Polyester casting resin
- Mixing Cups and Sticks
- Nitrile Gloves
What is Polyester Casting Resin
Polyester casting resin is a product that allows you to embed or encase almost any object in crystal clear plastic. A few examples are coins, shells, rocks, dried flowers, butterflies, and insects.
How to Make a Resin Propagation Planter
I’ll share some tips for making the resin planter and there is also a printable how-to card below.
Step 1.
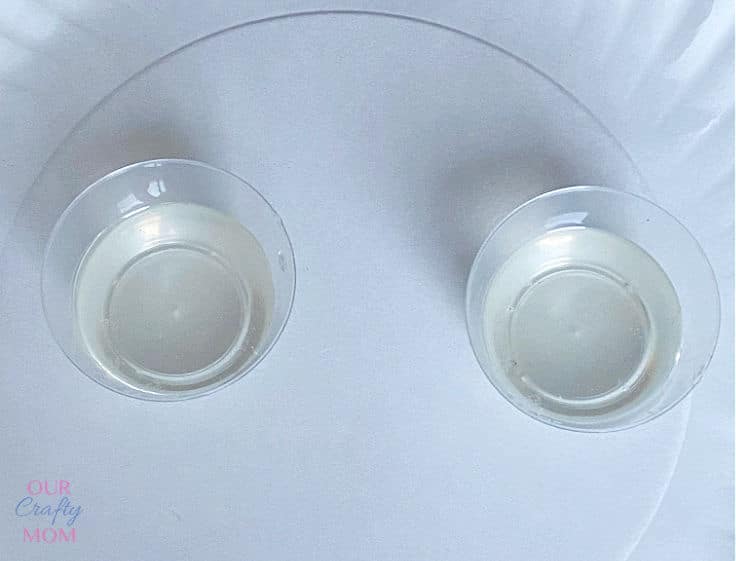
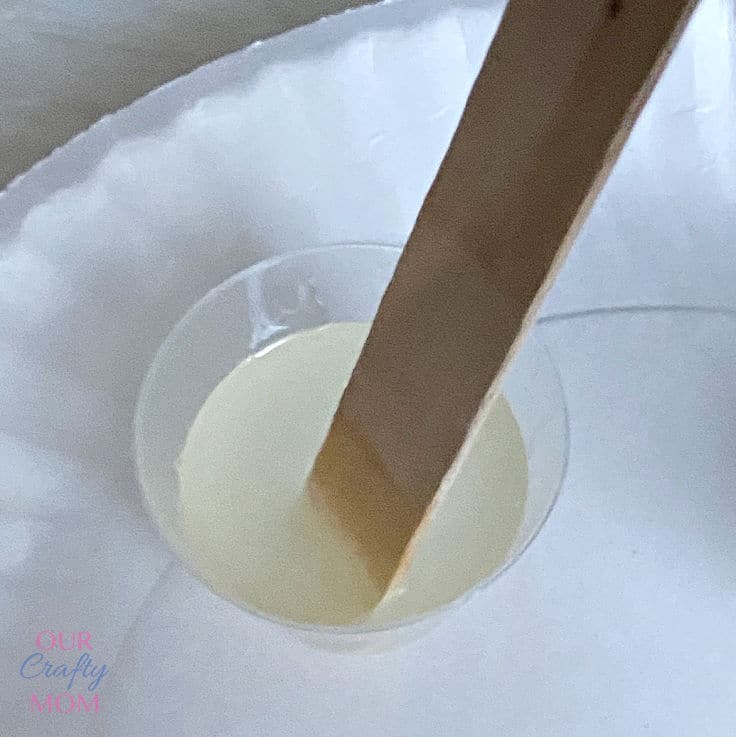
Start by mixing your polyester casting resin. This is my first time using this type of resin and it is very simple to use. Follow the instructions on the can for the amount of resin that you need.
For this size mold, I poured 4 oz of resin then added 20 drops of the catalyst drops. Mix well.
Step 2.
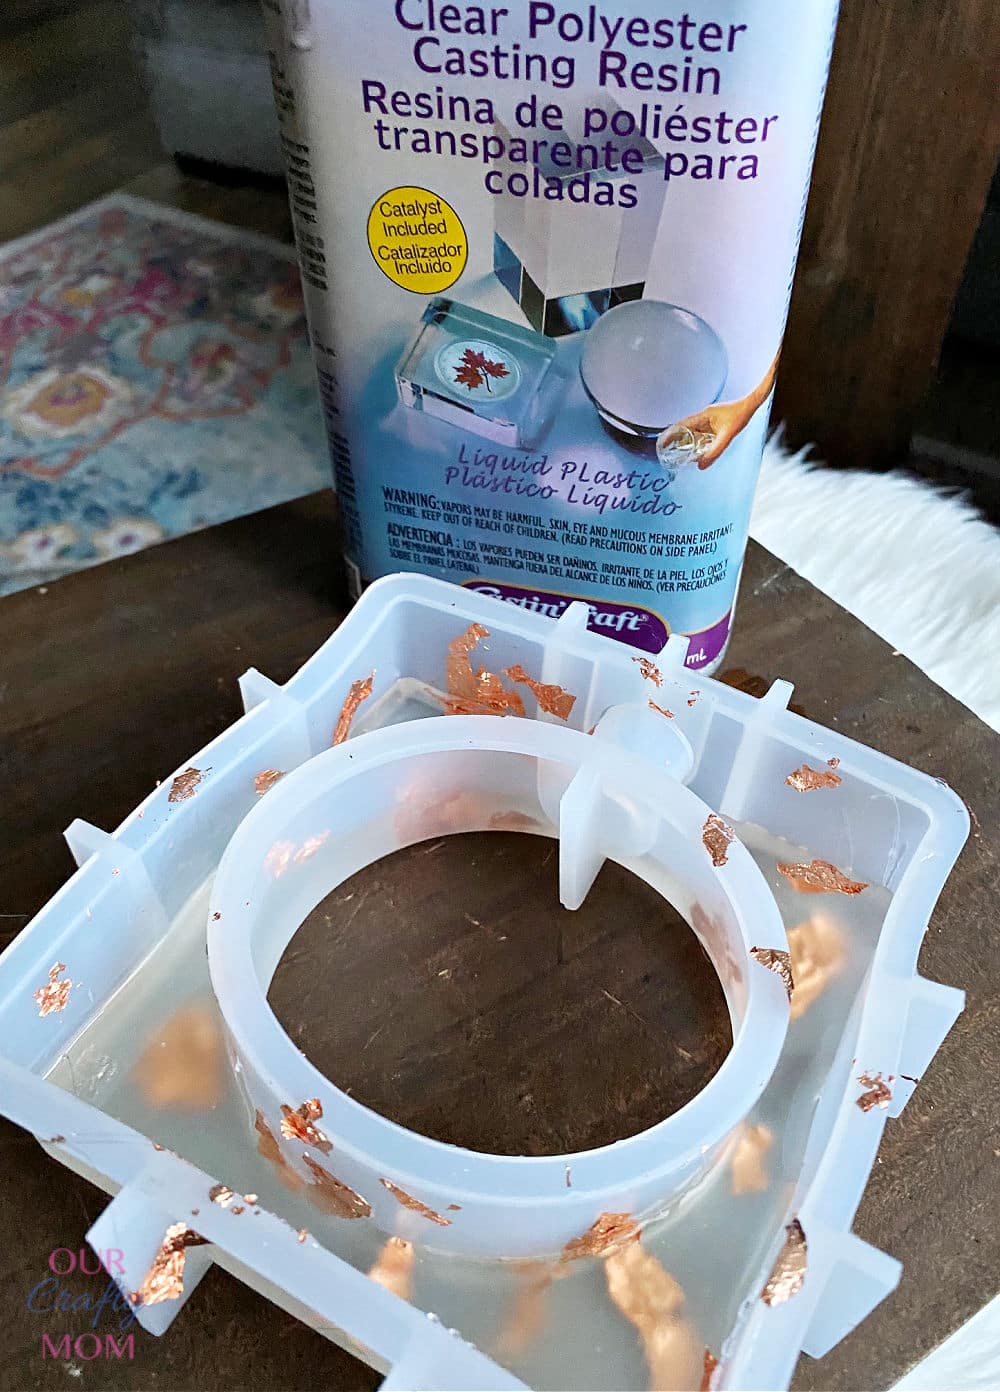
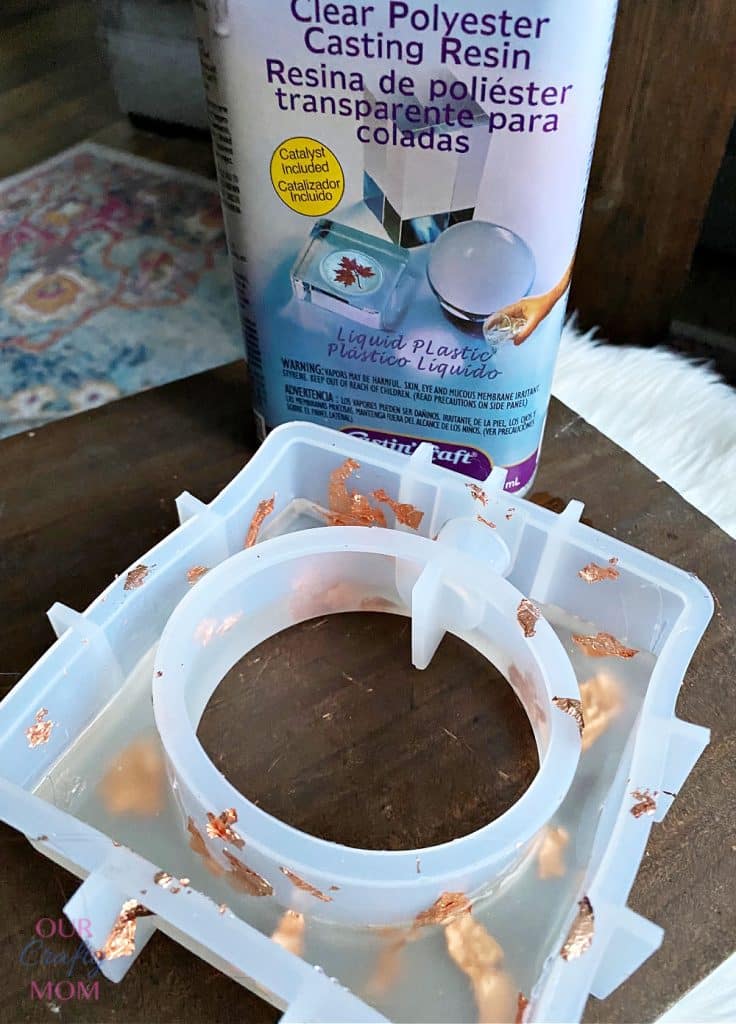
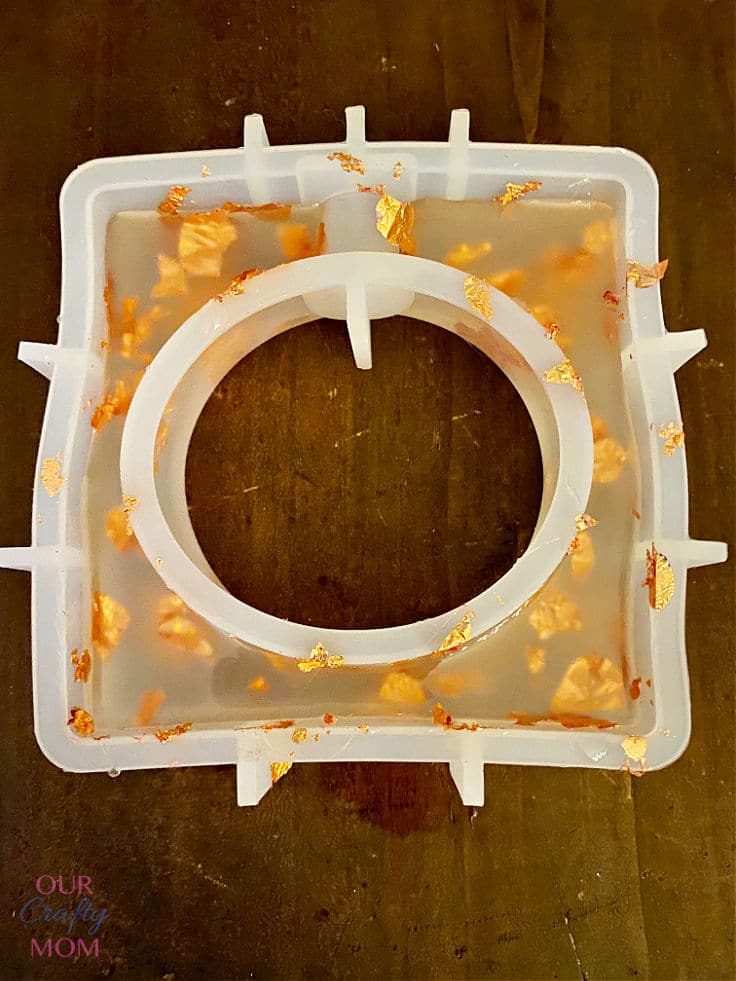
Add the embellishments you want to encase in the casting resin to the mold. I placed copper foil pieces in the bottom of the mold, then slowly poured half of the resin into the mold.
Step 3.
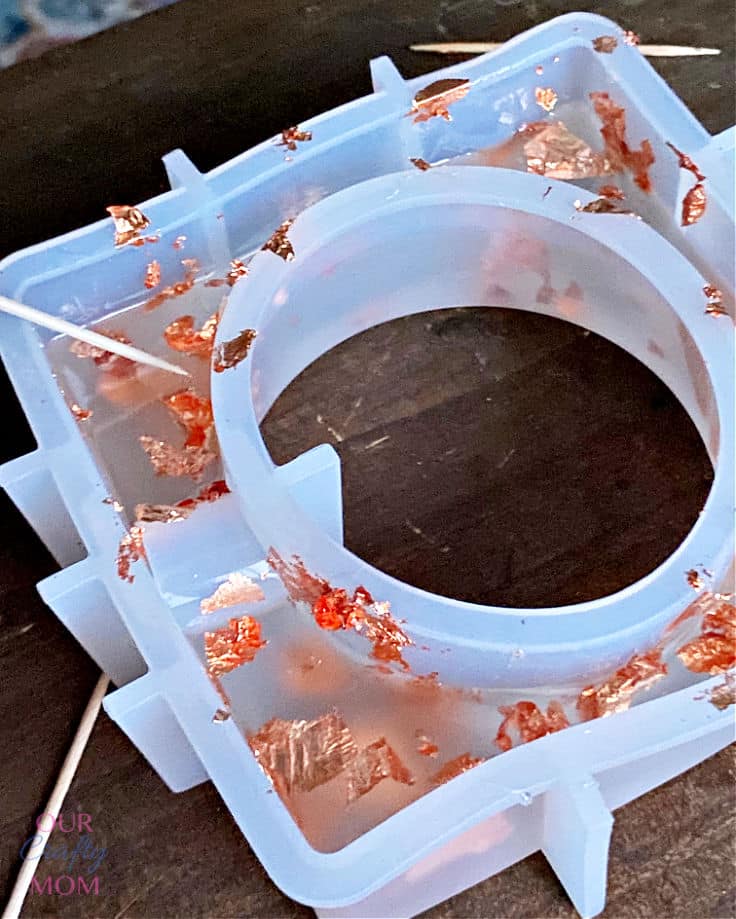
Let the resin set for about 20 minutes or until it has started to gel somewhat, then place another layer of your foil, or whatever embellishments you are using.
Quick tip: If you are using foil you may need to push it down a little into the resin with a toothpick.
Step 4.
Wait another 20 minutes and pour another layer of your polyester casting resin. I filled the mold about 3/4 full.
Step 5:
Allow the resin to cure for 24 – 72 hours (climate dependent). Then you can remove it from the mold (demold) and add the test tube! Your beautiful resin propagation planter is all ready for a plant clipping.
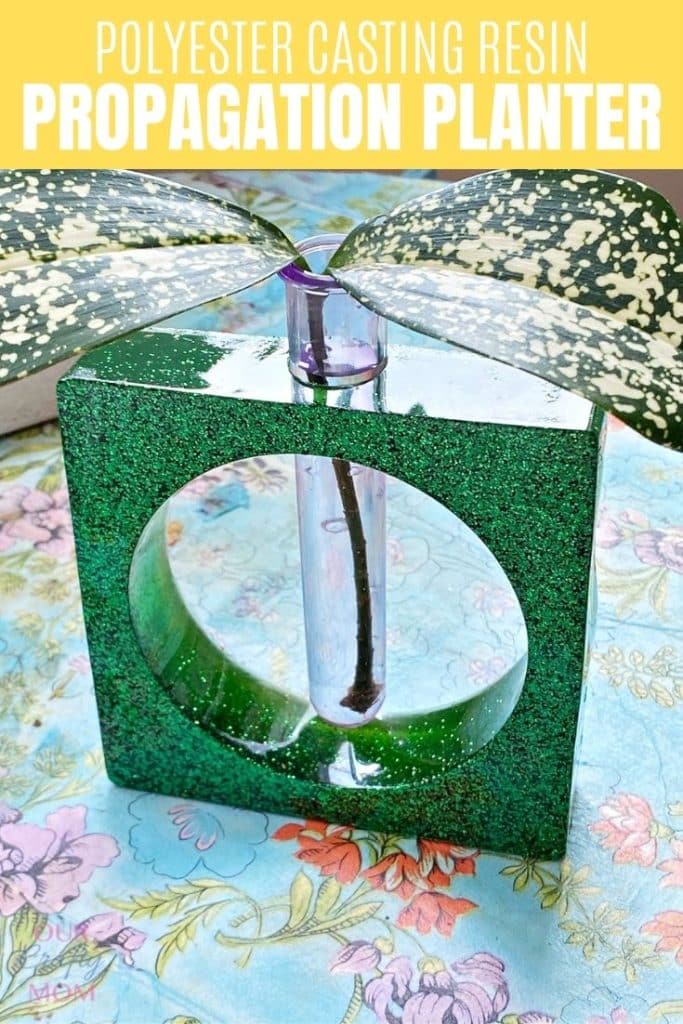
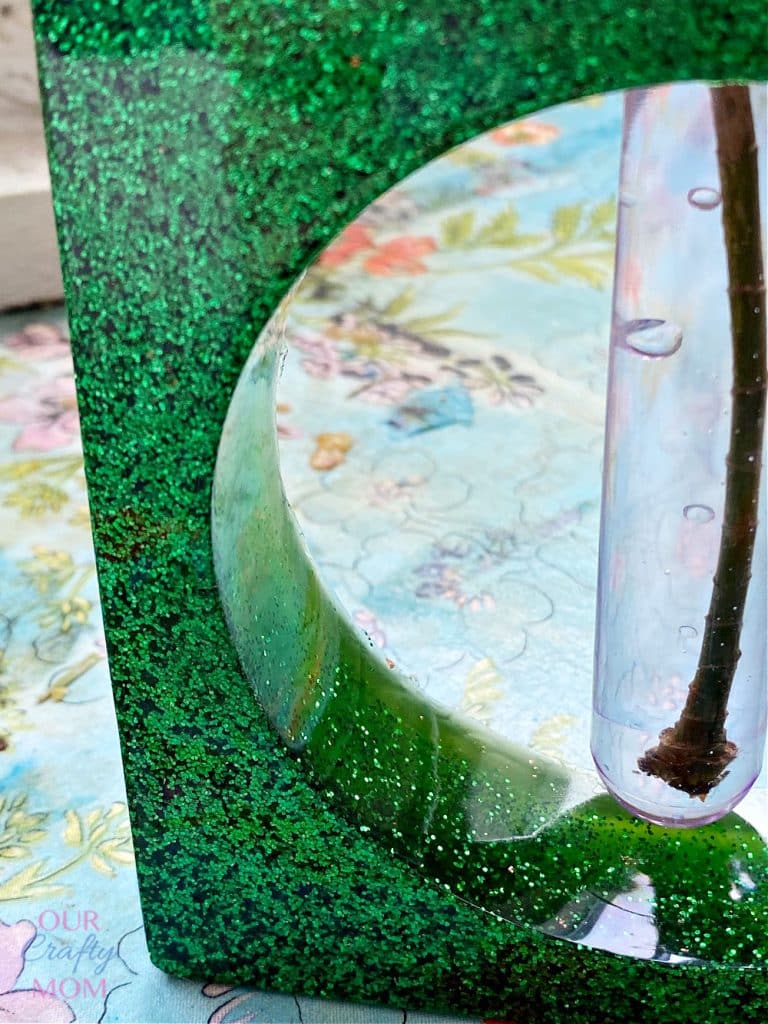
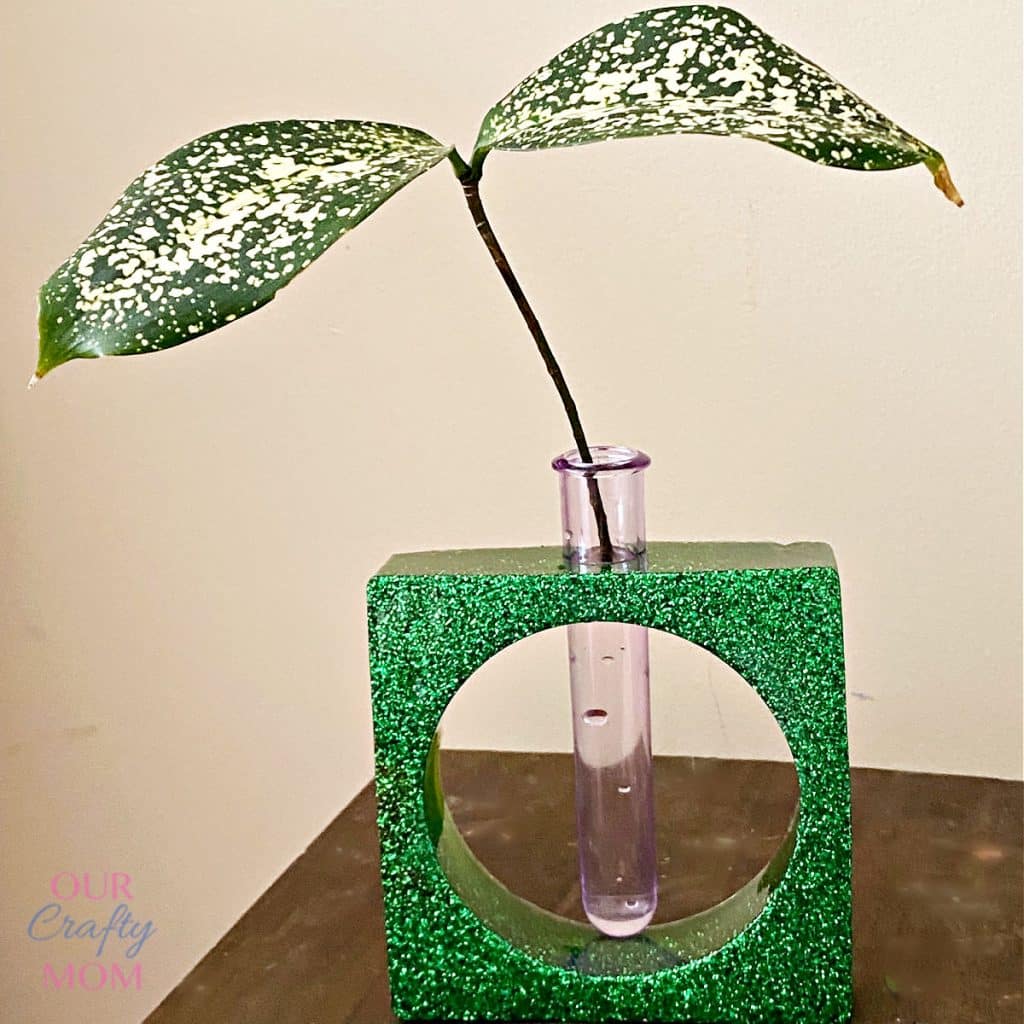
For a more vibrant look I decided to add green glitter and resin colorant and I’m pretty obsessed with it. Look at that sparkle!
Follow the same process, but prior to pouring add your resin color and glitter. Mix well and let it cure at least 24 hours.
How to Make A Polyester Casting Resin Propagation Planter
Looking for a new and interesting way to propagate your plants? Then you need to try making a polyester casting resin propagation planter! This project is simple, fun, and perfect for any skill level. Plus, the results are absolutely stunning. Keep reading for step-by-step instructions on how to make your own.
Materials
- Resin Vase Mold
- Polyester casting resin
- Mixing Cups and Sticks
- Plastic Gloves
Instructions
- Start by mixing your polyester casting resin according to the instructions for the amount of resin you need.
- Add the embellishments you want to encase in the casting resin to the mold.
- Let the resin set for about 20 minutes then place another layer of your foil, or whatever embellishments you are using.
- Wait another 20 minutes and pour another layer of your polyester casting resin.
- Allow the resin to cure for 24 – 72 hours.
- Demold and add the test tube and plant clipping.
So what do you think of this resin propagation planter? I plan to make several to line a window sill. In fact, I already have a soft lavender one curing as we speak. I’ll be sure to share a completed photo when it’s ready.
If you make your own resin planter, or any resin project please share photos on Instagram and tag us @resincraftsblogbyeti, and use #MadewithETI and #ResinCraftsBlogbyETI!
You may also want to check out these polyester casting resin projects:


Leave a Reply