Impress your friends and family with DIY American flag Custom Cornhole Boards. Coated with UV-resistant Amazing Clear Cast Plus epoxy, these boards will be game ready for years to come. Grab your supplies and let’s get started!
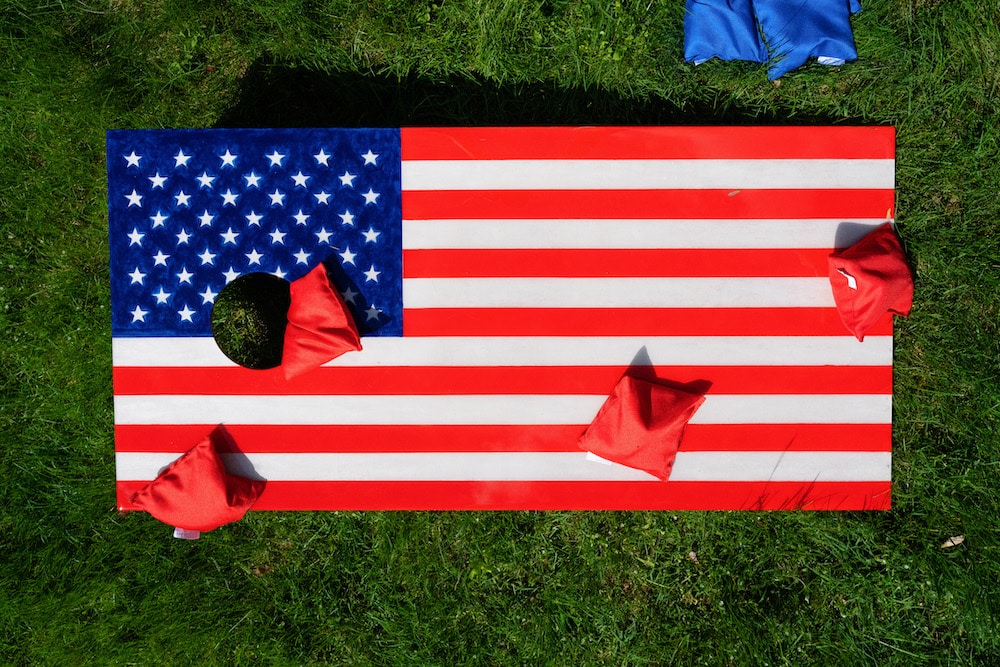
The Stars and Stripes and cornhole are both tried are true symbols of summer, Americana-style. Whether you call it cornhole or bean bag toss, this game is a fun tradition at many summer gatherings. We’re going to show you how you can create your own DIY Cornhole Boards with some paint and UV resistant Amazing Clear Cast Plus Casting Resin. Your backyard will likely become the summer fun destination!
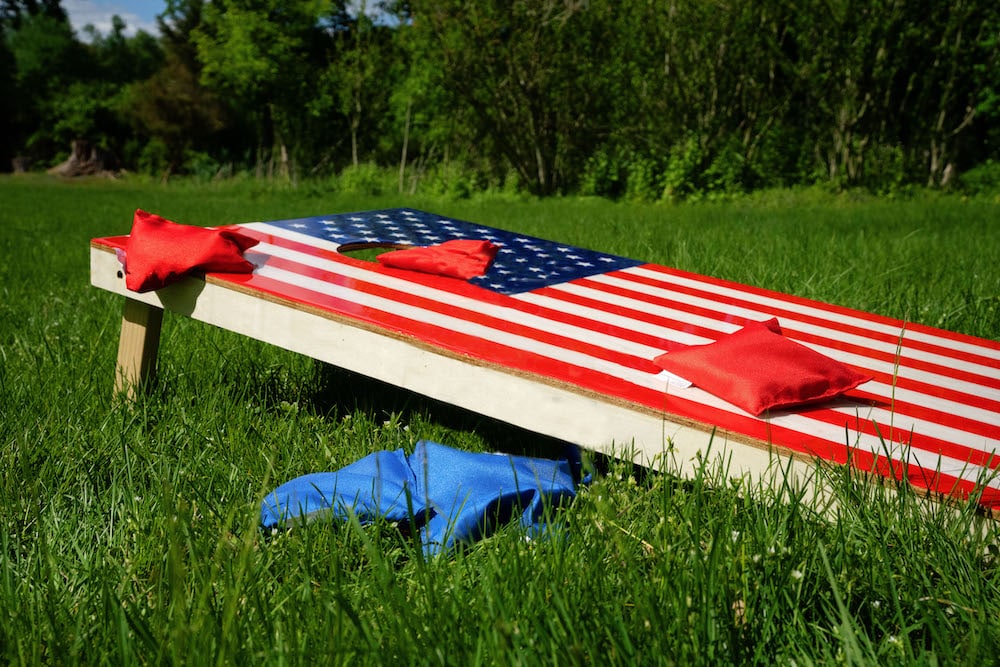
By the way, you don’t necessarily have to create a custom cornhole board to enjoy these beautiful results. Coating existing corn hole boards with Amazing Clear Cast Plus is a great way to extend their longevity and make them look like new again. Just look at that shine! As an added bonus, the glossy, smooth finish gives the bean bags a fabulous slippery runway to land right in the hole! 😉
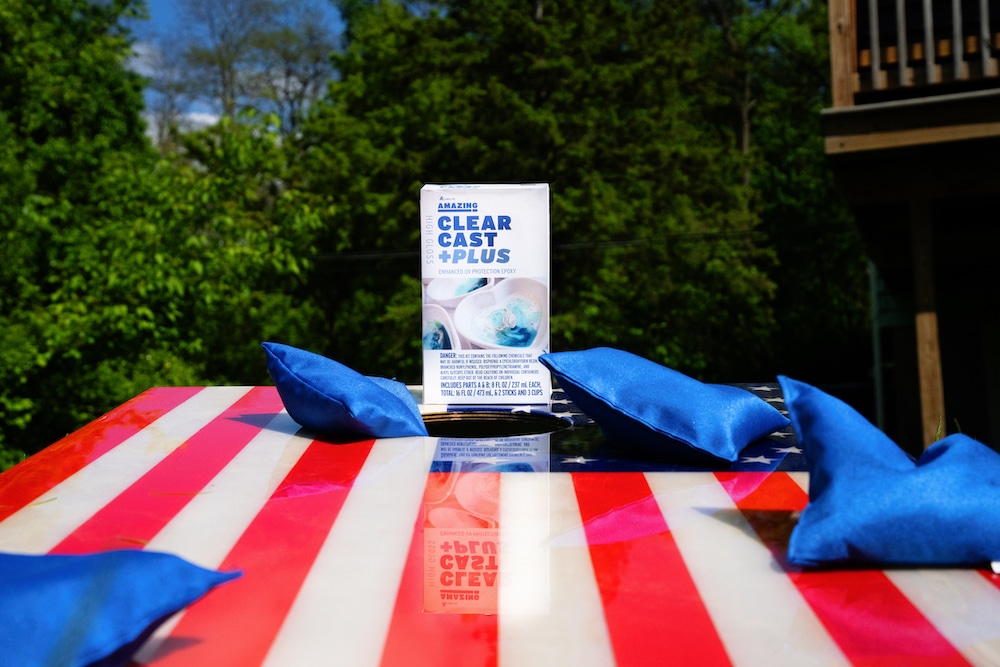
Get the Supplies to Make Your Own American Flag Bean Bag Toss Boards:
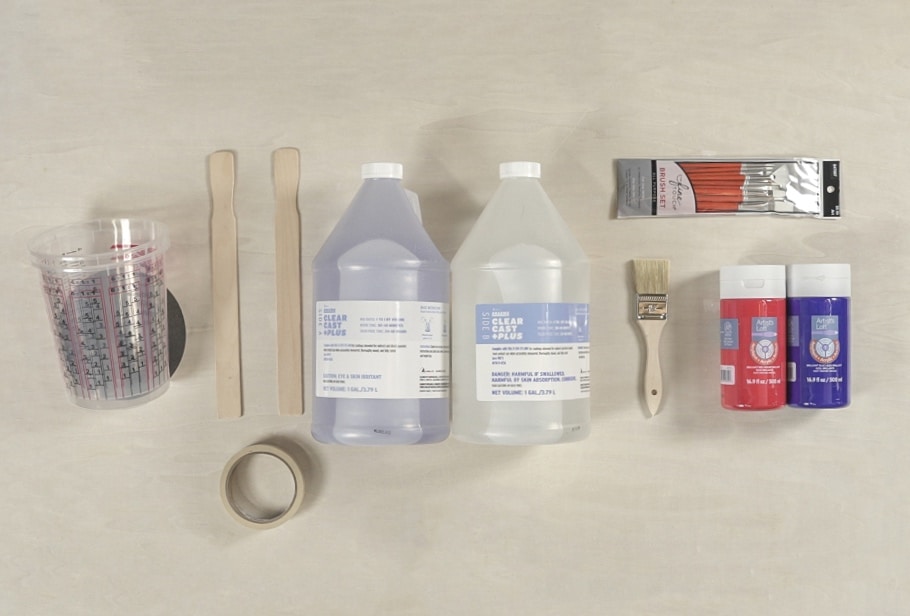
- Amazing Clear Cast Plus
- 2 mixing containers
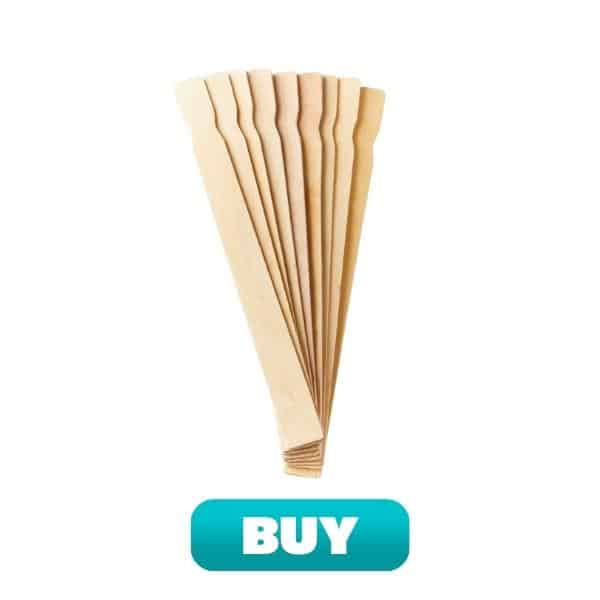
- 2 paint sticks
- Cornhole board
- Red and blue acrylic paint
- Paint brushes
- Masking or painters tape
- Adhesive stars cut with a Cricut
Amazing Clear Cast Plus has the same great features of Alumilite’s Amazing Clear Cast. Amazing Clear Cast Plus has the added benefit of industry-leading UV resistance, making it the perfect epoxy to use for these cornhole boards (or any of your other outdoor/light exposed project ideas).
How to Make an American Flag Custom Cornhole Board
If you’re making over an existing corn hole board with a design already on it, paint over the entire board with white paint to cover it. We love how the natural wood contrasts with the vivid red and blue to emulate the white areas of the American flag on these boards, so no white paint was needed.
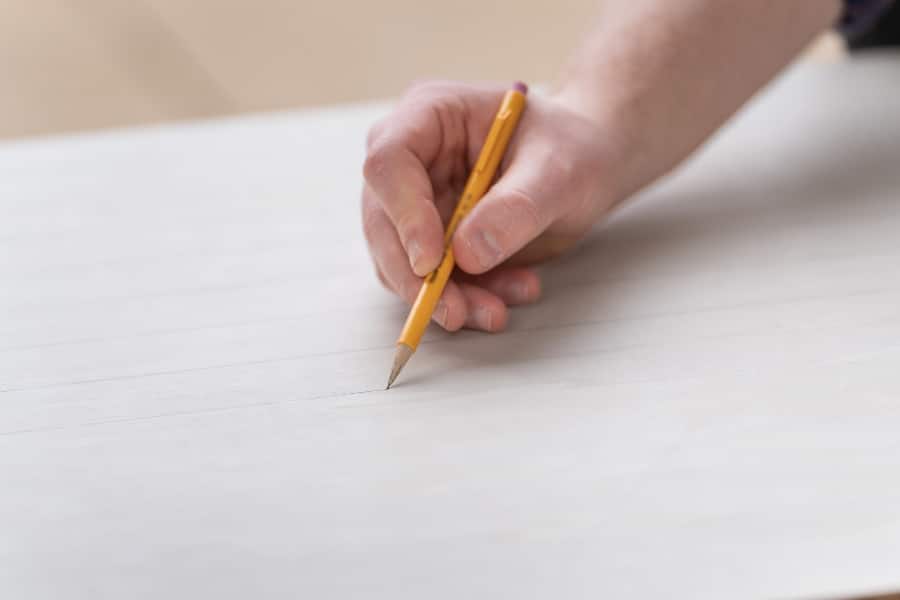
1. Tape off a 17 1/2″ x 12.75″ section on the corner of the board (where the stars will be). Measure and mark 1 13/16″ stripes (this will be the size of each stripe) down the width of the boards. If you’d like, you can pencil the stripes on the board prior to taping for easy placement guides.
Note: These measurements are based on a tournament-size cornhole board (48″ x 24″). If your corn hole boards are a different size, you can determine the width of your stripes by dividing the width of the board by 13.
2. Tape off stripes and apply red paint in between the tape lines. Peel back the tape (with the exception of the tape around the stars portion).
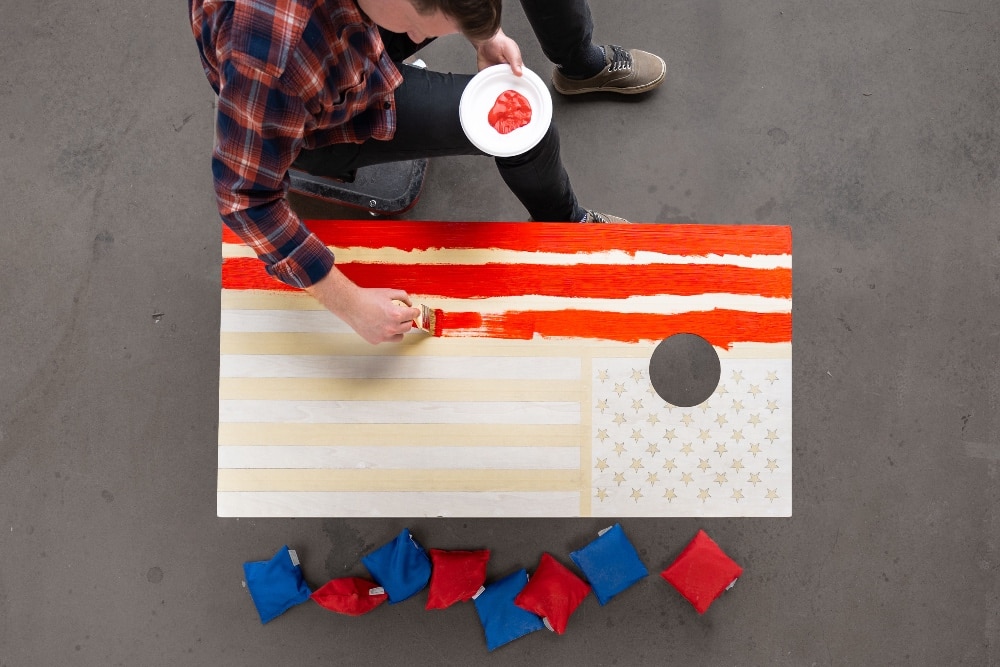
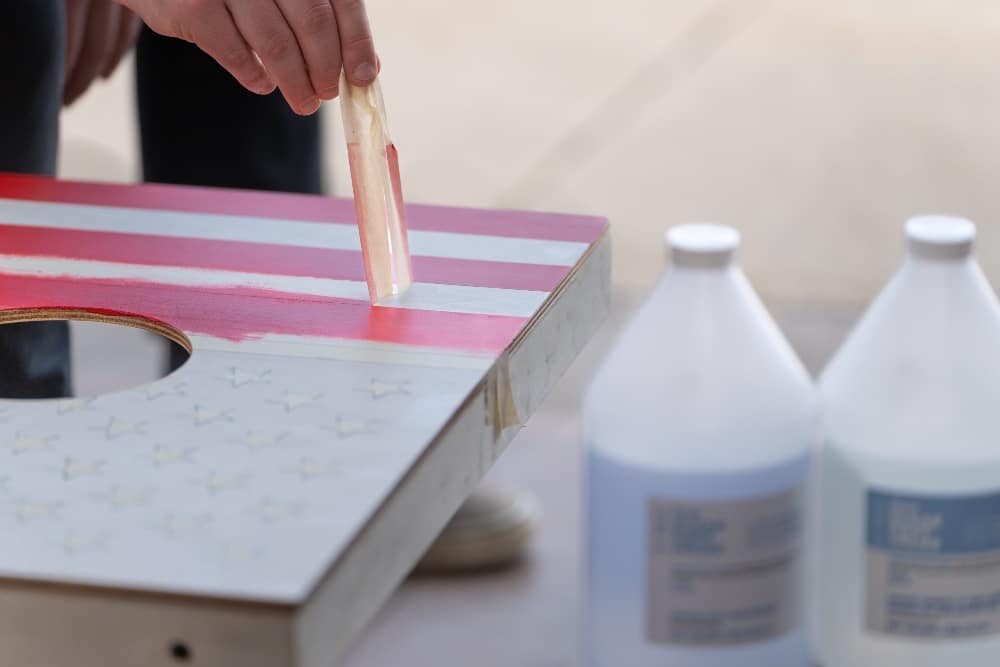
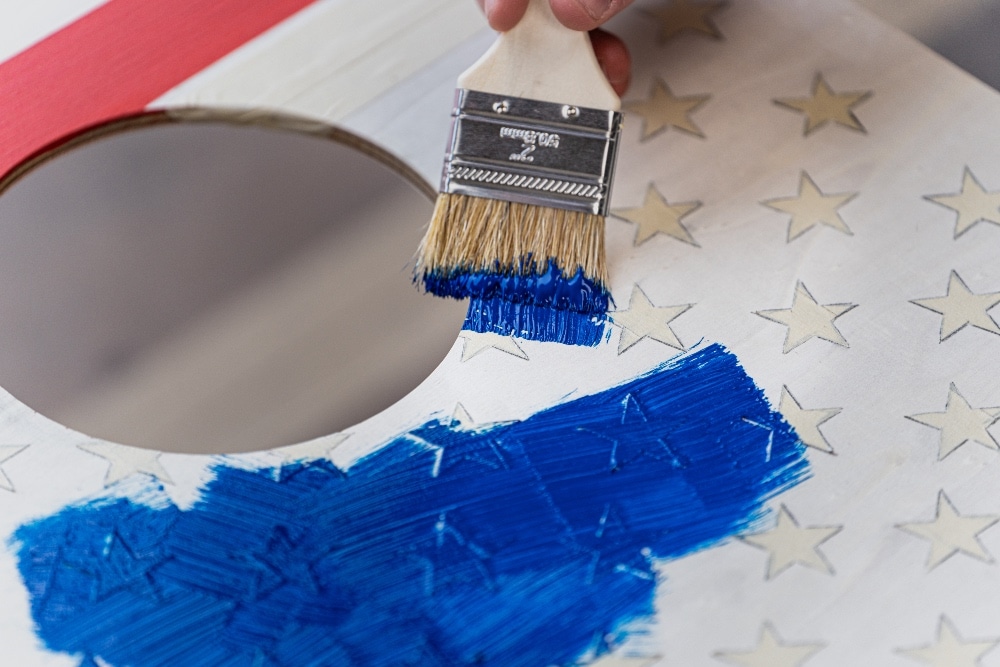
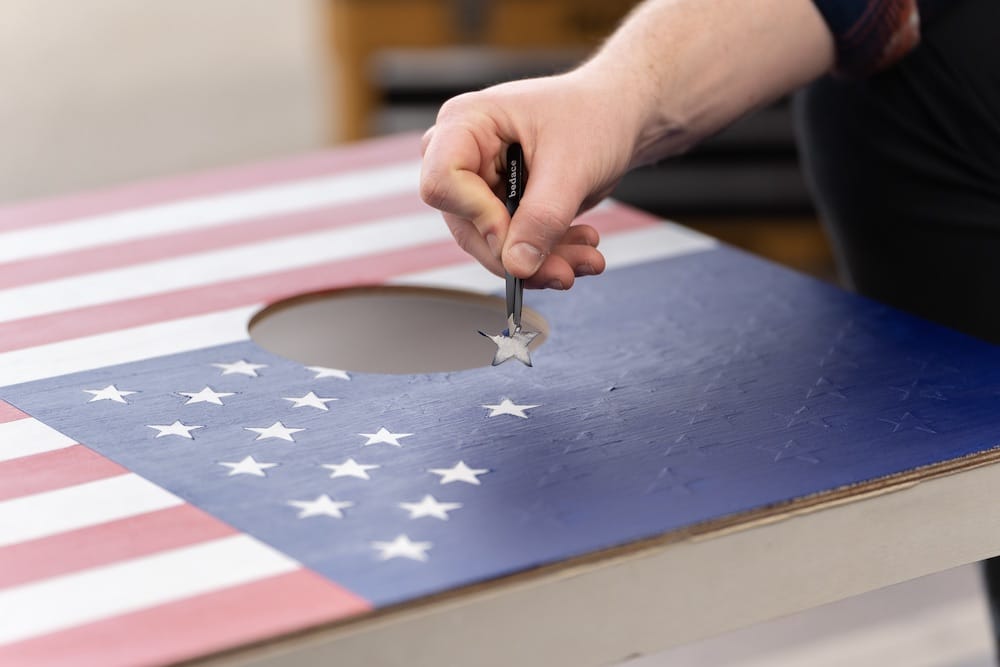
3. You have a few options for the stars. If you like the look of this board and want to keep the stars the natural wood color, apply adhesive stars and paint over them with blue paint, then peel off the adhesive stars to reveal the natural finish stars. Tweezers work best for this task. You can also choose to paint the area blue and then apply white star stickers over the dried paint. Another option would be to paint the section blue, and then paint white stars on top with a stencil.
Whichever option you choose, we recommend cutting the stars with a Cricut or other cutting machine to keep it simple! These stars are about 1 3/8″ high. Keep in mind that if you choose to apply stickers that you’ll leave on, you should seal them prior to pouring the epoxy. You can either hit them with a coat of Resin Spray Sealer or seal them with a glue-based sealer like Amazing Sealer. Once the paint has fully dried, you’re ready to pour your resin.
Like we always say, make sure to read the resin package instructions first and have all of your supplies ready to go before you get started. Wear protective eyewear and gloves and be sure to work in a well ventilated area. Since this is such a large pour, it will be easier to mix and pour in 2 batches (1 for each board).
How to Mix and Pour Resin onto a Cornhole Board
4. Protect your work area with large plastic sheeting or a tarp. Prop the boards onto large buckets to allow for the epoxy to drip off the edges. Pour 28 oz. EACH of Amazing Clear Cast Plus Sides A and Sides B into a graduated mixing container (for a total of 56 oz per board). Using a paint stick, mix thoroughly for 3 – 5 minutes until there are no swirls in the mixture. Make sure to thoroughly scrape the sides and bottom of the container while mixing. Once no swirls are visible, mix for an additional 2 minutes.
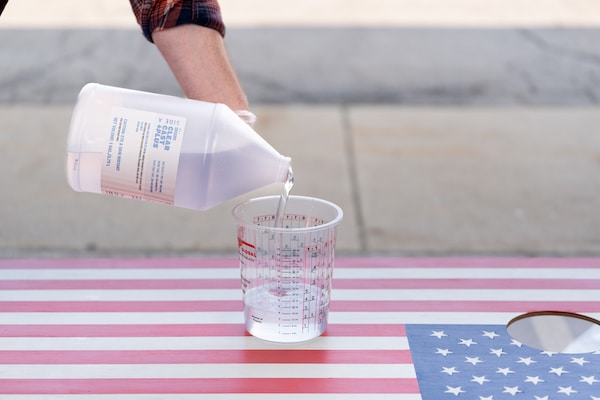
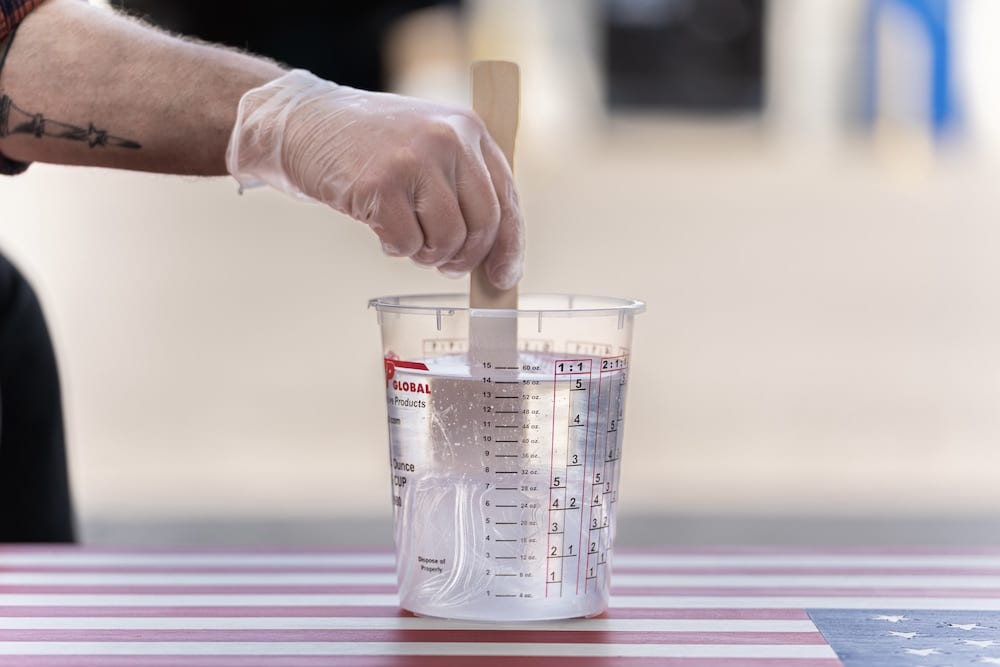
5. Pour the Amazing Clear Cast Plus over the surface of the cornhole board. Use a gloved hand to smooth the epoxy over the entire board, including the sides. Amazing Clear Cast Plus is self-leveling so you don’t have to worry about spreading it to the exact same thickness manually.
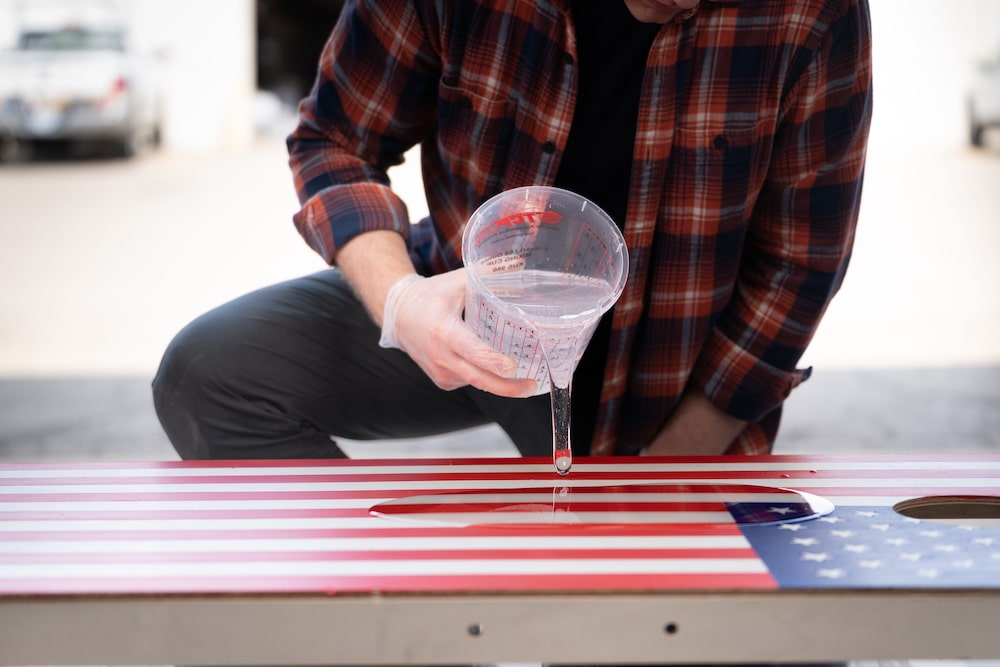
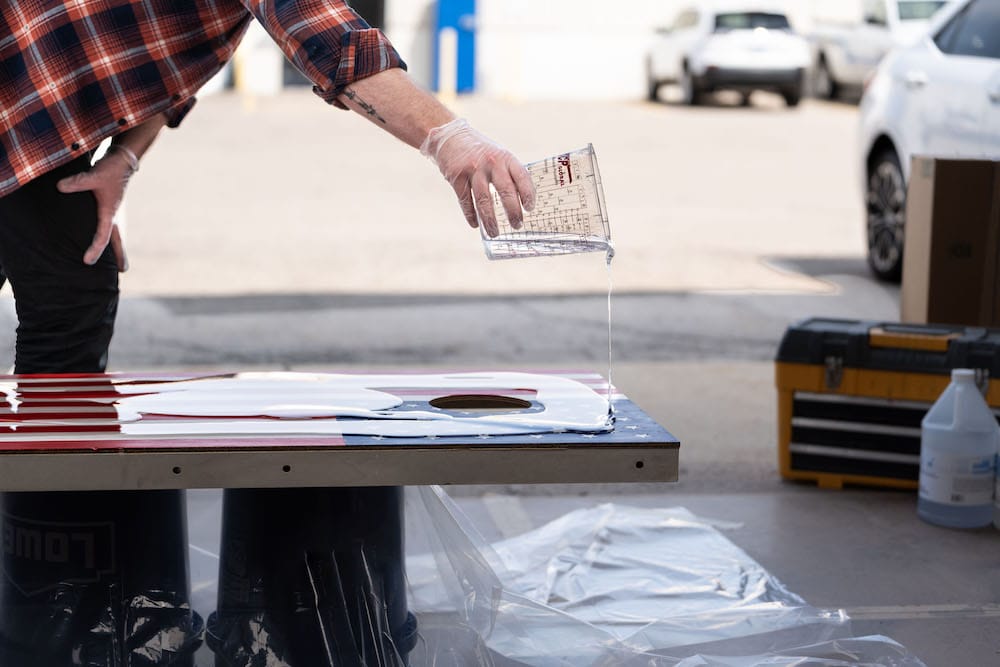
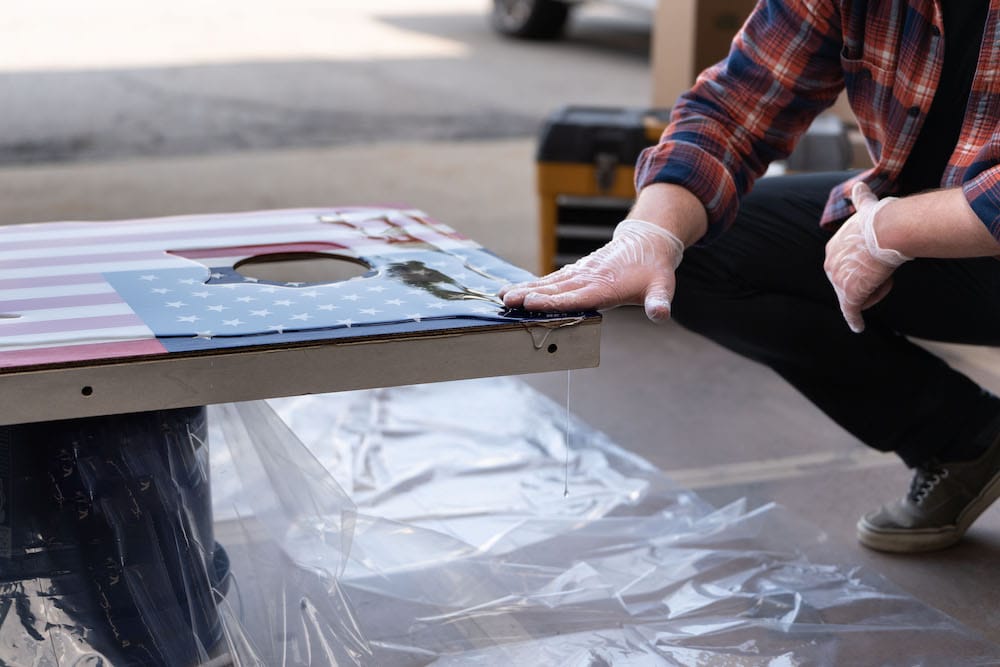
6. Use a paint stick to scrape off any pooling epoxy along the bottom edges of the boards. Pop any surface bubbles with a heat gun. Repeat these steps for the other board.
7. Check on the corn hole boards after about 15 minutes to see if any additional bubbles have risen to the surface. If so, blow over them once more with a heat gun. Scrape any excess pooled epoxy from the bottom of the board again. Allow to cure in an undisturbed area for 12 – 24 hours. Lower temperatures will slow curing, while warmer temperatures will accelerate curing. Once cured, get those bean bags ready and head outside to play!
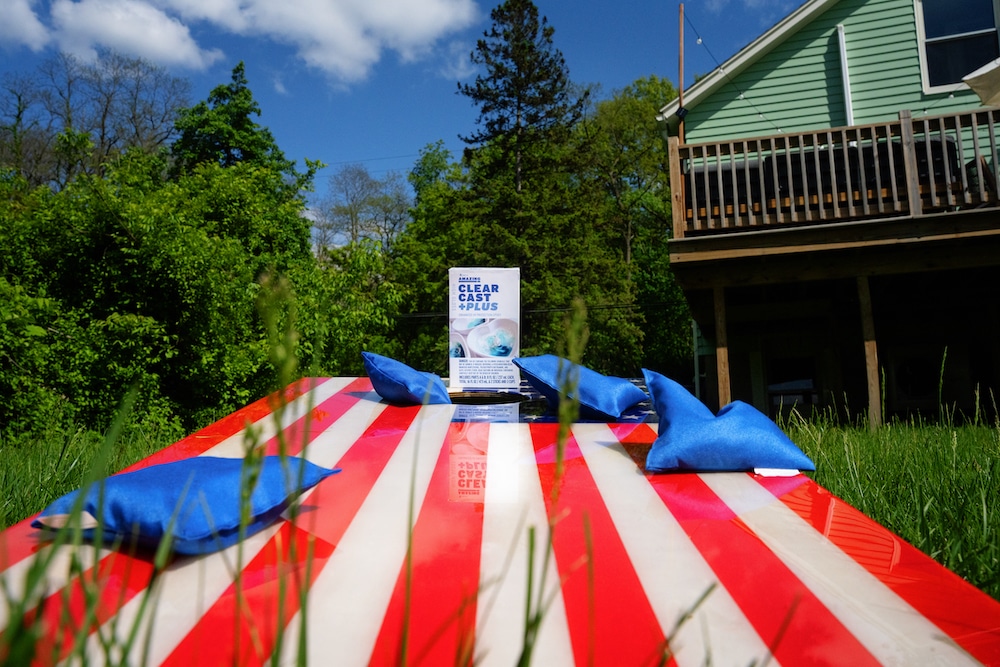
What other designs would you want to create for your customized cornhole game? Maybe your favorite sports team? Custom artwork? Personalization? There are so many options that you could have DIY cornhole boards for any season or occasion!
Think you’ll give it a try? These bean bag toss boards would make a great gift idea, too. Let us know if you have any questions and don’t forget to share with us… we love to see what you’re up to. Tag us @resincraftsblogbyeti and use #resincraftsblog so we can cheer you on!
Lydia Nordhoff is the creator of Lydi Out Loud, a blog where she shares her adventures in crafting and DIY. Lydi Out Loud has been featured on the Home Depot Blog, House Beautiful, Good Housekeeping, Southern Living, Elle Decor, Brit + Co., Buzz Feed, Cricut and Somerset Home Magazine.

Leave a Reply