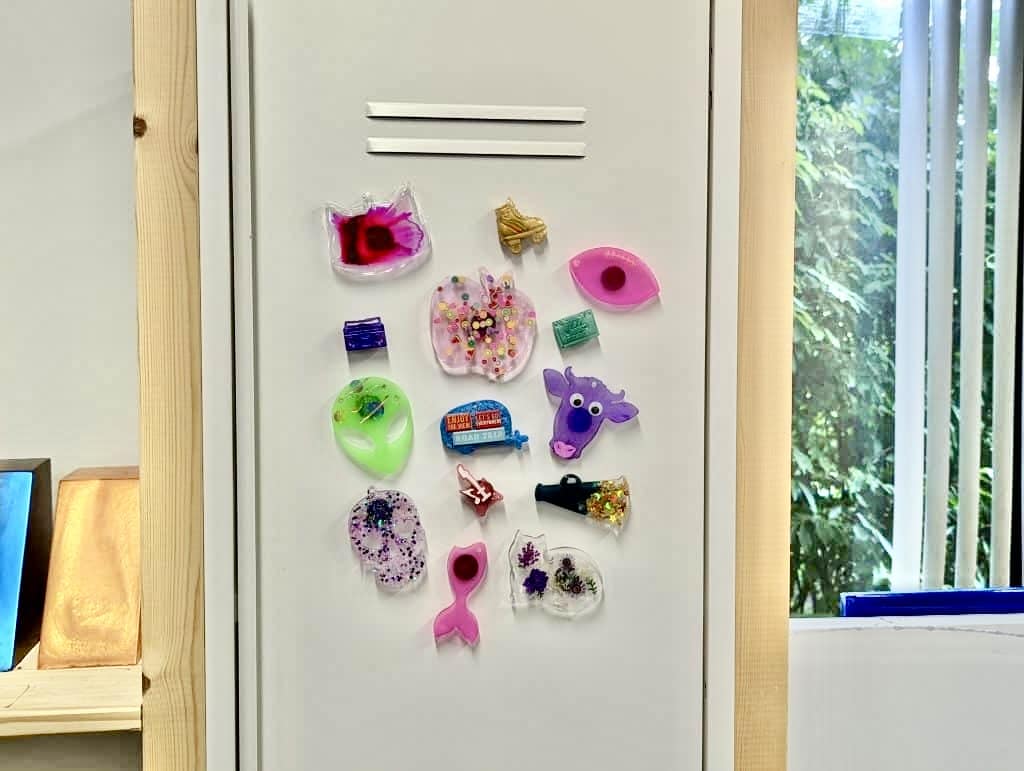
When it comes to making custom magnets from scratch, the possibilities are endless. Just about anything you can glue to a magnet will add more color and character to your refrigerator or locker. With epoxy resin, you have a chance to add even more customizability to the mix.
There are many techniques you can use to make your custom magnets distinct. In this tutorial, we’re going to show you a few. These include using resin with a variety of additives (like glitter), incorporating glow-in-the-dark powder, using alcohol inks, brushing molds with mica powder, and adding details on with paint.
Supplies to Make Resin Magnets
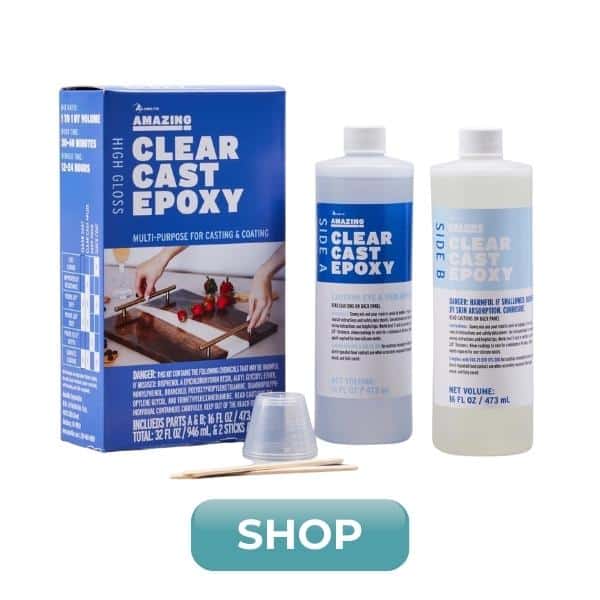
- Alumilite Amazing Clear Cast Epoxy
- Magnets
- Molds of choice
- Additives and colorants of choice
- Optional: Paint markers
- Optional: Stickers
- Measuring cups
- Stir sticks
- Nitrile gloves
- Safety glasses
- Optional: Small paintbrush
- Optional: Blow torch or heat gun

How to Make Custom Epoxy Magnets
Safety First! Before you start working with epoxy, make sure that you’re wearing protective eyewear and gloves, cover your workspace (or use a silicone mat), and work in a well-ventilated space.
Resin Additives and Colorants for Custom Magnets
One of the many great things about resin is its compatibility with a wide variety of additives. These range from dried flowers and foliage to many kinds of glitter and item encapsulations. Check out the custom refrigerator magnets we made using different inclusions:
Dried Flowers
For the cat lovers out there, we’re starting with this precious mold. We wanted to keep the color simple so that the dried flowers we added could really shine.
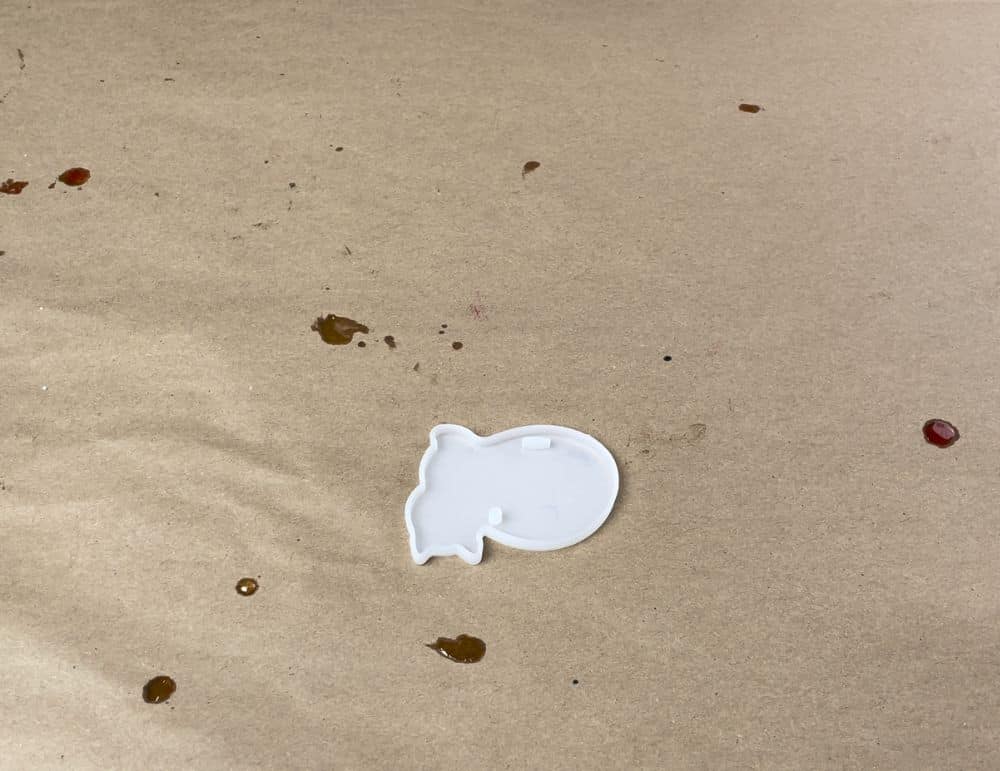
For the flowers, we purchased some pre-dried packs online that came in several different colors. However, if you’d like to forage for your own foliage, this easy-to-follow guide on drying your own flowers.
Safety first! Before you start working with epoxy resin, make sure that you’re wearing protective eyewear and gloves, cover your workspace or use a silicone mat in case of spills, and be sure to work in a well-ventilated area.
When you have assembled all the supplies you need, measure and mix your epoxy resin. We created these magnets in batches, but they don’t need too much resin when made individually.
Tip: If you aren’t sure how much resin to mix up, begin by pouring water into your mold. Then pour the water into a measuring cup to see how much is needed. Split that amount in half and that is the amount of each part needed.
After measuring, mix Amazing Clear Cast Epoxy according to package directions. Pour in equal parts resin and hardener into a mixing cup. Stir the mixture together SLOWLY with a stir stick for 2 – 3 minutes. If the resin still has streaks running through it, keep mixing until it becomes clear.
We didn’t add any color, and once you’ve mixed up the resin, there are a few different ways you can approach adding the flower. Since some additives have a tendency to float, it can help to pour a thin layer of resin before placing them. If you wait for this first layer to start the curing process after setting down the dried flowers, it can help hold them in place.
Otherwise, you may simply pour another layer on top of the uncured layer and flowers. Alternatively, you can place the flowers down, pour resin on top, add more flowers, and then pour another thin coat of resin. For this project we used the last method.
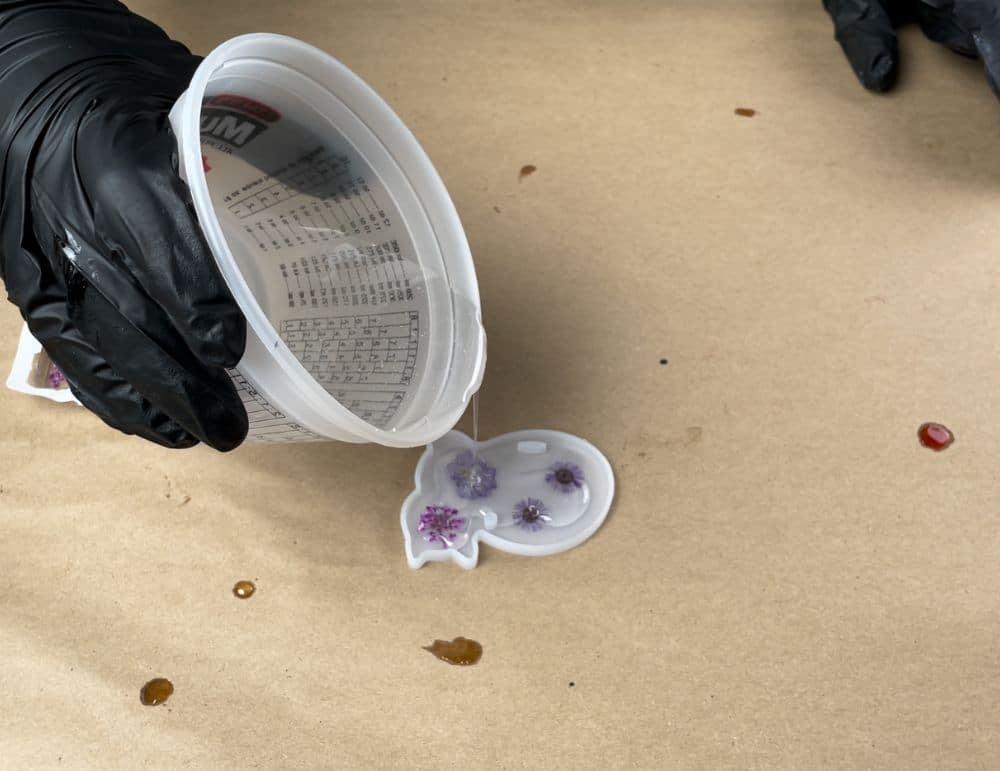
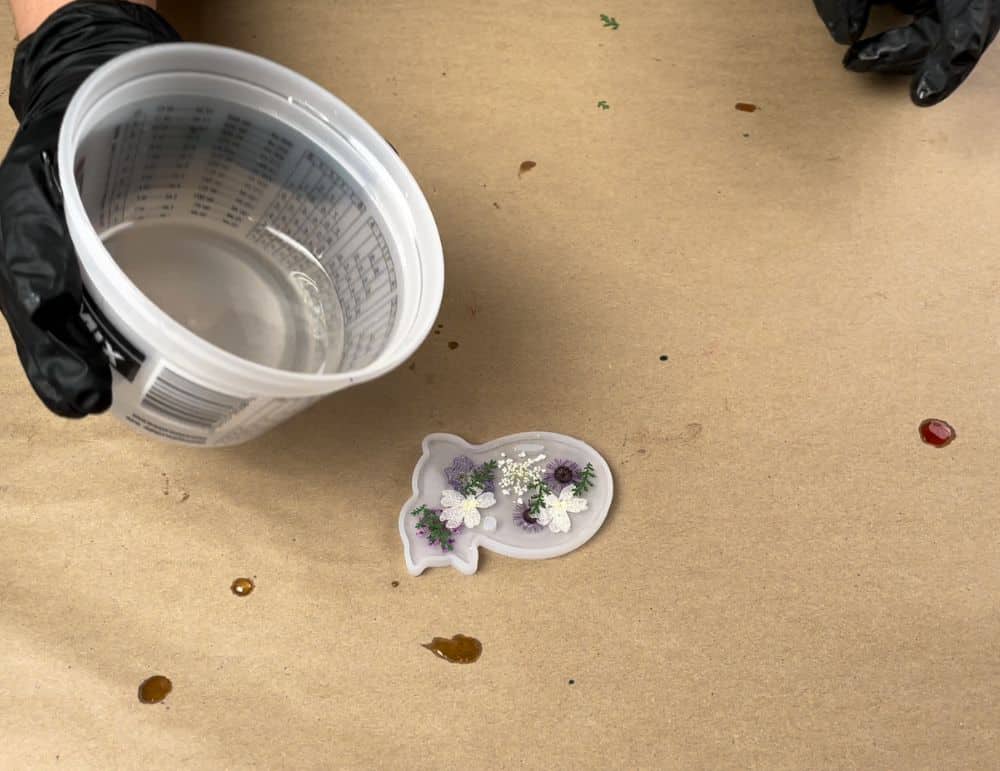
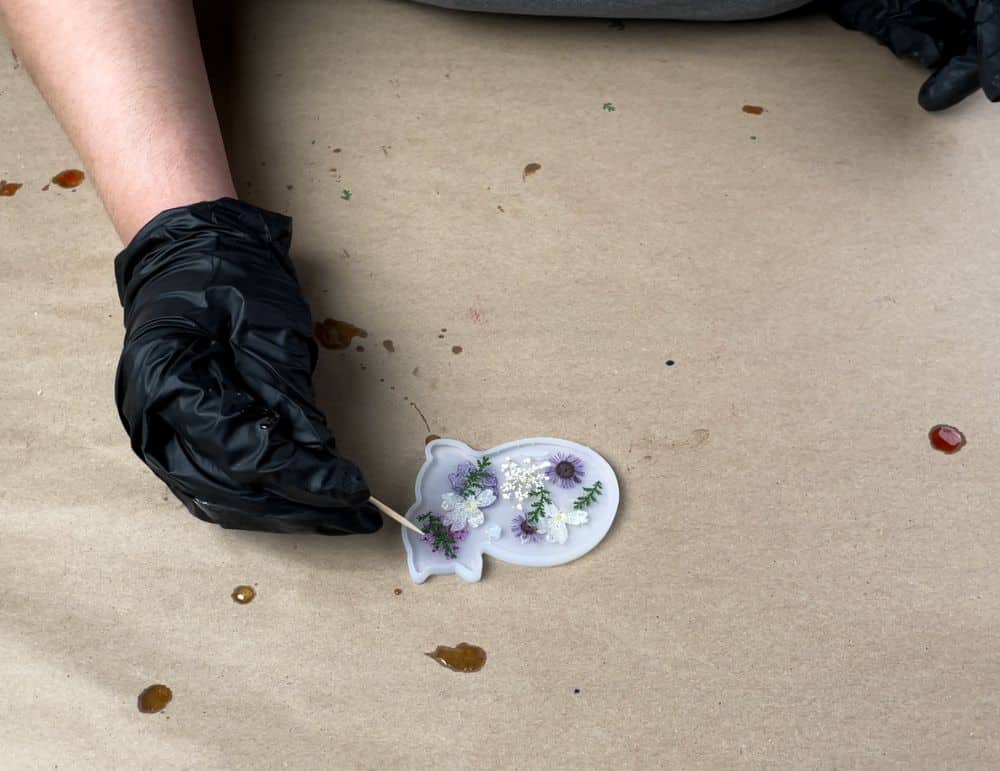
Set aside your magnet mold and allow it to cure for around 24 hours before demolding. You’ll know your epoxy resin magnets are fully cured once the surface is not tacky or sticky.
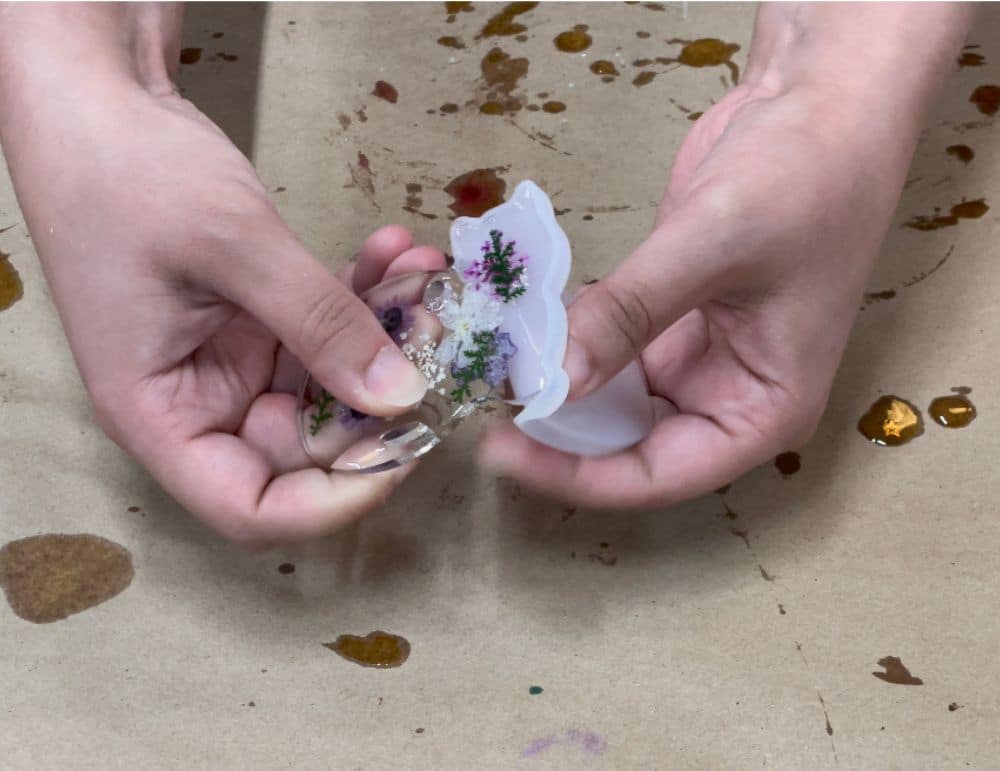
After you demold your resin, all you need to do is attach a magnet to the back using any glue you’re comfortable with. Allow the glue to dry properly, and your magnet will be ready to go.
When you’re gluing on a magnet, make sure to use a glue that dries clear. Some of these custom magnets are translucent or completely clear, so you might be able to see the glue if it doesn’t dry clear.
Glitter
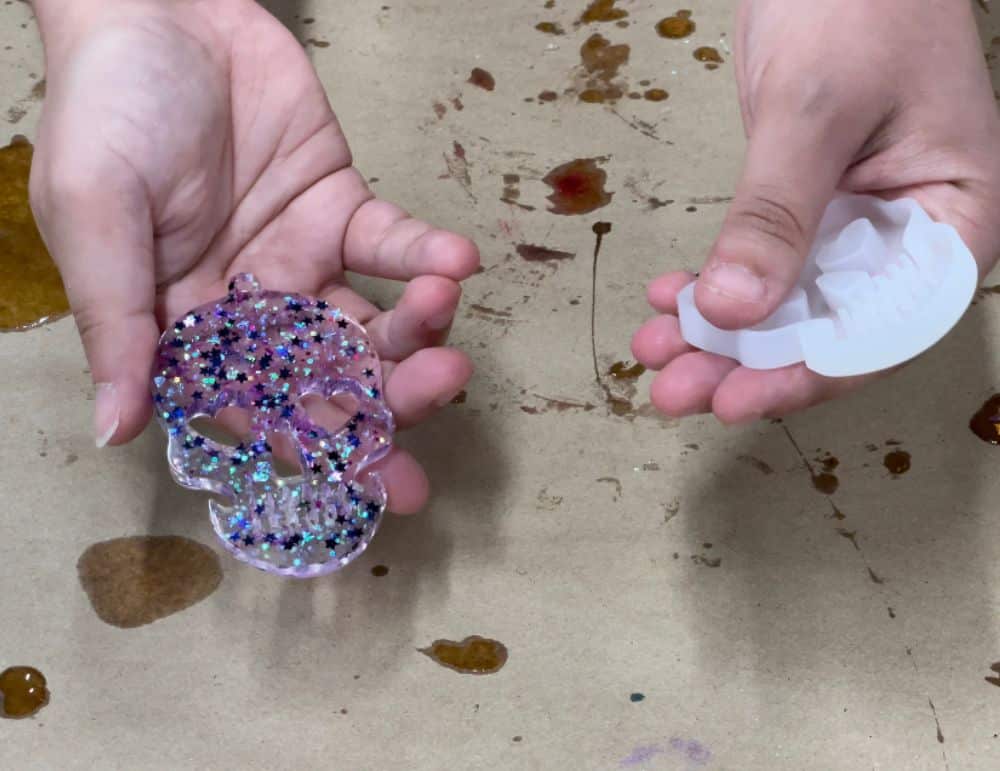
With additives like glitter, the easiest way to add them is by mixing them into the combined epoxy. For this skull magnet, we mixed in a few different kinds of glitter to make this sparkling concoction.
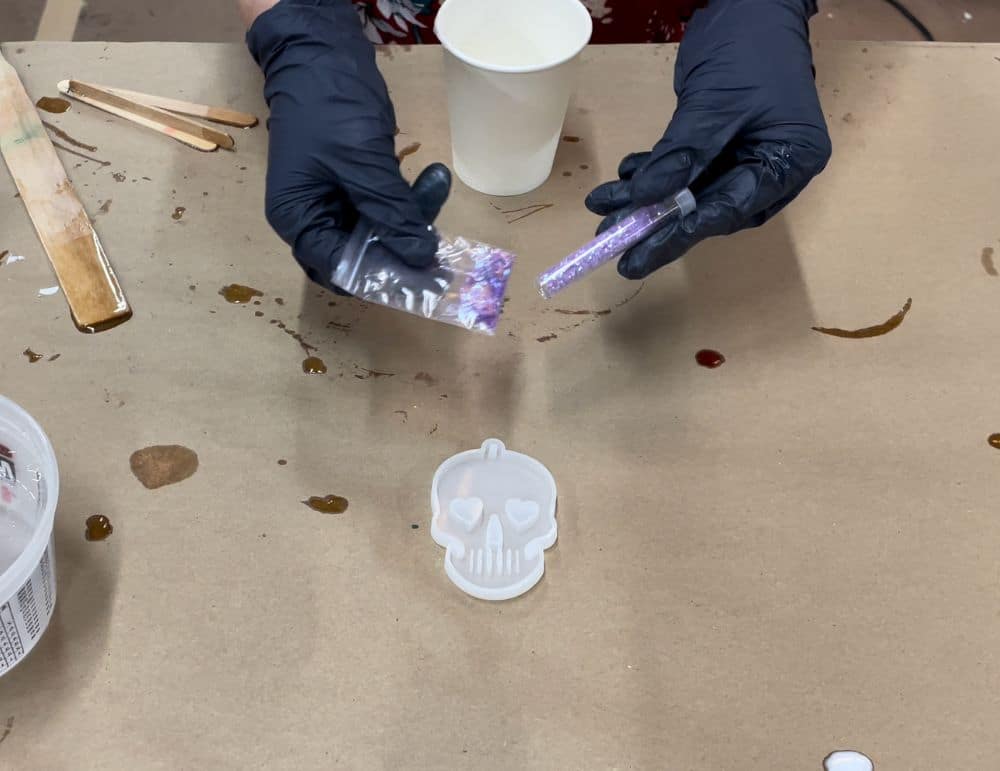
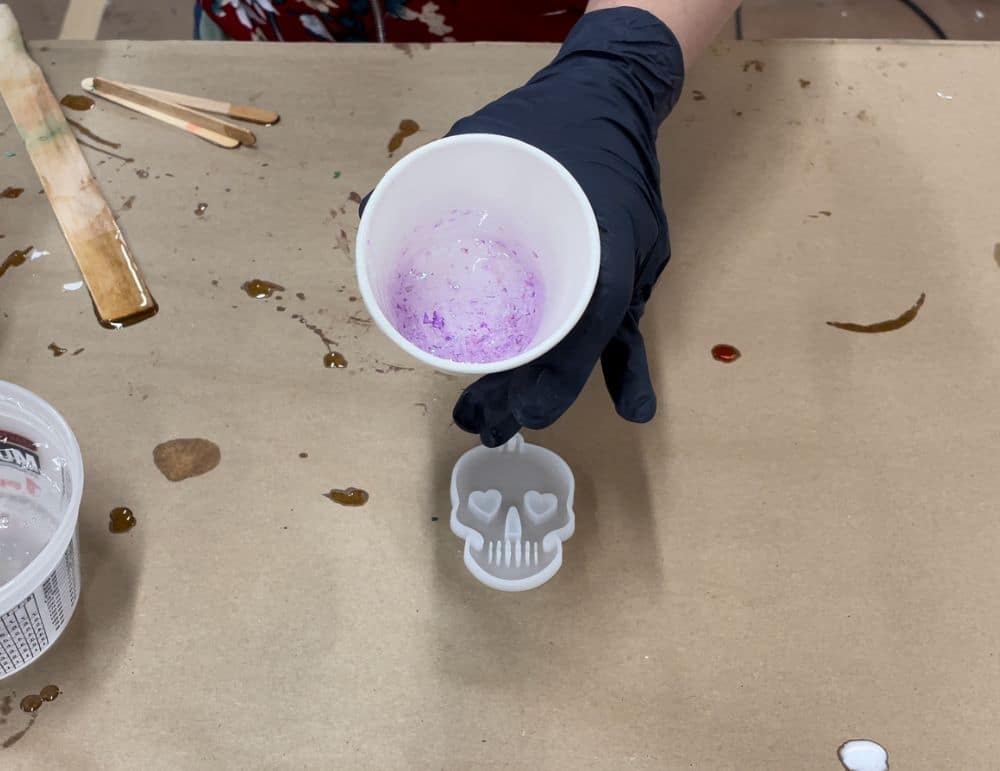
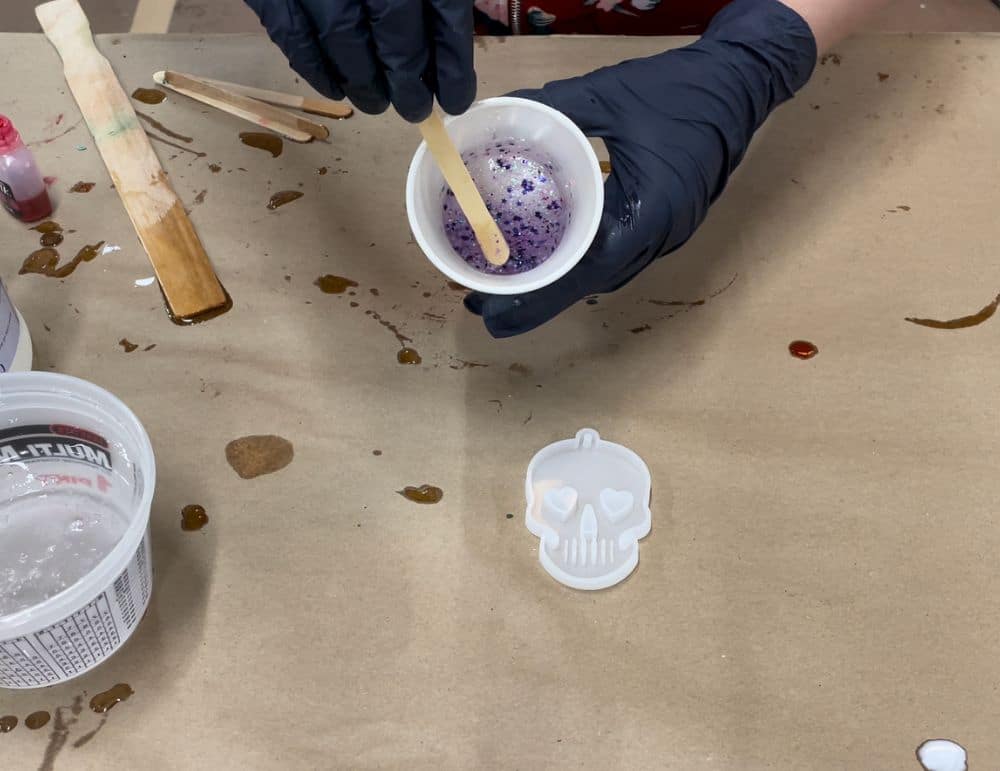
Keep in mind that you can always add more glitter, but it’s a little more difficult to take some away. Start slow and add more until you get the concentration you’re looking for.
Pour your resin into the mold. You can use a toothpick to swirl the glitter around or push down any pieces that may float up.
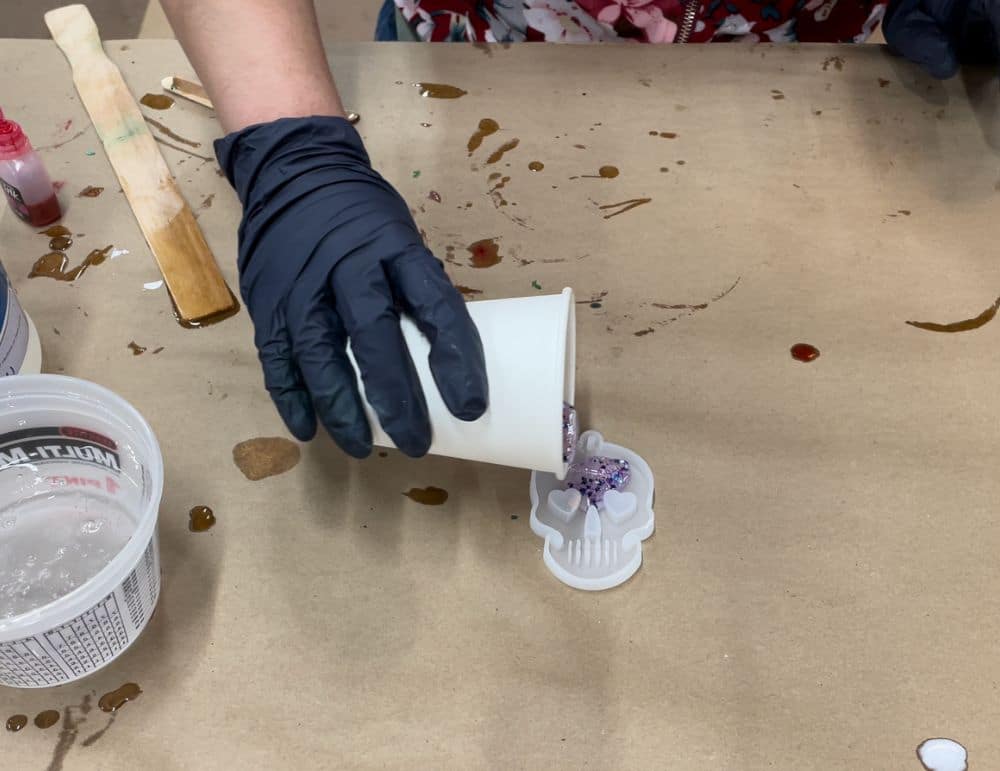
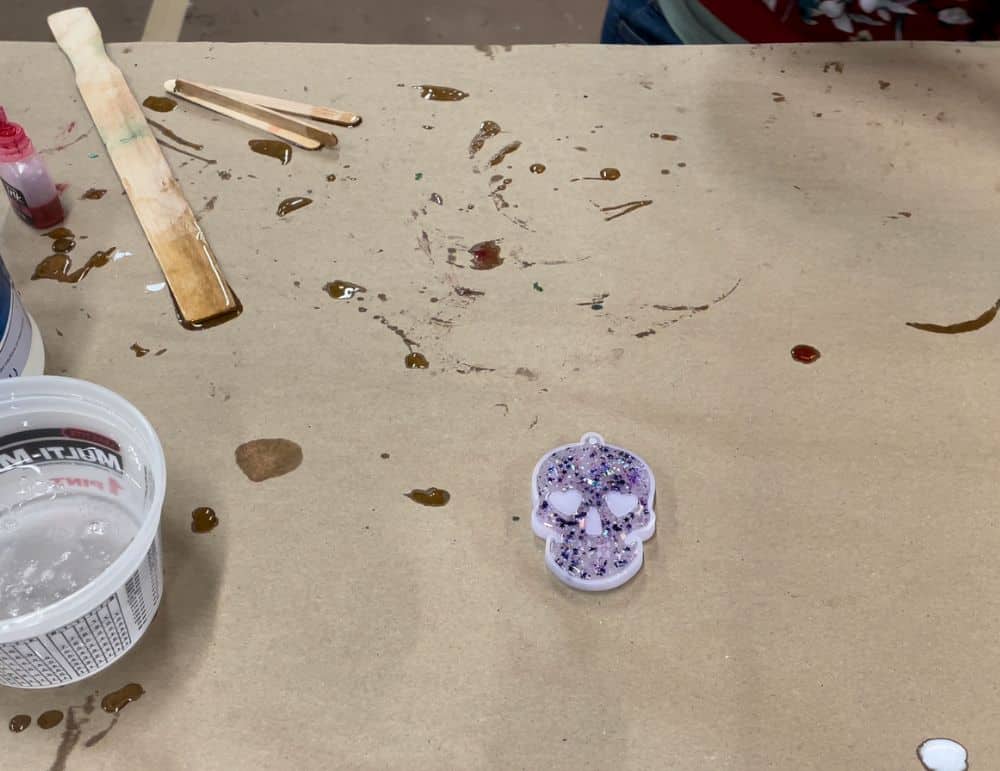
Allow the resin to cure, attach your magnet, and that’s one of many customized magnets down!
Different-Shaped Confetti
When you’re working with different-shaped additives like these little fruit confetti pieces we use, the process is very similar to using glitter. One of the best approaches is to mix the additive with your combined epoxy resin before pouring.

Fill your mold slowly. Sometimes, these types of additives will sink to the bottom of the cup. In this case, it helps to sprinkle a little extra confetti directly onto your pour and use a toothpick or popsicle stick to gently and slowly push the pieces down.
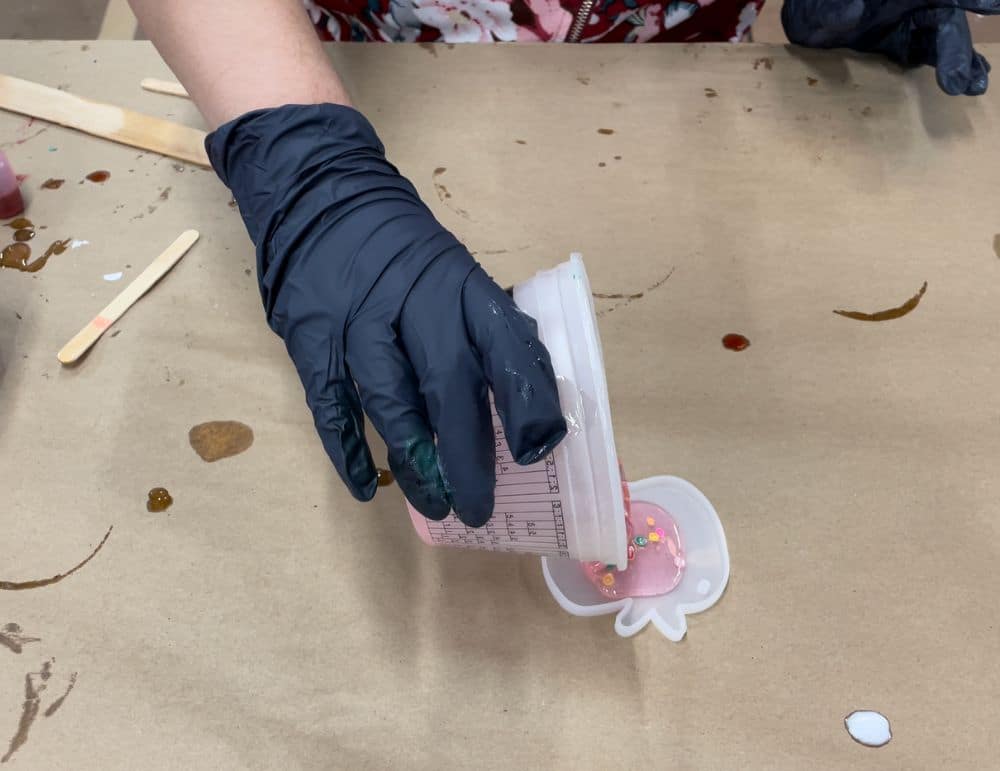
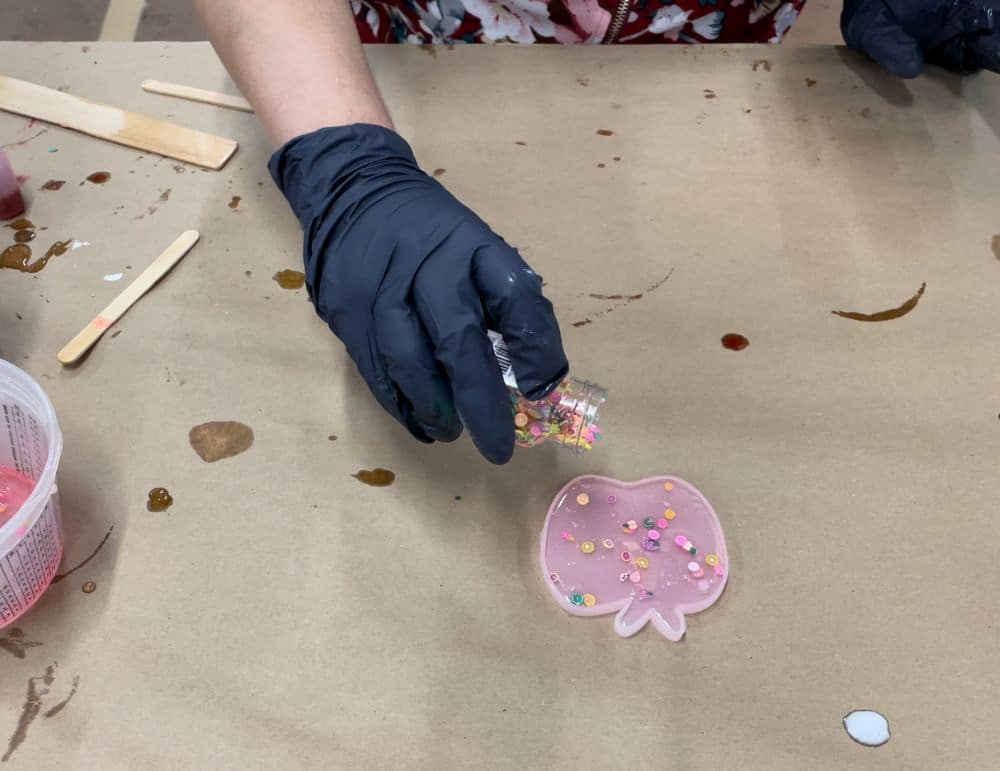
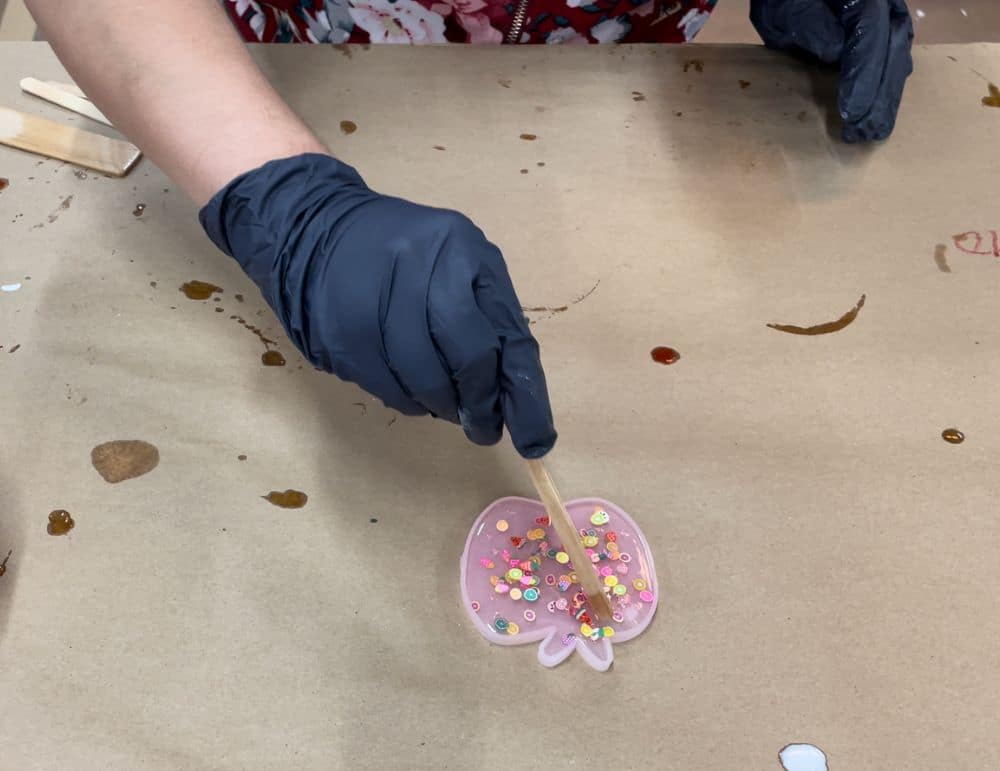
Then, all you need to do is set the mold aside and wait for it to cure. Demold and don’t forget to glue on a magnet.
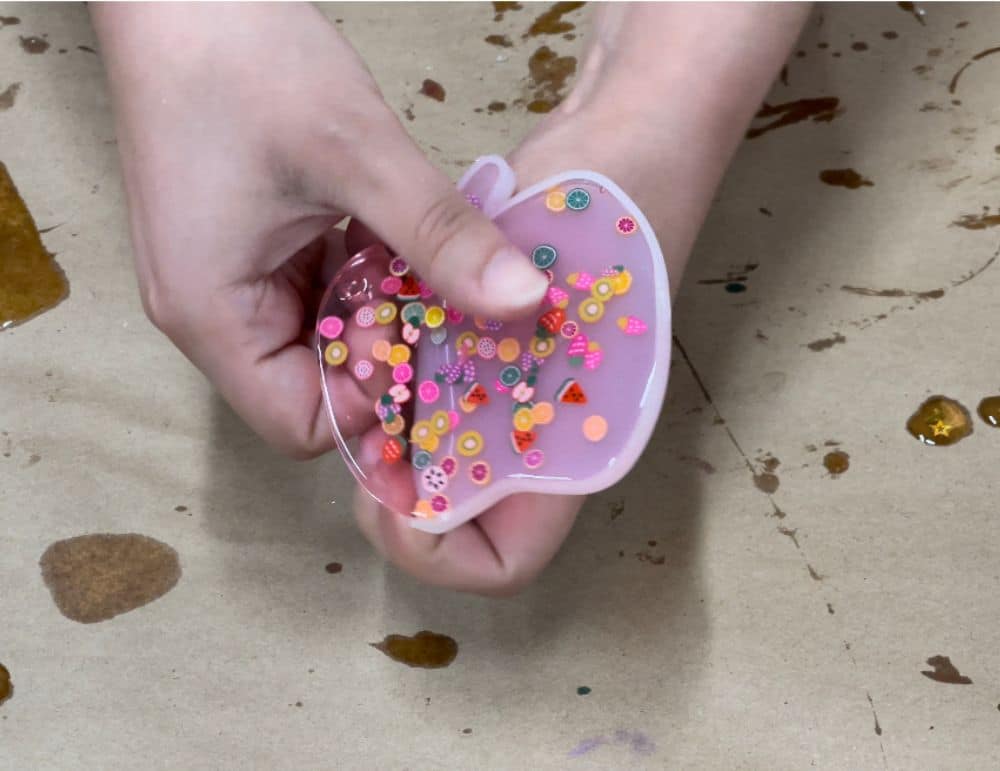
As an example, here’s how our apple magnets, with fruit confetti additives, turned out:
Glow-In-The-Dark Powder
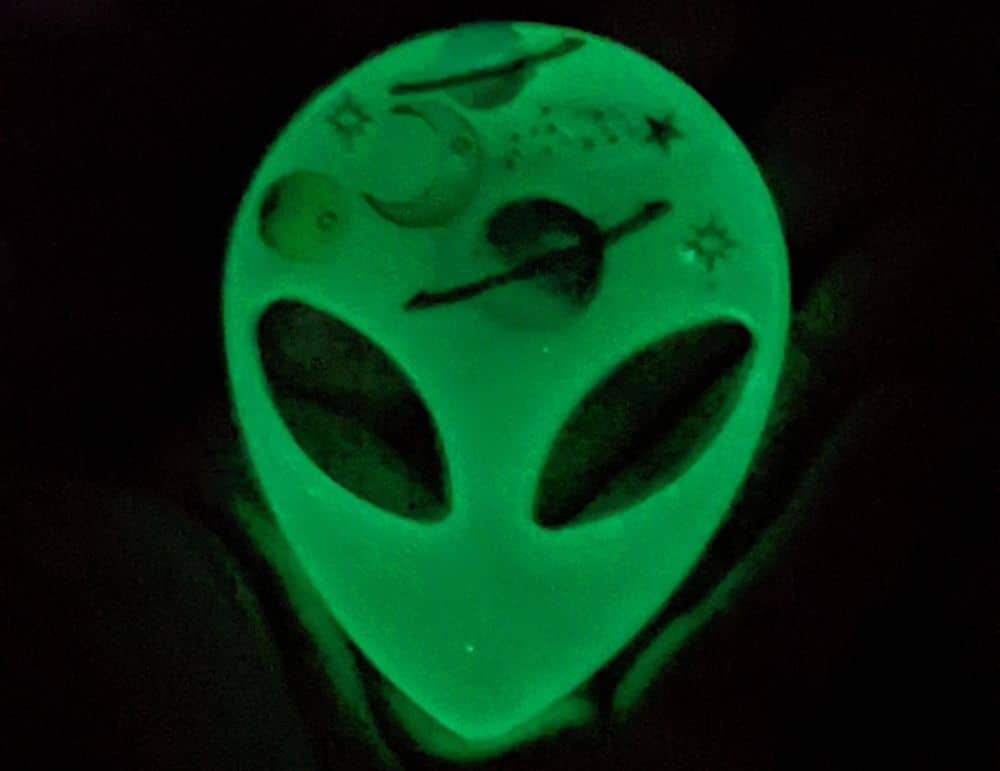
For an out-of-this-galaxy glow, you can use glow-in-the-dark powder with your resin in addition to dyes and colorants.
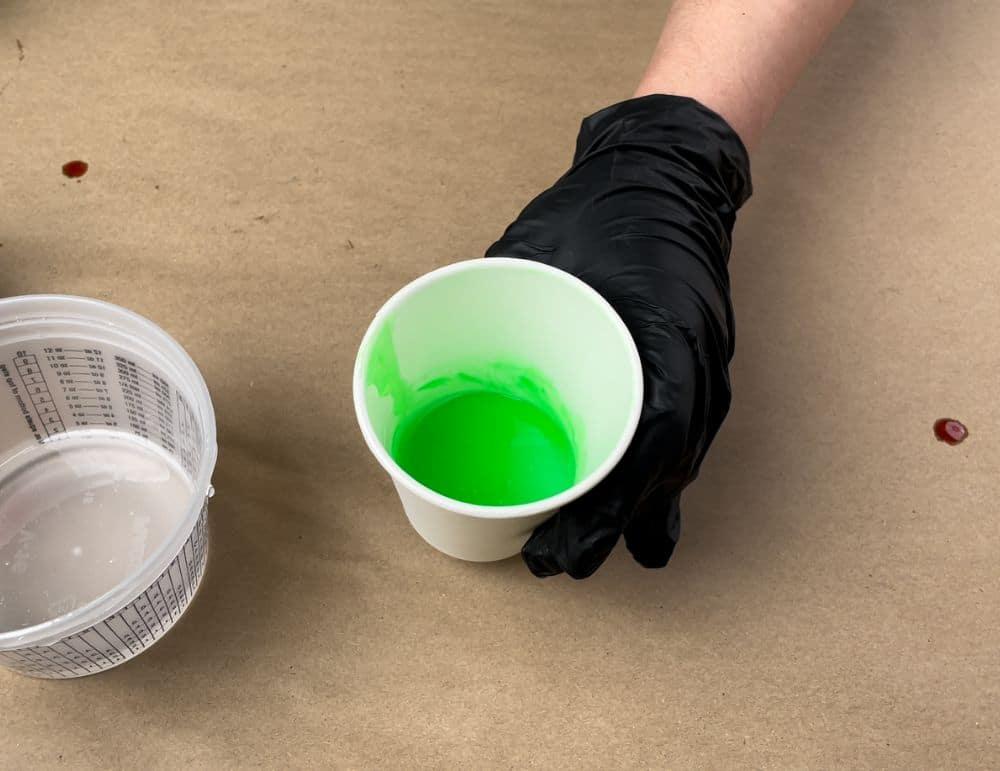
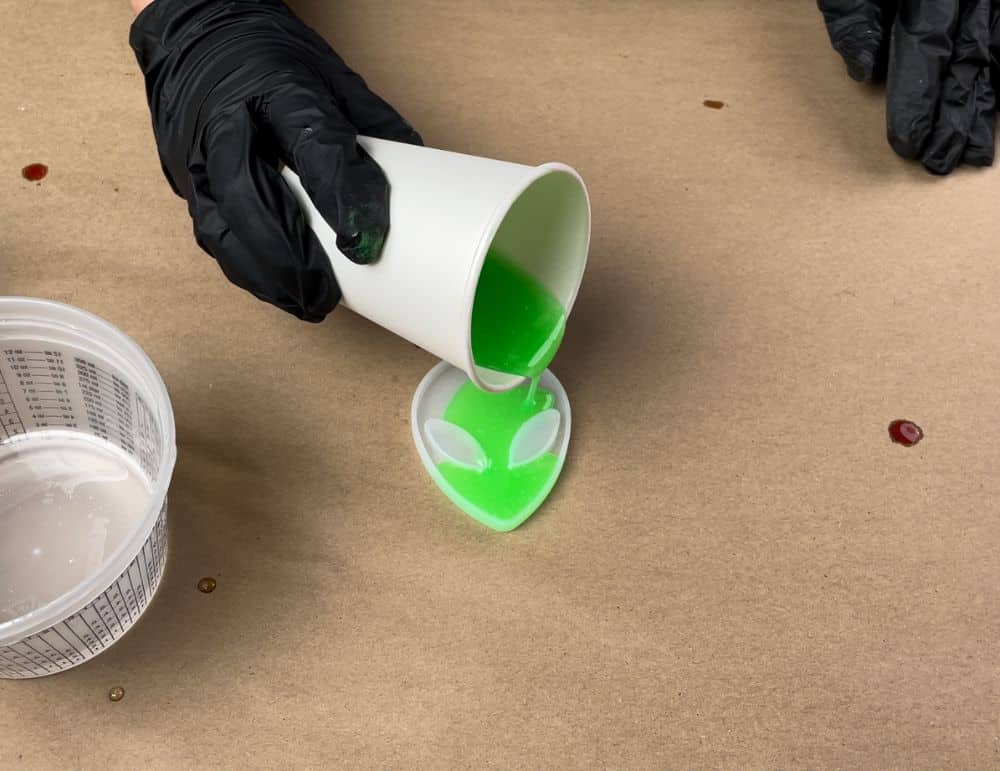
To create a resin magnet with this alien mold, we mixed a little Alumilite Dye in Flo Green and a small dash of PolyColor Resin Powder in Green Glow. Be sure not to use too much of either, as these things can affect how resin cures.
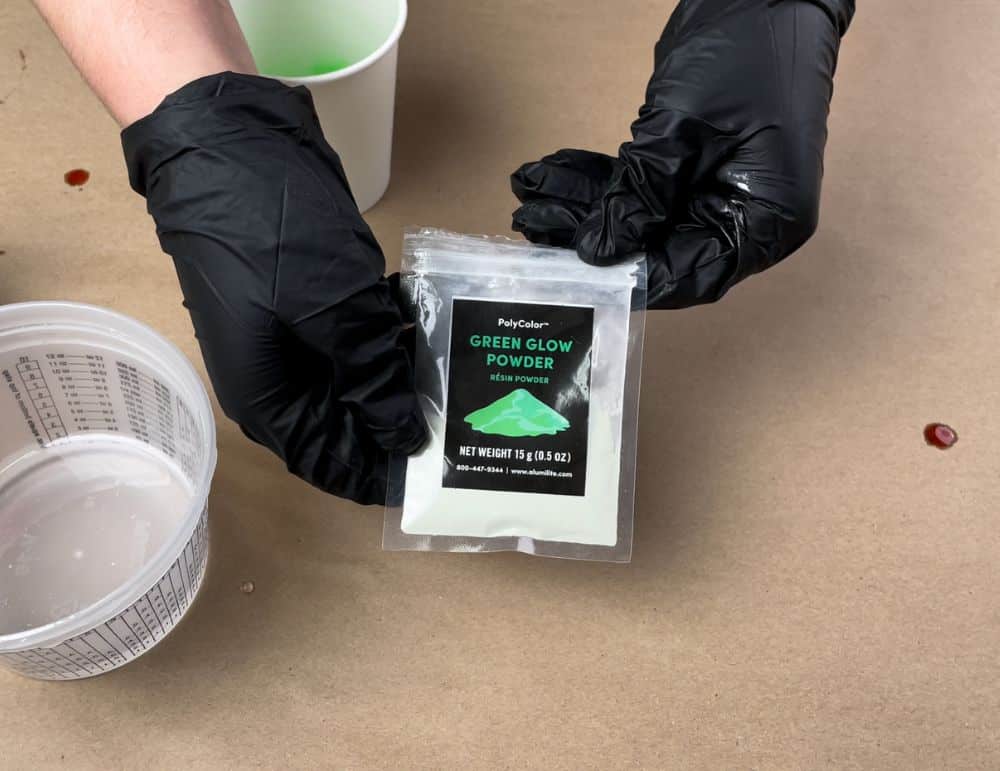
Mix thoroughly until the powder and colorant have combined with the resin. Pour and allow the resin to cure.
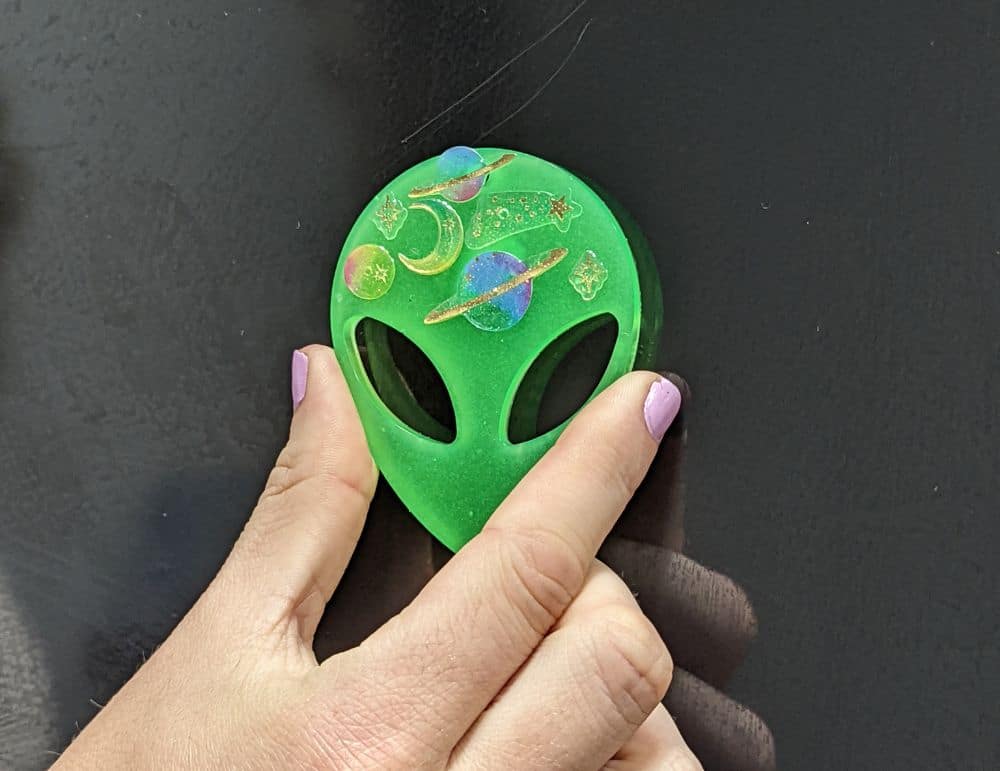
When you demold 24 hours later, your project should glow just like this little guy.
Alcohol Ink Techniques
Alcohol ink techniques offer a wide variety of unique finishes for resin projects. The specific approach we’re going to talk about involves adding alcohol ink to clear resin after it’s been poured. We’re going to try it out on this adorable cat mold!
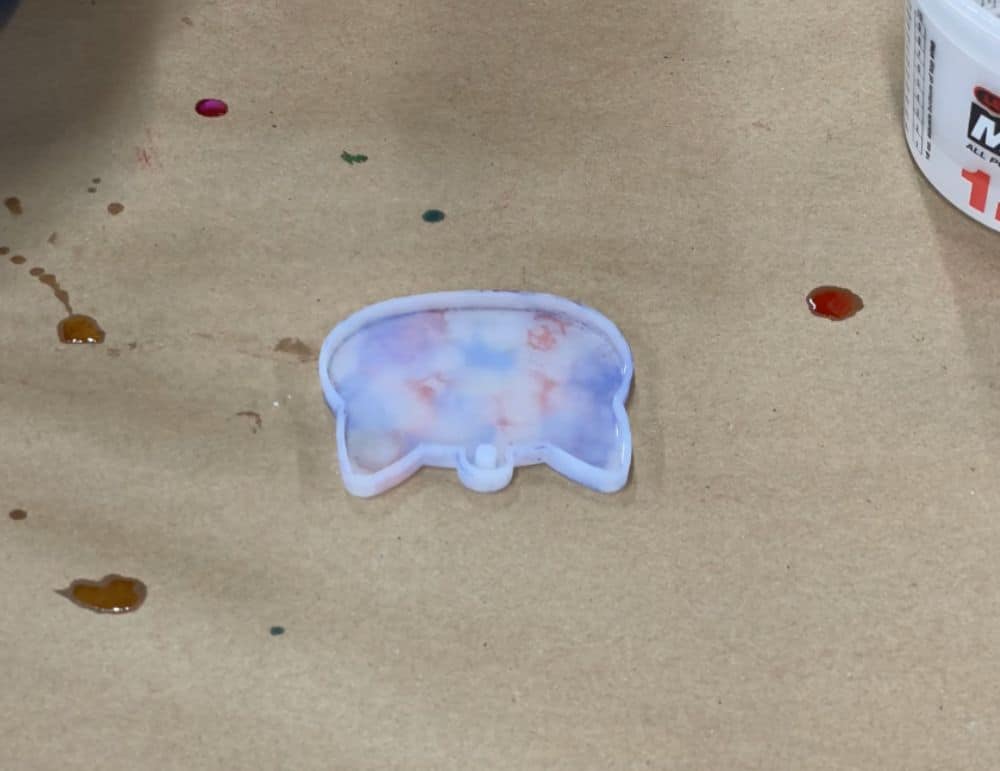
Like with the previous projects, you’re going to measure and mix your resin. Then, fill up your mold with the combined resin.
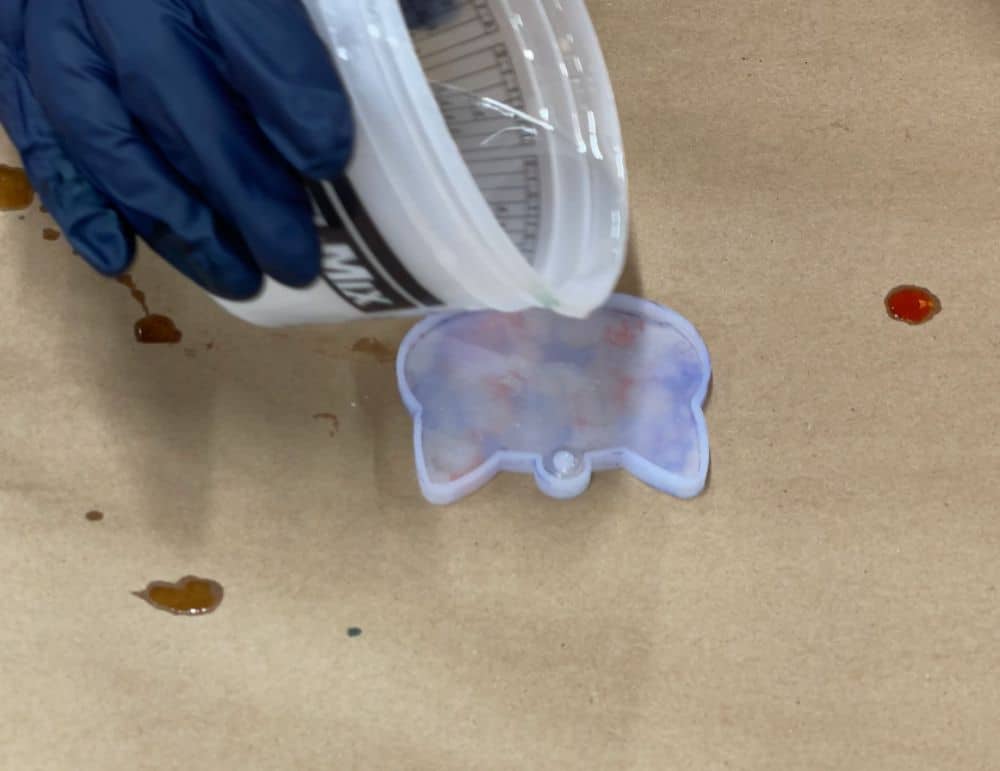
Decide which colors you’d like to use for this project—we chose magenta, light pink, and purple. Carefully add drops of your colors of choice to the surface of the poured resin. From the very start, you can see how the ink moves through the resin to create eye-catching effects.
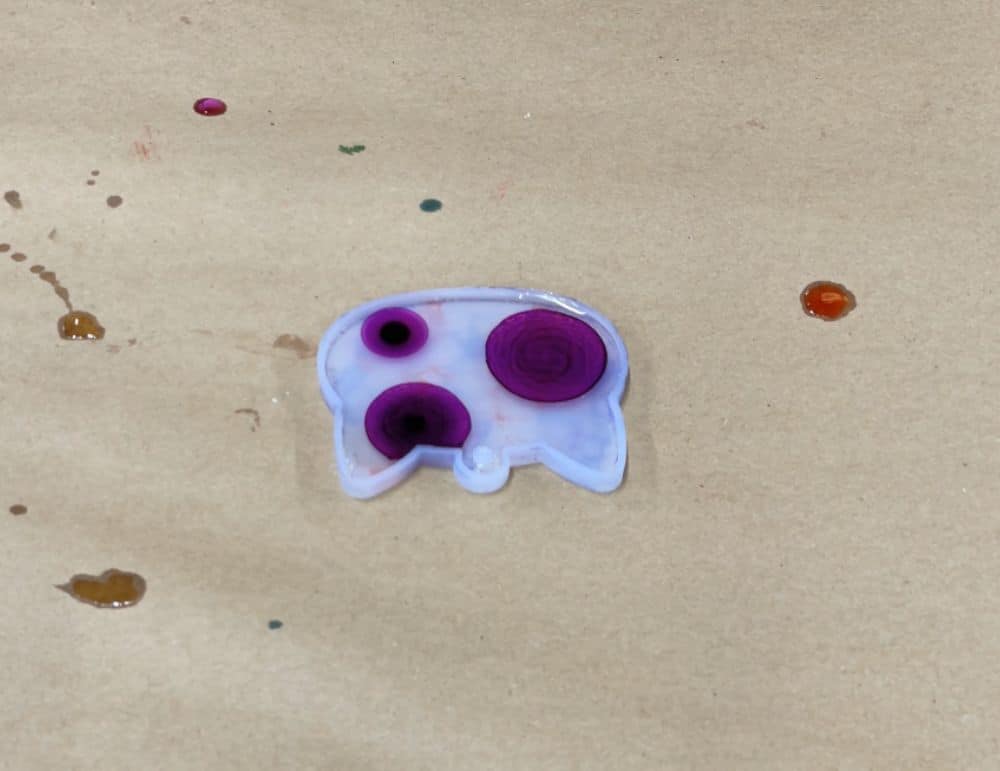
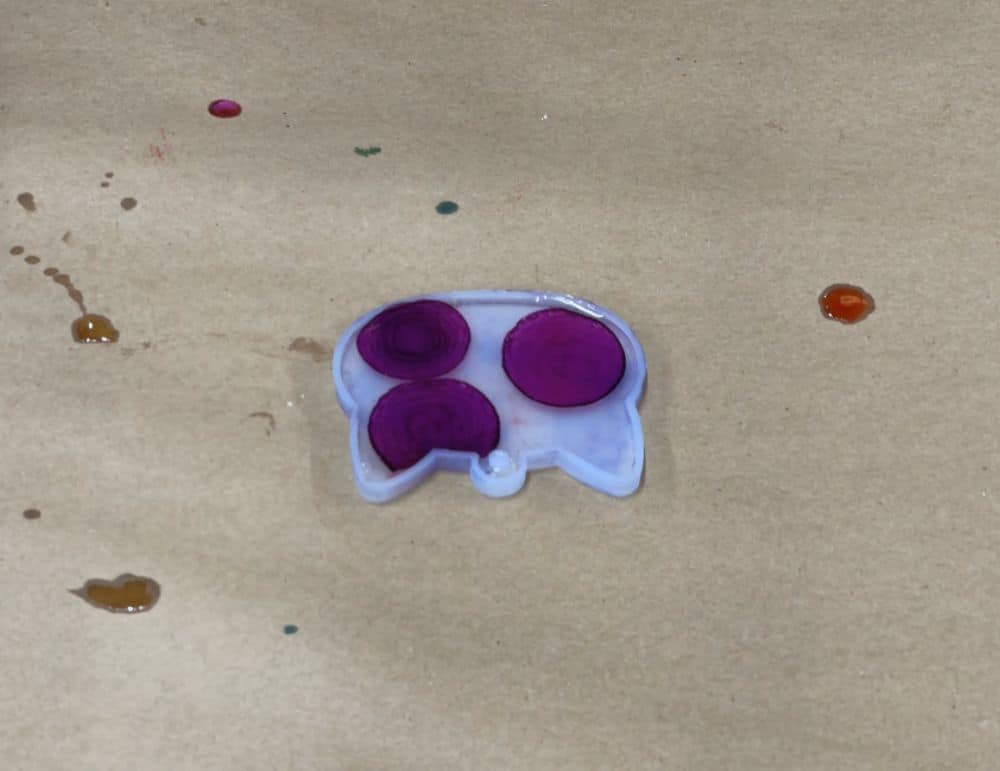
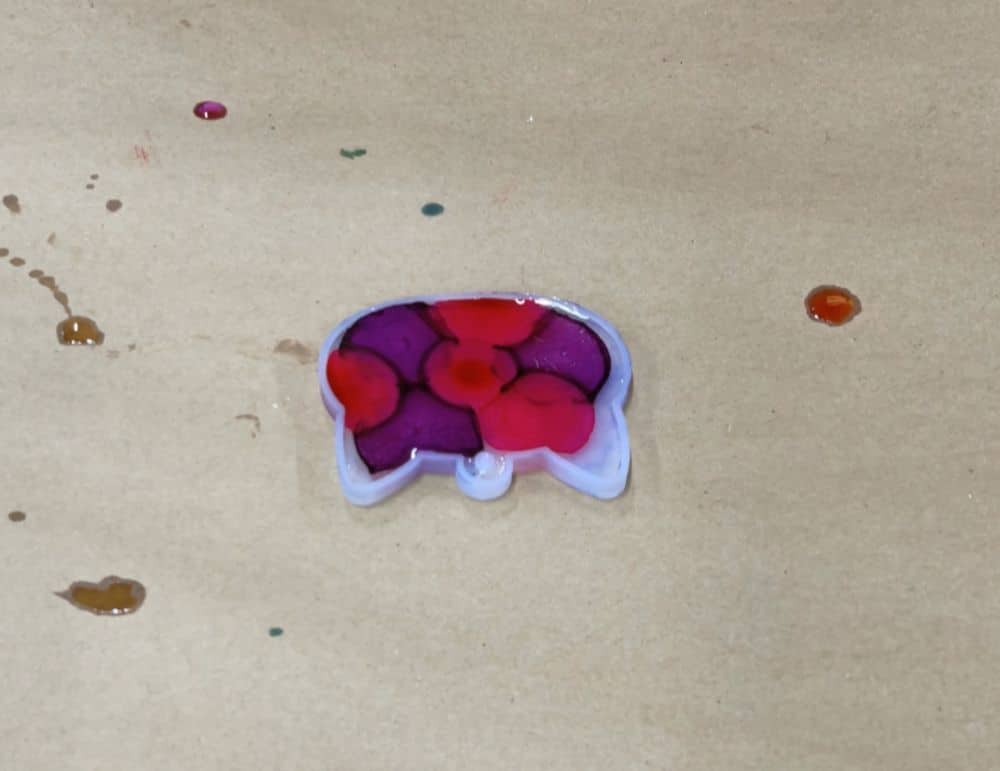
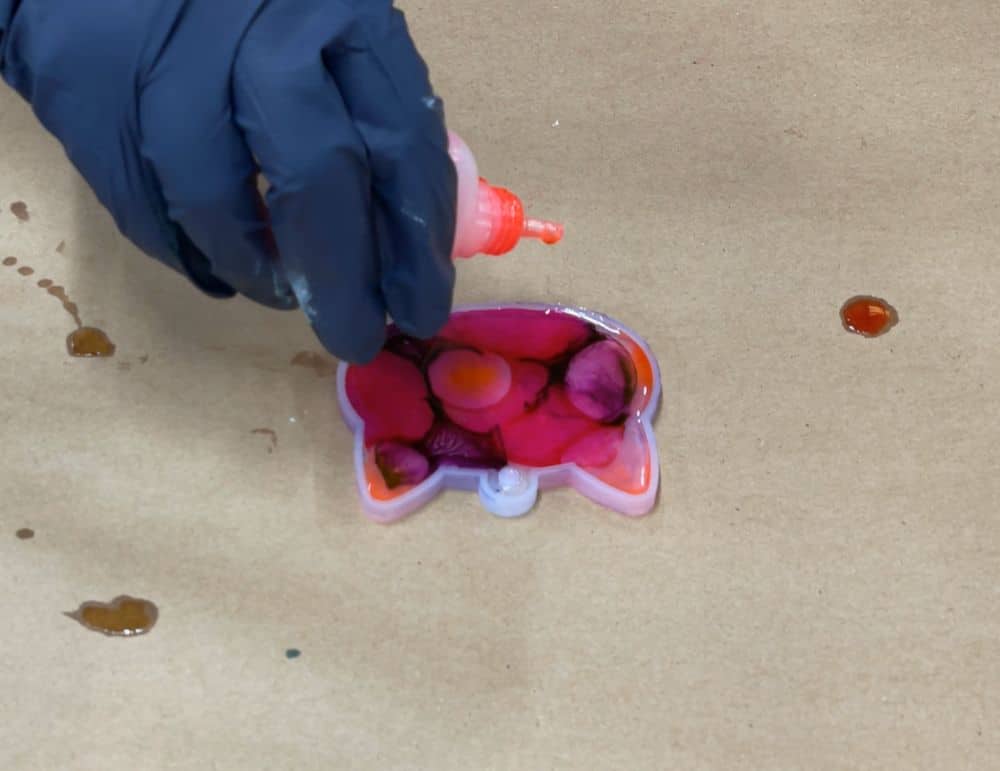
Be careful not to add too much color, as this can alter how the resin cures.
Once you’ve added your color, set the mold aside and allow it to cure.
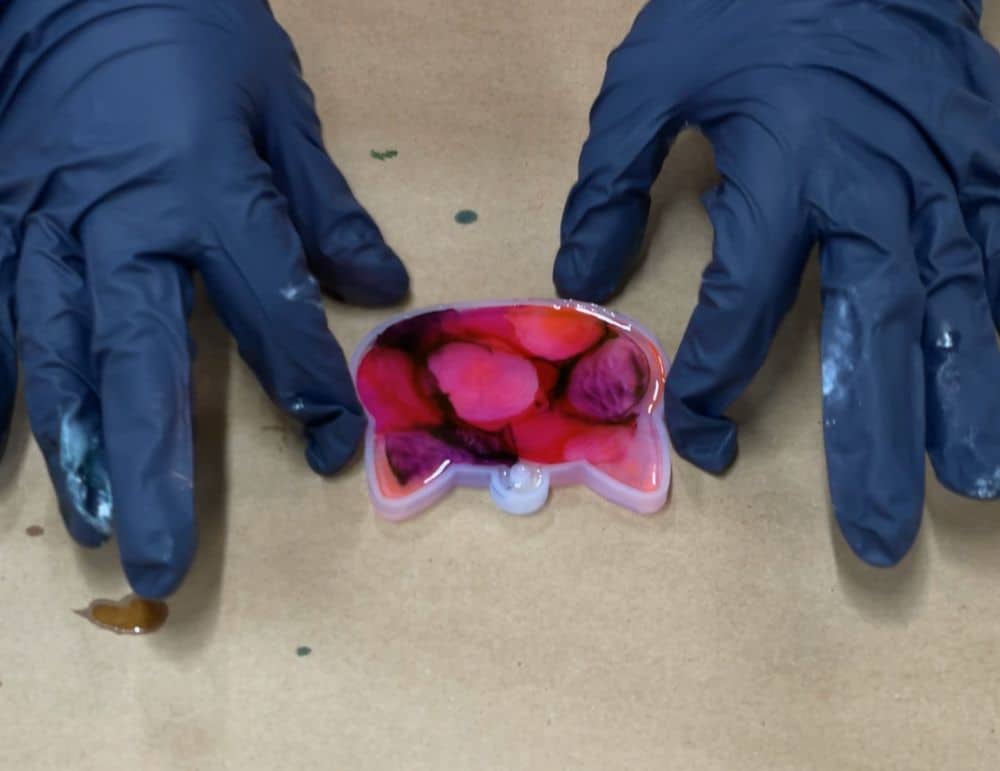
Check your project after around 24 hours to make sure it’s sturdy enough to demold. Then, demold and see how the alcohol ink patterns turned out.
Lastly, glue on your magnet, and it’ll be done! You can see the completed magnet in the photo at the top of this post.
Brushing on Mica Powder
Mica powder is a common product to add color and a shiny metallic finish to resin projects. Where ink colorants might have a level of translucence, mica powders turn the resin fairly opaque.
Typically, you can mix mica powder directly into the resin. However, you can also use a paintbrush to brush mica powder directly into the mold. This can be especially helpful if you want certain parts of the mold to be certain colors.
For our custom magnets, we wanted to test out the second technique on these small retro-themed molds. We brushed on the mica powders, using a different color for each mold, and then poured the resin.
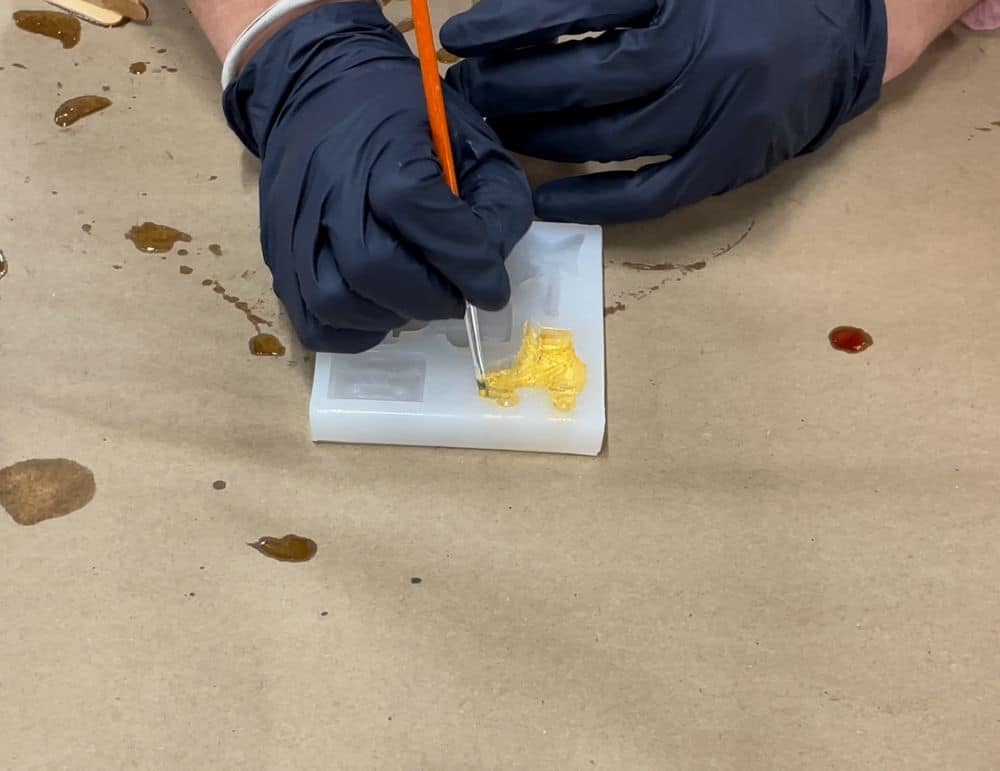
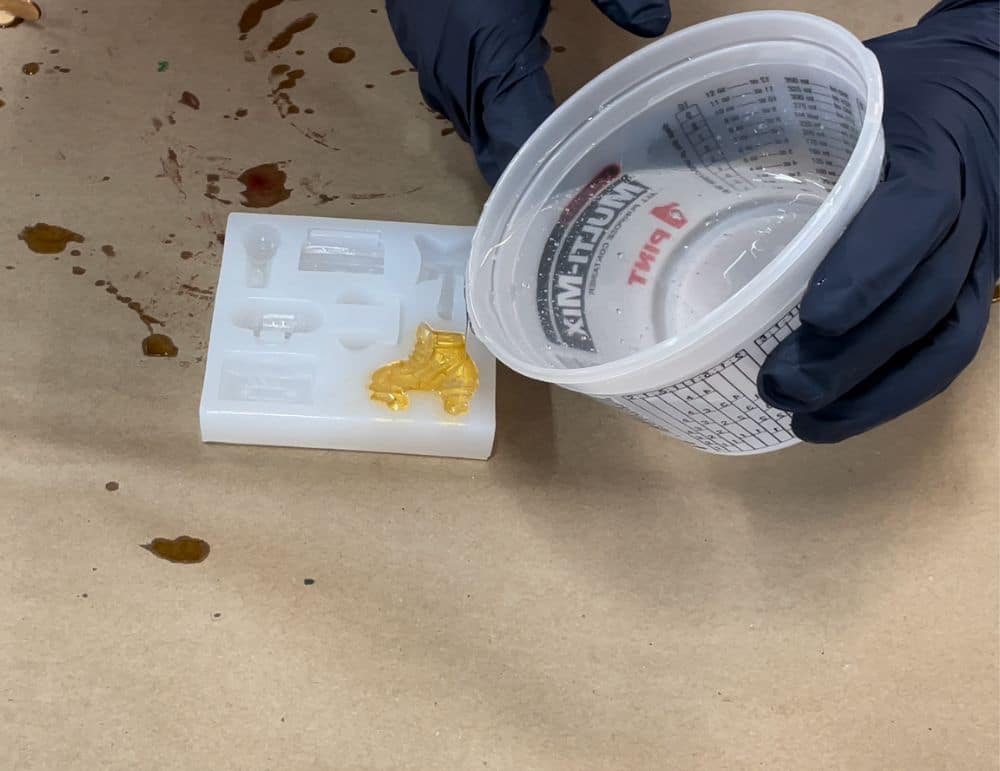
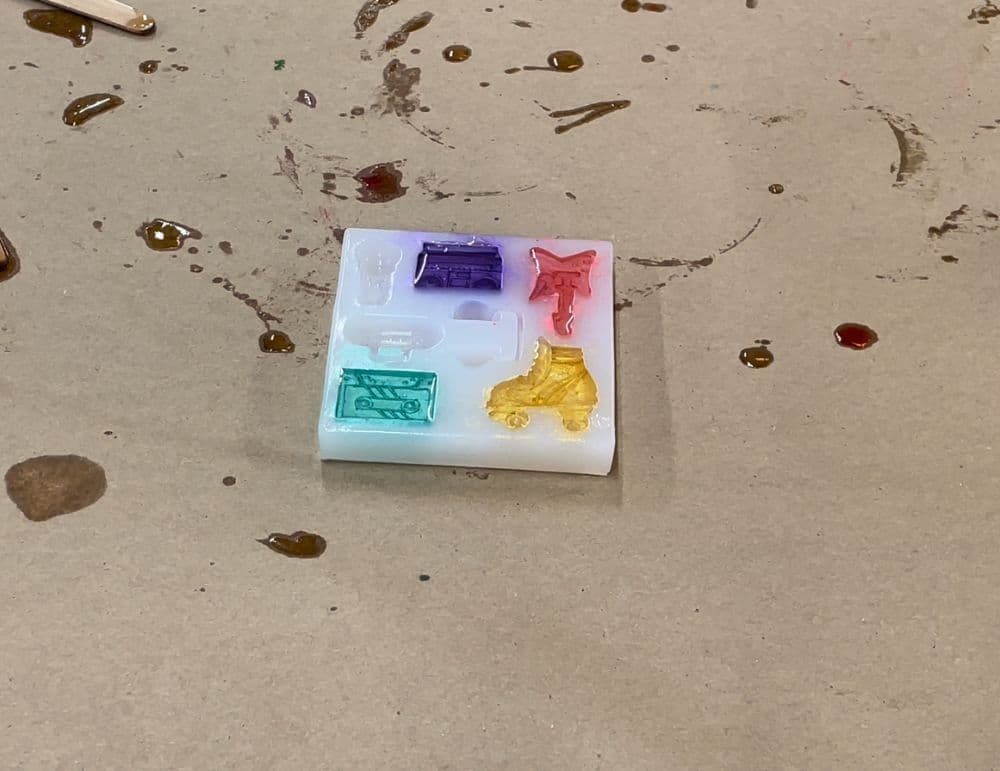
Make sure you brush the sides of the mold to ensure that the coloring is consistent across the entire design.
You know the rest: Set aside, allow it to cure, and demold.
We also added more detail after demolding them, as we’ll show you in the next section.
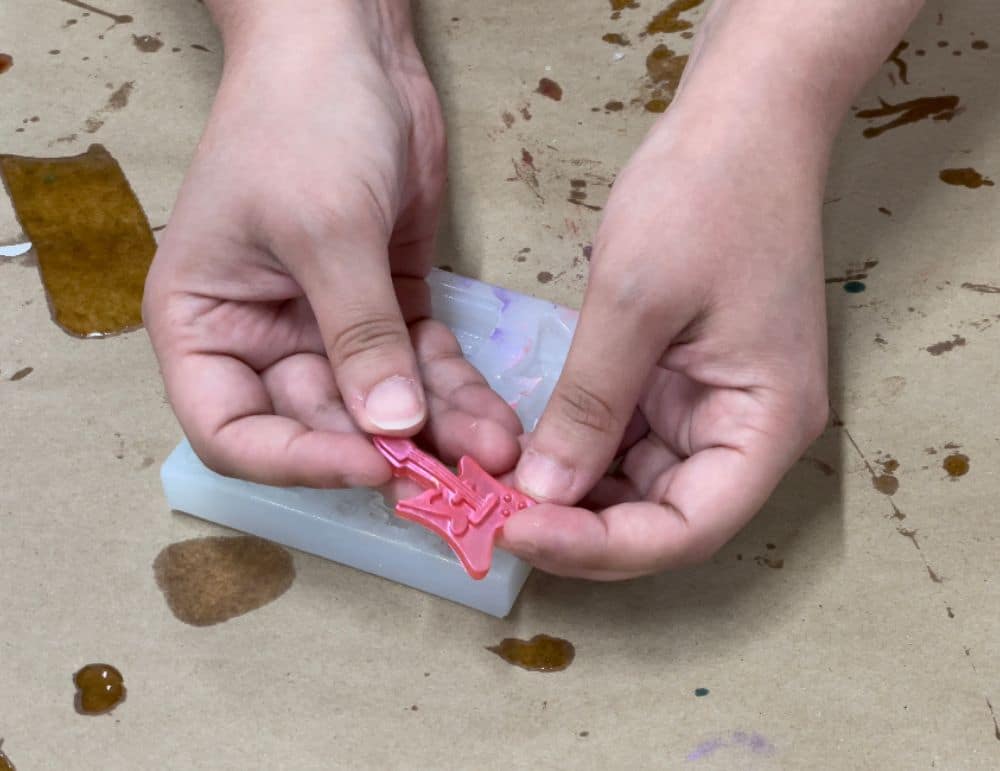
Here’s how one of the pieces looked straight out of the mold.
Painting Custom Magnets and Adding Details Post-Cure
One of the last techniques we’ll discuss is self-explanatory.
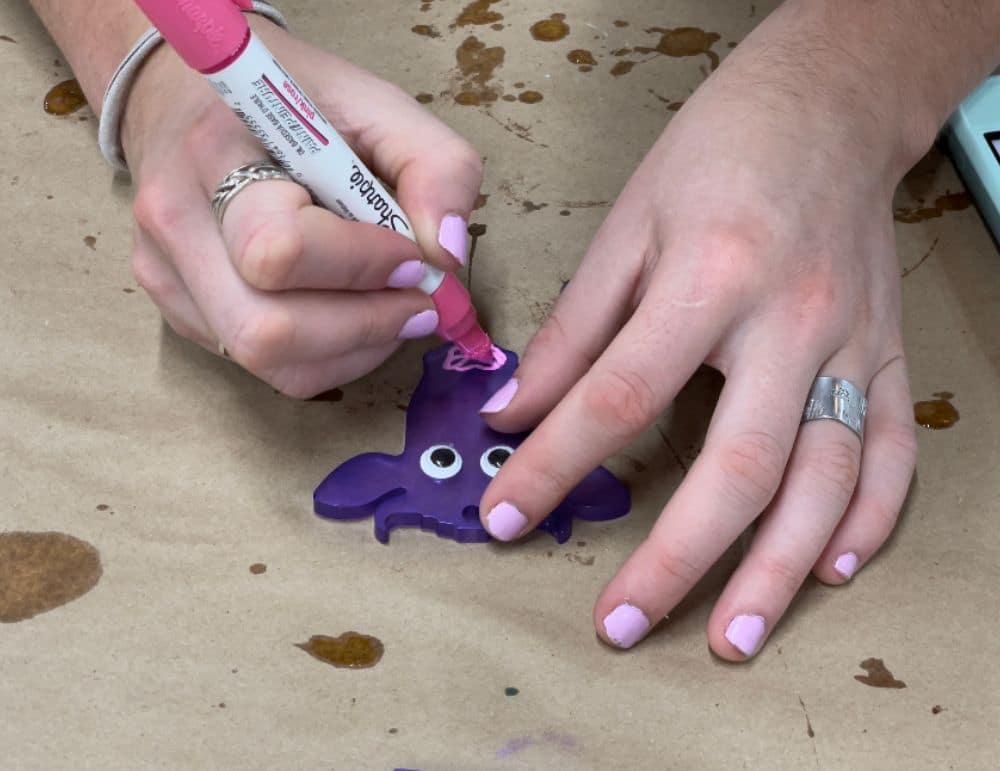
Once resin like Amazing Clear Cast has cured, you can decorate on top of it. In fact, it’s not uncommon for crafters to go over resin with acrylic paints, add stickers, or use paint markers.
Since the goal of this guide was to demonstrate the versatility of epoxy resin in creating projects like custom magnets, we tried a few different methods of decorating these projects post-cure.
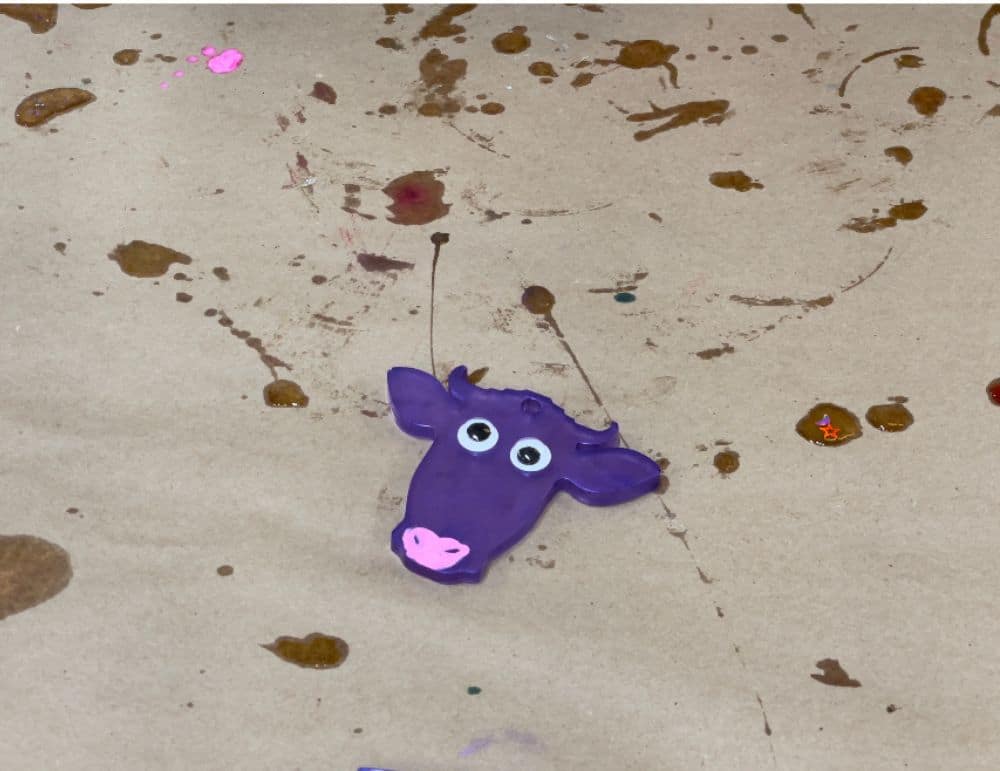
In this image, you can see that we added stickers to some of the magnets and painted others to bring them to life! The cow becomes livelier with a set of googly eyes and a painted nose, and the details of these small retro magnets really stand out with a little extra color.
Whether you’ve used these techniques to create your own resin magnets, locker magnets, or another project entirely, we’d love to see it! Visit any of our social media sites and tag your resin projects to share!
Is there any kind of project you’d like for us to post a tutorial on? Contact us about it or leave a comment on this post!
Happy crafting!
Resin Magnets
Materials
- Alumilite Amazing Clear Cast Epoxy
- Magnets
- Molds of choice
- Additives and colorants of choice
- Optional: Paint markers
- Optional: Stickers
- Measuring cups
- Stir sticks
- Nitrile gloves
- Safety glasses
- Optional: Small paintbrush
- Optional: Blow torch or heat gun
Instructions
- Before you start working with epoxy, make sure that you're wearing protective eyewear and gloves, cover your workspace (or use a silicone mat), and work in a well-ventilated space. Assemble all of your tools in your workspace!
- Measure and mix your epoxy resin. We created these magnets in batches, but they don't need a ton of resin individually.
- If you aren't sure how much resin to mix up, begin by pouring water into your mold. Then pour the water into a measuring cup to see how much is needed. Split that amount in half and that will be how much of each part you need!
- After measuring, mix the Promise Table Top Epoxy according to package directions. Pour equal parts resin and hardener into a mixing cup. Stir the mixture together slowly with a stir stick for 2—3 minutes. If there are streaks in the resin, keep mixing until it becomes clear.
- When approaching how you want to decorate your magnet, jump to the appropriate section in this article. We use a lot of different techniques, from flower encapsulation to mica powders, alcohol inks, and glow-in-the-dark powder.
- Once your resin has been prepared with colorants and additives, pour it into the mold.
- Set aside your magnet mold and allow it to cure for around 24 hours before demolding. You'll know if your epoxy resin magnets are cured once the surface is not tacky or sticky.
- After you demold your resin, all you need to do is attach a magnet to the back using any glue you're comfortable with. When you're gluing on a magnet, make sure to use a glue that dries clear. Some of your custom magnets might be translucent or completely clear, so you might be able to see the glue if it doesn't dry clear.
- Allow the glue to dry properly and your magnet will be ready to go! Display your new creations proudly.
