For pet parents, every day is International Dog Day! Celebrate your puppy by creating this DIY dog bowl stand resin craft.
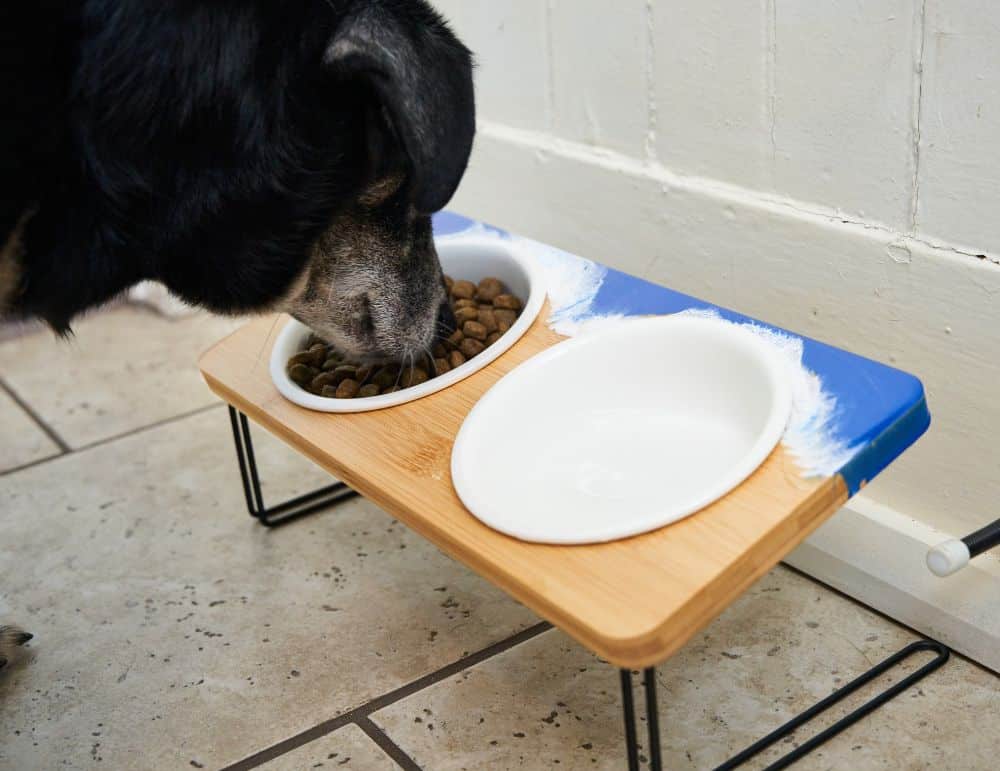
If you love your puppy, every day is International Dog Day and today we’re here to guide you through another possible pet-themed resin project: DIY dog bowl stands. For this craft, you can create whatever kind of pattern with whatever colors you’d like. We’ll be specifically talking about how to do ocean resin art on this wooden dog dish stand base.
If you’d like to watch a quick video tutorial, see below:
First is a note about resin safety and animals.
Resin and Animals
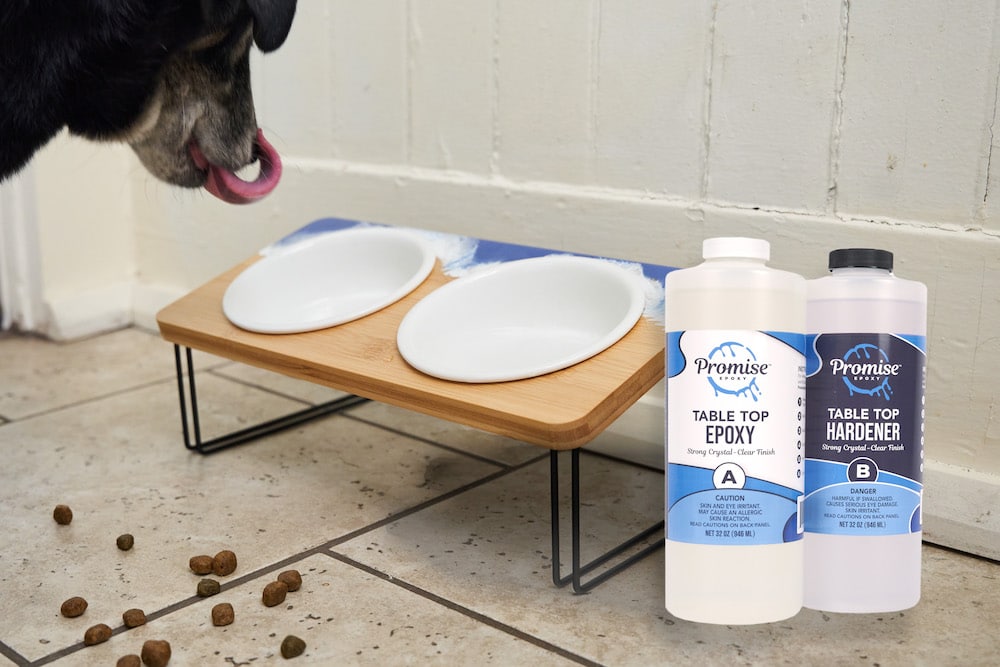
Promise Table Top Epoxy Resin is food safe per FDA code 21 CFR 175.300 when properly measured, mixed, and cured. However, the testing done to confirm this is concerning humans. Research concerning the effects of cured resin on animals and their food has not been extensively conducted. If your pet has ingested uncured or cured resin or you have any other concerns, you should immediately contact animal poison control, your veterinarian, or emergency veterinarian services. Uncured resin is toxic and should not be ingested. Additionally, do not allow yourself, animals, or children to breathe in any fumes. This is why it’s important to have a proper workspace. It’s always a great idea to work with resin in a well-ventilated space, away from pets and children, with the proper safety gear.
For any concerns, you can contact ASPCA’s Animal Poison Control number at (888)-426-4435.
Lastly, if you’re worried about your pet excessively licking or chewing on the bowl stand, especially where the resin is, this probably isn’t the the project for you or your pet. The resin portion is on the bowl stand and not technically on the bowls that contain their food and water; however, it’s always best to do your research and focus on what’s comfortable for you and your four-legged friends!
We do not recommend making the actual dog bowls, or anything that will be in constant contact with your pet’s food and water, out of resin.
Let’s start with what you’ll need.
DIY Dog Bowl Stands
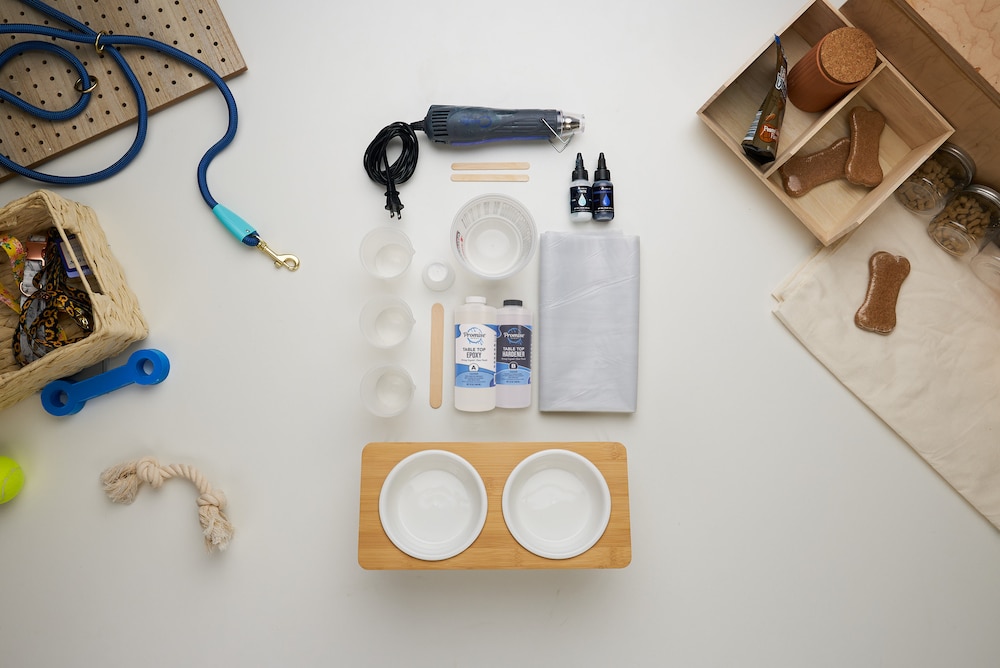
Supplies for Resin Dog Food Bowl Stands
- Promise Table Top Epoxy Resin
- Wooden dog bowl stand
- Alumilite dyes in Translucent Blue and White
- Measuring cups
- Mixing sticks
- Nitrile gloves
- Safety glasses
- Heat gun
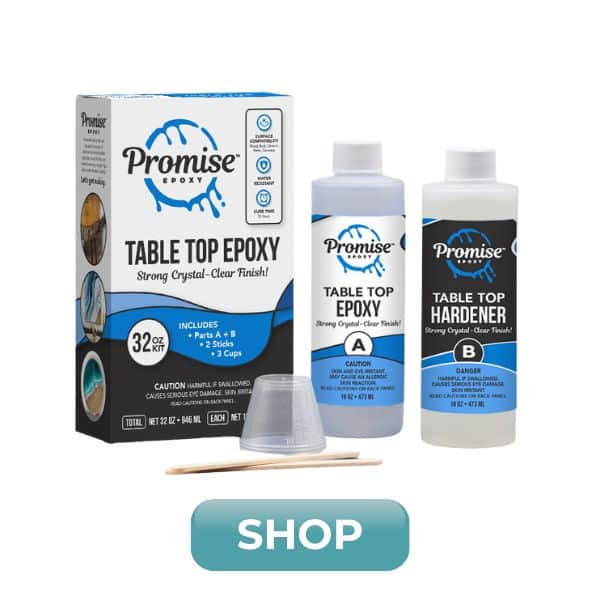

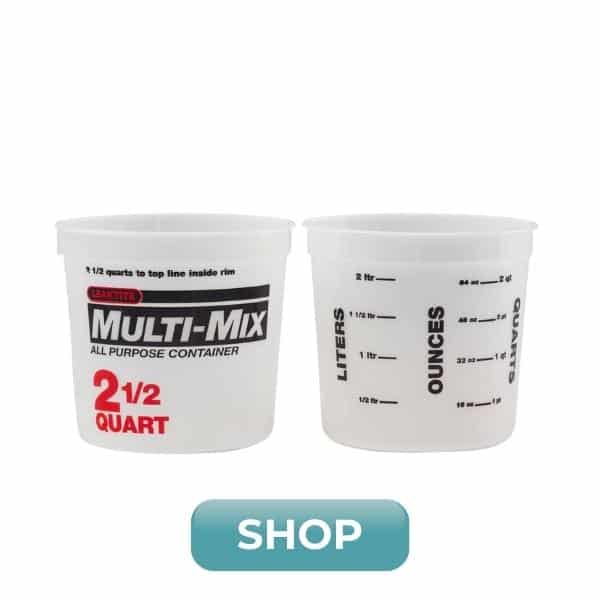
Gather all your supplies in your workspace, and let’s get to work on this DIY dog bowl stand! Don’t forget to set down some sheets of plastic because the resin will drip and things will get a little messy.
Before you start working with epoxy, make sure that you’re wearing protective eyewear and gloves, cover your workspace/use a silicone mat, and work in a well-ventilated space.
Preparing Resin Ocean Art
When it comes to making ocean art, you can take numerous paths In this particular tutorial, we’re going to keep it simple. This means that we’ll only need to have cups of blue, white, and clear resin.
First, let’s mix up the resin. We recommend mixing up a batch and then splitting it into three smaller cups to add the dye in later. Measure equal parts A and B and combine by stirring slowly for several minutes.
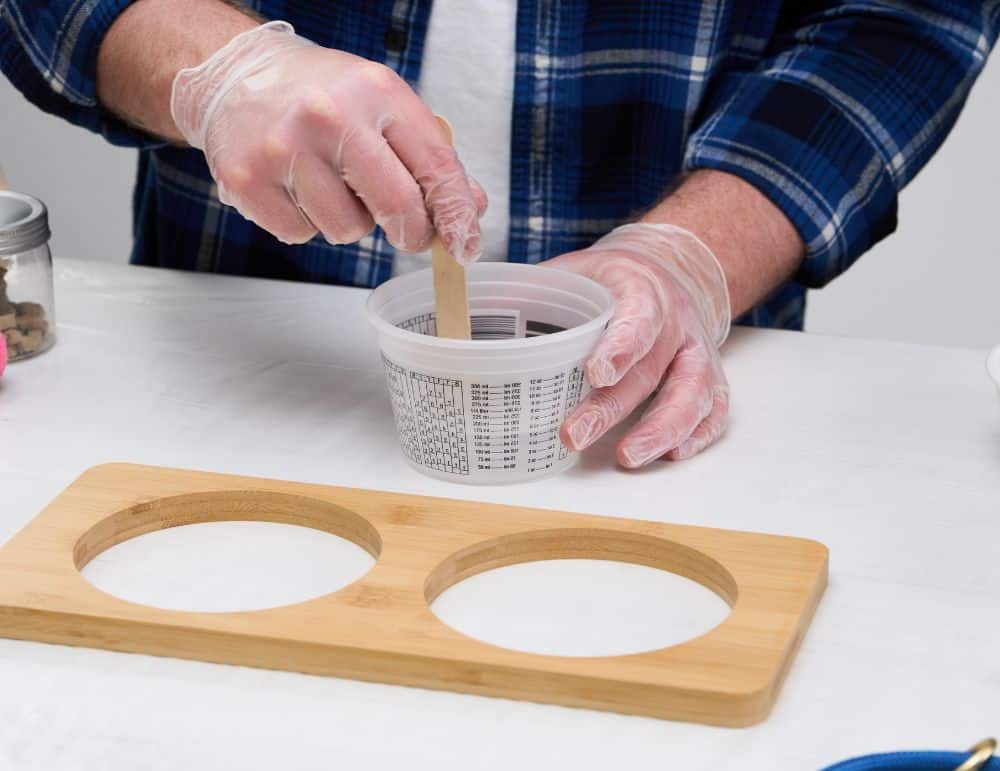
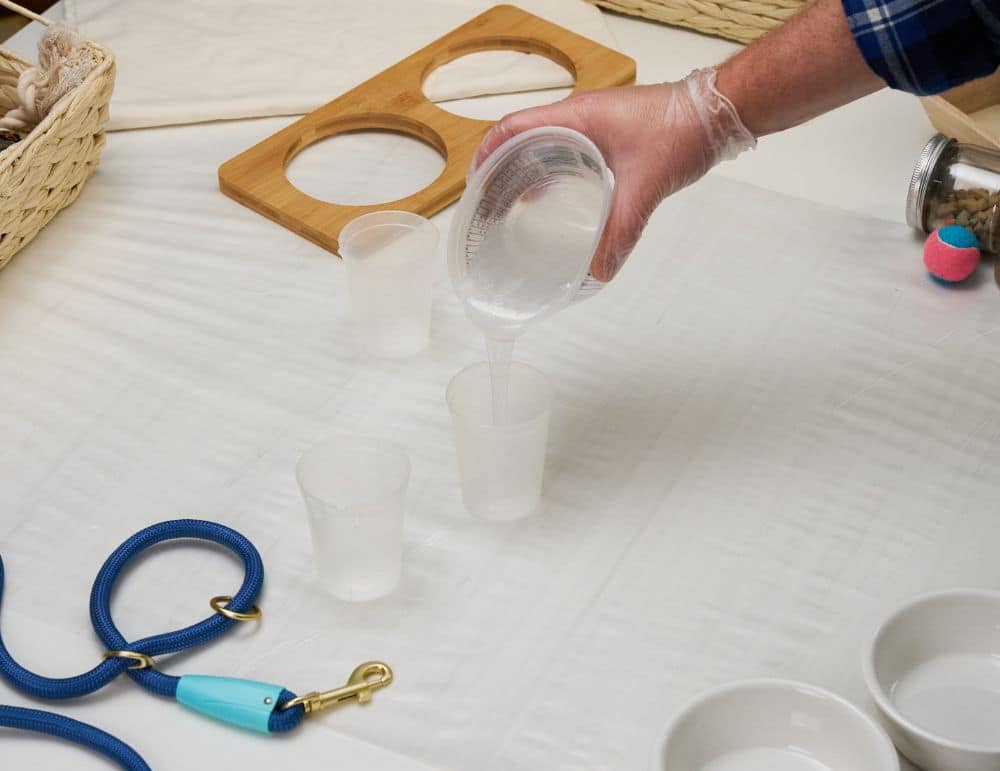
Split the epoxy into three separate cups. In most cases, the resin you plan to dye blue should have the largest amount.
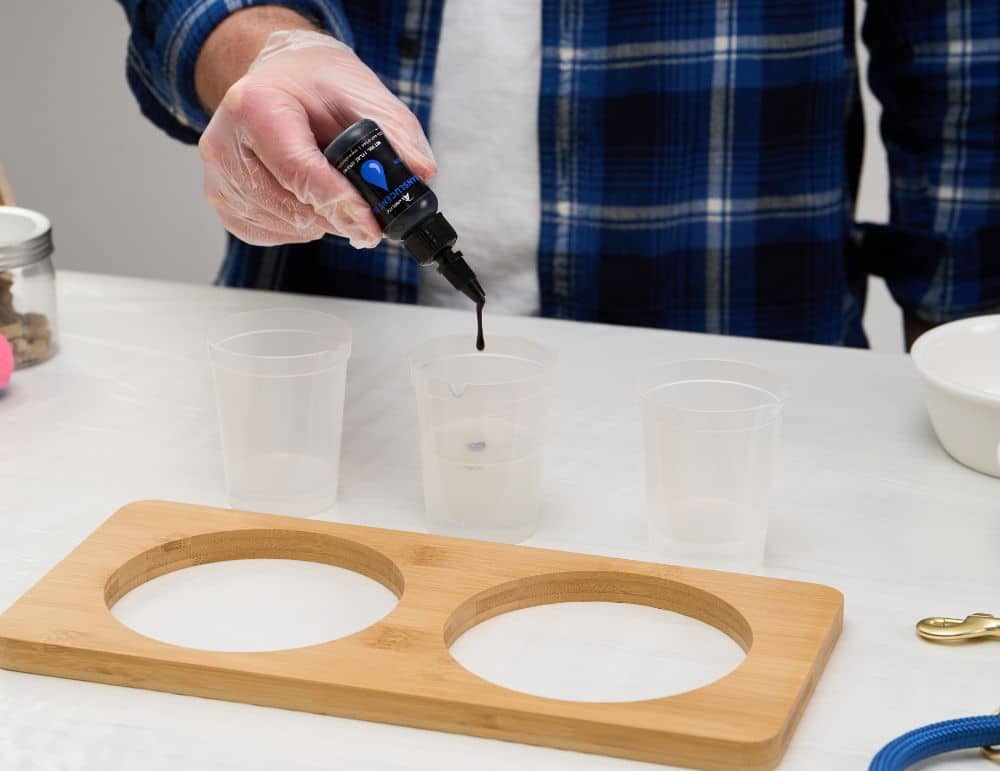
Put a few drops of each dye in its respective cup. When it comes to dying resin, a little goes a long way! You can always add more later, too.
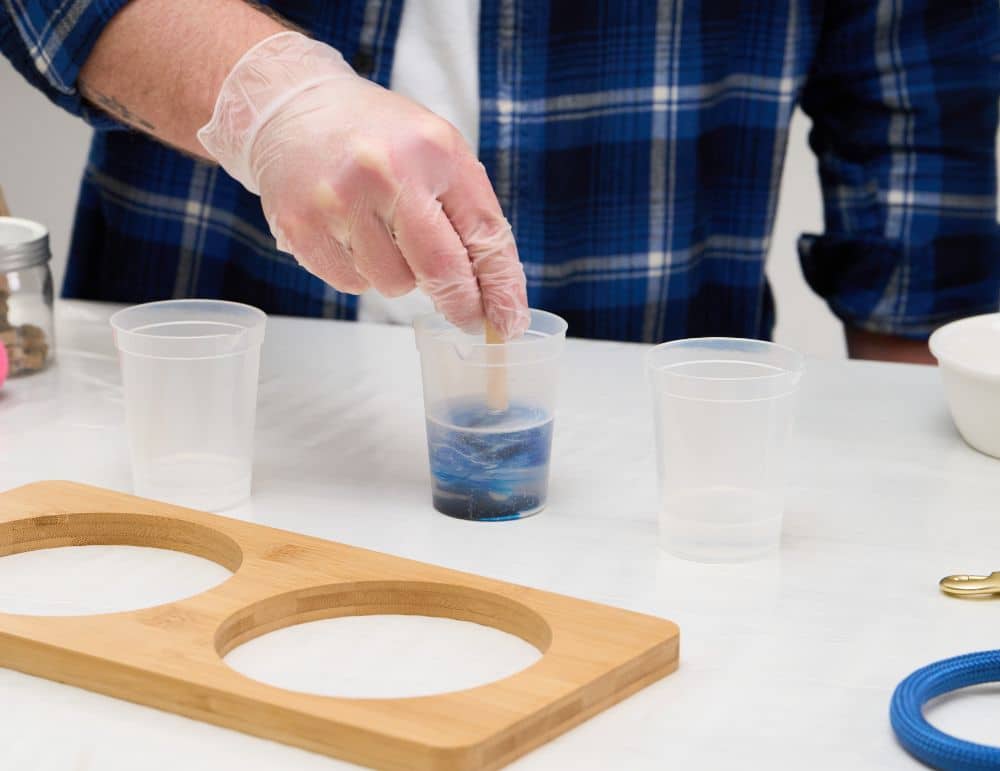
Stir in the colorant until it is thoroughly combined. Do the same for the cup with the white dye and resin mixture, as well. After this is done, you should have a cup of blue resin, a cup of white resin, and a cup of clear resin.
Pouring the Waves
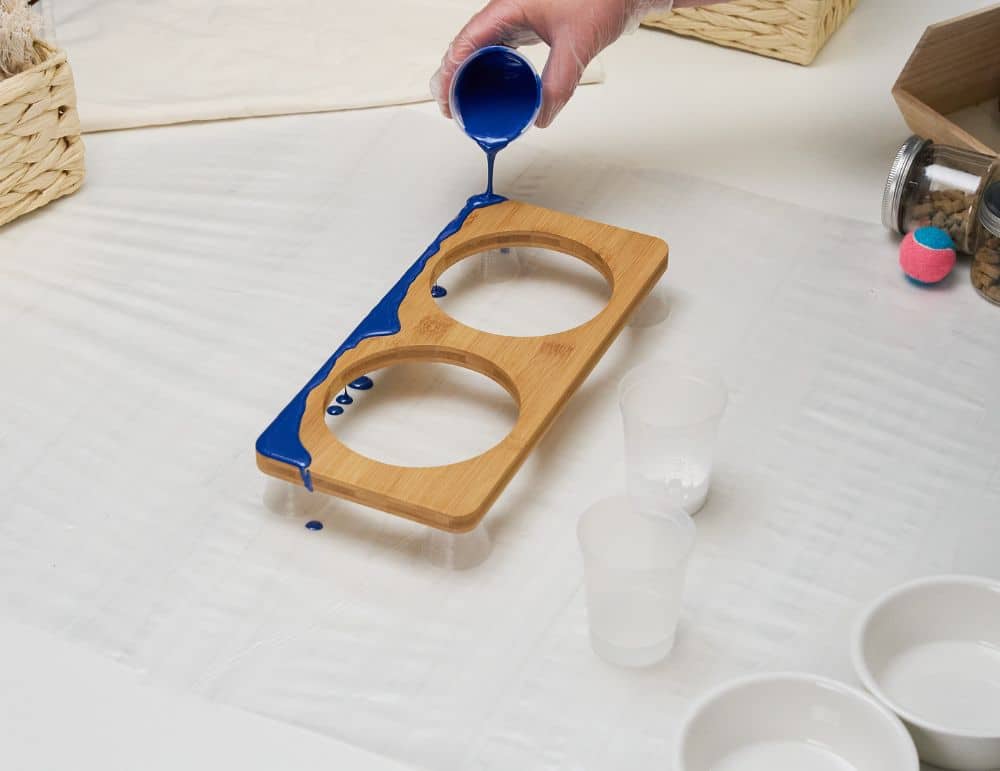
Make sure your surface is level. One way that we do this—and allow the resin the opportunity to drip and coat the sides—is by using four equal-sized small cups and setting the stand on top of them. Pour the blue wave along the top of the wooden bowl stand, as shown below.
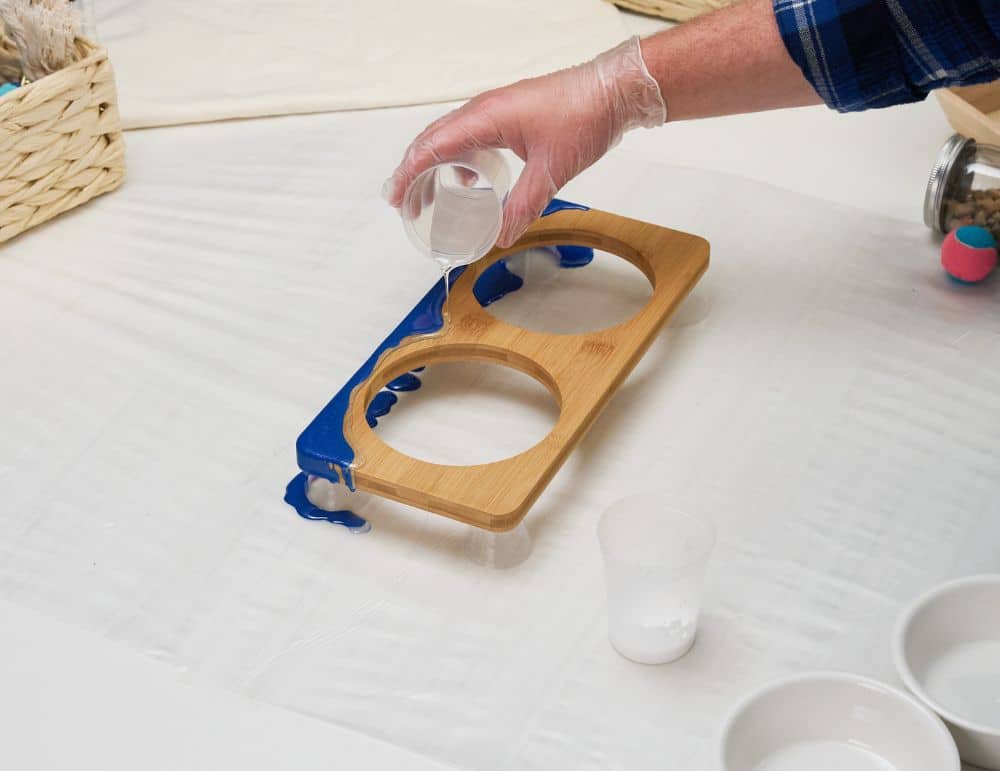
The next step in creating iconic resin waves is to pour a thin line of clear resin along the bottom, where the blue section stops.
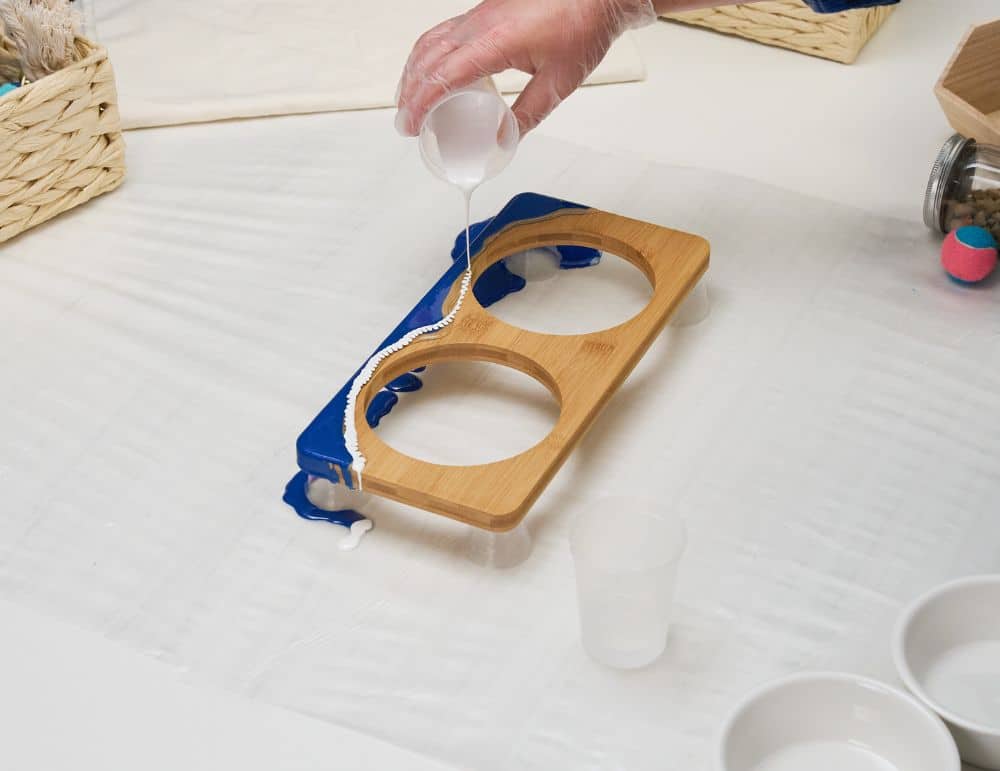
Once that’s done, pour another thin line over top of the clear line using the white resin. This combination of the clear and white resin is essential to getting the cells that are commonly found in ocean art.
Making a Splash with Resin Waves
Once you have those layers of resin poured, it’s time to turn to a tool that will help us get that seafoam-like effect—the heat gun. In addition to the layering of the clear and white resin, the use of a heat gun to push the resin around is how you can best create the resin cell effect.
Take a moment to find a good angle that will allow consistent results across your entire piece. Then, activate your heat gun. Be sure the gun isn’t going to blow hard enough to splash resin everywhere.
Guide the heat gun along the poured resin and watch as the white spreads out. This is how you get that beautiful foam effect.
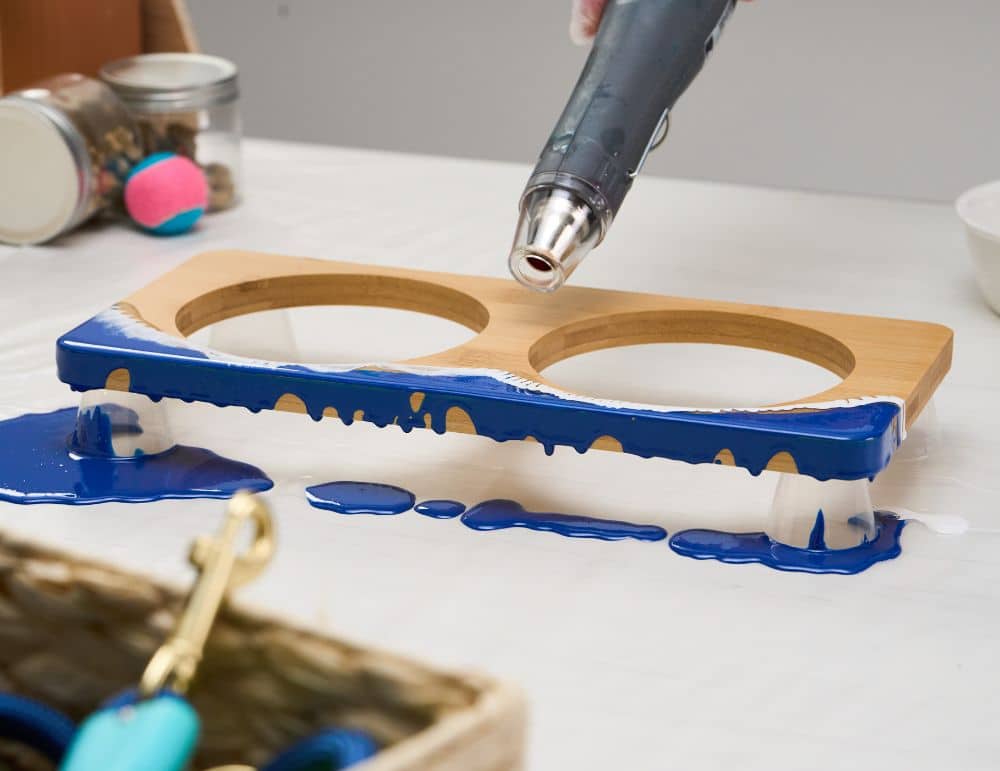
We didn’t have a ton of space to work with, so we decided that after one perfect wave, we were satisfied. That means it’s time to cure.
The Curing Process
Allow the project to sit and cure in a dust and debris-free environment for the length of a full cure before use. This takes about a week.
Once it’s cured, your project is ready to be displayed! Here are some pictures of our finished piece:
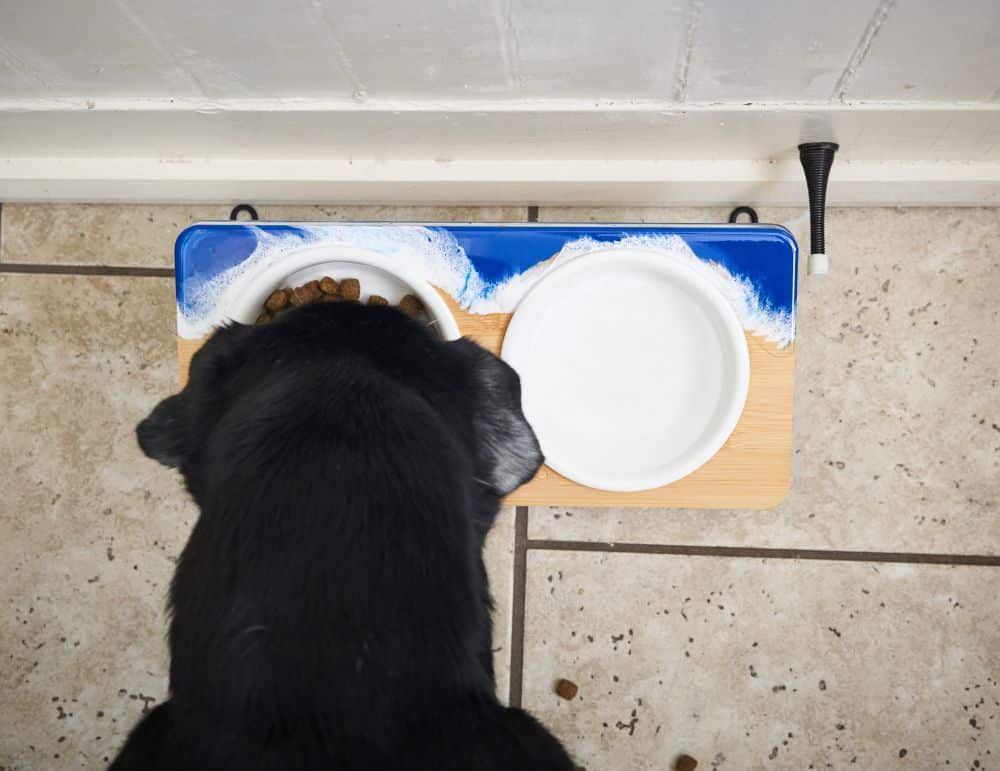
If you have any questions about this project, please don’t hesitate to contact us! If you have any projects you’ve made that celebrate your furry friends, we’d love for you to share them with us on any of our social media channels!
Happy crafting!
How to Make DIY Dog Bowl Stands With Resin
Materials
- Promise Table Top Epoxy Resin
- Wooden dog bowl stand
- Alumilite dye Transparent blue and white
- Mixing containers
- Paint sticks
- Nitrile gloves
- Safety glasses
- Heat gun
Instructions
- Before you start working with epoxy, make sure that you're wearing protective eyewear and gloves, cover your workspace (or use a silicone mat), and work in a well-ventilated space. Assemble all of your tools in your workspace!
- Mix up equal parts of your resin and hardener and stir slowly for several minutes (until there are no visible swirls).
- Split the mixed resin into three separate cups. The resin cup that will be dyed blue will have the most.
- Put a few drops of each dye in its respective cup.
- Stir in the colorant until it is thoroughly combined. Do the same for the cup with the white dye and resin mixture, as well.
- Make sure your surface is level. One way that we do this—and allow the resin the opportunity to drip and coat the sides—is by using four equal-sized small cups and setting the stand on top of them. Pour the blue wave along the top of the wooden bowl stand.
- The next step for creating resin waves is to pour a thin line of clear resin along the bottom, where the blue section stops.
- Once that’s done, pour another thin line over top of the clear line using the white resin. This combination of the clear and white resin is essential to getting the cells that are commonly found in ocean art.
- Take a moment to find a good angle that will allow consistent results across your entire piece when you use you heat gun. Then, activate it. Be sure the gun isn’t going to blow hard enough to splash resin everywhere. Guide the heat gun along the poured resin and watch as the white spreads out.
- Allow the project to sit and cure in a dust and debris-free environment for the length of a full cure before use. This takes about a week. Once it’s cured, your project is ready to be displayed!
