Updated April 2026
Resin is a fabulous medium to use to make art. Check out this amazing Poured Resin Wall Art tutorial to learn how you can make your own amazing art using Envirotex Lite.
Poured Resin Wall Art Supplies:
- 32 oz. Amazing Clear Cast
- Alumilite dyes
- Canvas, I found a wooden board as the canvas works best
- Stir sticks and disposable measuring cups
- Disposable craft brushes
- Latex or disposable gloves
- Paper towel
- Box or tray larger than chosen canvas
- Micro butane torch
Preparing the canvas:
I used large piece of scrap plywood that I had in my wood shop as the canvas. I’d highly recommend using a board rather than a stretched canvas. Both will work, but you need to be sure to support the center of the canvas, which can be tricky.
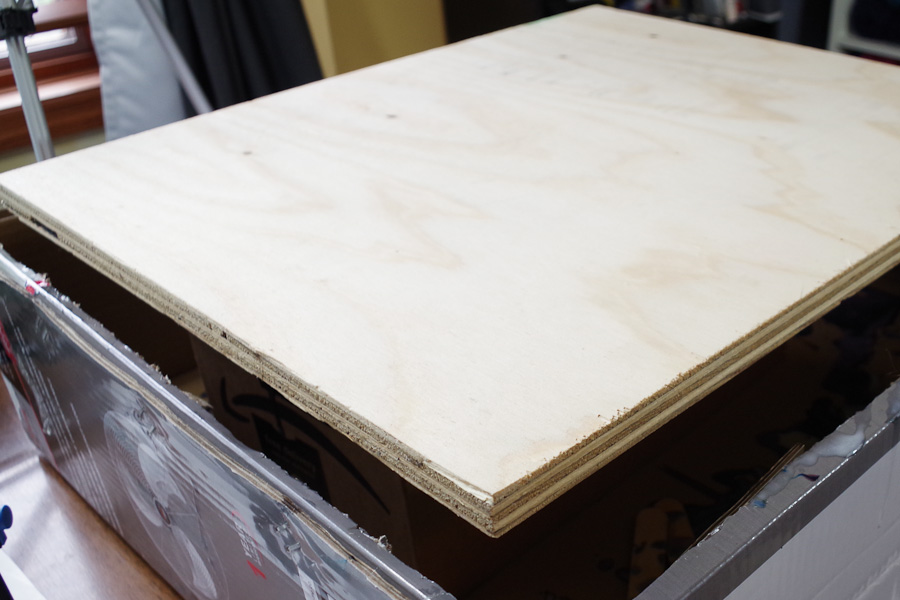
Be sure that your canvas, whatever you choose, is free from dust and debris.
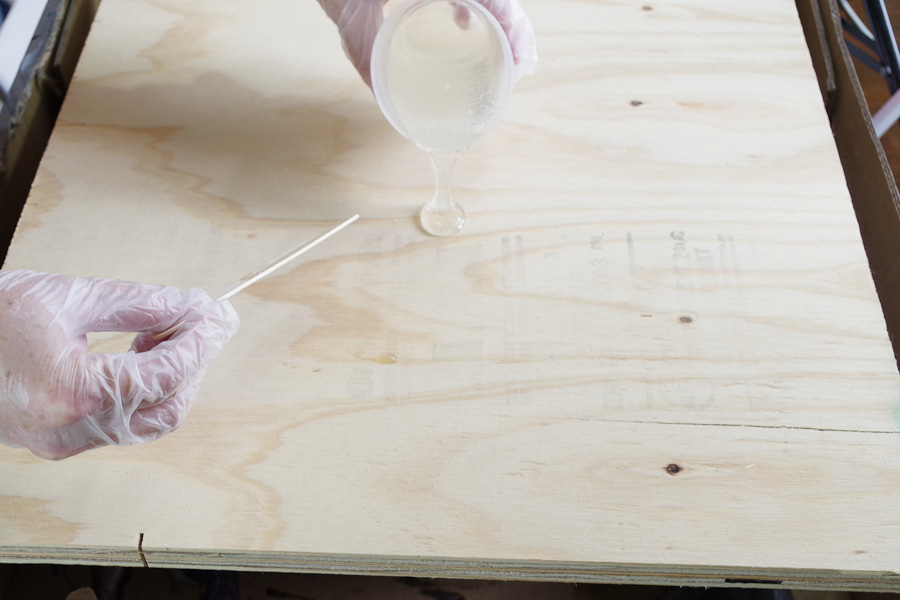
Sealing canvas:
Mix a few ounces of resin (instructions below) and spread it thinly across the canvas/board to seal the surface. Use your butane torch to pop any existing bubbles. This coat will help the resin to spread across evenly and will reduce the number of bubbles that arise later on. Wood especially tends to give off a lot of air bubbles if it is not properly sealed.
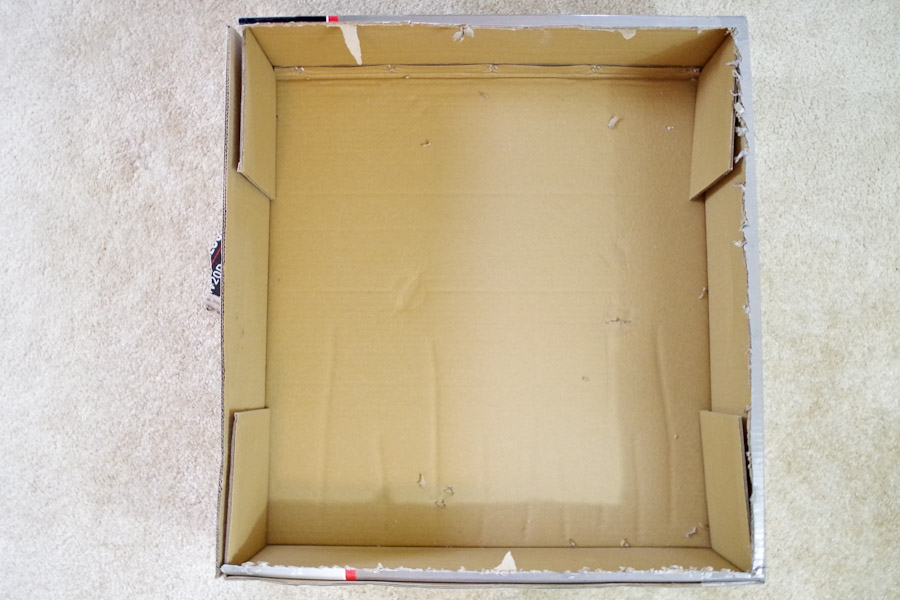
Prepping workspace:
Resin is MESSY! You’ll want to use gloves for sure because it’s very hard to clean off your hands. You’ll also want to be sure you have a good box or layers and layers of newspaper, or something plastic that is bigger than your canvas in order to catch the drips that fall off the sides of your canvas. There will always be drips! Be sure to have some paper towels too just in case you spill a little.
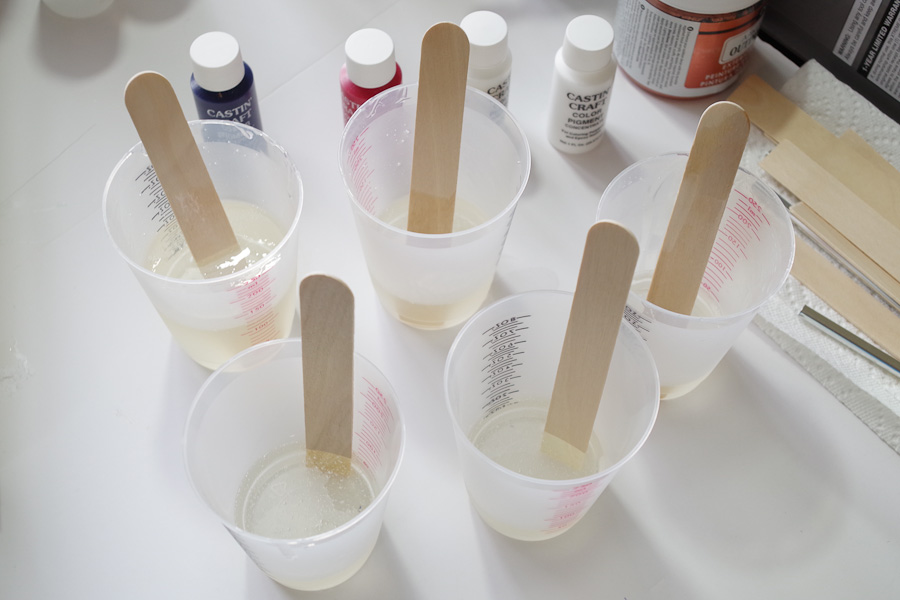
Estimating Resin:
Amazing Clear Cast comes in two parts: Part A – the resin, and Part B – the hardener. For this art you’ll be mixing a lot of resin, so you’ll need quite a few cups. I think I used six total. Actually, the amount you need depends on the size of your canvas, and the packaging tells you how much you need. I used three 8oz. boxes. You can mix all of the resin at once in a large disposable container, then pour a smaller amount into each of the cups (for as many colors as you need) OR you can mix a couple smaller cups and still separate them into different cups for different colors.
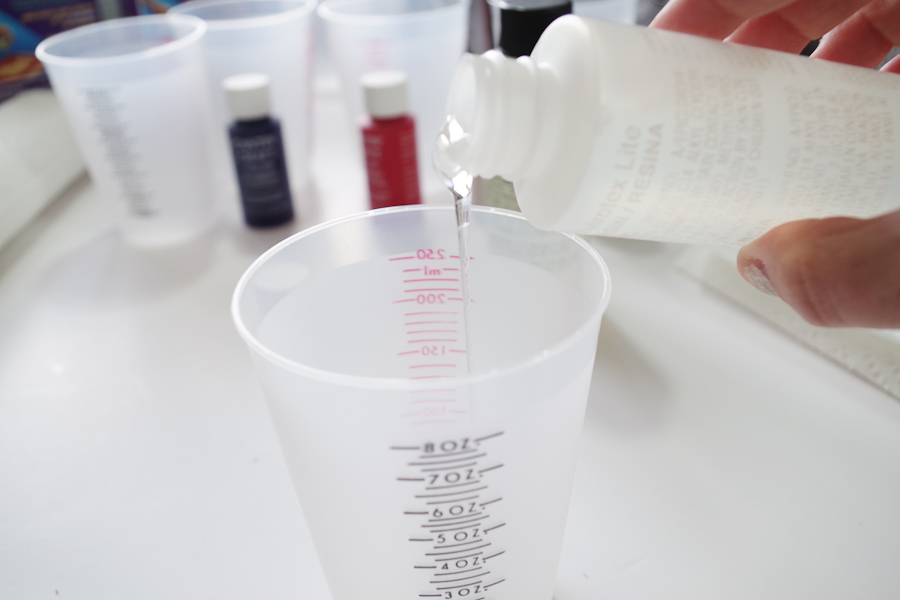
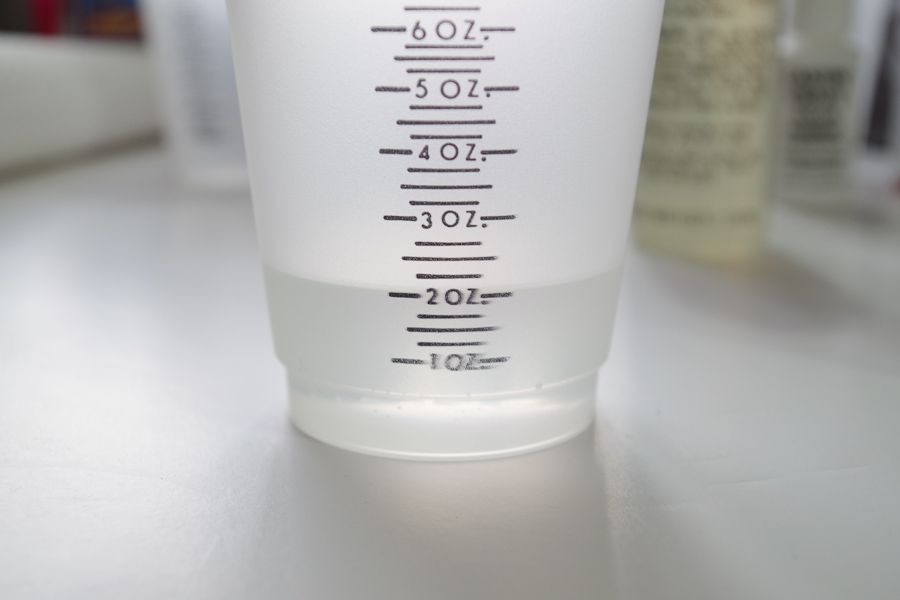
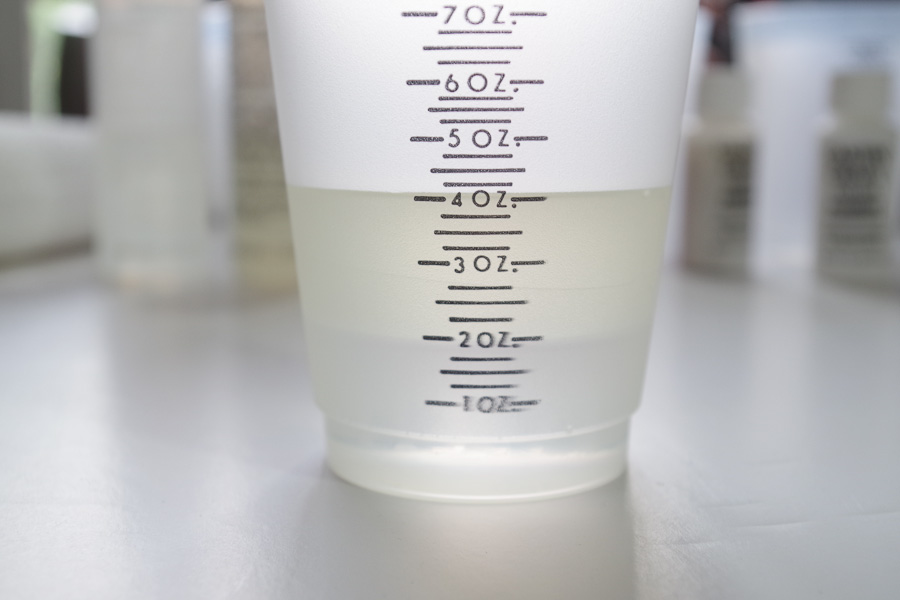
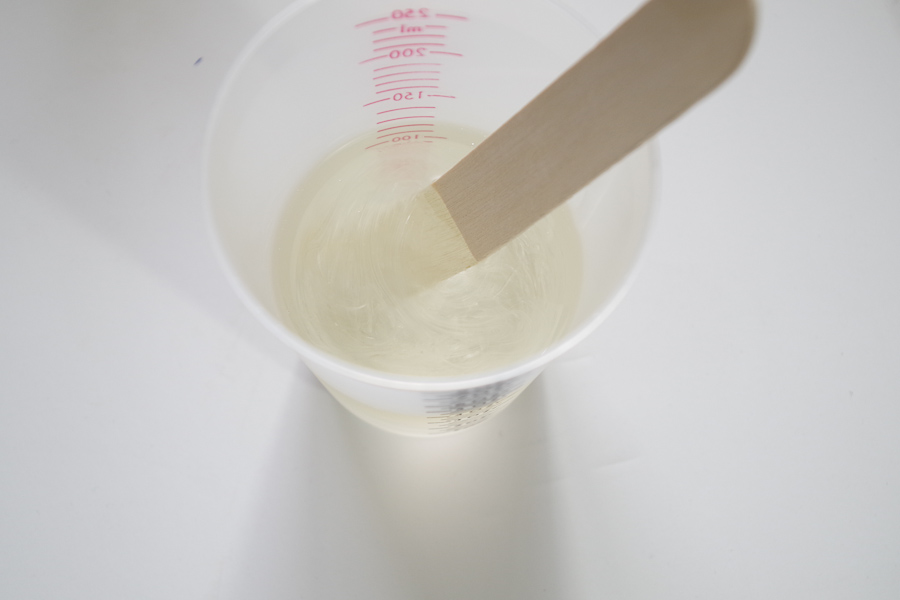
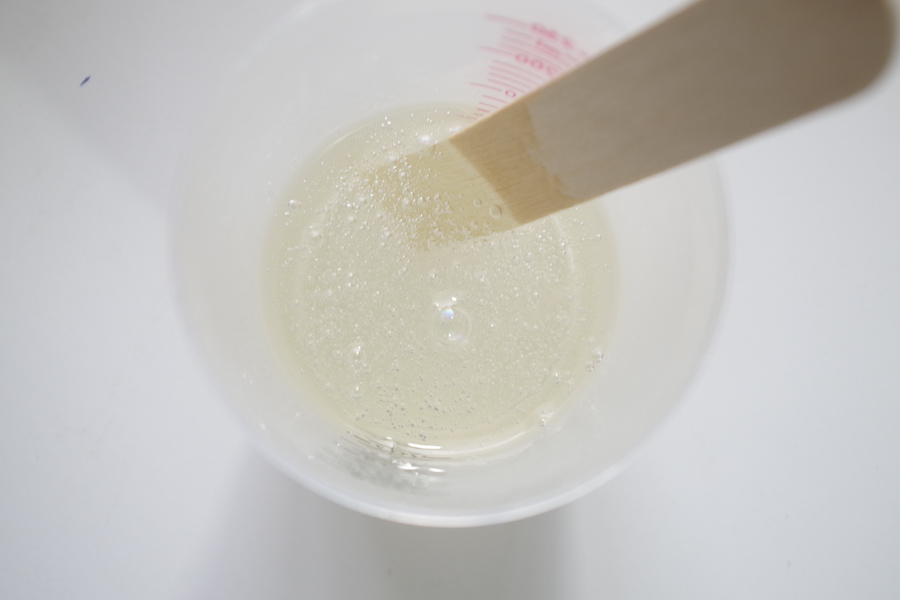
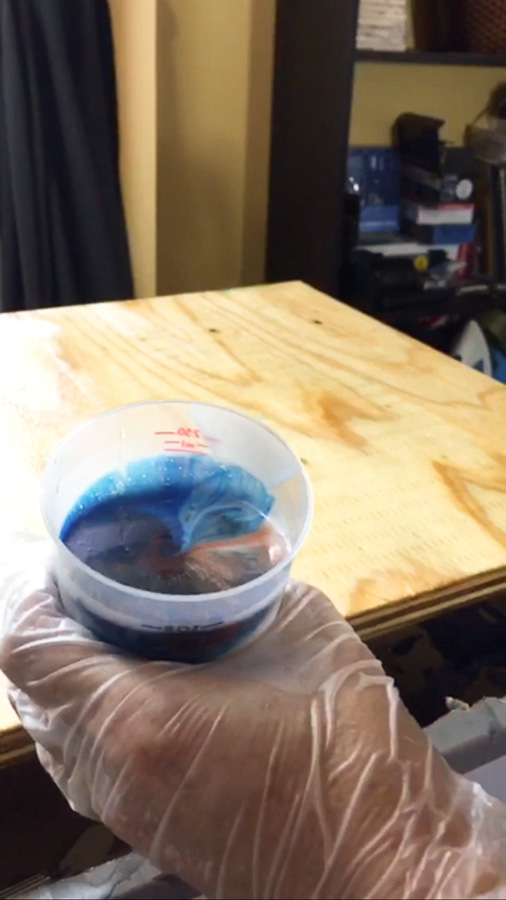
Mixing Resin:
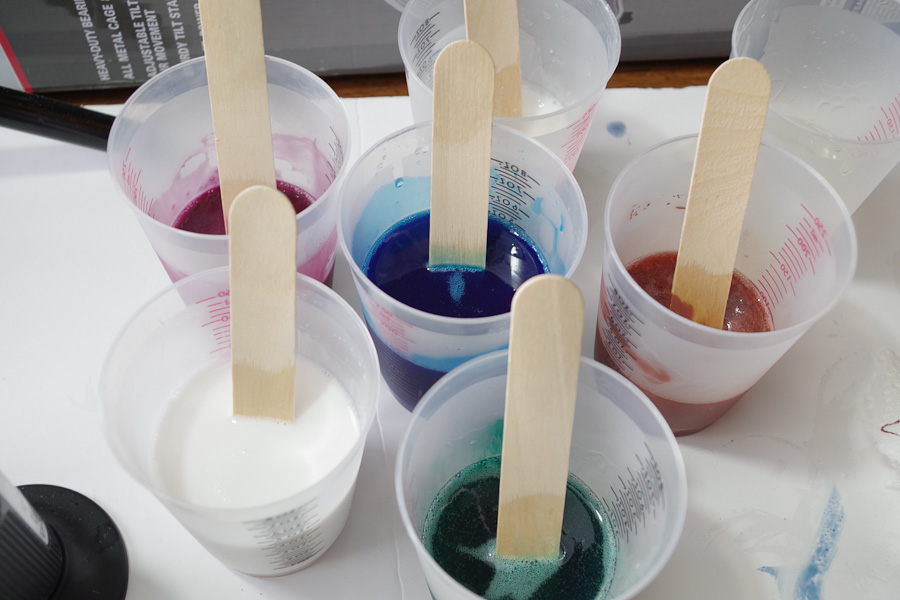
When you mix the resin, you’ll need to add exactly the same amount of Part A and Part B. Mix thoroughly with a stir stick, making sure to scrape the sides as you go. Now pour into smaller amounts in different cups and add color pigment or acrylic paint to the resin to change each color. I used 6 colors, but you can use as many or as few as you’d like. I used white, blue, green, purple (mixed red and blue), white with glitter, and copper acrylic paint.
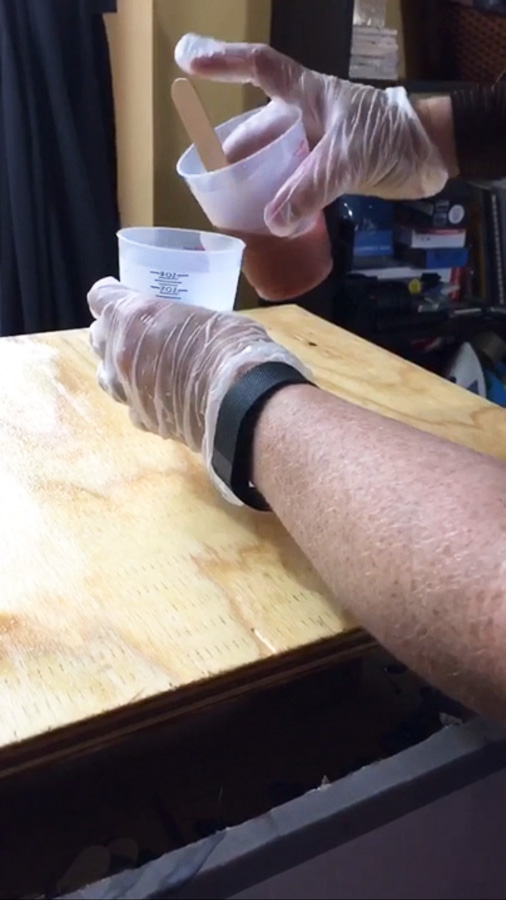
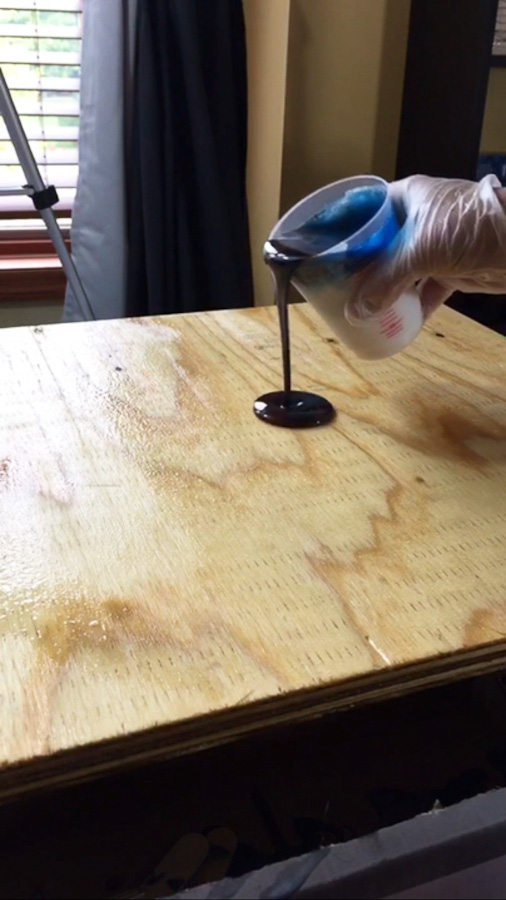
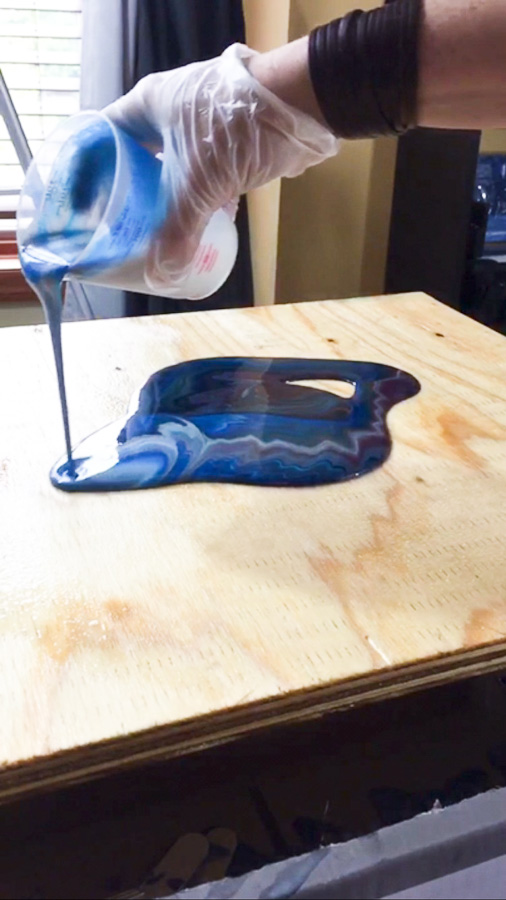
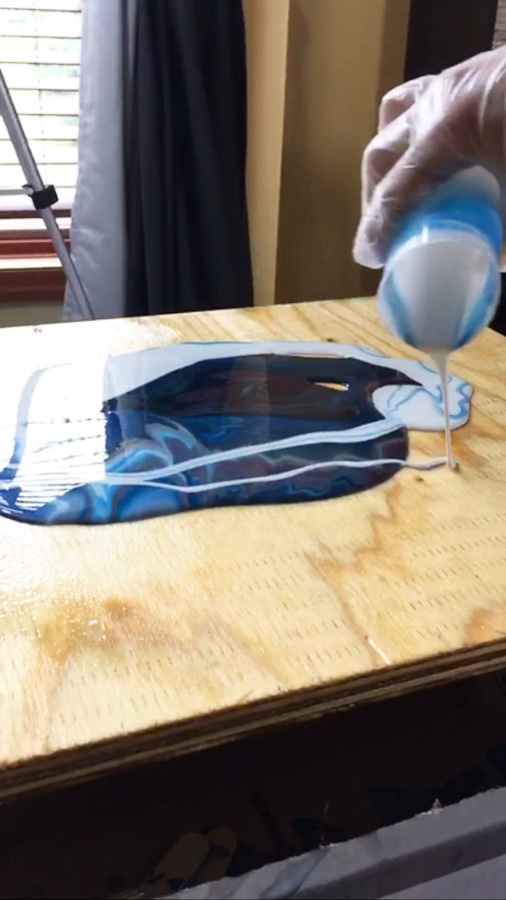
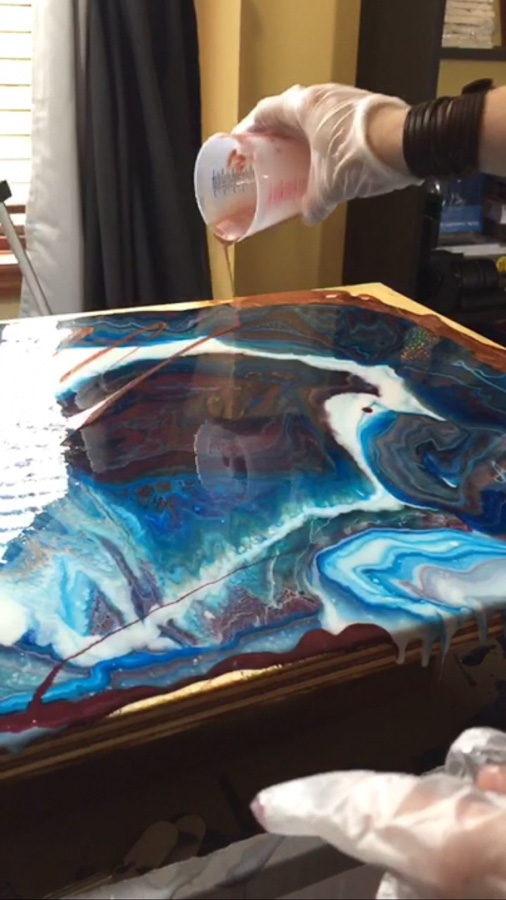
Pouring the Resin:
Decide on one cup to be your first pour cup. Pour a bit of each of the other colors into this resin. White was my main cup, then I added blue, green, purple, glitter white, copper then did it over again one more time until the cup was pretty full. Pour that cup into the center of your canvas. Actually, you can pour it anywhere since you’re making art, it’s just whatever you want. My first pour wasn’t enough to cover the canvas, so I did a second one using more of each color of resin. Check out all those amazing colors and patterns! After that pour I still needed a little on the edges, so I took each color cup and just poured it into the bare spots. I even poured some of the colors over the top to add a little more character. You can do whatever you want!
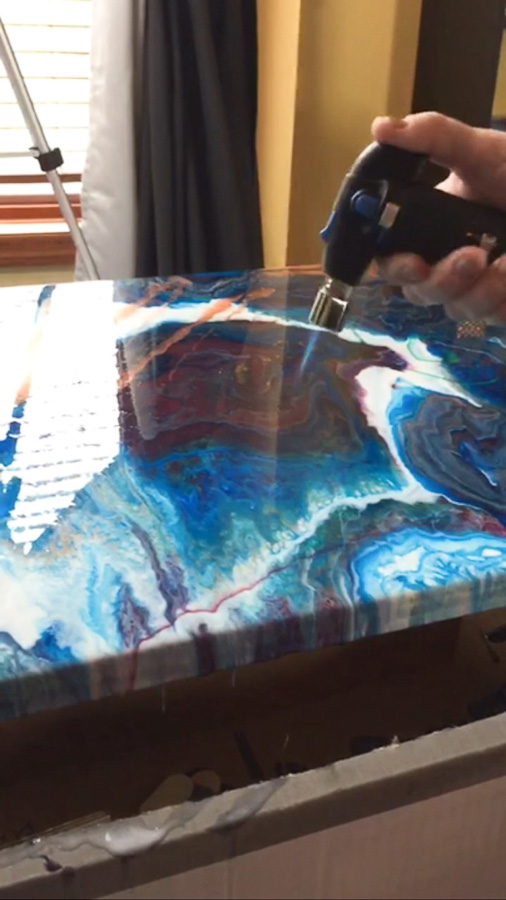
Popping bubbles:
Every resin project I have done has had tons of bubbles. No big deal though! All you need is a micro-butane torch to quickly run a flame across the top of the resin and it will pop all the bubbles. Sometimes it helps to wait a short time after the pour, like maybe 10 minutes, then come back and pop the bubbles. This ensures that most of the air pockets will have risen to the top.
Let resin wall art cure:
Alright, so the final thing is to make sure your artwork is in a clean place where no dust or debris will land on it. Let it cure for 24 hours.
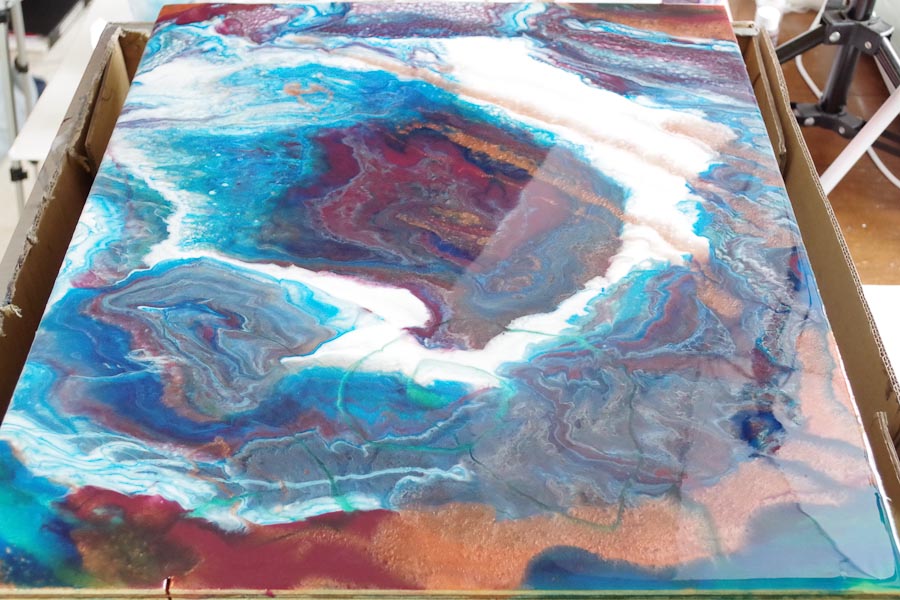
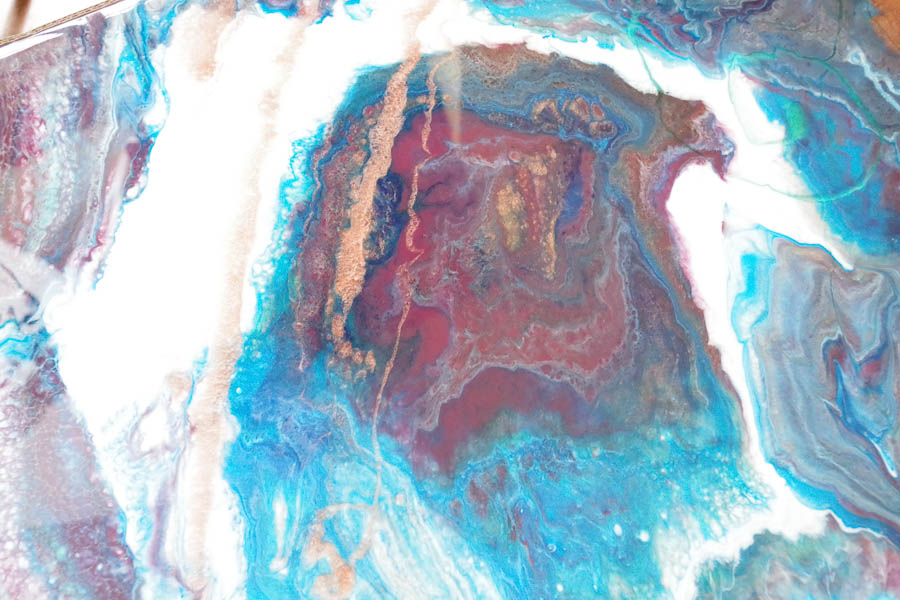
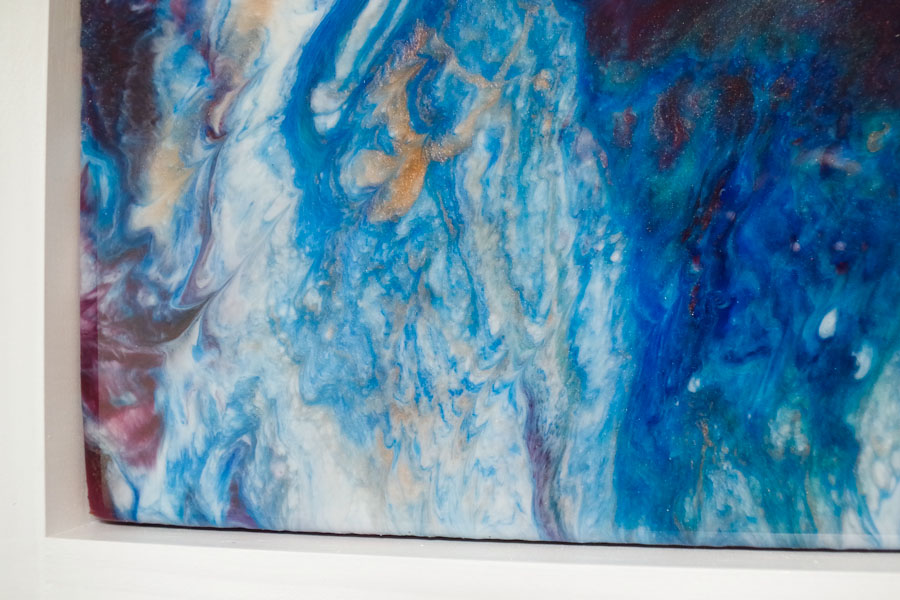
Check out all the amazing patterns. These will continue to change slightly as the resin settles and mixes together.
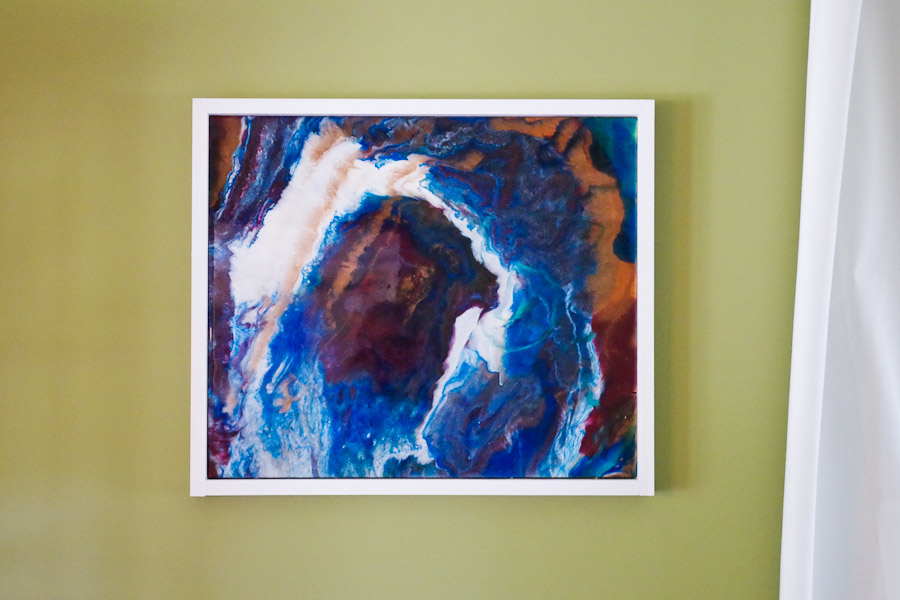
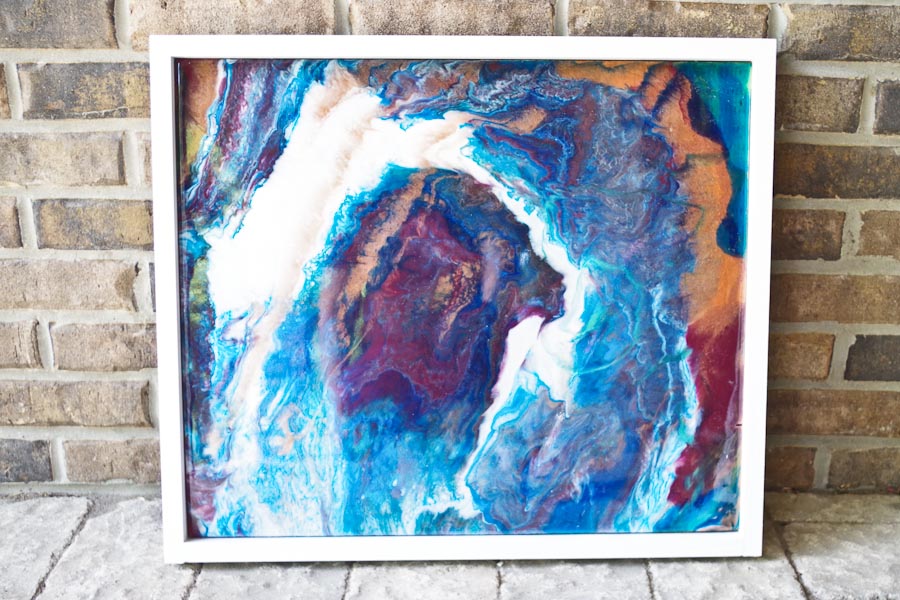
All done – Colorful Poured Resin Wall Art!
Now just stand back and enjoy that amazing artwork that you made. Check out the patterns, the sparkle in the metallic paints, find hidden images or your favorite design and just appreciate how easy it was to make something so awesome! Frame it if you’d like, or just leave as is! (I added a white frame.)
Sheri is a Maker and DIY blogger at Hazel + Gold Designs. She is usually in the middle of multiple projects at once and finds great satisfaction and joy in creating something new. She is constantly learning new skills, putting them to the test, and sharing her experience and knowledge with others. Her favorite hobbies are crafting, painting, crocheting and basic woodworking. Her goal is to inspire others to step out of their comfort zone, learn a new skill and have the confidence to make their life a little more beautiful!


Love this site
I’m gonna try it. I love your creations/colors, beautiful! Thank you for sharing this info!
Love your work. My colours are always thin and tend to mix into one huge splodge of colour. How do I thicken, should I leave it for a while before I start pouring?
I would look on YouTube. There is a lot of information regarding this problem.
This is so cool! How thick is the final product? Could I potentionally pour a piece like this, attach legs and use it as a table? Or is it too thin?
-Erika
http://essenceoferika.com
The resin ended up being quite thin actually. Envirotex Lite is for thin coating applications, so you’d need to build the tabletop from something else then coat it with the colored resin. Another option would be using EasyCast in a mold to form the tabletop, as it’s made for thicker application. I hope that helps! -Sheri
Gorgeous! What was your ratio of acrylic paint to resin? Did you find that it affected the curing process at all?
I use as little as possible to get the color I want. It really doesn’t take a lot of you are using a decent acrylic. There wasn’t an exact ratio, unfortunately. I’d approximate that I used about one tablespoon of paint for an entire 8oz cup of resin. Clearly if you’re using a smaller amount of resin you’d reduce the amount of paint as well. I typically add a little paint. stir together to check the color then add more if needed. Again, use as little as needed to get your desired color. I had no problems at all with the curing in this project.
Love this!! How long do you let the prepped board cure before starting to pour?
I didn’t let it cure for this project, but it would be a great idea to do so, and you’d wait 24 hours. I was able to sit with this and pop all the bubbles that came up later on, so it didn’t end up being a problem for me. Hope that helps!
This is a very good instruction, thank you very much. The result speaks for itself!
Thank you so much Thomas!
Is there a specific type of resin that needs to be used? Table vs Ice vs regular? Looking fr a fairly inexpensive type/brand to use for a beginner?
Hi Heather, we recommend the Envirotex Lite that’s used in the tutorial.
Can you acrylic paints mixed with resin or does it need to be pigments?
You can use acrylic paints in small quantities so as not to disrupt the curing process of the resin.
How much paint do u mix in the resin?
It will depend on the amount of resin and color you are going for. You want to use as little as possible. In my cups I used maybe 8-10 drops of color pigment in about 5 oz. of resin. There is not a perfect ratio, sorry.
I have seen this done and am going to try it. My question is, should you sand it and then pour a top coat? I have seen this done both with and without a top coat, but not sure why it was or wasn’t done. What are the benifits of both ways?
You don’t need a topcoat when you pour resin. If you are pouring acrylic paint then you would want to put a topcoat over that, but the resin cures very hard and does not need a topcoat.
Beautiful piece! How long does a large piece need to cure before it can be hung up? Also, is this puring done in a single layer (not including the initial sealing top) or multiple layers
After 24 hours the resin will most likely be dry to the touch, but curing can take 2-3 weeks. Yes a single layer pouring after the sealing layer. Thank you for reaching out!
Great tutorial! What do you recommend using on the back to hang the piece?
Just pick up some picture frame hanging hardware from the store and attach it to the backside, top center. Also, when hanging the finished piece, be sure to hang it on a stud because the wood and resin are quite heavy.
How did you attach your frame to the piece? It is beautiful, by the way.
Create a frame by using 2×1’s painted white and nailed in through the sides.
What did you use to frame it ?
Because the canvas is wood it is simple to frame with 2×1’s painted white and nailed in through the sides.
Hi, thank you for your tutorial Result looks just great!
Just couple questions… Do you have to use safety mask when you work with Envirotex Lite resin? Is it safe to use butane torch on resin without mask?
Thanks
Hi, we’re so glad you enjoyed it! You don’t need to use a mask but protective gloves and eyewear are recommended. And you can use the butane torch without a mask as well.
Does it have a dangerous or terrible smell? Meaning, is it safe to do it at home when you have babies or pets or pregnant mom.
Hi! It doesn’t have a terrible smell but it should always be used with adequate ventilation or a respirator.
I always use disposable cups, but I see that you have cups that are marked for measuring. How do you clean these out when done?
Thank you.
Hi Melinda, the ones shown are disposable as well.
This is definately one of the best Resin Art instructions articles I’ve ever read. Self-explaining images and a fantastic result.
Please keep up the good work!
Best regards
Thanks so much Malen!
I teach acrylic, Fluid , metallics, mixing your meduims and inks with epoxy resin ART CLASSES here in Chicago to raise awareness on Mental Health. Also people learn these techniques so they can overcome life obstacles that leads to homelessness and/or drug abuse. Examples are vetrans that are now disabled or cant find a job, alot of disabled people and Mentally challenged dont get hired So My Classes gives them a skill. They can always sell their artwork to make it through the week or month especially the last week of the month and 75% end up doing well. My question is do you know of any companies/Manufactures that are looking for advertisement of their products promoted and supply samples because i wont invest in any i dont care for just for affiliate commissions because i give MY TIME to help others and promote companies as an honest Christian.
Thanks so much.
Sincerely,
P.S. Also if they donate to the 2 causes would be a great exchange for free advertisements of their products and great reviews equals more customers.
Artrenpreneur Wise Owl will start an auction site very soon as well and we plan on each artist mentioning their paint, epoxy resin, inks, and mediums used and if it was made using canvas or. The wood types they used and the exact sizes.
We will have links to through us via affiliate links or our own private labled products. Also up and coming is our Nail Art (Certificate Course) teaching how you can seperate colors in white and a small bowl of water. Just for example and im looking for a Private Label manufacturer for a product that safe and that gets applied around the nail so the skin stays clean. Ive done it with pvg but it needs to peel right off and be non toxic as well as disposable sponge mini paint brushes. Please keep in touch. I look foward to speaking with you.
Hi Catherine! I’m not sure of any companies personally but I’m sure there are many who can donate product if asked! Good luck!
I love the Resin Art. It looks too cool and attractive. This is very informative blog for resin art. Any product made up with resin looks amazing.
did you tilt your project?
I am looking for ideas for an in place counter top that can not be tilted.
Would a hair dryer work instead of titling ?
Thank you in advance for any thoughts. Your project is very inspiring
Hi Donna! Sheri did tilt her project but you could use a hair dryer although that will provide a little more a wave effect (which would also be stunning!) We’d love to see your finished project!
Amazing blog and art. I loved it. Will surely try this.
Also you can learn it at Penkraft.
Bravo! et merci pour les explications très intéressant a faire ,je commence et beaucoup d’idée merci!
Incredible! I loved how u teach step by step! I am going to make my first big Resin Acrylic pouring! I have looked and taken notes and I am soooo. excited! I would love to have your incredible experience! Thank you so much!
Do you think this would work to decorate the top of TV trays? Mine have a ledge around the edge.
Absolutely! We actually have a tutorial with that exact thing that will be published next month!