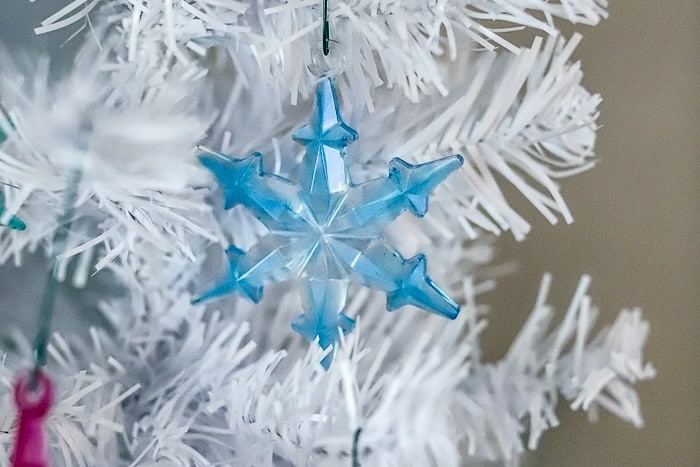
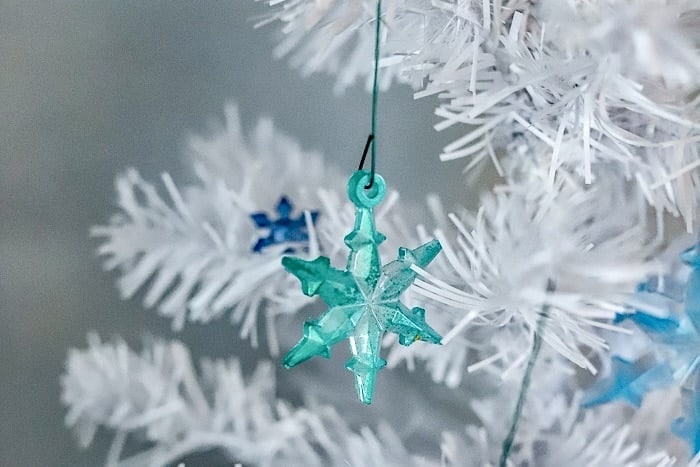
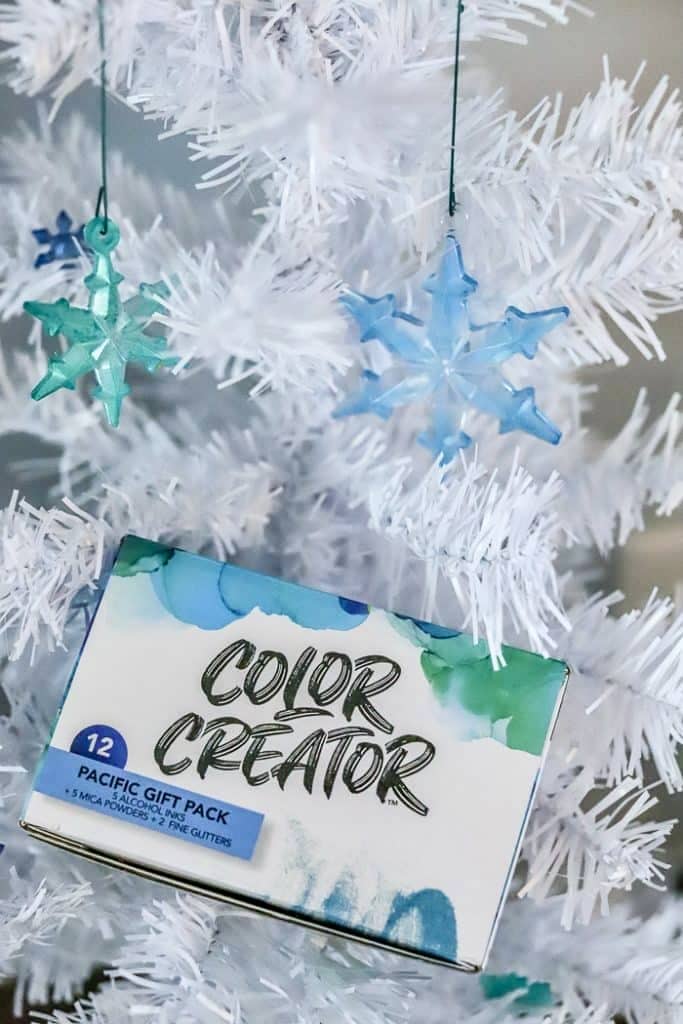
Create beautiful, crystal clear resin snowflakes with epoxy and add vibrant pops of color to the tips with mica powders!
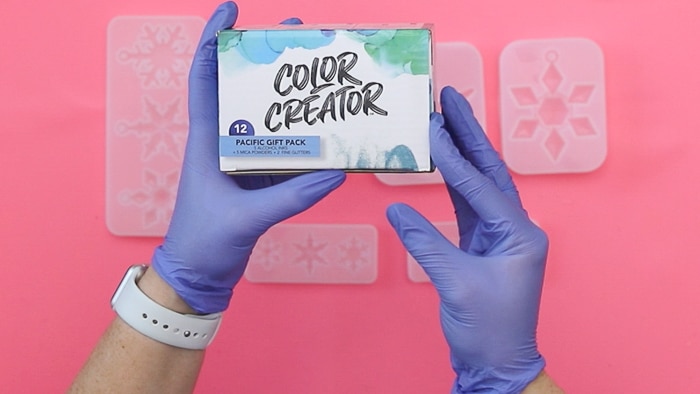
Hey Resin Crafters! Amber Oliver here with another great resin craft! I got to try the new Color Creator Gift Packs and for this project I used several of their new Mica Powders! You’re going to LOVE these to color your projects! If you’ve never heard of these, you can use these gorgeous powders with paint, wax, soap, clay, slime, etc. Not just resin!

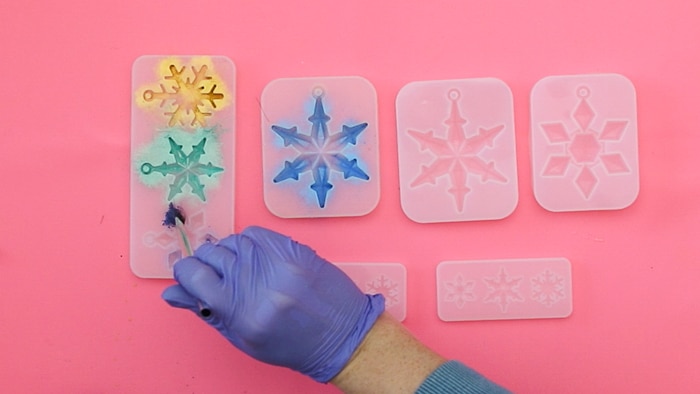
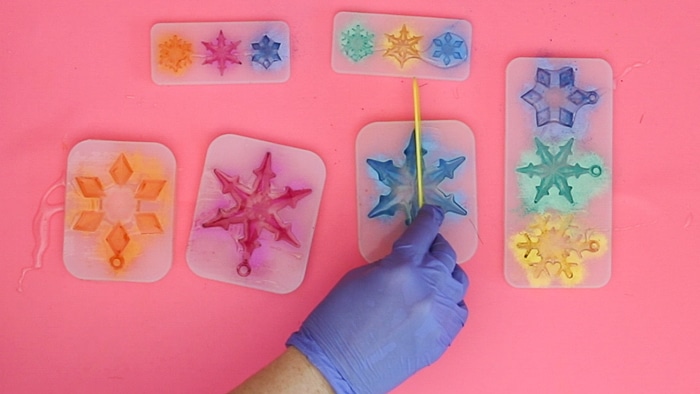
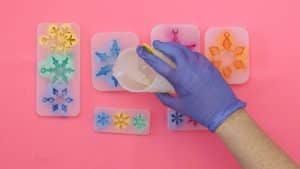
For these resin snowflakes, I used the dusting method. Instead of mixing the Color Creator Mica Powder directly into the Promise Epoxy, I used a small brush to “paint” the tips of my snowflakes. This allows the crystal clear resin to set in most of the mold, but adds a little pop of color to the tips! Let me show you how to do this fun project!
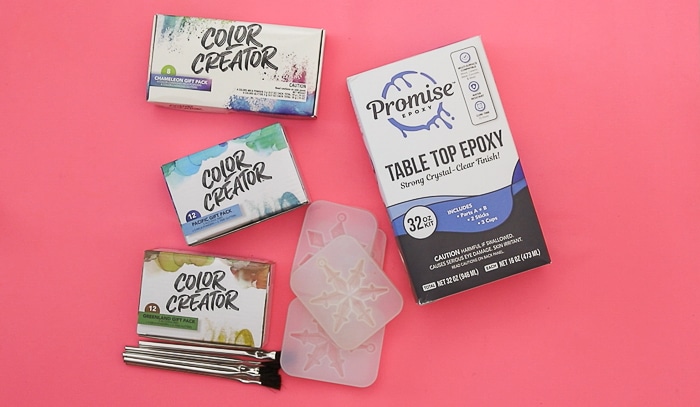
SUPPLIES NEEDED FOR EPOXY DIY SNOWFLAKES
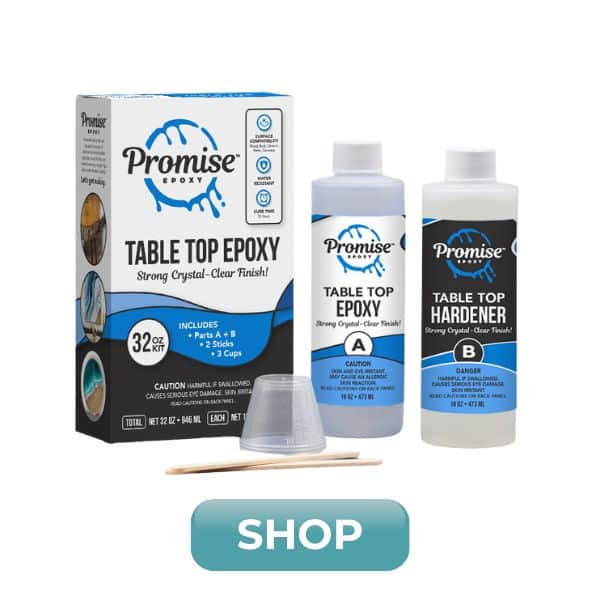
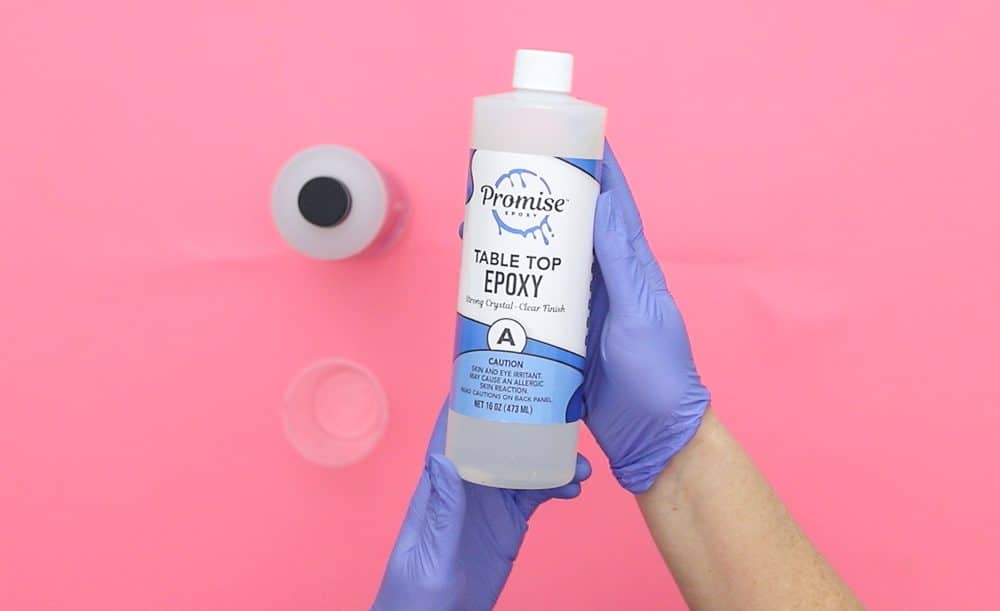
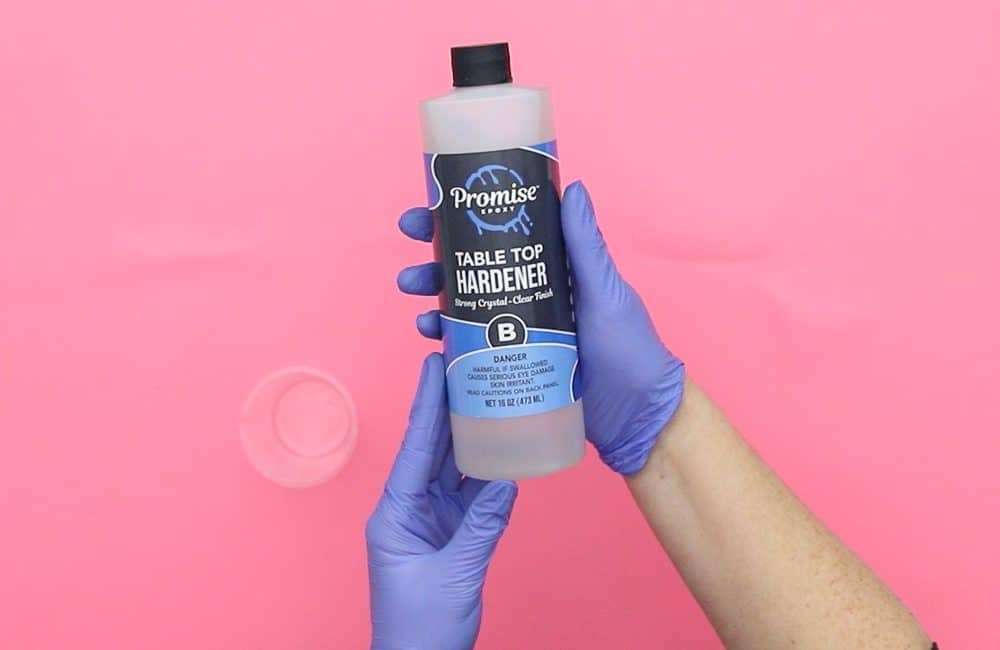
- 6oz of Promise Epoxy Table Top Epoxy
- Snowflake Molds
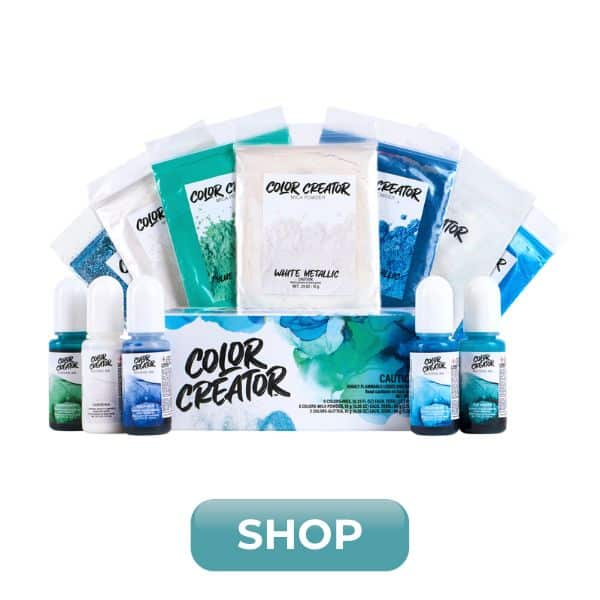
- Color Creator Mica Powders
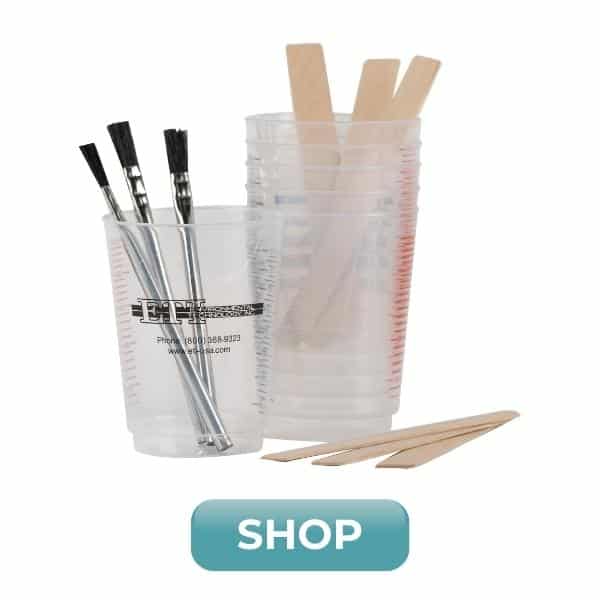
- Brushes
- Mixing cups and stir sticks
- Gloves
RESIN SNOWFLAKE INSTRUCTIONS
Safety first! Before you start working with epoxy resin, make sure that you’re wearing protective eyewear and gloves, cover your workspace or use a silicone mat in case of spills, and be sure to work in a well-ventilated area.
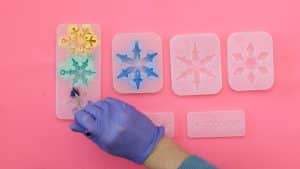
Step 1: Choose your mica powder colors and dust into the edges of your snowflake molds.
Step 2: Prepare the Promise Table Top Epoxy. This is a multi-step process so don’t start mixing until you are ready to do the whole process from beginning to end! Mix EQUAL parts of the Hardener and the Resin.
Stir for two minutes (be sure to scrape the bottoms and sides) then pour from the first cup into a second and mix with a new stir stick for another minute (or until there are no swirls visible).
Step 3: Gently pour and fill your snowflake molds.

Step 4: If you overfill that’s ok! Just use the edge of a stir stick to scrape away the excess resin.
Step 5: Use a heat gun if needed to pop any air bubbles!
Step 6: Allow the resin to cure for 24 – 72 hours (climate dependent).
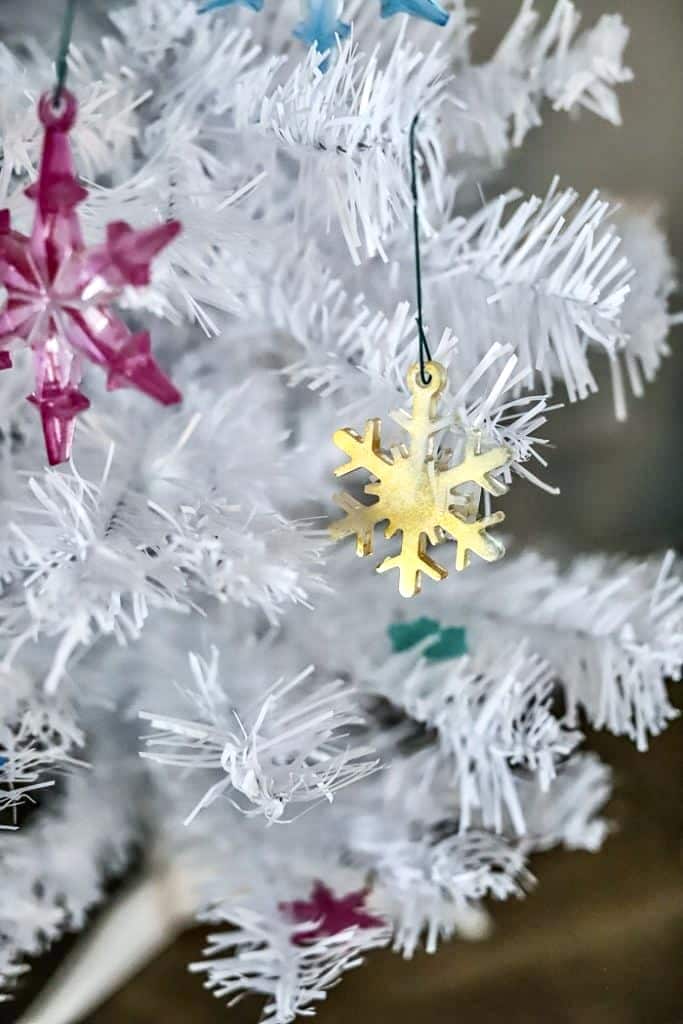
Step 7: Demold your resin snowflakes and add hooks to create beautiful ornaments!
This was such an easy holiday resin project! Color Creator has so many beautiful options including Chameleon color changing mica powders and glitters, holographic glitters, alcohol inks, and more! With so many amazing colorants and additives, you are guaranteed to create a one of a kind project!

DIY Resin Snowlakes
Materials
- 6 oz Promise Table Top Epoxy
- Snowflake Molds
- Color Creator mica powders in colors of your choice
- Brushes
- Mixing cups and stir sticks
- Gloves
Instructions
- Choose your mica powder colors and dust into the edges of your snowflake molds.
- Mix equal parts of Promise Table Top Epoxy hardener and resin. Stir for two minutes (be sure to scrape the bottoms and sides) then pour from the first cup into a second and mix with a new stir stick for another minute (or until there are no swirls visible).

- Gently pour and fill your snowflake molds.
- Use a heat gun if needed to pop any air bubbles that rise to the surface.
- Allow the resin to cure for 24 – 72 hours (climate dependent).
- Demold your resin snowflakes and add hooks to create beautiful ornaments!
Amber Oliver is a DIY and lifestyle blogger who shares easy DIY tutorials, colorful crafts, and more on her blog, Amber Oliver. She’s a native Oklahoman living “in the loop” in Houston, TX with her husband and dog. She’s an avid reader, world traveler, loves Tex Mex food, and creating everything from woodworking projects to websites. She focuses on budget friendly projects for the home and empowering women to try new things.


Leave a Reply