Make your Christmas tree one-of-a-kind with sparkling handmade UV Resin Foil Ornaments using Amazing U.V. Resin and colorful foils!
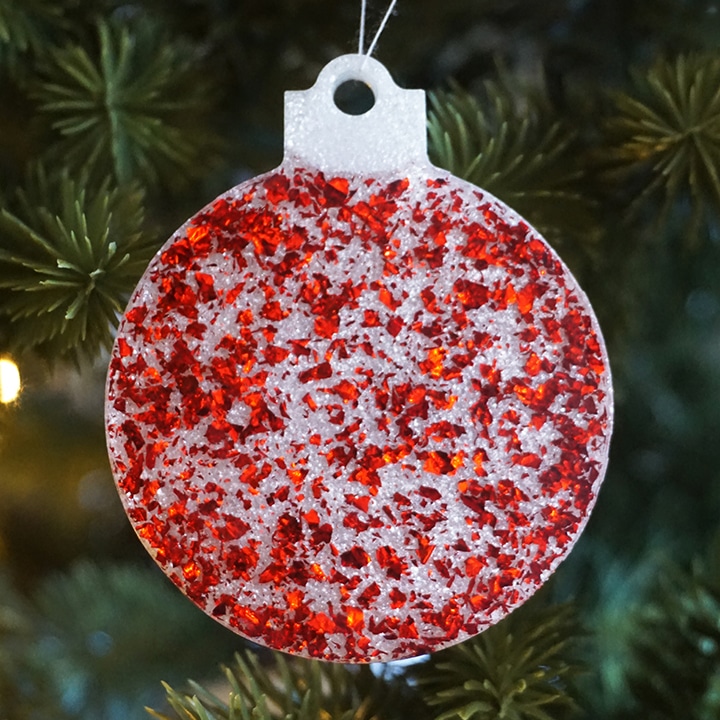
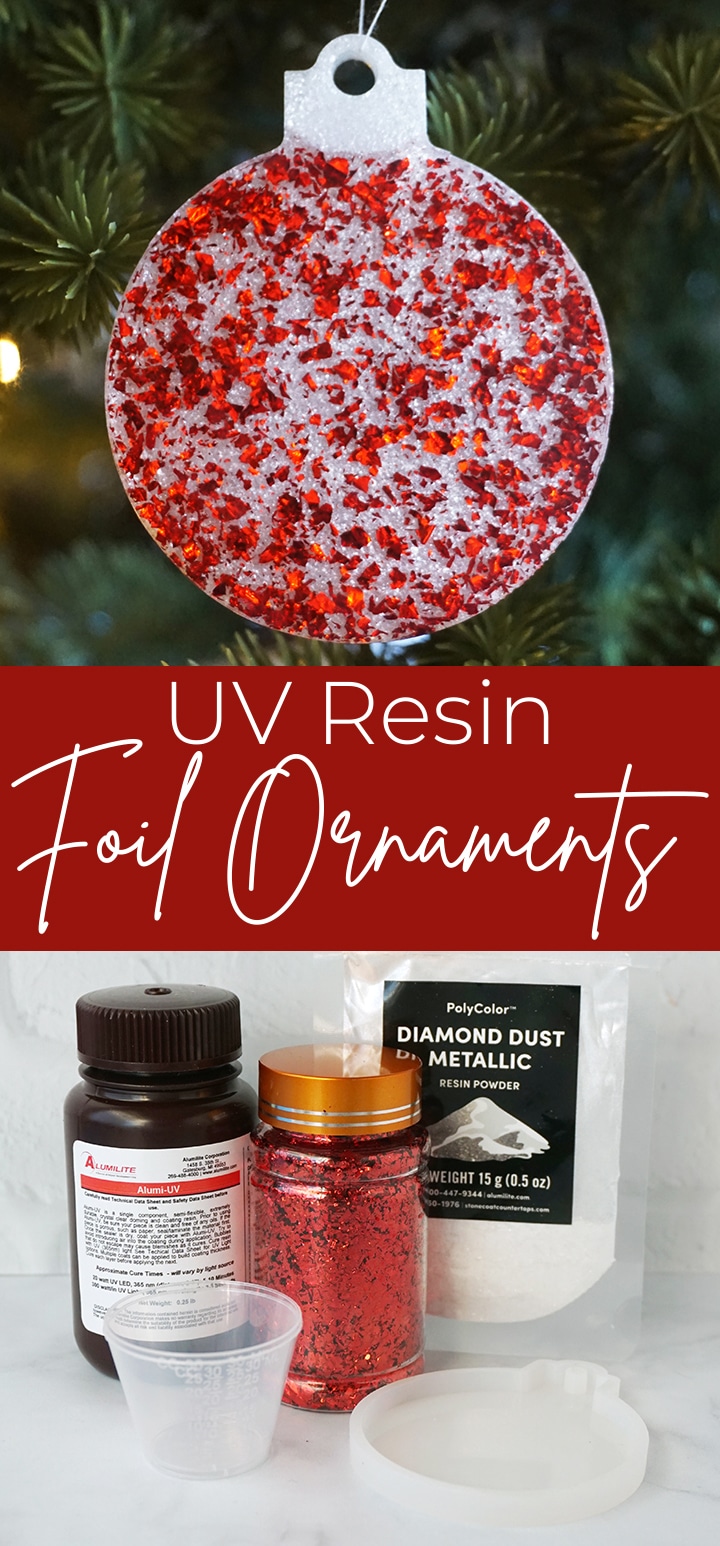
Hello, Resin Crafters! Lindsay from Artsy-Fartsy Mama here with a festive resin project for you to try! Have you tried using UV resin yet? It is a lot of fun, and there are all kinds of ways to work with it. I felt inspired to change up my Christmas tree decorations this year and poured a sparkling new set of UV Resin Foil Ornaments using Alumilite’s Amazing U.V. Resin, vibrant foils, and mica powder. The ornaments are stunning, and I have been looking forward to sharing this tutorial with you. The ornaments are very simple to make, and are a great beginner project idea for UV resin crafters! I hope this tutorial inspires you to try making some of your own ornaments.
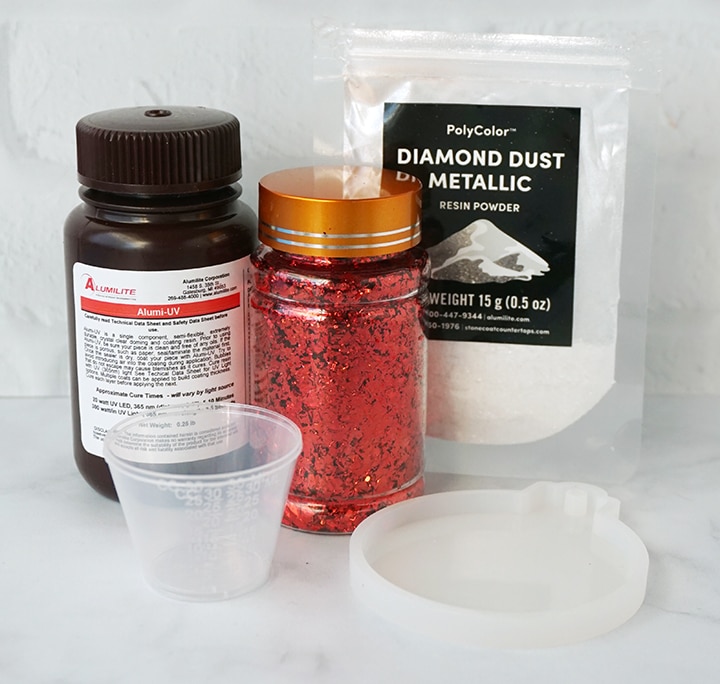
UV Resin Foil Ornaments supplies:
- Ornament Mold(s)
- Amazing U.V. Resin
- UV Light
- Mixing cups
- Stirring sticks/Toothpick
- Disposable Gloves
- Foil Flakes
- PolyColor Resin Powder



Safety first! Before you start working with resin, make sure that you’re wearing disposable gloves, U.V. protective eyewear, and that your work surface is covered and that you are working in a well-ventilated area.
STEP 1: PREPARE THE RESIN
Amazing U.V. Resin is different than the other epoxy resins shared here on Resin Crafts Blog. This crystal clear resin cures in minutes via UV light, and is great for coating or doming your projects. Pour about 5 ml of U.V. Resin into a small mixing cup. You don’t need to do any mixing – this is a one-pour resin! It also cures in minutes as opposed to days… the ultimate instant gratification resin craft!
STEP 2: ADD FOIL
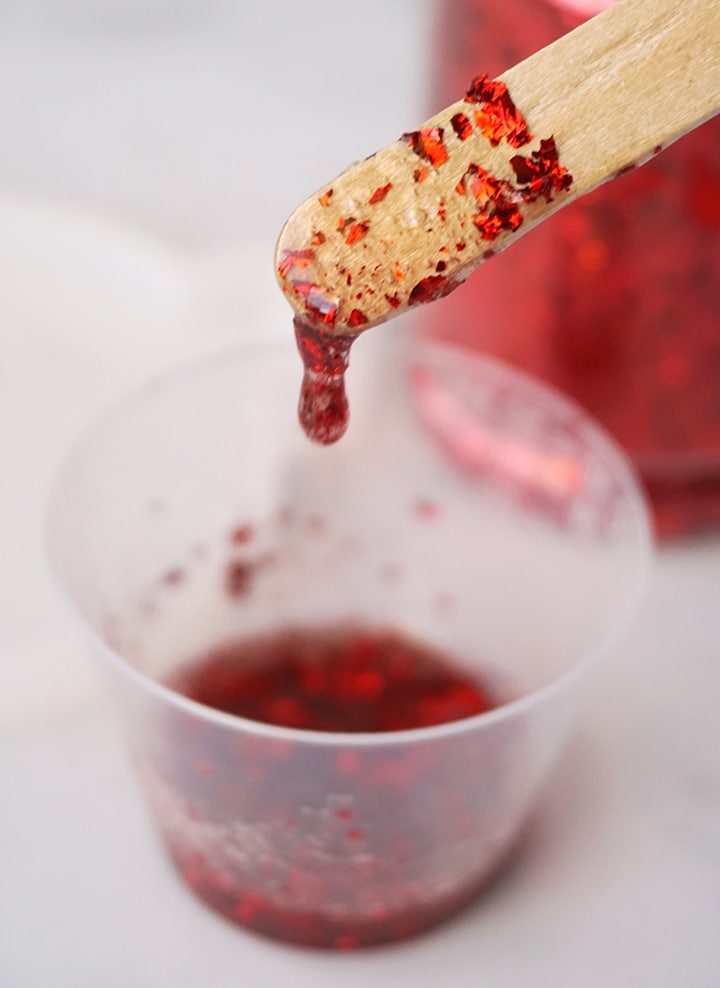
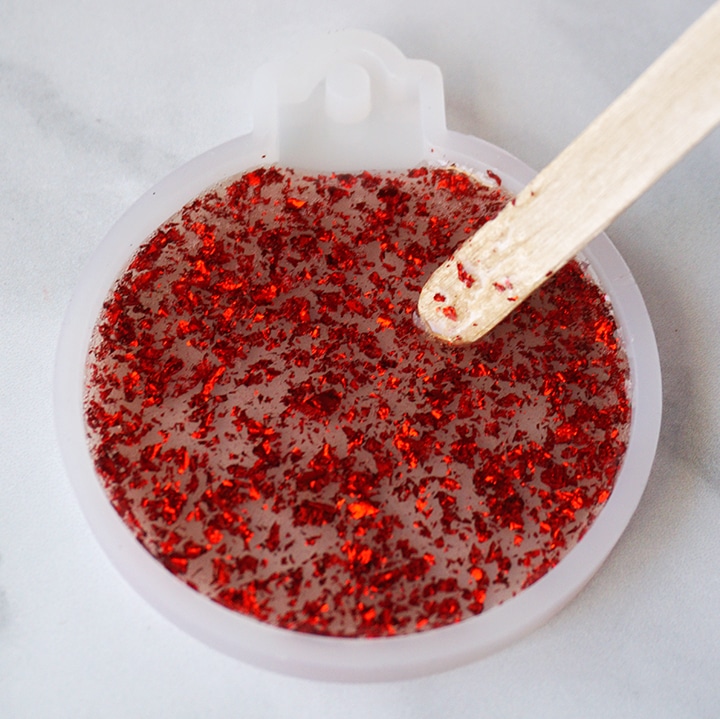
Add some foil flakes to the resin. Mix it in slowly with a stir stick until evenly distributed. Break up larger foil pieces with the stir stick or toothpick.
STEP 3:
Pour the foil resin mixture into the mold, and use the stir stick to help move it to the edges. Do your best to keep the resin from getting into the top portion of the ornament mold (see image above). Spritz the resin with alcohol or use a lighter to remove any surface bubbles. Note: For U.V. Resin to cure properly, you must use clean or translucent molds.
STEP 4:
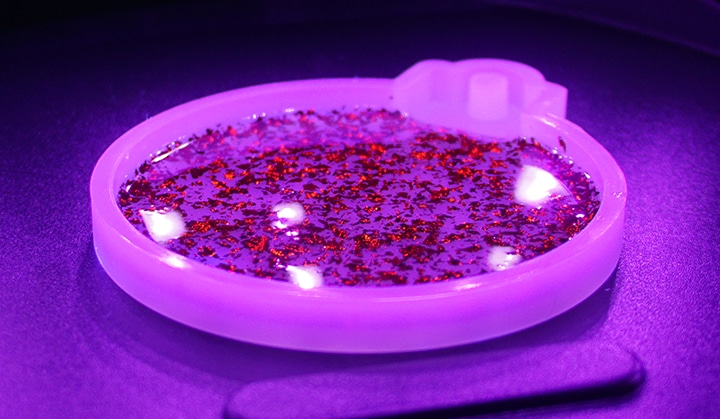
Place the mold under UV light for about 3-5 minutes. Be sure to keep an unused resin far away from this light to prevent it from curing in the cup! Gently touch the resin to make sure that it’s hard to the touch and no longer tacky. Turn the whole mold over and cure the resin under the light again for about 5 minutes. This will make sure that the front of the ornament has been cured all the way through.
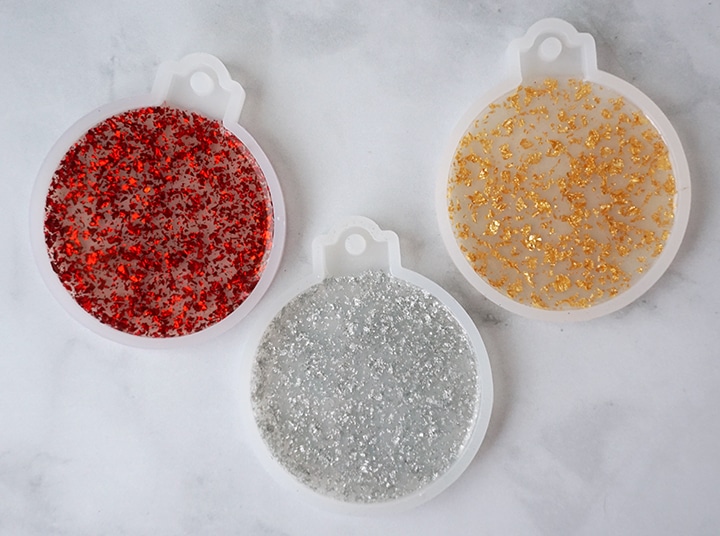
If you have multiple molds to make many ornaments at a time, repeat the curing process for all of the ornaments. I made ornaments using different color/foil combinations to see how they would turn out.
STEP 5:
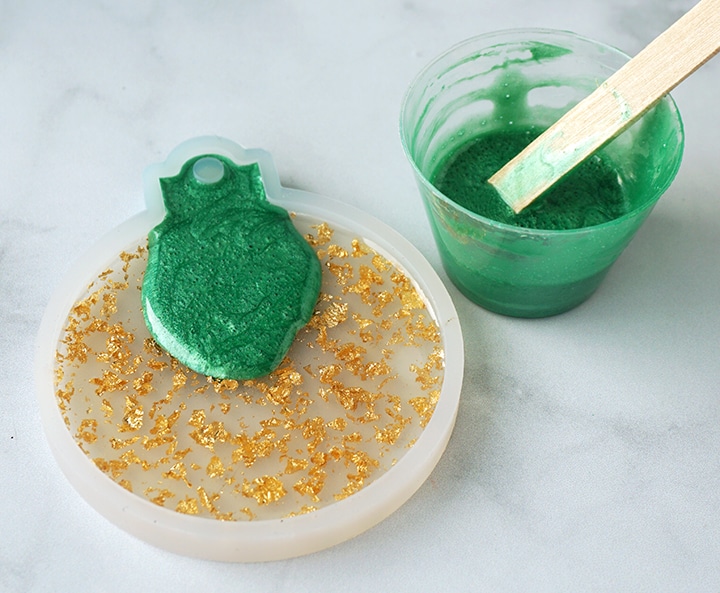
Pour about 20 ml of Amazing U.V. Resin into a small mixing cup. Add in a little bit of PolyColor Resin Powder into the resin (a little goes a long way) and stir until evenly combined.
Use the stir stick to add the resin into the mold. One option is to pour about half of the resin into the mold and then cure both sides of the ornament the same way as the first layer. Then, add the remaining resin and just cure the back of the ornament for 5-7 minutes. The other option is to pour all of the resin into the mold, and then cure both sides of the ornament for 5-7 minutes on each side.
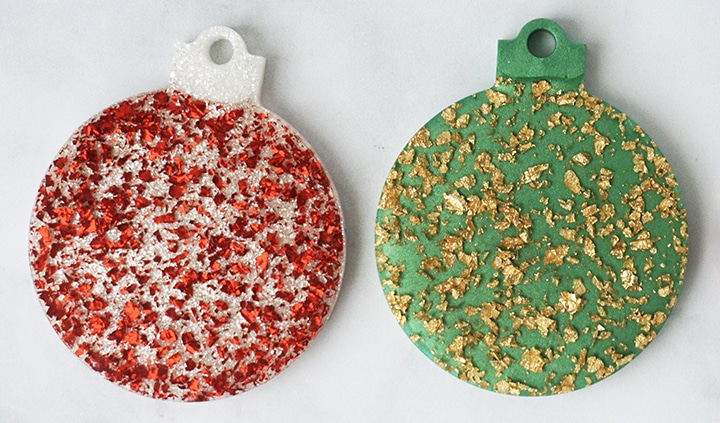
STEP 6:
Carefully remove the ornament(s) from the mold. Cut away any over-poured resin using scissors, and sand any rough edges if necessary. The process of “demolding” is my favorite step of the entire resin crafting process. Every project is unique, and it’s so exciting to see the results of a colorful resin pour!
If the resin still feels a little flexible, it may just need more time to cure. Place the ornament under the UV light for a couple of minutes on each side.
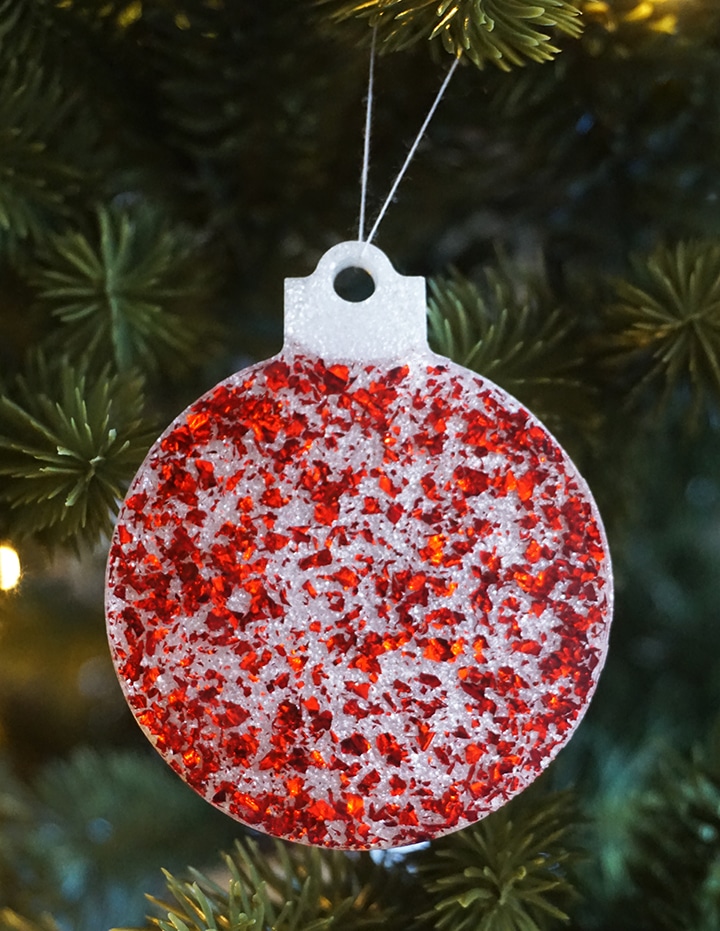
STEP 7:
Tie some string, ribbon, or wire through the hole in the ornament. Now it’s ready to be hung on the tree. I love how both the foil flakes and resin powder shimmer and shine in the glow of the Christmas lights!
If you’d like to further personalize the ornaments, you can add on some adhesive vinyl like I did with these personalized resin gift tags!
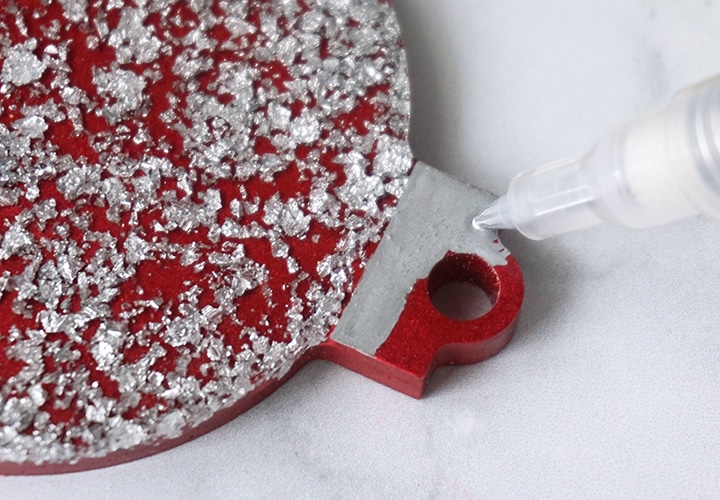
If you want to give the top of the ornament a little more of a “traditional” look, you can color over the resin with a metallic silver paint pen. After coloring, I would recommend covering the pen area with a thin layer of U.V. Resin or clear sealant to protect the paint from scratching off.
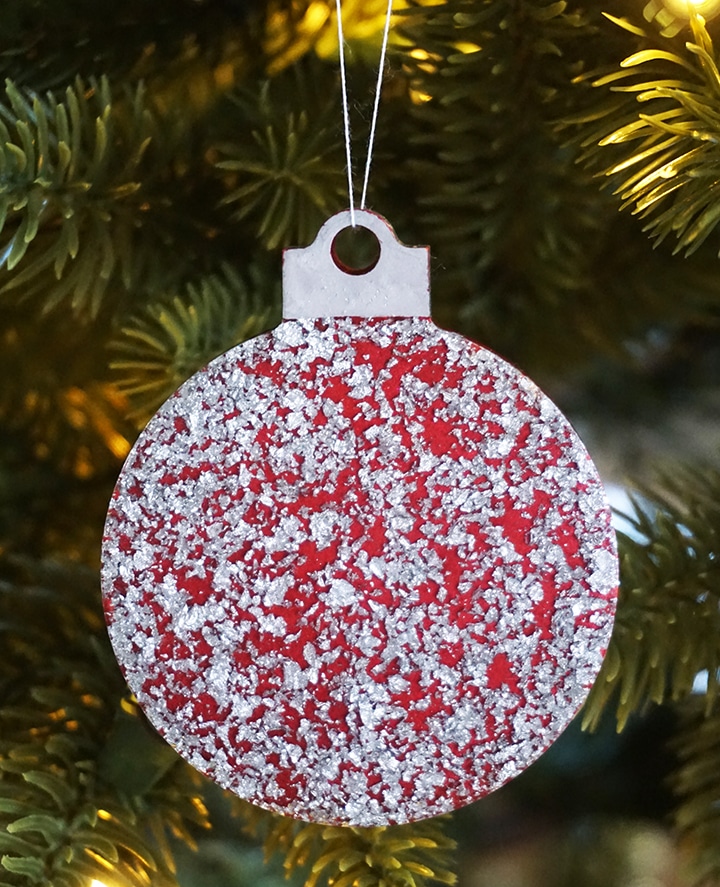
I think these UV Resin Foil Ornaments are so pretty, and love how they shimmer and shine on my Christmas tree! As always, I would love to hear what you think about these ornaments and which one is your favorite? Be sure to check out these other resin Christmas ornament ideas for more inspiration, and share your own creative resin projects in the Resin Crafting Facebook Group and be sure to tag us @resincraftsblogbyeti when you share on IG!
Lindsay is a crafter, graphic designer, and glitter enthusiast from Utah. She’s passionate about homeschooling her creative daughter, traveling, and spending time in the craft room. Lindsay shares DIY project tutorials, printables, recipes, kids crafts, and more on her blog, ArtsyFartsyMama.com, where she inspires readers to live a creative life.



So pretty and creative! Loved this idea, thanks for sharing!