Have you tried UV Resin before? I wanted to try making a bubble texture with UV resin.
What is UV resin?
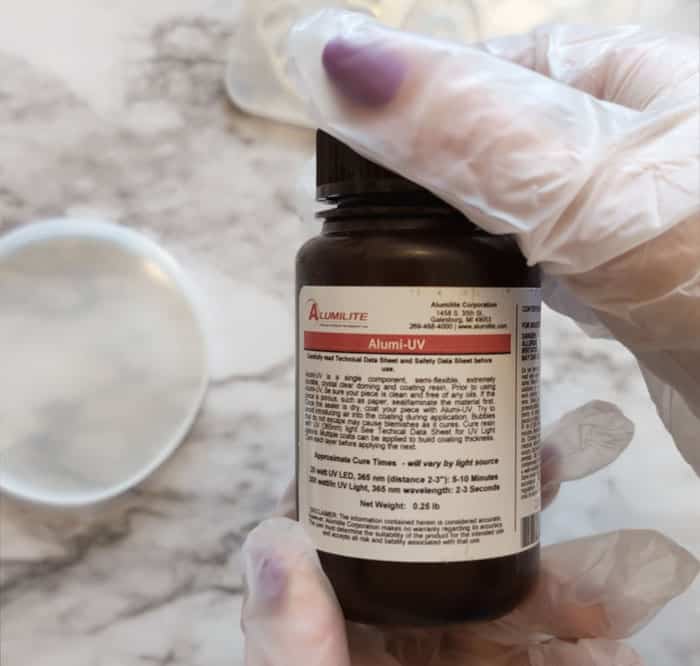
Alumi-UV is a doming and coating resin that creates a clear, super hard, and durable finish after being cured under a UV light. It works on paper, wood, metal, and other cured resin pieces.
I wanted to play with it for making resin drops in a coaster mold that I could cure, then pour regular resin to fill the rest of the mold.
Here’s how I did it.
How to use Alumi-UV
Supplies for UV Resin Coasters
- Alumi-UV Resin
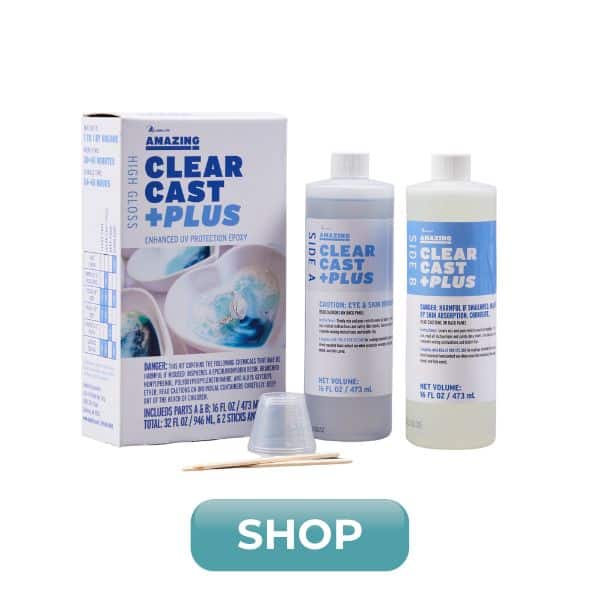
- Amazing Clear Cast Plus
- Resin Spray Sealer
- UV light for curing
- Coaster molds
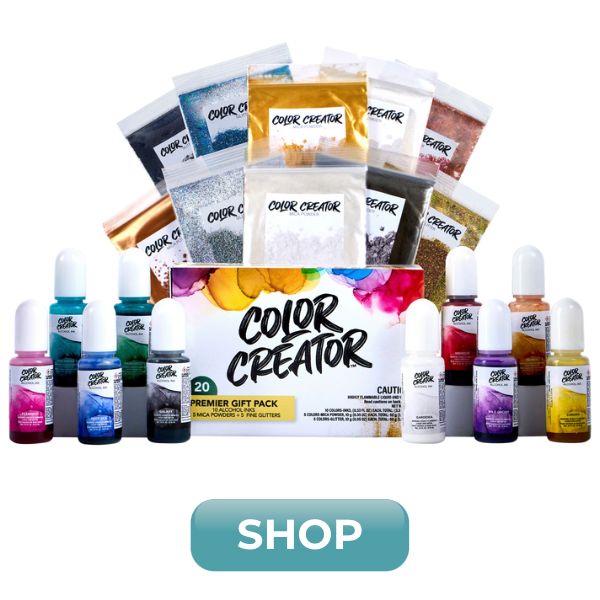
- Colorants (optional)
- Mixing cups and sticks
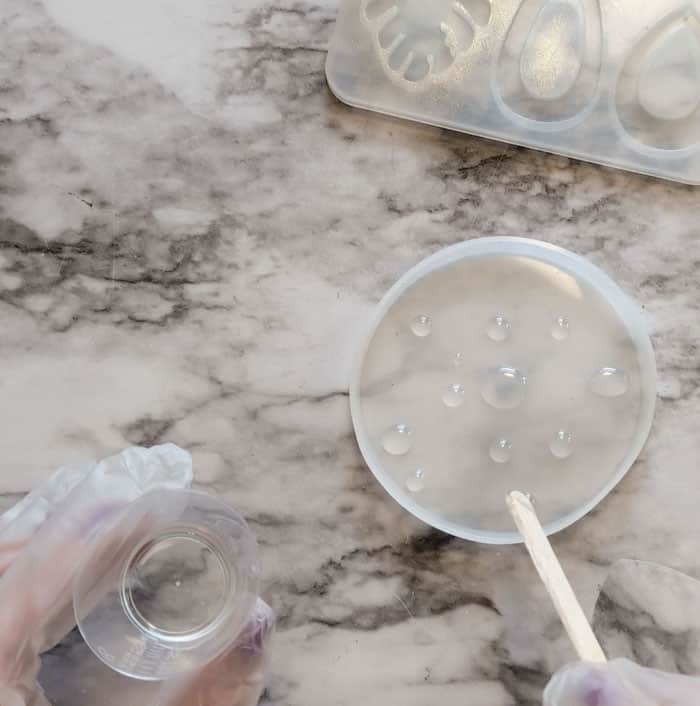
I poured some Alumi-UV into a small mixing cup and used a stir stick to place random drops of resin around the bottom of the mold.
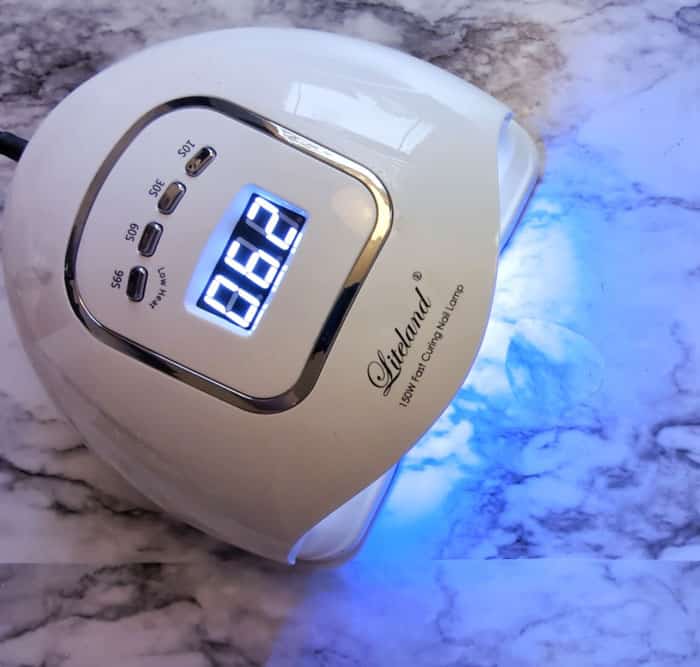
When I had several drops of varying sizes, I placed the coaster in my UV lamp for 2 minutes.
Then the resin drops had cured and I brushed on a bit of Color Creator mica powder. I wanted the color to be on the drops, and not the bottom of the mold, so I wiped away the extra with a q-tip and a tiny bit of rubbing alcohol.
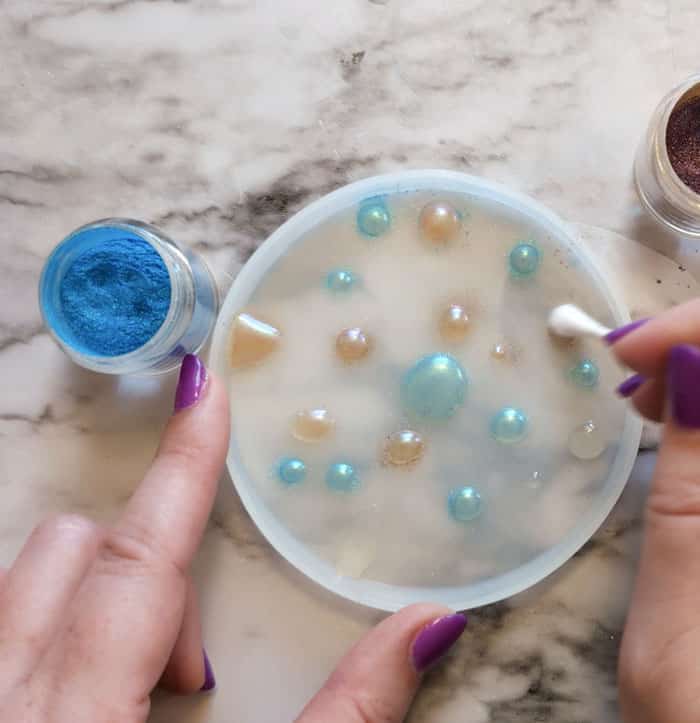
I tried a second method of mixing some mica powder right into the UV resin too, then making the drops and curing them. So if you were wondering – yes, UV resin can be colored before curing!
Alumi-UV resin is the perfect product for this kind of project because I can cure the resin drops so quickly. Standard epoxy resin would spread too much as it cures.
Can you use regular resin over UV resin?
Yes, epoxy resin can be cured over UV resin.
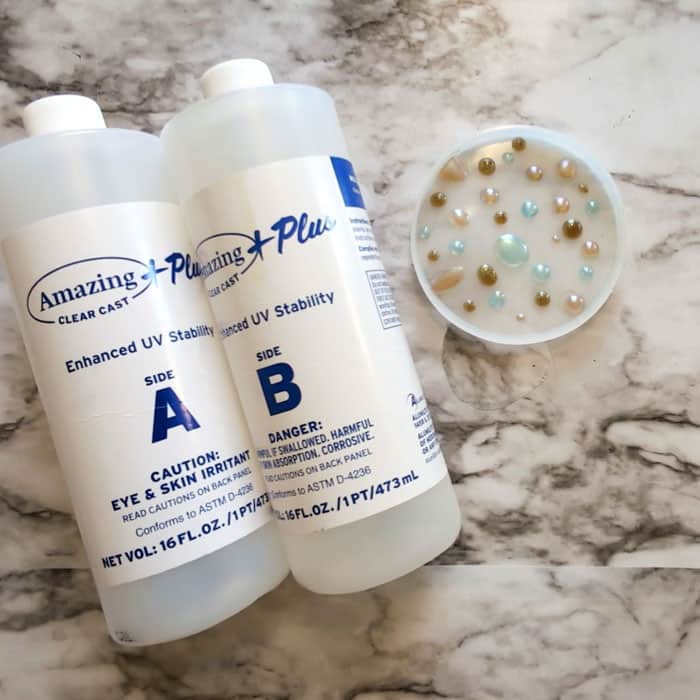
To fill the coaster mold, I used Alumilite Clear Cast Plus mixing 10 mL of part A and 10mL of part B til there were no swirls and the mixture completely clear.
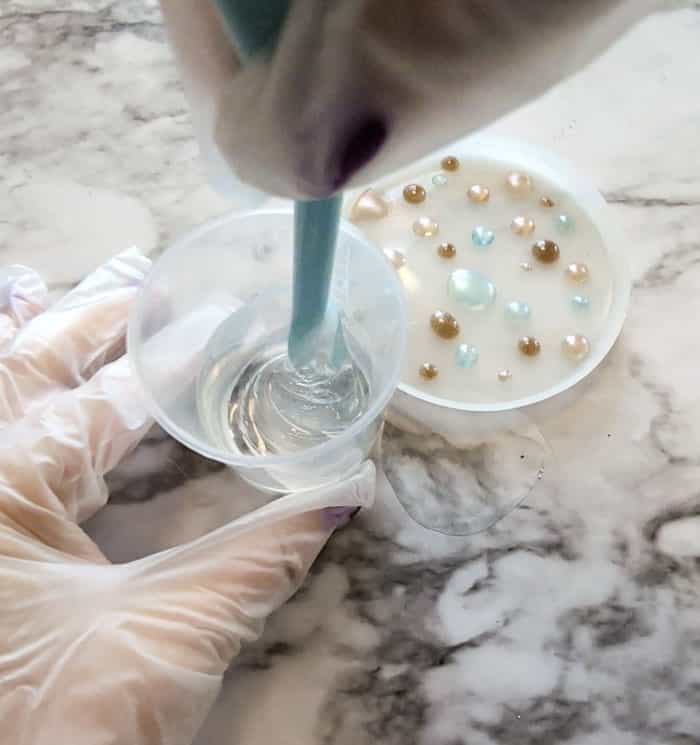
Pour the resin into the mold, covering in the colored drops.
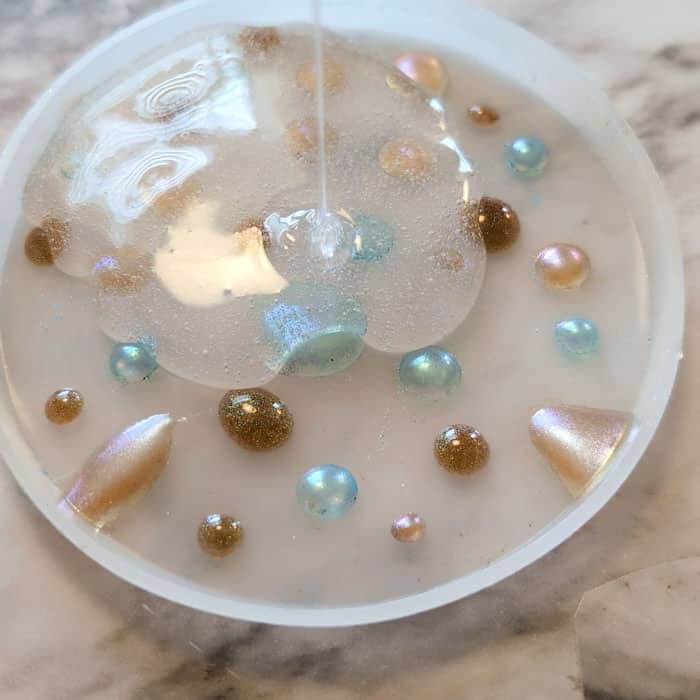
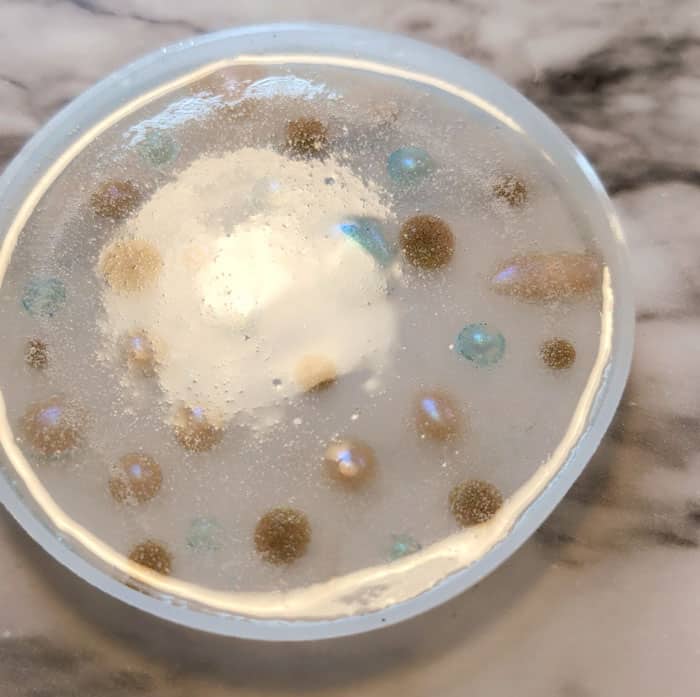
After 10 minutes, remove bubbles with a heat gun or fine misting of alcohol. Cover and let cure for 24 hours.
Remove from the mold and the coaster is ready to use!
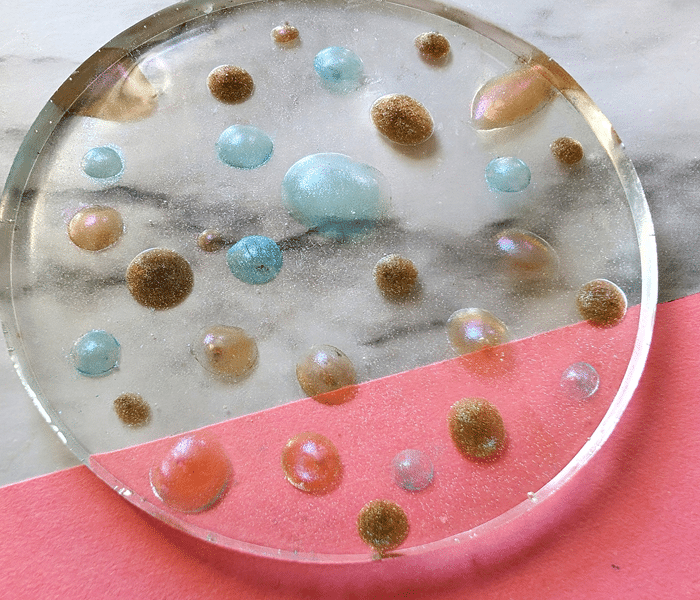
What do you think of this technique? I liked the process, but when I look at the coaster like this – it looks like an actual Petri dish. It reminded me of microbiology labs in college! Not exactly appetizing 🙂
So I experimented with the UV resin drops a little more.
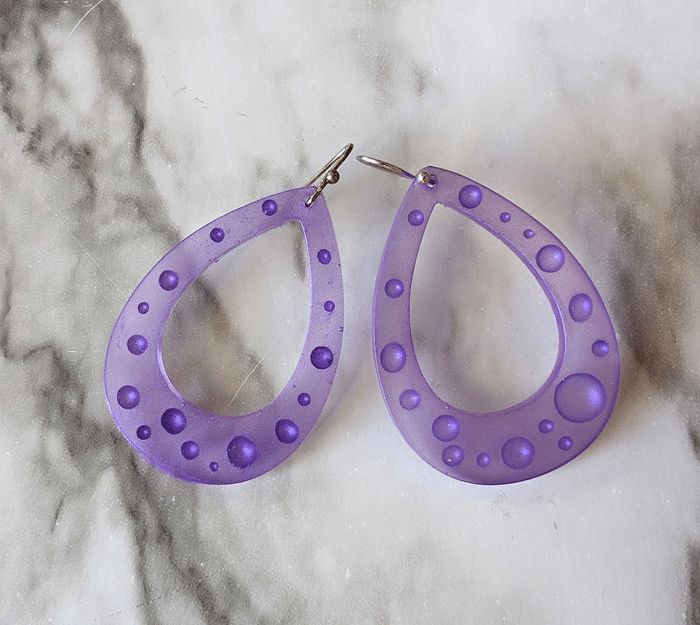
In this earring mold, I spaced out some drops of resin, cured them under the UV lamp, and brushed purple mica powder over the resin and the rest of the mold as well. Then I added Clear Cast plus to fill.
For these earrings, I layered the drops a few times. I put a few drops of resin down, then cured them. Then added a few more drops and cured a second time. I repeated this 3 or 4 times to get a bubbled texture surface.
Then I brushed some blue mica powder and also added Clear Cast Plus.
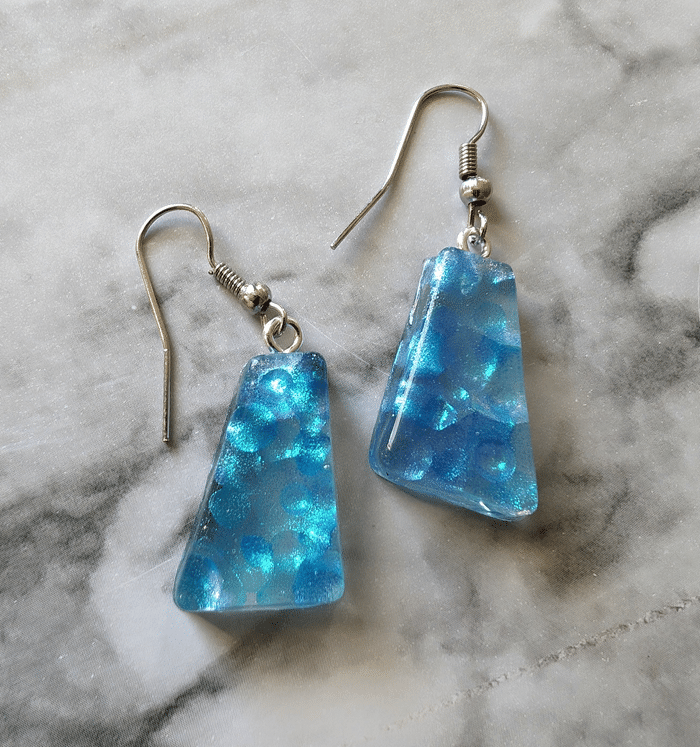
One extra recommendation – After brushing the cured UV resin with mica powder, seal it with Clear Sealer spray. I found the some of the mica powder lifted up into the clear resin layer, and the sealer would prevent that from happening.
My guess is that you agree that the earrings both look better than my microb colonies, right?!
If you try this drop method using Alumi-UV, be sure to share and tag us on Instagram @resincraftsblogbyeti so we can see it!
Stephanie is a crafty wife and mom living in the Pacific Northwest. She shares her creative ideas -along with a bit of “making it up as she goes” – on her blog, Crafting in the Rain.


Leave a Reply