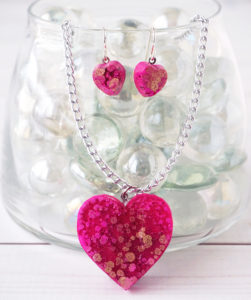
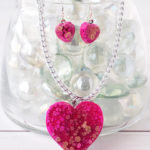
Combine resin with drops of alcohol ink to create gorgeous heart-shaped jewelry to wear on Valentine’s Day or for other special occasions!
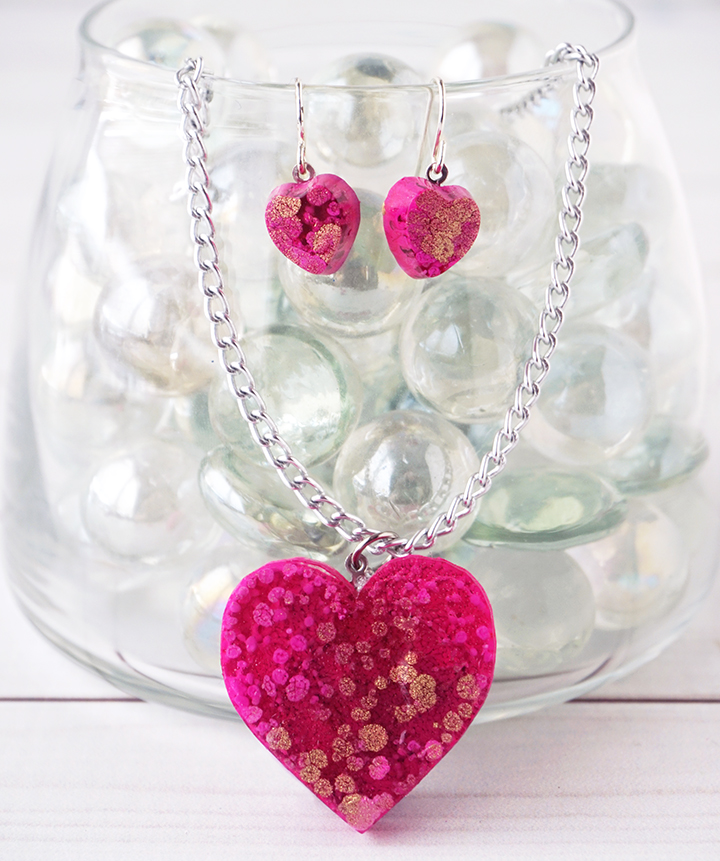
Hello, Resin Crafters! Lindsay here with a new resin project that I think you will LOVE! Made by combining alcohol inks and resin, this this Heart Jewelry set is an easy resin craft for every level, and will definitely make a statement. The earrings and necklace are the perfect accessory for Valentine’s Day, or when you want to wear something a little more playful. This set would also be a one-of-a-kind gift idea for friends on Galentine’s Day!
To make your own Alcohol Ink Resin Heart Jewelry, you will need these supplies:
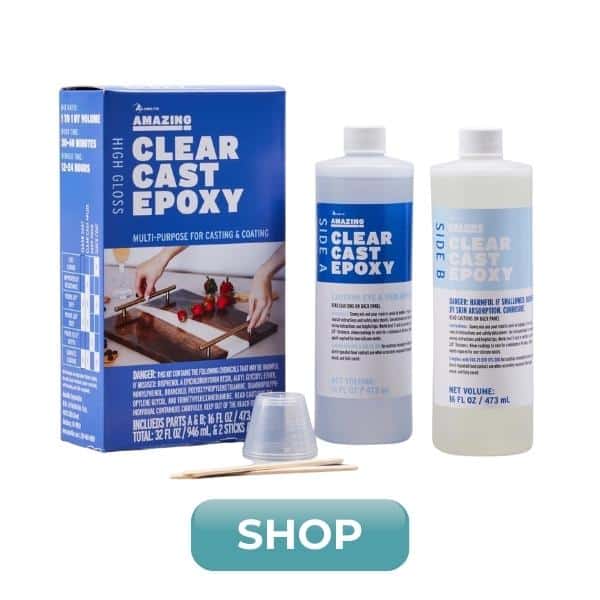
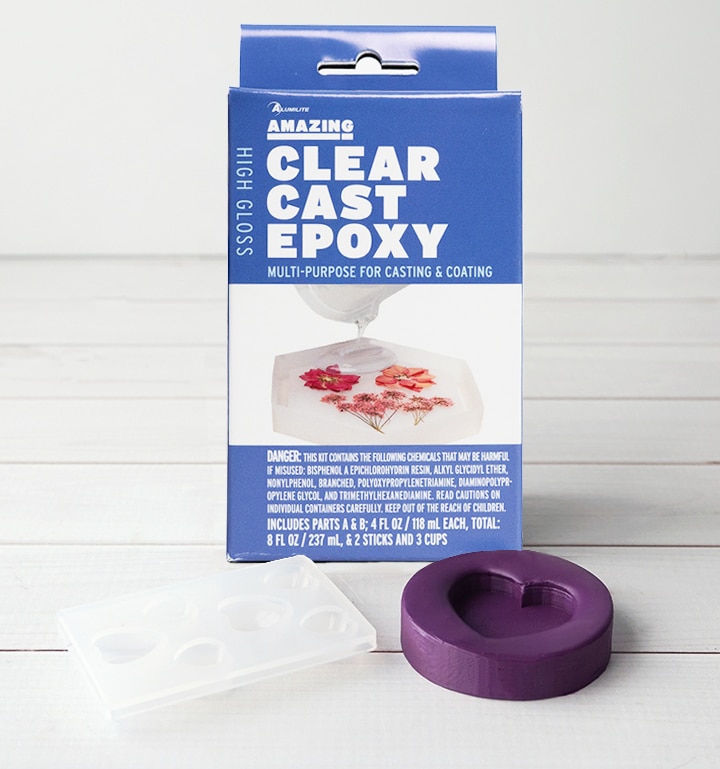
- Alumilite Amazing Clear Cast Epoxy
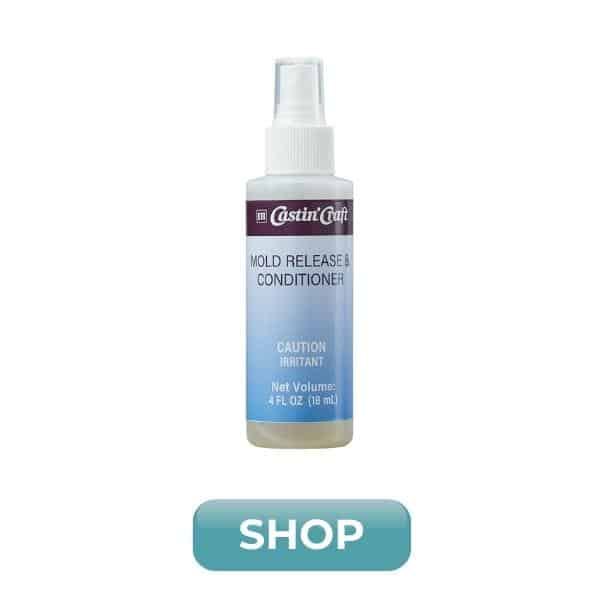
- Mold Release and Conditioner Spray
- Measuring Cups
- Stirring Sticks
- Disposable Gloves
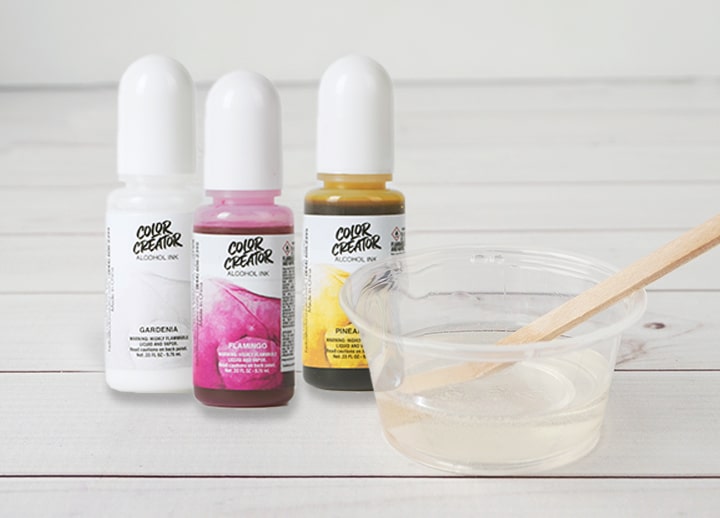
- Alcohol Inks – pink or red, white, and gold
- Heart-Shaped Jewelry Molds
- Small Jewelry Bails
- Jump Rings
- Jewelry Chain
- Earring Hooks or Posts
- Jewelry Pliers

Epoxy Resin Heart Jewelry Instructions (printable instruction card can be found at the bottom of this post):
Step 1:
Prepare the Amazing Clear Cast Epoxy according to package directions. Be sure to work in a well-ventilated area and wear disposable gloves. Using alcohol inks can get a little messy, so lay something down to protect your work surface before getting started.
Pour in equal parts resin and hardener to the mixing cup. Stir the resin mixture together with a stir stick for two minutes, making sure to scrape the bottom and sides of the mixing cup. Pour the resin into a clean mixing cup and stir the resin again for another minute or two with a clean stir stick.
Step 2:
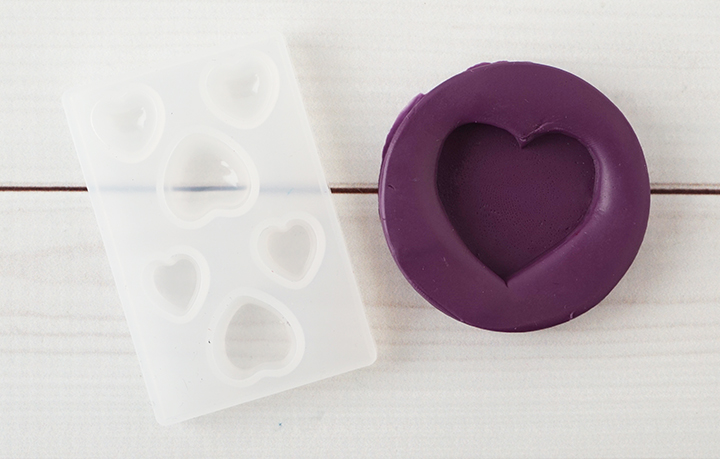
Carefully pour resin into each of the molds using a stir stick, and try your best not to overfill the molds. Let the resin sit for a minute, and then use a straw, lighter, or a toothpick to remove any air bubbles that come to the top.
*See how I made the purple heart-shaped silicone mold!
Step 3:
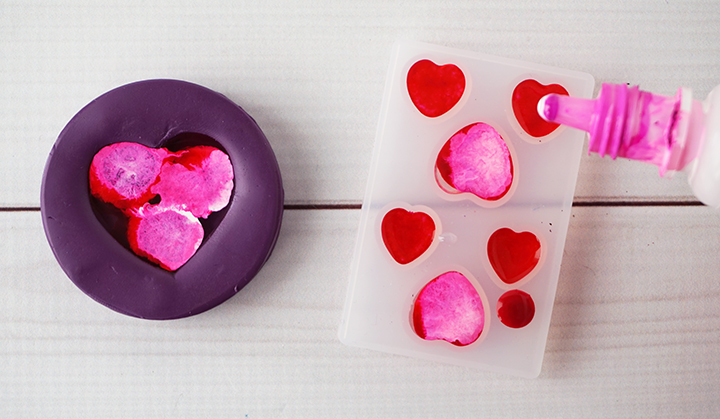
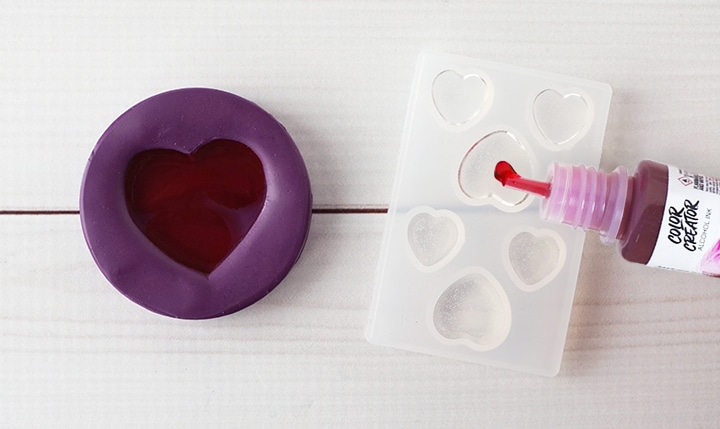
Add a drop of pink or red alcohol ink on top of the uncured resin. I recommend one drop in the earring molds, and 3-4 for the larger heart mold. Another reminder to protect your workspace and wear gloves, because alcohol inks will stain your hands and surfaces!
Step 4:
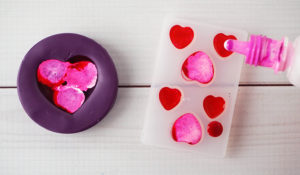
Add one drop of white ink to the center of the colored ink drops. White alcohol ink makes the magic happen! White alcohol ink is heavier than colored inks, so it pushes through the resin to create an awesome effect.
Repeat the process one more time with the colored ink and the white ink. As tempting as it is, try not to add too much ink. It can affect the way the resin cures.
Step 5:
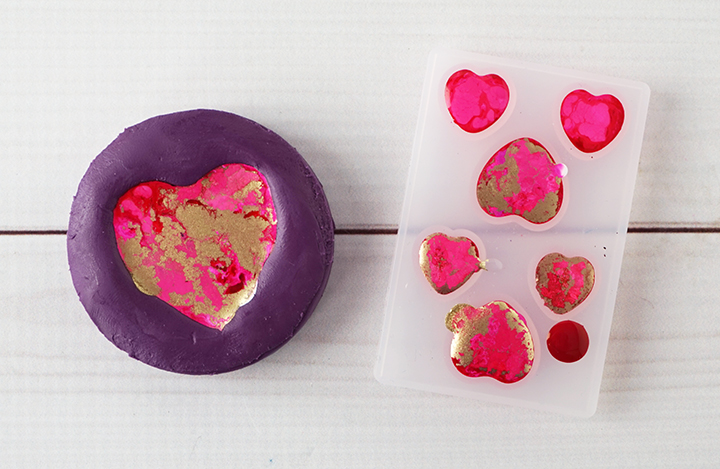
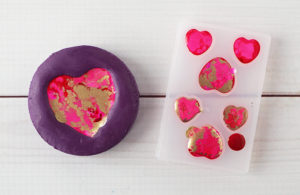
For a little added shimmer, I added a few drops of gold alcohol ink into the larger heart mold, and one in each of the smaller hearts.
Leave the resin to cure in an undisturbed area for 12-24 hours.
Step 6
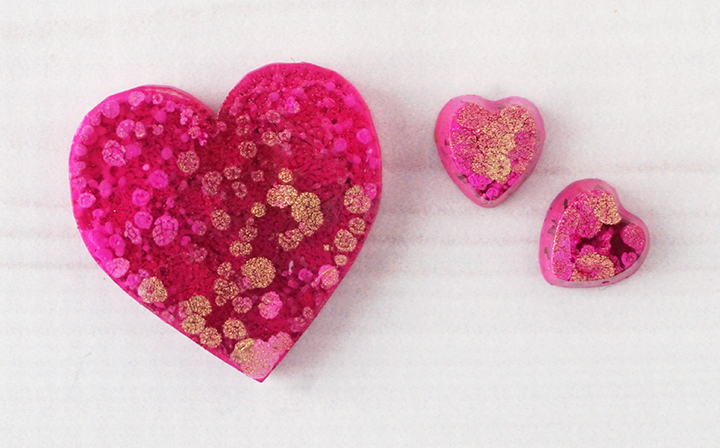
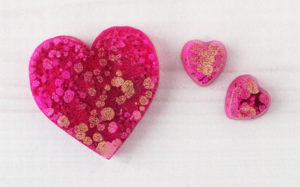
Carefully remove the pendants from the molds and admire your work. The way the ink settles into the resin creates such a cool effect, and no two pendants are the same!
Use scissors to cut away any over-poured resin, and use a fine grit sandpaper to smooth any uneven edges.

Step 7
Use jewelry adhesive to attach a bail to the back of the earrings and pendant. Let it dry completely and then attach a jump ring to the pendant and earring hooks to the earring pieces. Lastly, thread a chain through the pendant jump ring to complete the necklace.
The Heart Jewelry set is now ready to wear on Valentine’s Day or to give as a gift! You can use this same technique with alcohol inks and resin to make eye-catching keychains and coasters.
Alcohol Ink Resin Heart Jewelry
Materials
- Alumilite Amazing Clear Cast Epoxy
- Mold Release and Conditioner Spray
- Measuring cups
- Stirring sticks
- Nitrile gloves
- Color Creator Premier Gift Pack Pink and white alcohol inks and gold mica powder
- Heart-shaped jewelry molds
- Small jewelry bails
- Jump rings
- Jewelry chain
- Earring hooks or posts
- Jewelry pliers
Instructions
- Be sure to work in a well-ventilated area and wear disposable gloves. Using alcohol inks can get a little messy, so lay something down to protect your work surface before getting started.
- Prepare the Amazing Clear Cast Epoxy according to package directions. Pour equal parts resin and hardener to the mixing cup. Stir the resin mixture together with a stir stick for two minutes, making sure to scrape the bottom and sides of the mixing cup. Pour the resin into a clean mixing cup and stir the resin again for another minute or two with a clean stir stick.
- Carefully pour resin into each of the molds using a stir stick, and try your best not to overfill the molds. Let the resin sit for a minute, and then use a straw, lighter, or a toothpick to remove any air bubbles that come to the top.
- Add a drop of pink or red alcohol ink on top of the uncured resin. I recommend one drop in the earring molds, and 3-4 for the larger heart mold. Another reminder to protect your workspace and wear gloves, because alcohol inks will stain your hands and surfaces!
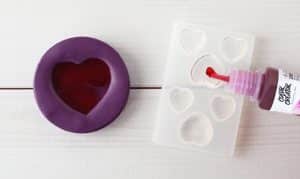
- Add one drop of white ink to the center of the colored ink drops. White alcohol ink is heavier than colored inks, so it pushes through the resin to create an awesome effect.Repeat the process one more time with the colored ink and the white ink. Try not to add too much ink. It can affect the way the resin cures.
- For a little added shimmer, I added a few drops of gold alcohol ink into the larger heart mold, and one in each of the smaller hearts.Leave the resin to cure in an undisturbed area for 12-24 hours.
- Carefully remove the pendants from the molds and admire your work. Use scissors to cut away any over-poured resin and fine-grit sandpaper to smooth any uneven edges.
- Use jewelry adhesive to attach a bail to the back of the earrings and pendant. Let it dry completely and then attach a jump ring to the pendant and earring hooks to the earring pieces. Lastly, thread a chain through the pendant jump ring to complete the necklace.
Lindsay is a crafter, graphic designer, and glitter enthusiast from Utah. She’s passionate about homeschooling her creative daughter, traveling, and spending time in the craft room. Lindsay shares DIY project tutorials, printables, recipes, kids crafts, and more on her blog, ArtsyFartsyMama.com, where she inspires readers to live a creative life.

Does the gold work the same as the white alcohol ink? I ask because you didn’t drip the white after the gold. And if so, are there any other colors that work the same as the white as well? Thanks!!
Hi Lisa! Great question! I have noticed that the gold doesn’t work the same as the white, so I wait to use it until the end to fill in any empty spaces. In the past when I have added white after the gold, the white pushed right through and I couldn’t see the gold very well. So far, I haven’t found any other color of inks that work like the white.
What a great project and thank you. I have been wanting to get white and gold Alcohol Inks. Looks like a wonderful take on the alcohol ink process.
Thank you, Cathey! This project is so much fun.
These are so gorgeous, do you think the process would work the same with uv resin? It is more expensive I know, but saves all the mixing lol!
Where do you buy your gold alcohol ink from? I think I need some now!!!
Hi Claire! I’ve never used UV resin, so I’m not sure how it would work. I got my gold alcohol ink on Amazon (Piñata brand).