Do you love those cute little cosmetic display shelves, or want a way to organize your resin colors? This is the perfect project for you – we’re making a resin shelf with Color Creator!

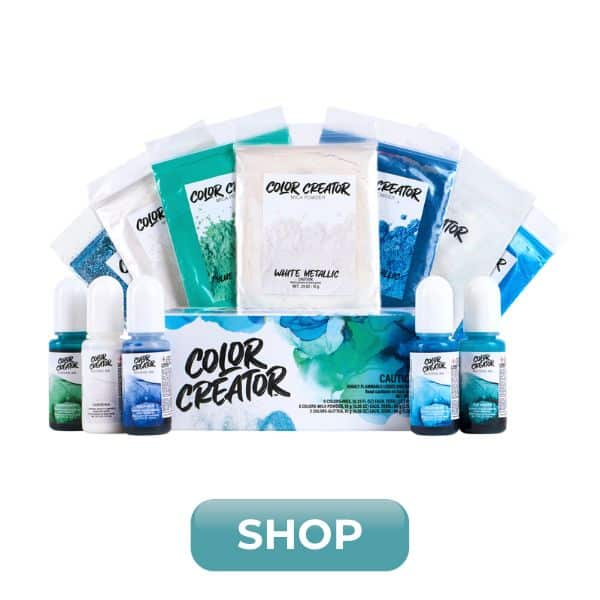
Color Creator makes high quality, vibrant colorants for all kinds of crafts and art projects. Think resin, nail art, paint, wax, soap and more! Kits include mix ins like alcohol ink, mica powder, fine and chunky glitter, so you can choose what’s right for you.
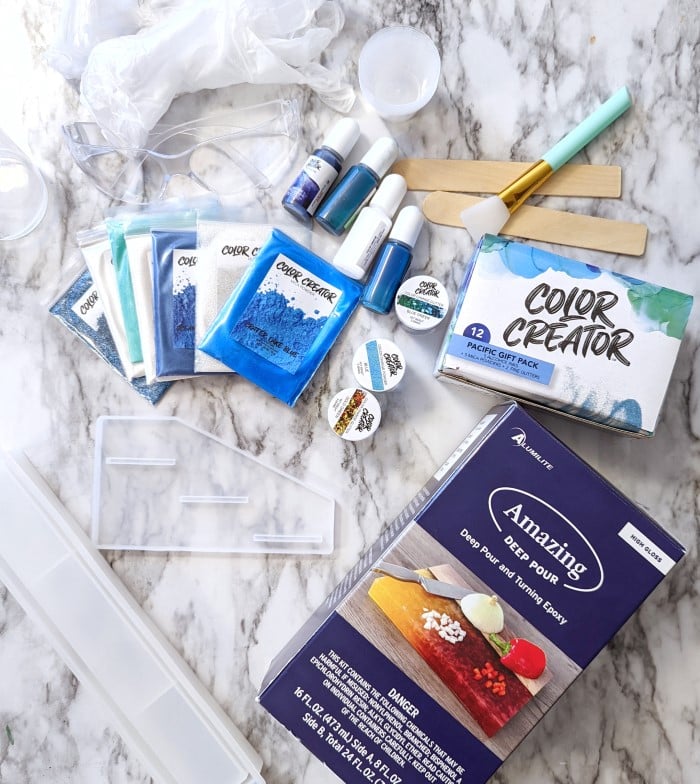
Supplies to Make a Resin Shelf
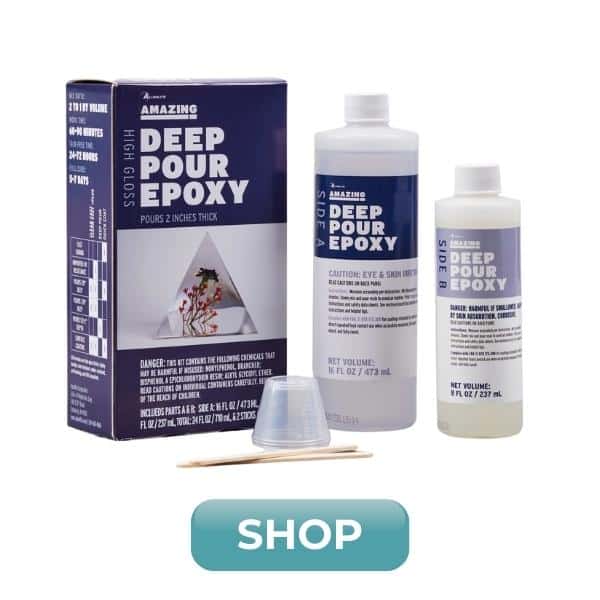
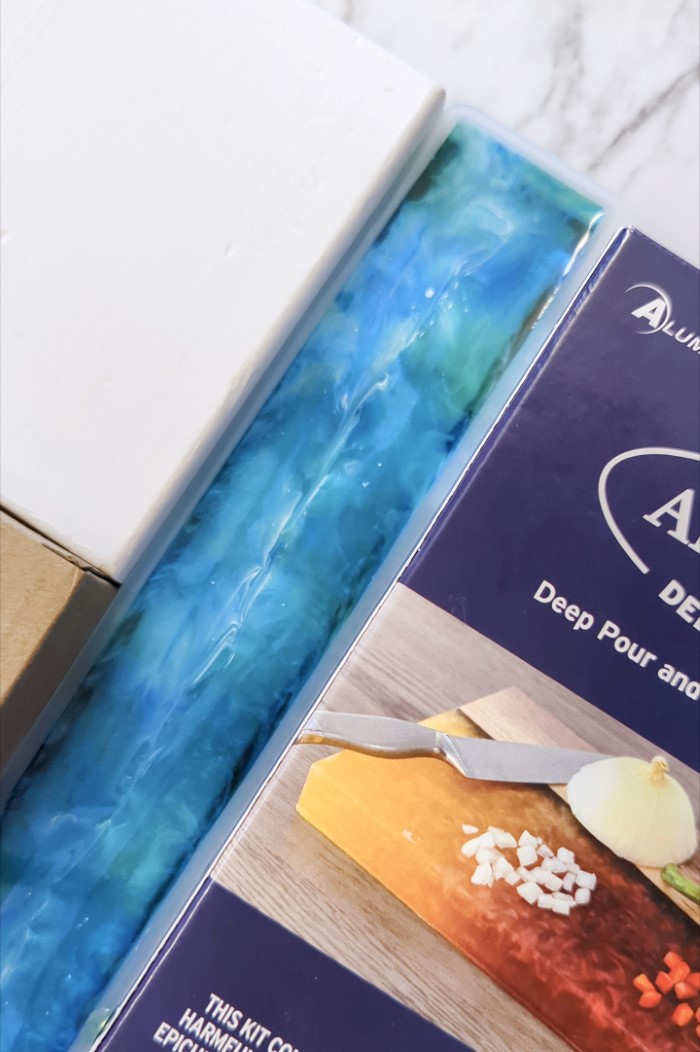
- Alumilite Amazing Deep Pour Epoxy
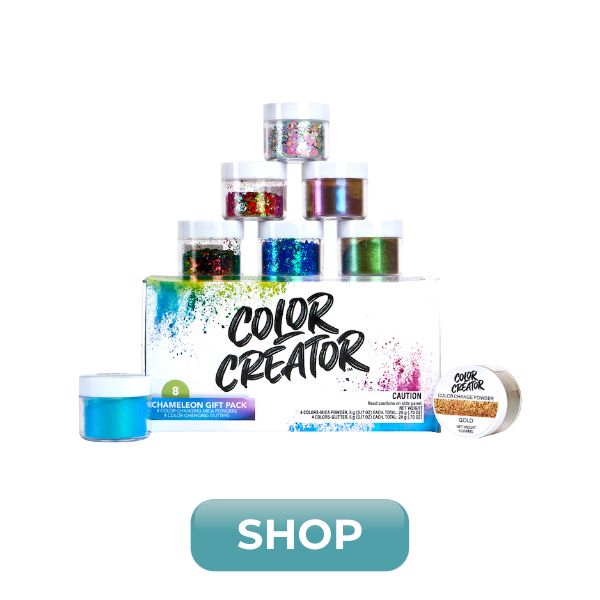
- Color Creator Pacific Gift Pack (plus Blue Green glitter from the Chameleon Gift Pack)
- Shelf mold set
- Mixing cups (large and small) and stir sticks
- Gloves and eye wear
- Industrial adhesive
We are going to have so much fun playing with color in this project!
As a heads up, the mold set I’m using only comes with 1 mold for the shelf, and each pouring needs 2-3 days to cure before demolding. So if you do this same project, make sure you give yourself plenty of lead time from when you want the shelf to be complete!
Instructions for DIY Epoxy Shelf
Printable instruction card can be found at the bottom of this post.
Safety first! Before you start working with epoxy resin, make sure that you’re wearing protective eyewear and gloves, cover your workspace or use a silicone mat in case of spills, and be sure to work in a well-ventilated area.
Prepare the Deep Pour Epoxy
Amazing Deep Pour has a 2:1 ratio and long mixing time. You’ll remember that you need more Side A, because that’s the bigger bottle.
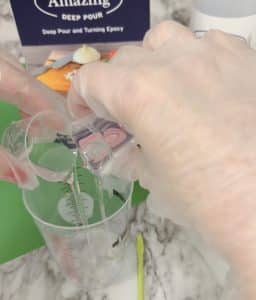
For my first pour, I was making 1 shelf piece and one side piece. So I made 3 total ounces of epoxy. That’s 2 oz of Side A and 1 oz of Side B.
Stir for 3 minutes, checking that the mixture is clear and no longer cloudy. Then stir 2 additional minutes.
Amazing Deep Pour is the perfect choice for this project because it releases bubbles so well that the side pieces look just like glittered acrylic when they’re done! And the shelves can be done in one pour and not in layers as would be necessary with other types of resin.

Then it’s time to start playing with color. With the Color Creator sets, you can’t go wrong because you know everything is already coordinated and will look good together.
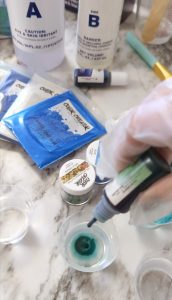
Color resin with Color Creator

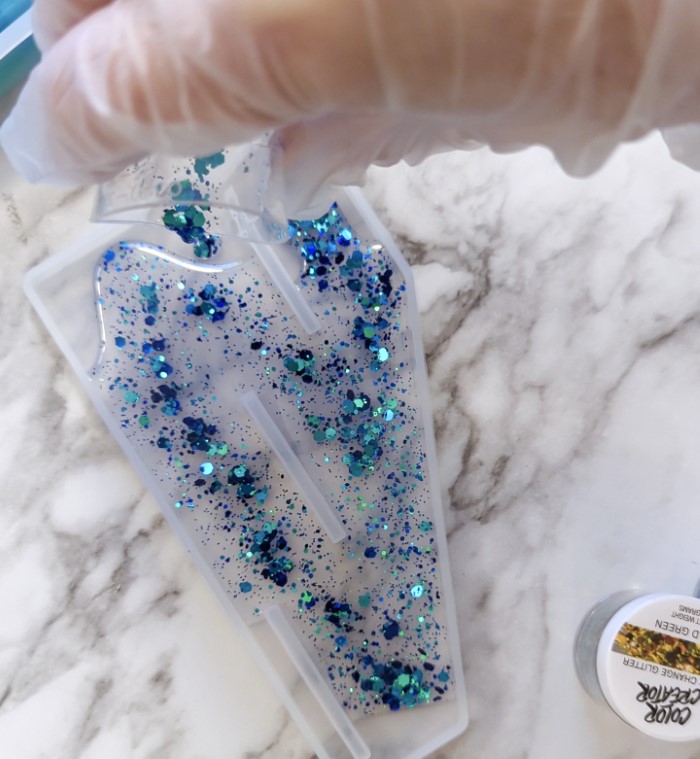
Distribute the epoxy into small mixing cups and add colorants. Start with 2-3 drops of alcohol ink, and a very small scoop of mica powder or glitter. Between the 3 different shelves I poured, I used mica powder, glitter, and alcohol ink.
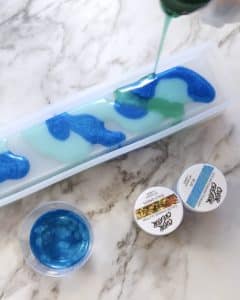
Alternate colors in the shelf mold, and make sure to fill to the top – there are tabs that will stick into the side pieces later.

MOLD NOTE: Because the shelf mold is so long, I found that the silicone wasn’t sturdy enough to really hold in the resin and the sides were bulging out. To fix this, place some straight edges along the mold to hold it in place as it cures.
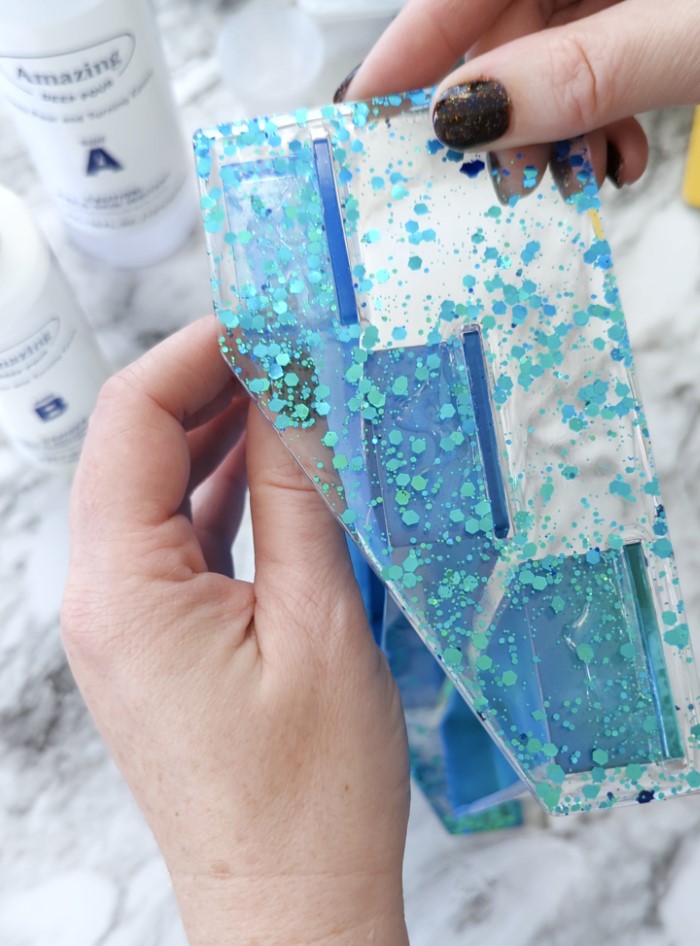
For the side pieces, I left the resin clear and colorless and just added some of the large Chameleon glitter in Blue/Green.
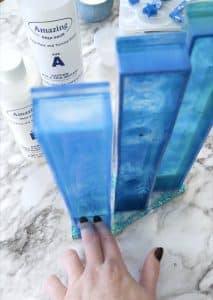
After 2-3 days, check the pieces to see if they’re ready to demold. If the resin is still bendable, it’s not ready. If it has just a little bit of flex, you can remove it from the mold and let it continue to cure until it’s completely hardened.
After demolding, start the second pour. It will be a 2nd side piece and a 2nd shelf. I made the two sides match, but each shelf is a different combination of colorants.
Repeat the curing and demolding, and then make the last shelf.
MOLD NOTE: The mold set that I purchased has 3 different side options, with 3, 4, or 5 shelf slots. If making the larger sides, you’ll need to make the correct number of shelves, and the sides will require more resin.
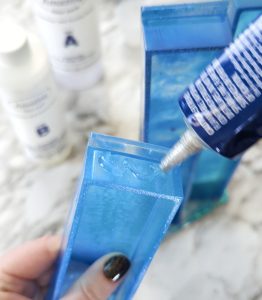
Assemble the resin shelf
When all the pieces have fully cured, which may be a day or two after finishing the final shelf, it’s time to assemble the shelf stand.

I used Beacon Power Tac (E6000 would also work) to keep all the shelves in place. You just need a bit on each end of a shelf, then the little ledge goes into the slot of the side piece.
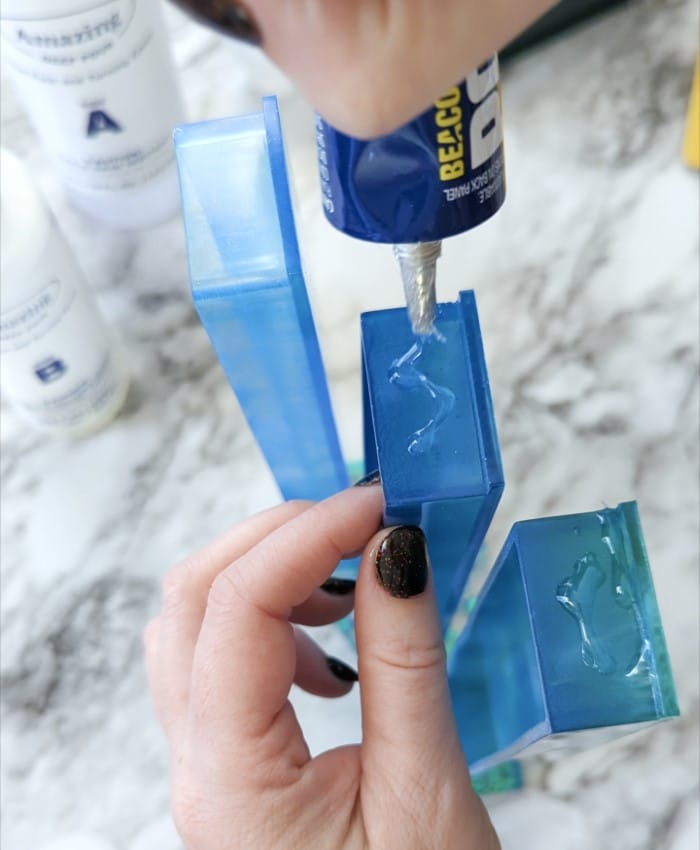
For best results, work with the whole shelf stand on its side, so you’re basically working with a “bottom” and a “top.”
Once all the pieces are glued into place, clamp them down with some kind of clip or clamp. These bag clips worked great for me. This will keep everything in place while the glue hardens.
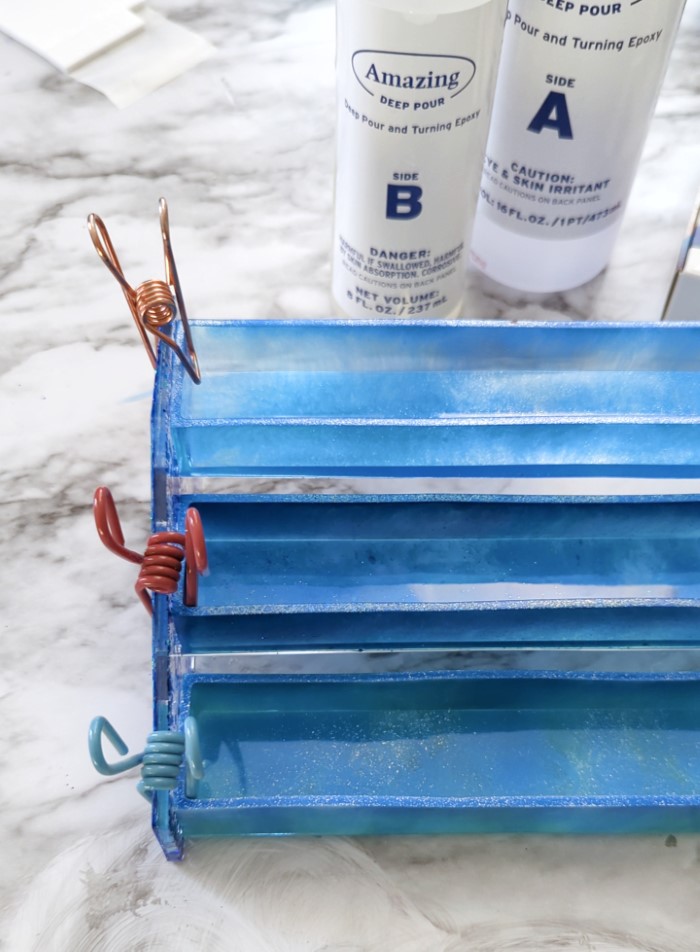
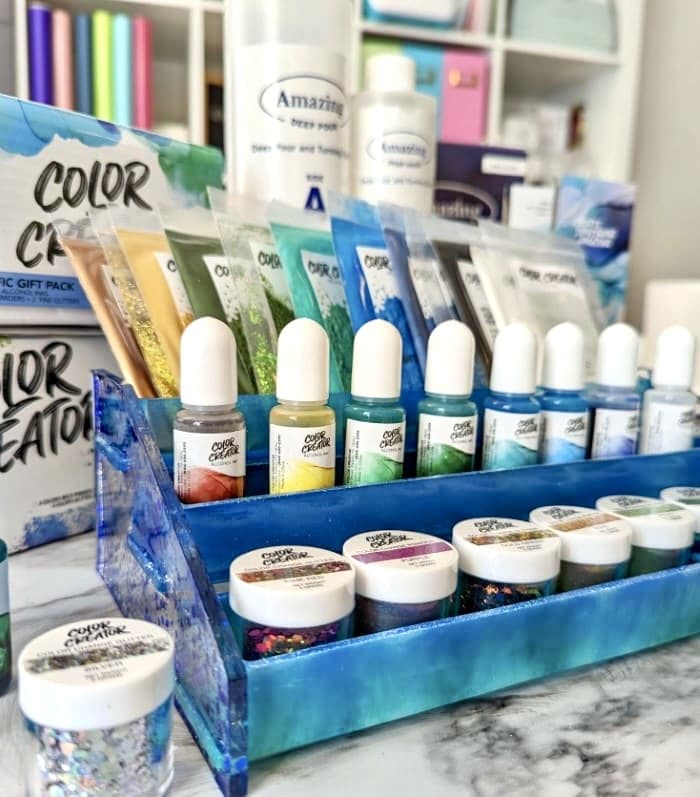
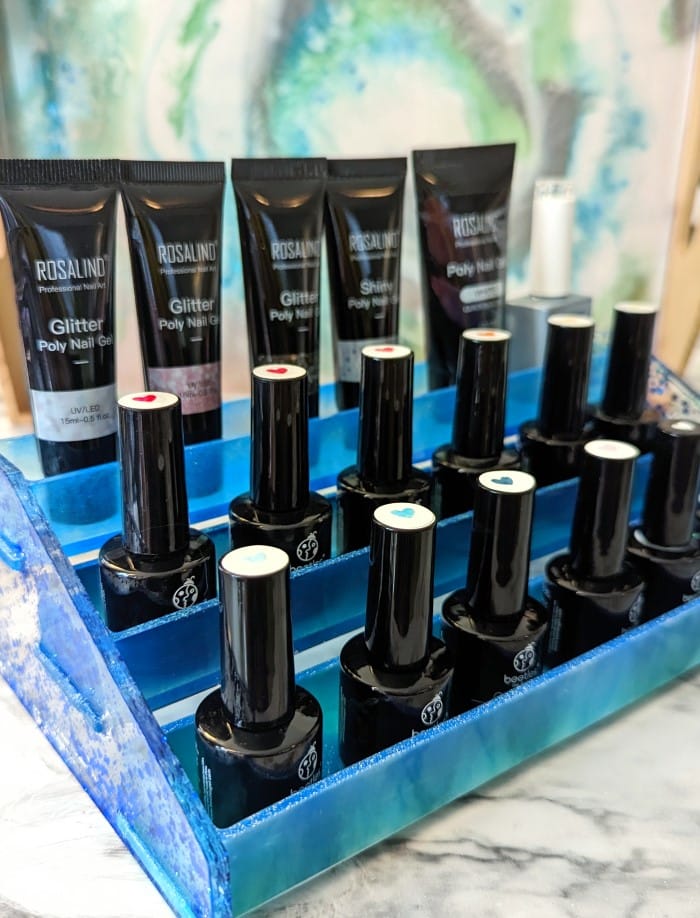
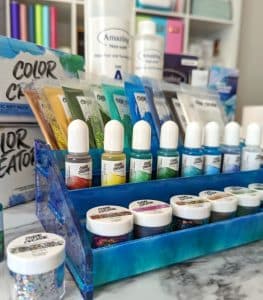
After a few hours, remove the clips and load up the shelves with nail polish, or your new collection of Color Creator powders and inks!
MOLD NOTE: When I make my next shelf, I’m going to make all the shelves match. I want to try gold glitter flakes, leaving the resin clear, and only fill up the sides of the mold. Then I’ll add a top layer of opaque white which will be the bottom of the shelf in the end. Then for the sides I’ll do some pink and purple, and I’ll be able to get nice swirling with a heat gun because of the flat surface.
What are you dreaming of making with all these vibrant colors?

DIY Epoxy Resin Shelf
Materials
- Alumilite Amazing Deep Pour Epoxy
- Color Creator Pacific Gift Pack
- Color Creator Chameleon Gift Pack Blue Green Glitter
- Shelf mold set
- Mixing cups and stir sticks
- Gloves and protective eye wear
- Industrial strength adhesive
Instructions
Prepare the Deep Pour Epoxy
- For the first pour (1 shelf piece and one side piece), mix 3 total ounces of epoxy (2 oz of Side A and 1 oz of Side B.) Stir for 3 minutes, checking that the mixture is clear and no longer cloudy. Then stir 2 additional minutes.
- Distribute the epoxy into small mixing cups and add colorants. Start with 2-3 drops of alcohol ink, and a very small scoop of mica powder or glitter. Between the 3 different shelves I poured, I used mica powder, glitter, and alcohol ink.
- Alternate colors in the shelf mold, and make sure to fill to the top – there are tabs that will stick into the side pieces later.
- For the side pieces, I left the resin clear and colorless and just added some of the large Chameleon glitter in Blue/Green.

- After 2-3 days, check the pieces to see if they’re ready to demold. If the resin is still bendable, it’s not ready. If it has just a little bit of flex, you can remove it from the mold and let it continue to cure until it’s completely hardened.
- After demolding, start the second pour. It will be a 2nd side piece and a 2nd shelf. I made the two sides match, but each shelf is a different combination of colorants. Repeat the curing and demolding, and then make the last shelf.
- Once all of the shelf components have fully cured, use an Industrial Strength Adhesive to keep all the shelves in place. You just need a bit on each end of a shelf, then the little ledge goes into the slot of the side piece. For best results, work with the whole shelf stand on its side, so you're basically working with a "bottom" and a "top."
- Once all the pieces are glued into place, clamp them down with some kind of clip or clamp. These bag clips worked great for me. This will keep everything in place while the glue hardens.

- After a few hours, remove the clips and load up the shelves with nail polish, or your new collection of Color Creator powders and inks!
Notes
Stephanie is a crafty wife and mom living in the Pacific Northwest. She shares her creative ideas -along with a bit of “making it up as she goes” – on her blog, Crafting in the Rain.


Leave a Reply