
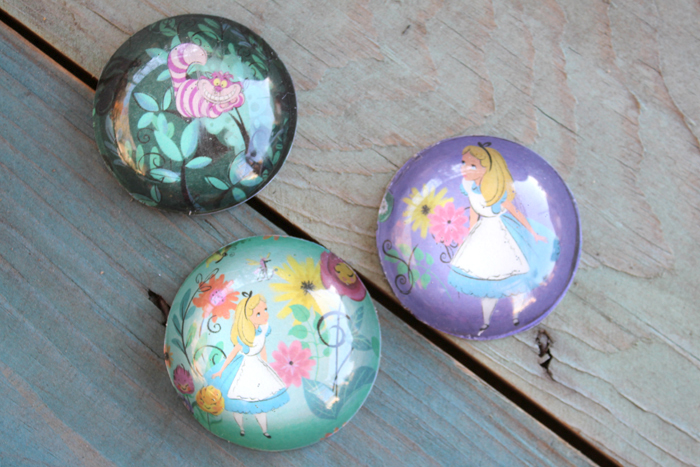
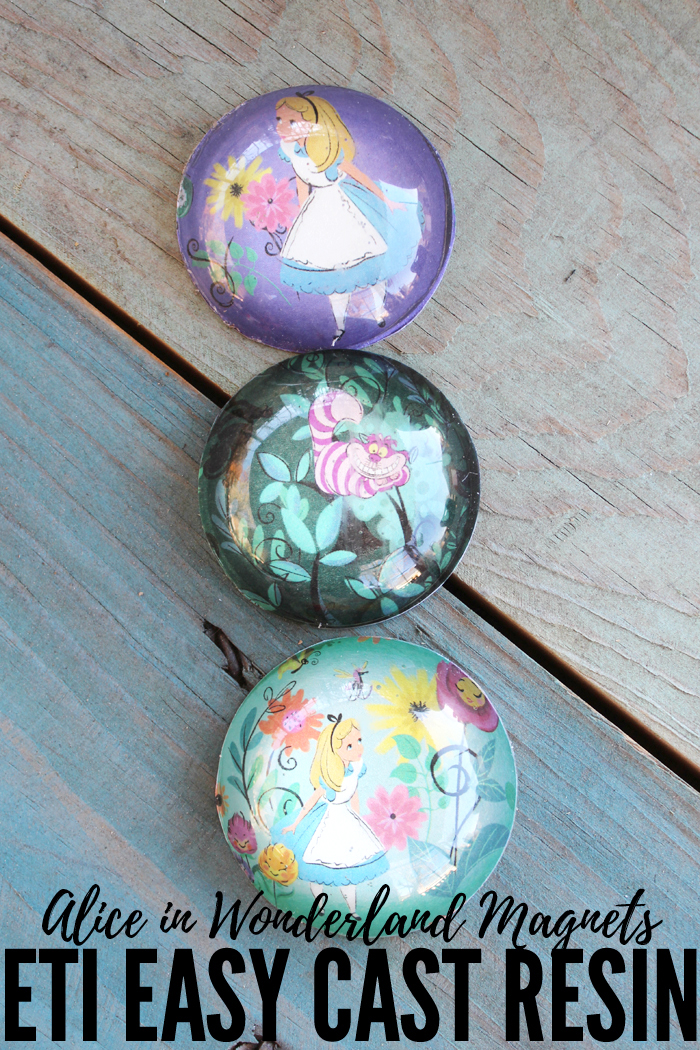
Hi Resin Crafters, it’s Natalie from Doodlecraft sharing my love of Alice in Wonderland with you! These darling Alice in Wonderland magnets are a great resin craft for beginners. Resin domes magnify the image placed underneath them, creating a fun effect!
Supplies Needed for Alice in Wonderland Magnets:
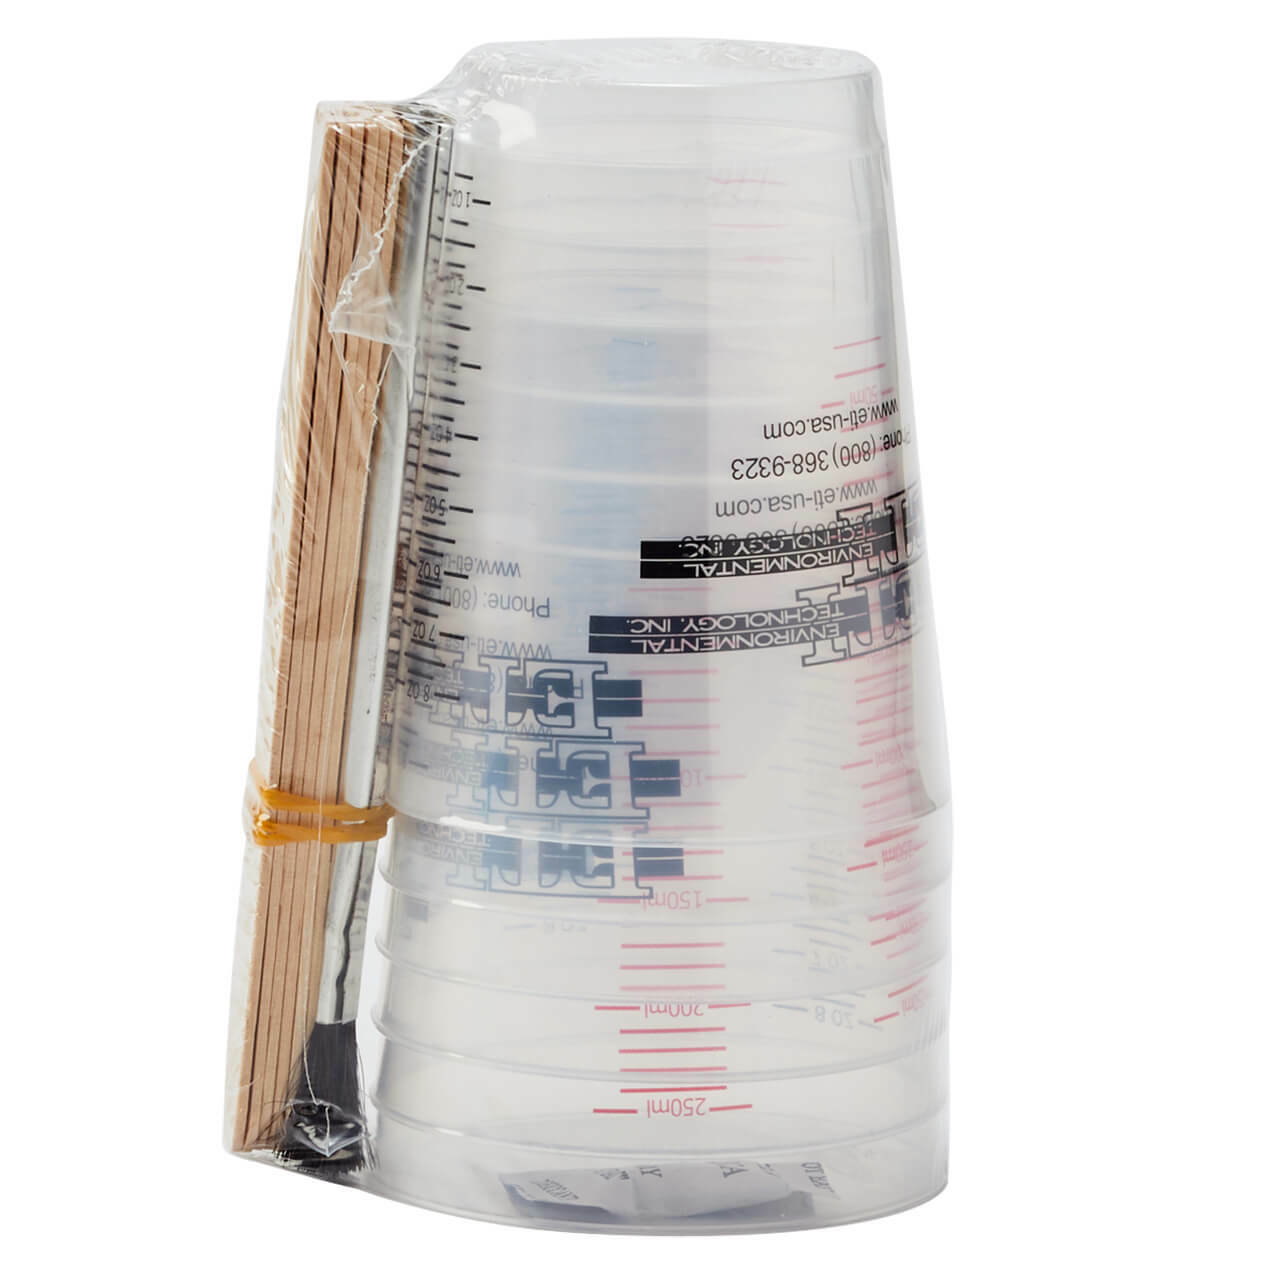
- EasyCast Clear Casting Epoxy
- 2 mixing cups, 2 stirring sticks
- Disposable Gloves
- Dome Silicone Mold
- Scrapbook Paper
- E6000 Glue
- Disc Magnets
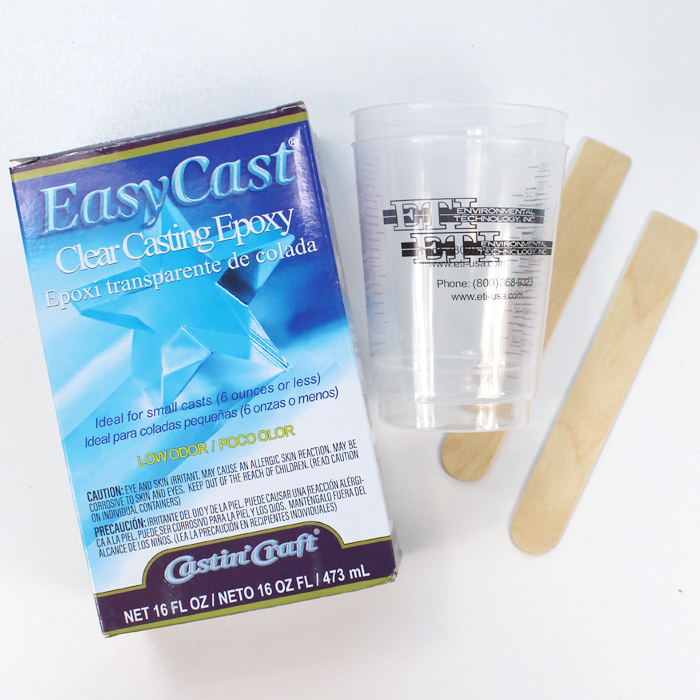
Step 1: Mixing EasyCast
The mixing process for EasyCast is very important to follow. Read the directions carefully and make sure you have everything ready to go before starting. Wear gloves when working with resin and work in a well ventilated area, please follow all the safety precautions.
Pour one part of the resin and one part of the hardener into a mixing cup.
**RESIN TIP**
If you aren’t sure how much resin to mix up, begin by pouring water into your mold. Then pour the water into a measuring cup to see how much is needed. Split that amount in half and that is the amount of each part needed.
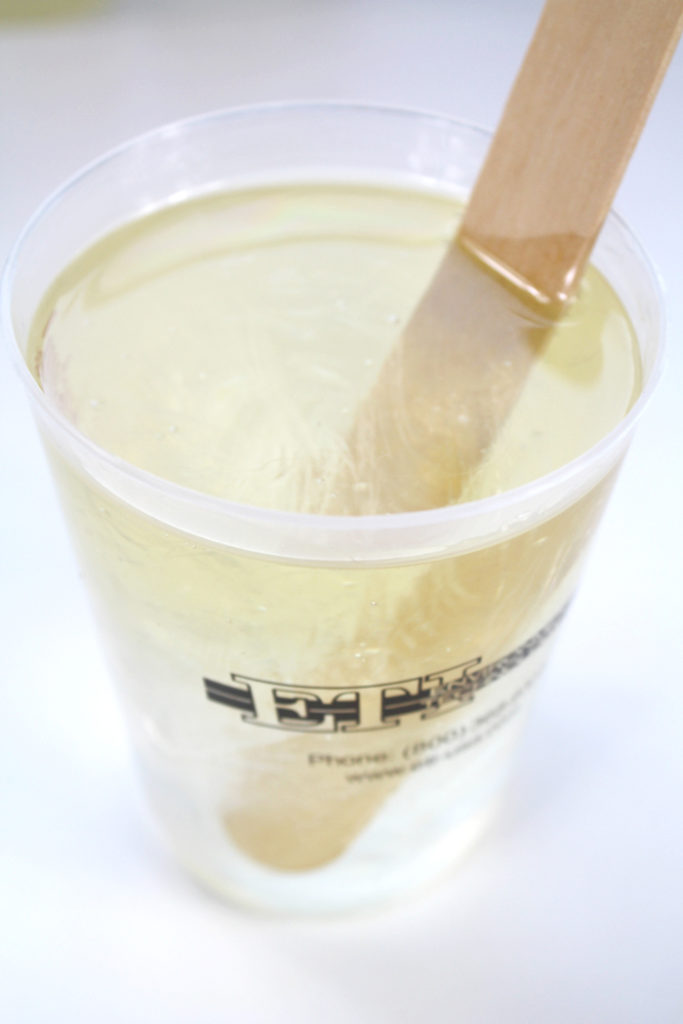
Mix the resin gently for 2 full minutes, scraping the sides and stirring stick regularly. Don’t mix fast or it will whip bubbles into the resin.
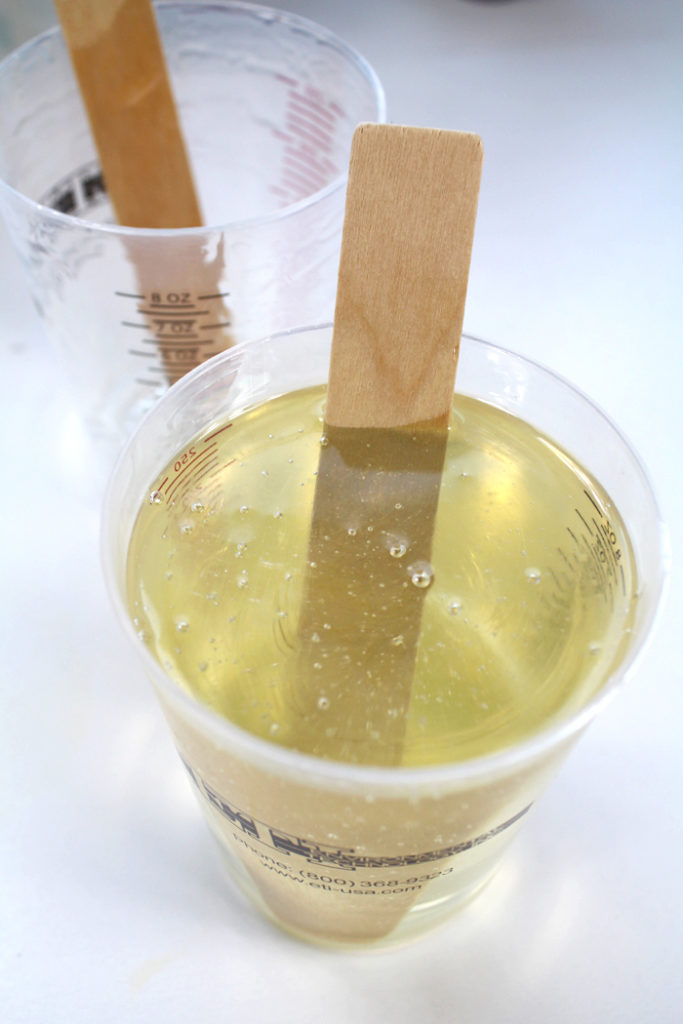
After stirring for the full 2 minutes, pour all the resin into a second mixing cup and use a new stirring stick. Then stir the resin for another full minute.
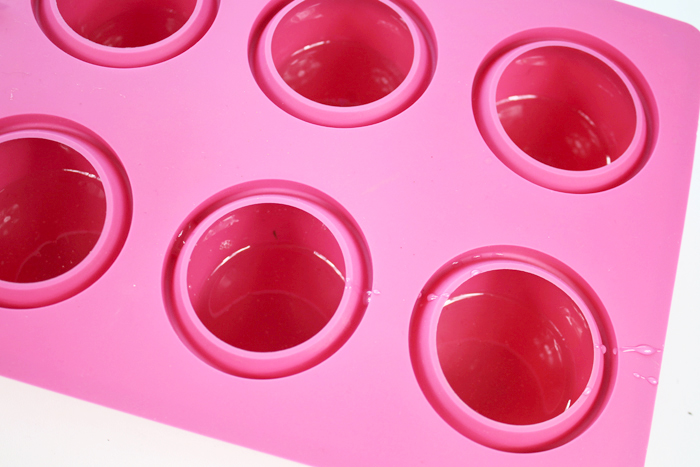
Step 2: Pour into Mold
Pour the resin into the silicone mold about 1/3 of the way full, if using a silicone mold like this one. These make big orbs with a flat bottom for easy display, but we just need the top part of it for the magnets.
**RESIN TIP**
This is also a great way to use leftover resin from another project. Just keep the silicone mold on hand and you’ll never waste any EasyCast epoxy.
Let the resin cure for 24-48 hours. Make sure it is on a level surface and covered so dust and debris does not settle on the resin.
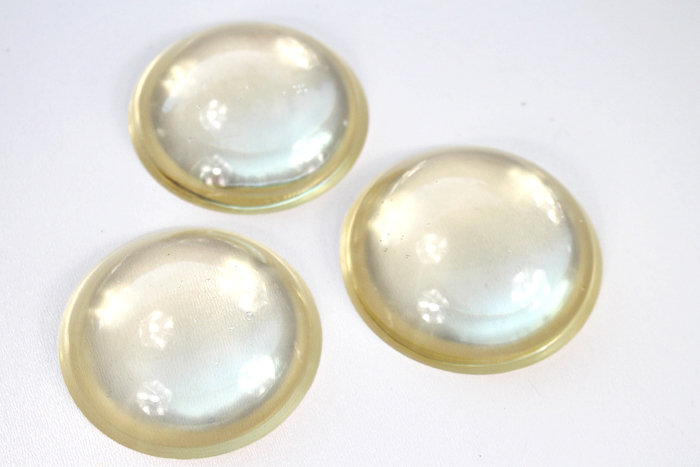
After cured, pop it out of the mold! You will find this is one of the most satisfying parts of resin crafting.
Step 3: Alice in Wonderland Paper
Now you need to select some scrapbook paper that you love. I found this Alice in Wonderland paper from Cricut. I love Alice in Wonderland, I read the book growing up and read it to my children too. I love the nonsense!
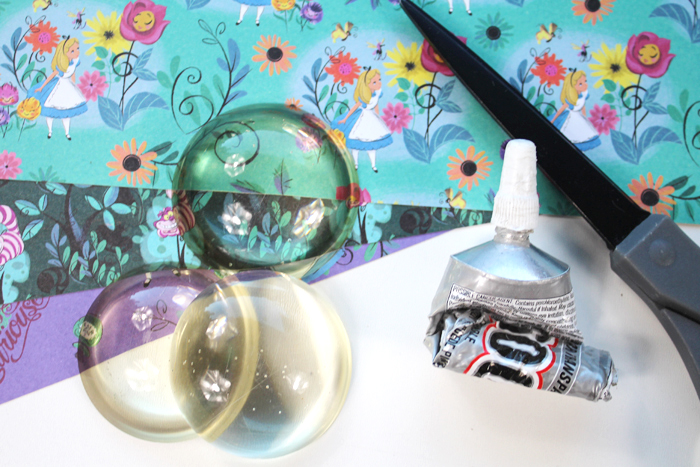
Use a pencil and trace the resin dome on the paper. The resin magnifies the image and creates a wonderful “through the looking glass” effect.
Then cut out the circle with scissors.

Repeat the cutting process for each of the desired magnets. I love dome magnets and make them for neighbors, teachers and just because gifts!

Now add a glob of E6000 glue on the flat side of the resin dome.

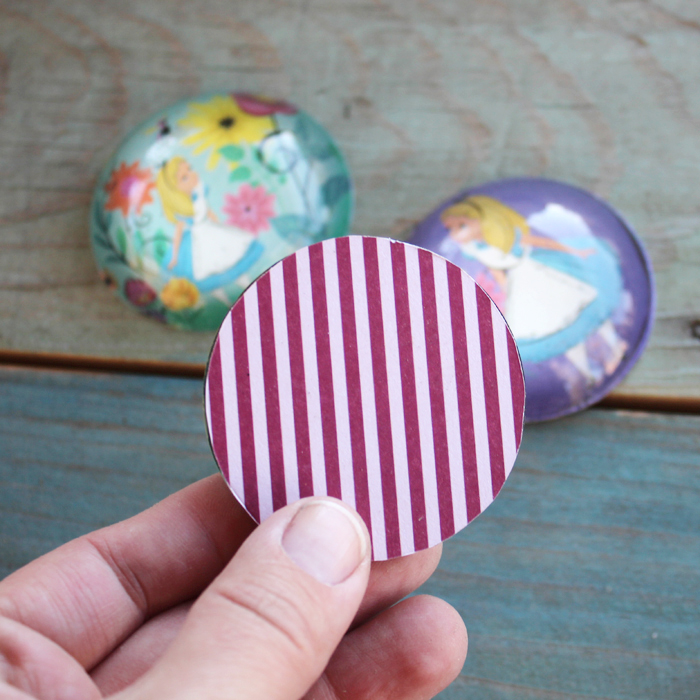
Then press the resin dome down on the Alice in Wonderland paper cutout. Press firmly to squish the glue all over the paper and to the edges. Then let the glue dry for at least 4 hours.

Then turn the domes over and adhere a magnet to the backside with E6000 glue. Let the glue dry another 4 hours. Then they are ready to gift or use.
So many options for these fun magnets! Your creativity is not even limited by your scrapbook paper.
Make some with family photos for the perfect Mother’s day gift. Have a child draw little pictures and use them as the perfect keepsake magnet. So many options!

Hope you enjoyed these Alice in Wonderland magnets!
If you make some magnets, be sure to share them on social media and tag us #resincraftsblogbyeti and #doodlecraft so we can cheer you on!
Natalie Shaw is a Craft/DIY blogger at Doodlecraftblog.com. She loves sci-fi, fantasy and video game geekery and that comes out in many of her projects. She posts budget conscious DIY’s, crafts, jewelry, kid friendly projects, upcycled treasures and other fun on her blog 5 days a week.


Leave a Reply