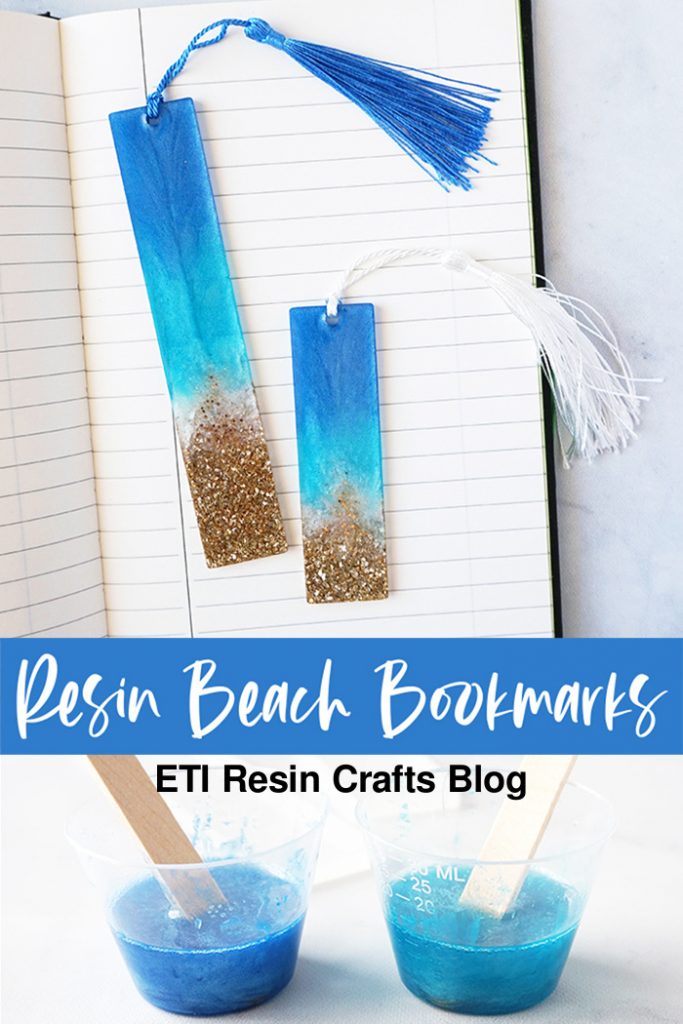
Save a spot in your favorite books with beach-inspired bookmarks made with colorful EasyCast resin!
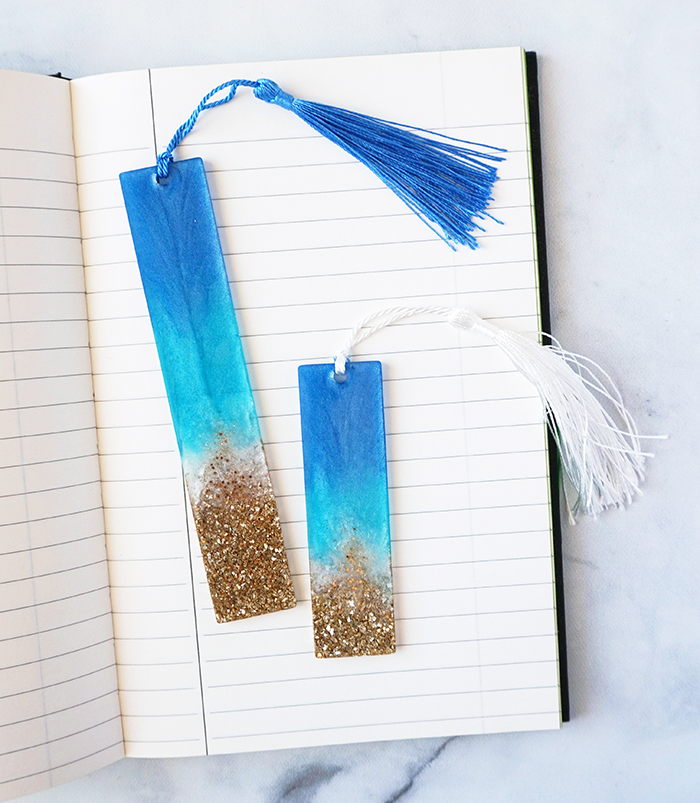
Hey Resin Crafters! Lindsay from Artsy-Fartsy Mama here, and I’m so excited to share this beach-inspired resin project with you! I absolutely love everything about the beach, and love creating beach-inspired projects to display in my home. Even though these Resin Beach Bookmarks are much smaller than my Resin Beach Coasters, they are just as much fun to make and are so beautiful! If you are intimidated by trying beach-inspired projects on a larger scale, this is the perfect project to start with!
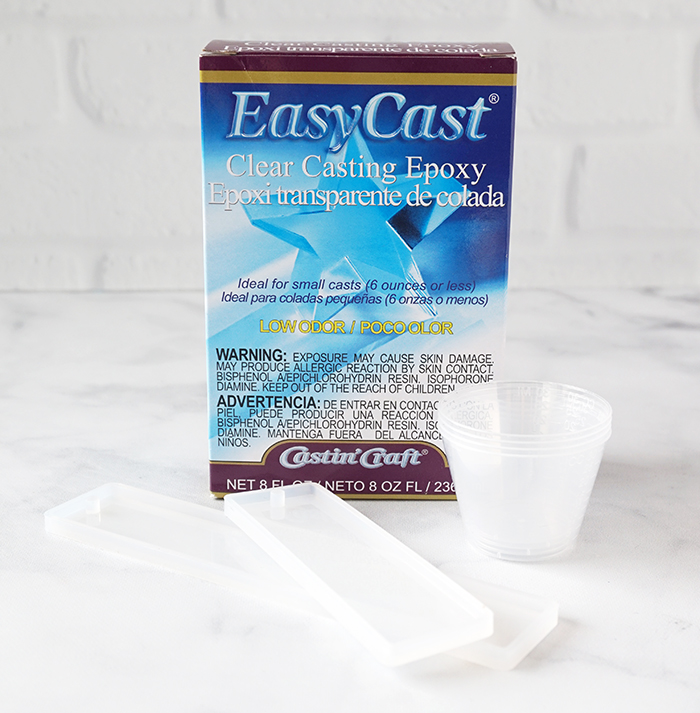
TO MAKE YOUR OWN RESIN BEACH BOOKMARKS, YOU WILL NEED THESE SUPPLIES:
- EasyCast Clear Casting Epoxy
- Mold Conditioner and Release Spray
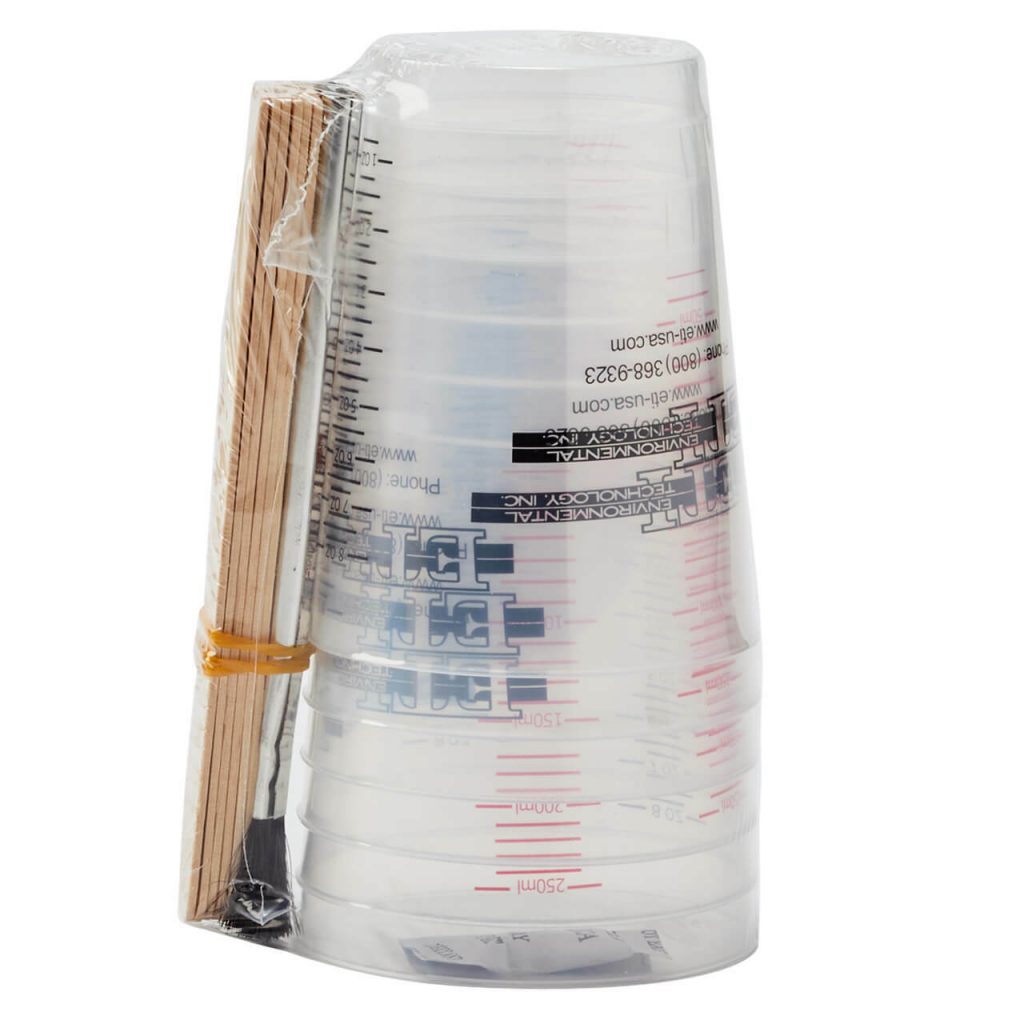
- Measuring Cups
- Stirring Sticks
- Disposable Gloves
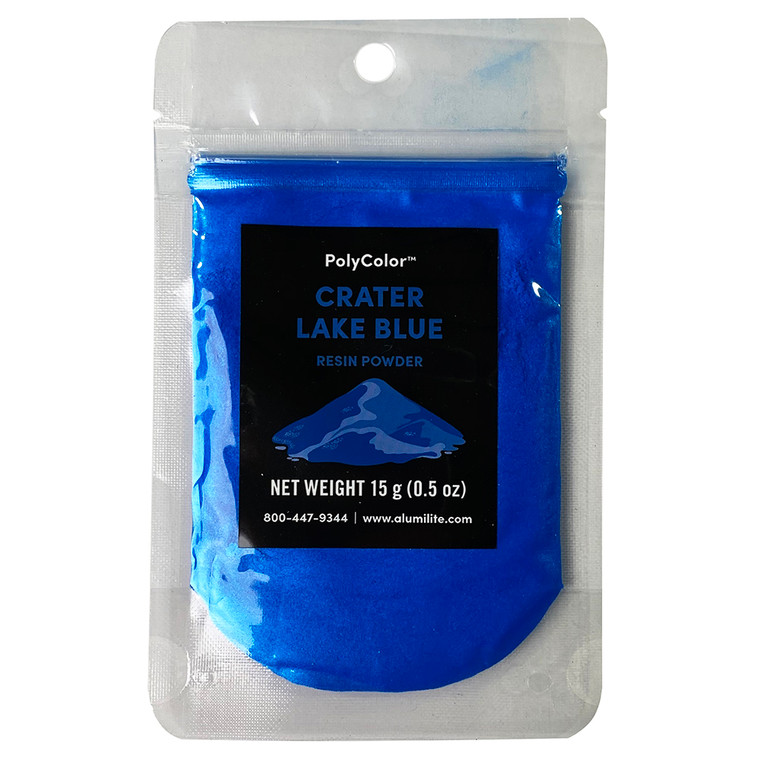
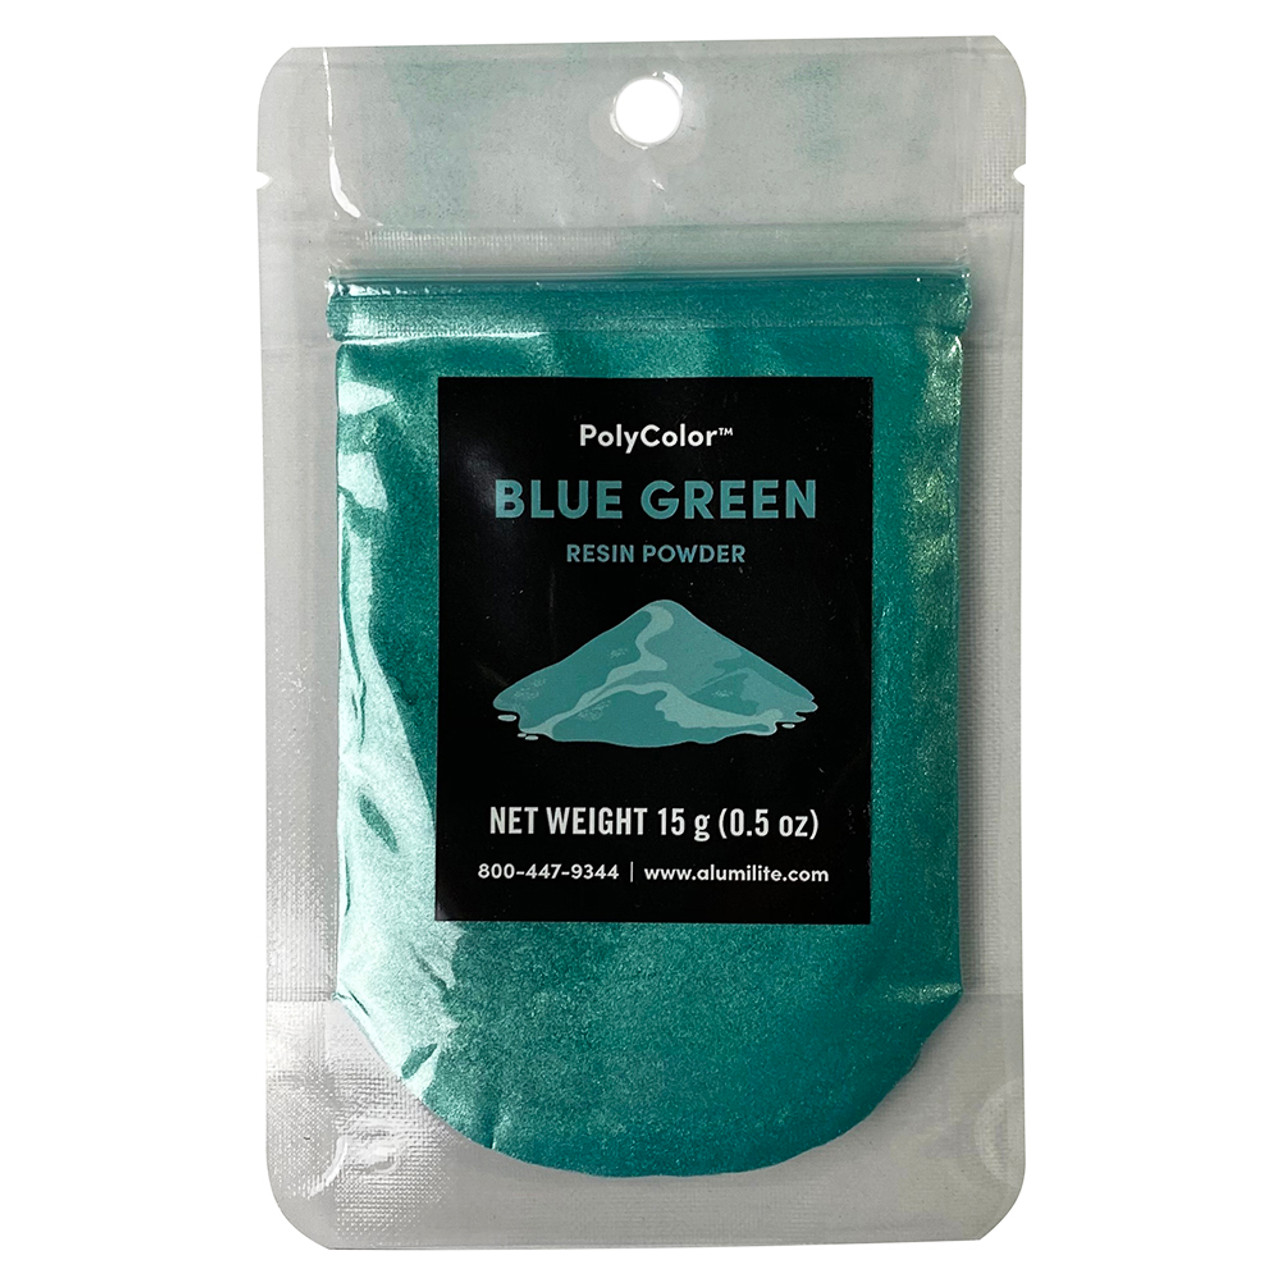
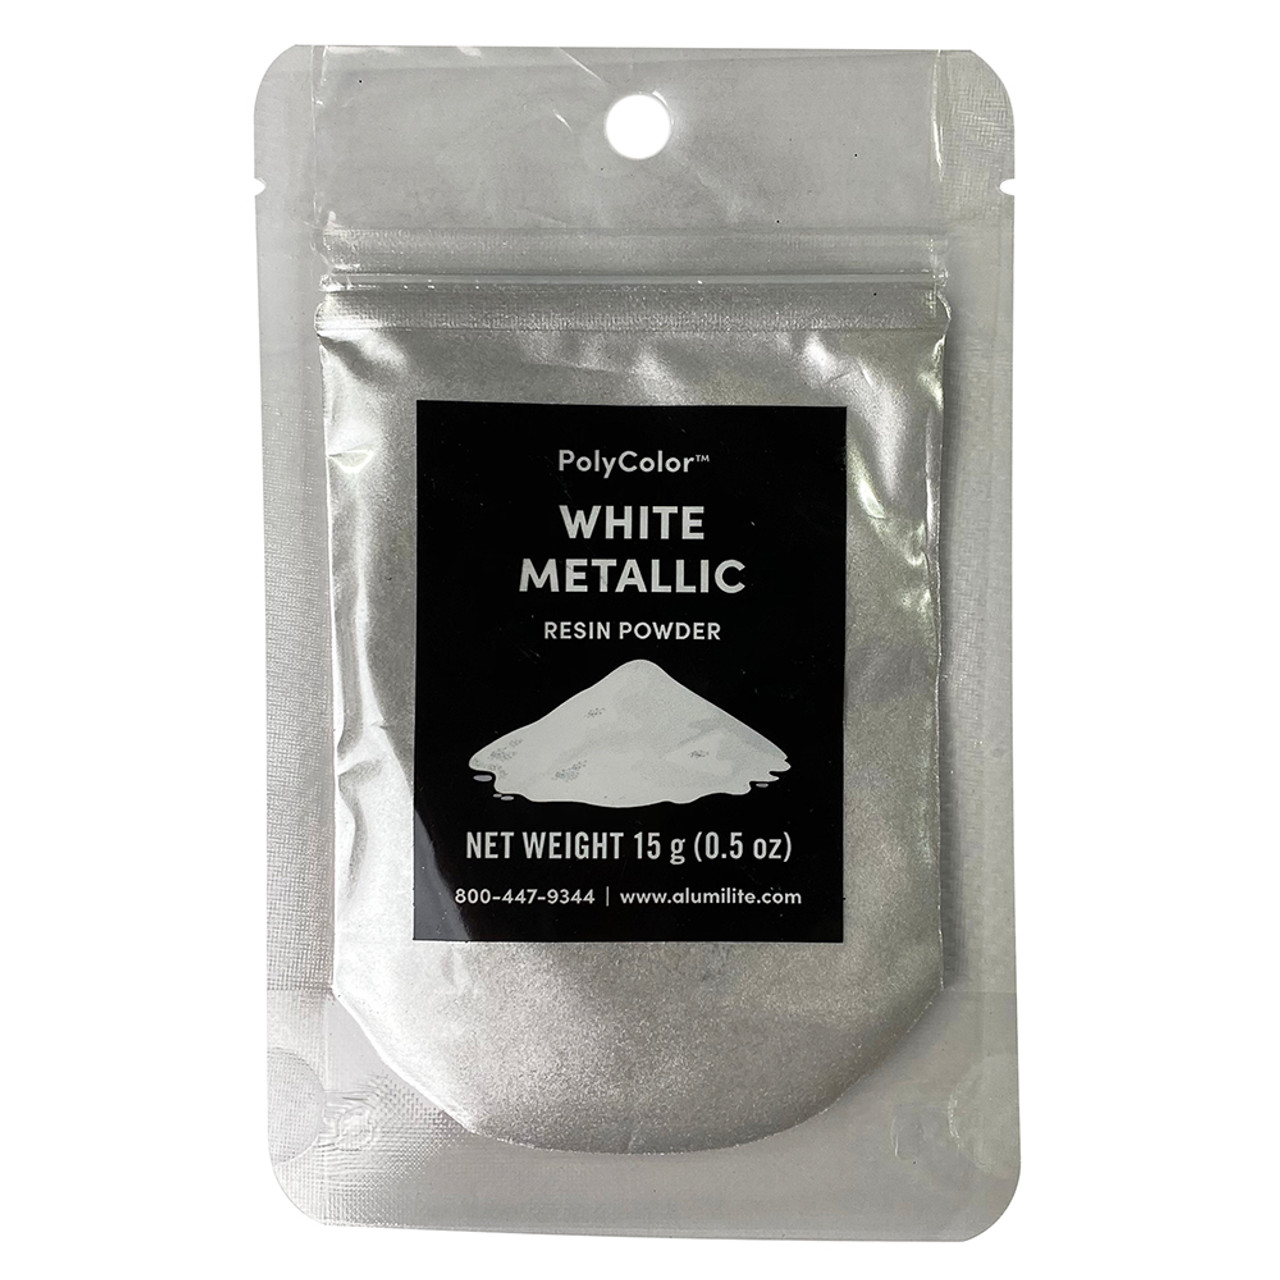
- PolyColor Resin Powder – Crater Lake Blue, Blue Green, White Metallic
- Bookmark Silicone Mold(s) – I used a large (14.4 cm x 2.9 cm) and small (9.5 m x 2.9 cm)
- Sand, Gold Crushed Glass, Chunky Gold Glitter (or a mix of all 3)
STEP 1:
Prepare 1.5 oz of EasyCast Clear Casting Epoxy according to package directions. Be sure to work in a well-ventilated area and wear disposable gloves. Working with resin can get a little messy, so lay something down to protect your work surface before getting started.
Pour in equal parts resin and hardener to the mixing cup. Stir the resin mixture together with a stir stick for two minutes, making sure to scrape the bottom and sides of the mixing cup. Pour the resin into a clean mixing cup and stir the resin again for another minute or two with a clean stir stick. Split the resin into four small mixing cups.
STEP 2:
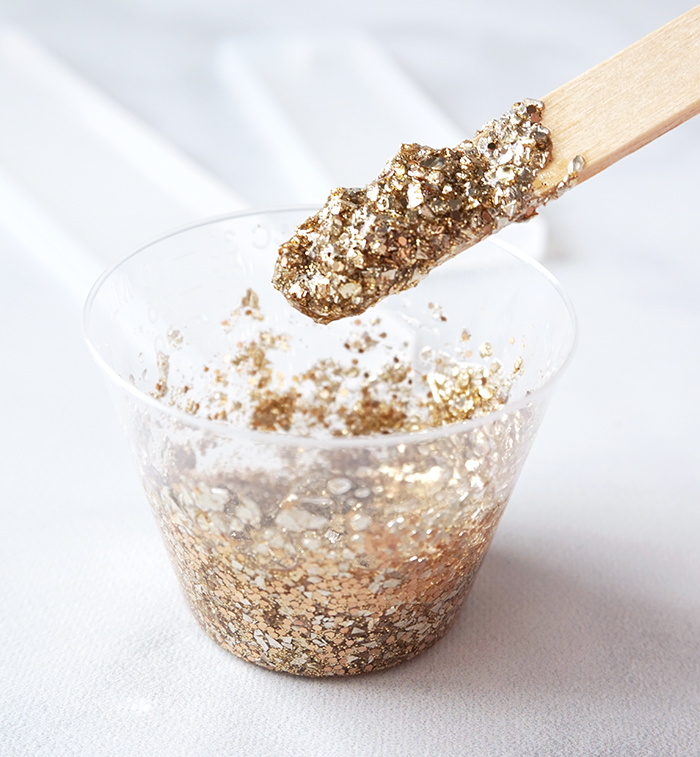
Gather some sand from your latest beach trip, or use a mixture of gold crushed glass and a variety of chunky gold glitters. Add the mixture to one of the cups of resin. Mix it together well and add enough sand/glitter to make a paste-like consistency.
STEP 3:
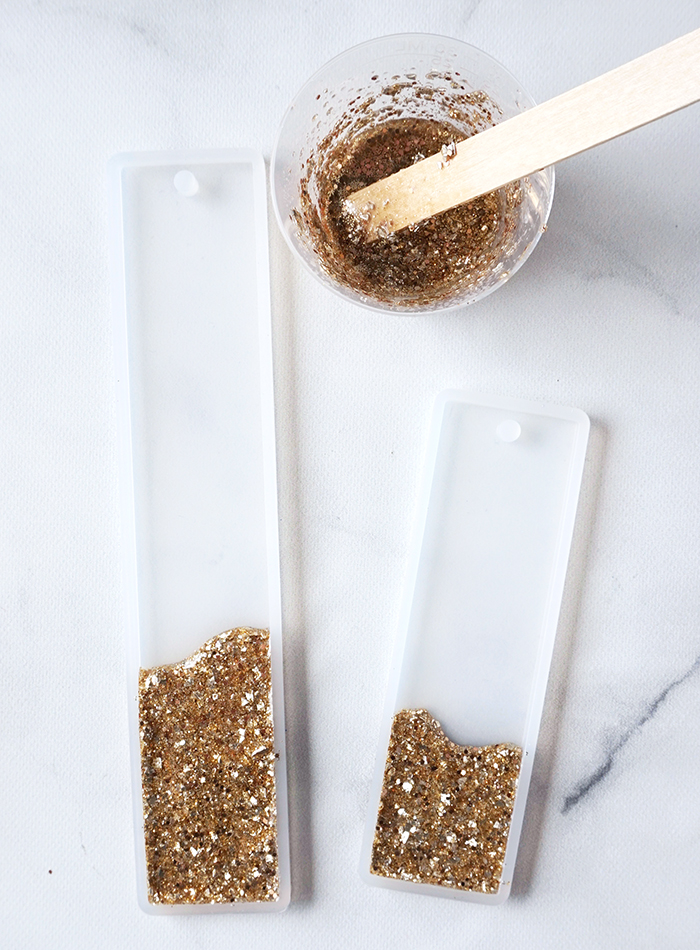
Spray the molds with Mold Conditioner and Release Spray. This will help your projects come out of the molds perfectly. It’s also great to use after you are done with your resin projects to clean and ultimately extend the life of your molds.
Fill the bottom third of the bookmark molds with the sand/gold resin mixture. I gave the top edge of the resin a little bit of a wavy look. It’s totally optional to do this, but I like the way it looks.
STEP 4:
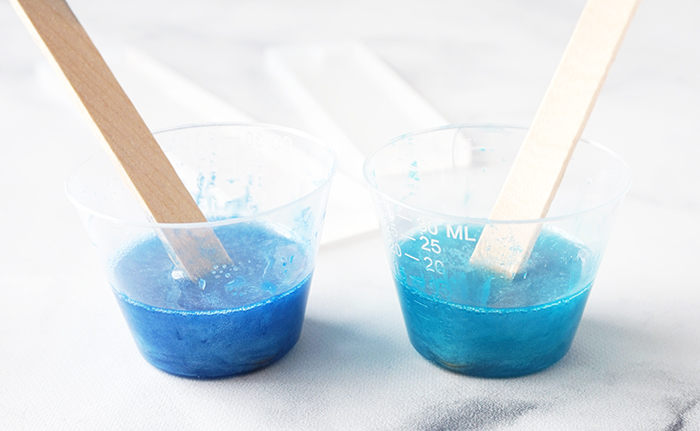
Mix some Crater Lake (darker blue) PolyColor Resin Powder into one of the resin cups, and some Blue Green PolyColor Resin Powder into another. Mix the resin cups well until the powders have been completely combined.
STEP 5:
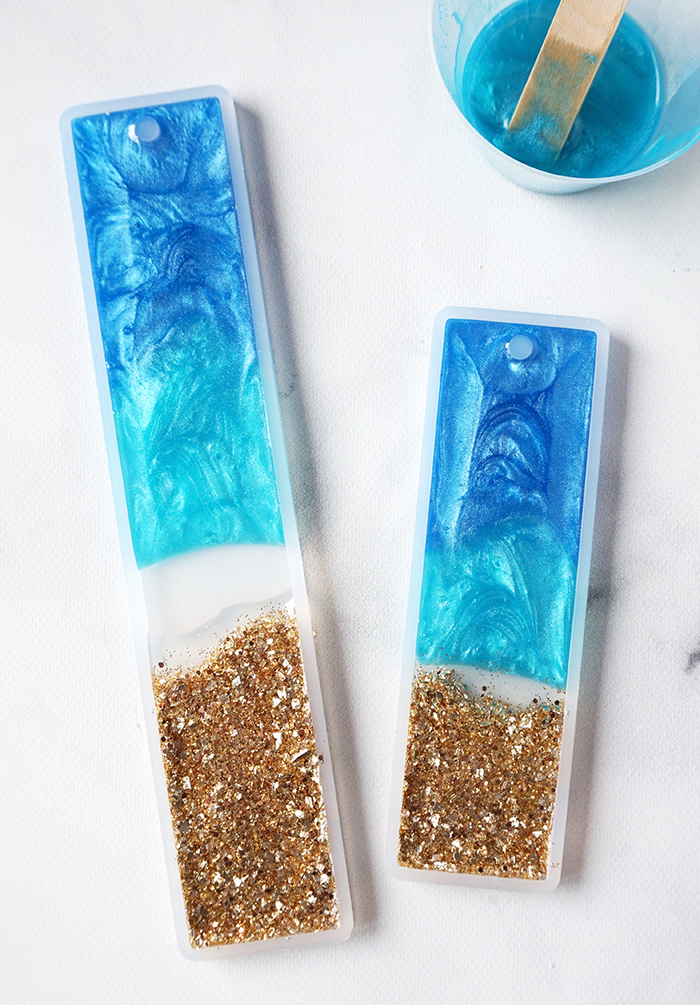
Add a little bit of clear resin along the “sand” line. Set the resin cup aside to use later. Use the stirring stick to fill the top third of the mold with darker blue resin, and then fill the rest of the mold with the blue green resin (until it just touches the edge of the clear resin).
STEP 6:
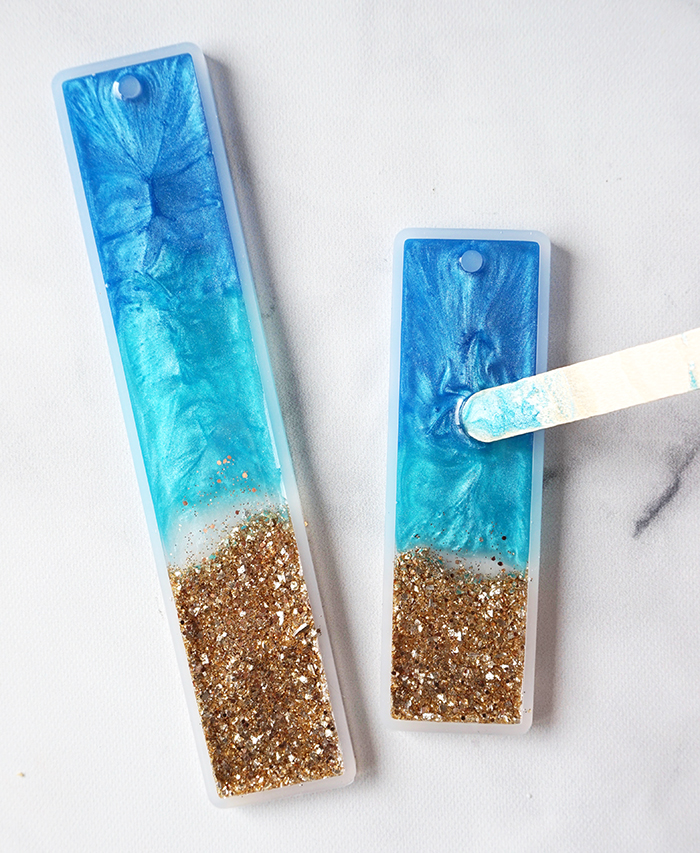
Use one of the blue stir sticks to blend the edge between the two blue resins. This will make it look more ocean-like instead of like two blocks of color. Don’t blend the edge between the blue green and the clear resin.
STEP 7:
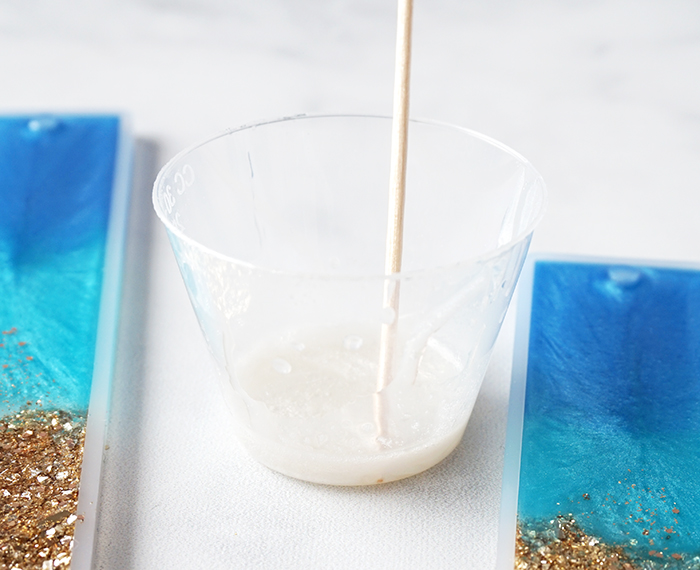
In the last resin cup (should still be clear), add a little bit of White Metallic PolyColor Resin Powder and mix it well until combined.
STEP 8:
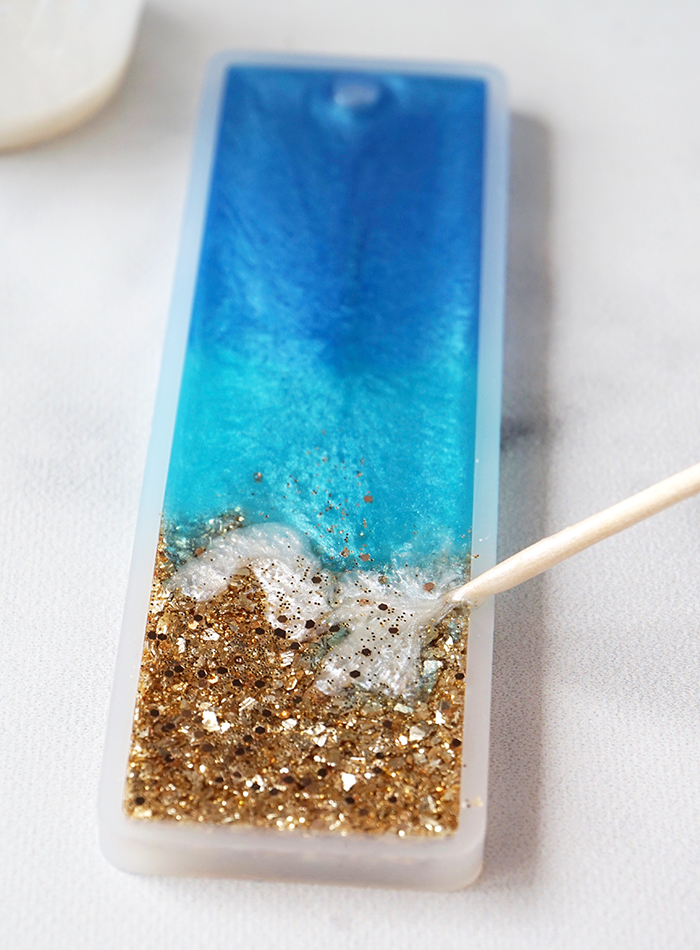
Use a toothpick to add a little bit of the white resin over the edge of the “sand”. Carefully stir the toothpick around to disperse the resin and make it look more like sea foam on the beach. This is a much different technique than I used on my Resin Beach Coasters, where I used a heat gun to blow the resin around. I tried using the heat gun to blow the white resin in the bookmarks, but they were just too small to make it work right. Using a toothpick gave me more control and helped make the bookmarks look better in the end.
STEP 9:
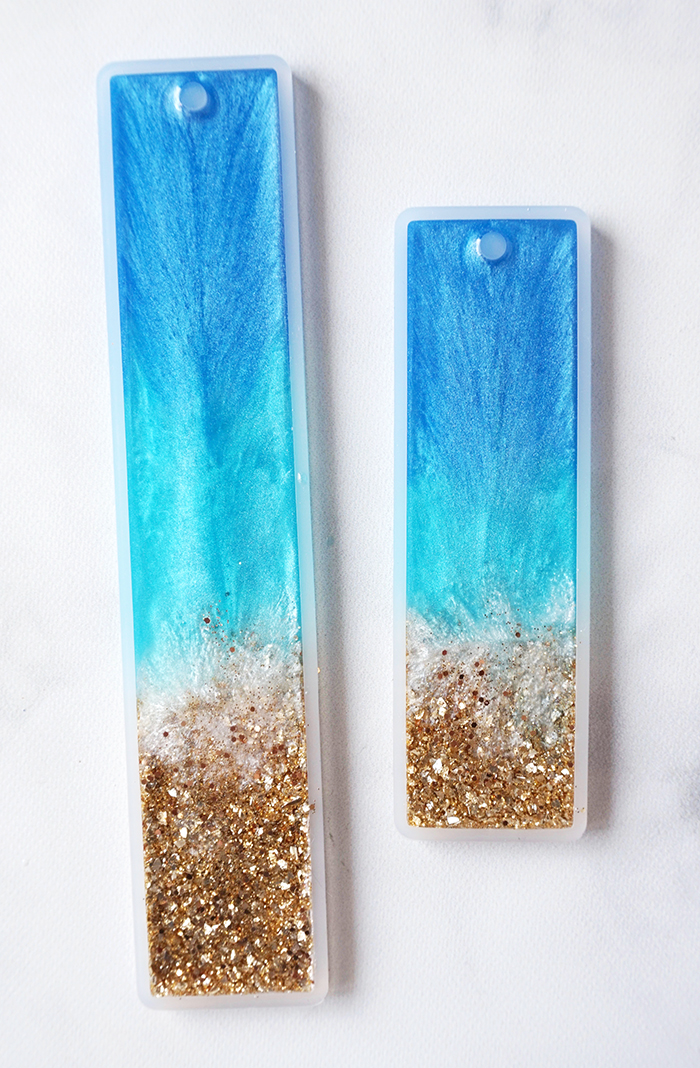
Leave the resin bookmarks to cure in an undisturbed area for at least 24 hours. You will know that the resin is cured and ready to be removed from the mold when the surface is no longer tacky and pulls away from the mold edges.
STEP 10:
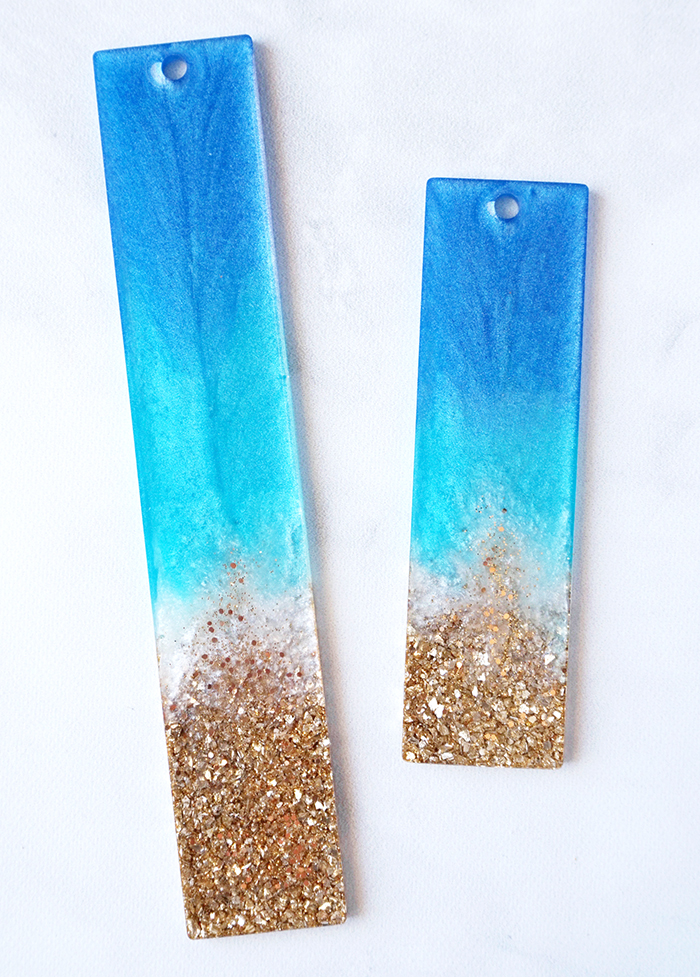
Carefully remove the bookmarks from the molds. If the resin is still flexible, don’t panic. Lay the bookmarks out on a flat surface and let the resin cure for at least another 12 hours, or possibly a few days.
If the resin hasn’t hardened after a few days to a week, you may have not mixed the resin correctly and unfortunately, will have to start the project over again.
STEP 11:
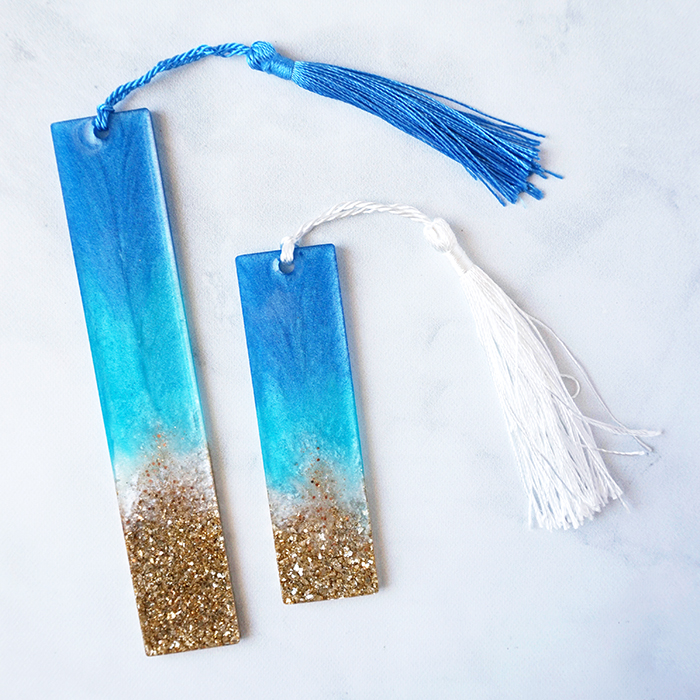
Once the bookmarks are completely hardened, they are ready to be used! Attach a tassel in a coordinating color through the hole in the top of the bookmark.
As always, I would love to hear what you think about these Resin Beach Bookmarks made with EasyCast! Be sure to check out these other resin beach tutorials for more inspiration, and share your own creative resin projects in the ETI Facebook Group!
Don’t forget to Pin, Like, and Share!
Lindsay is a crafter, graphic designer, and glitter enthusiast from Utah. She’s passionate about homeschooling her creative daughter, traveling, and spending time in the craft room. Lindsay shares DIY project tutorials, printables, recipes, kids crafts, and more on her blog, ArtsyFartsyMama.com, where she inspires readers to live a creative life.



These bookmarks look great! Is this a good project for beginners? What bookmark molds do you recommend? How much epoxy and resin powder would you suggest that I use for 15 bookmarks? Thank you!
Hi Rachel! This is a fantastic project for beginners! I got my bookmark molds on Amazon, and they have been great. Each bookmark takes 15-20 ml of resin, so I’d say about 10 oz total for 15 bookmarks?