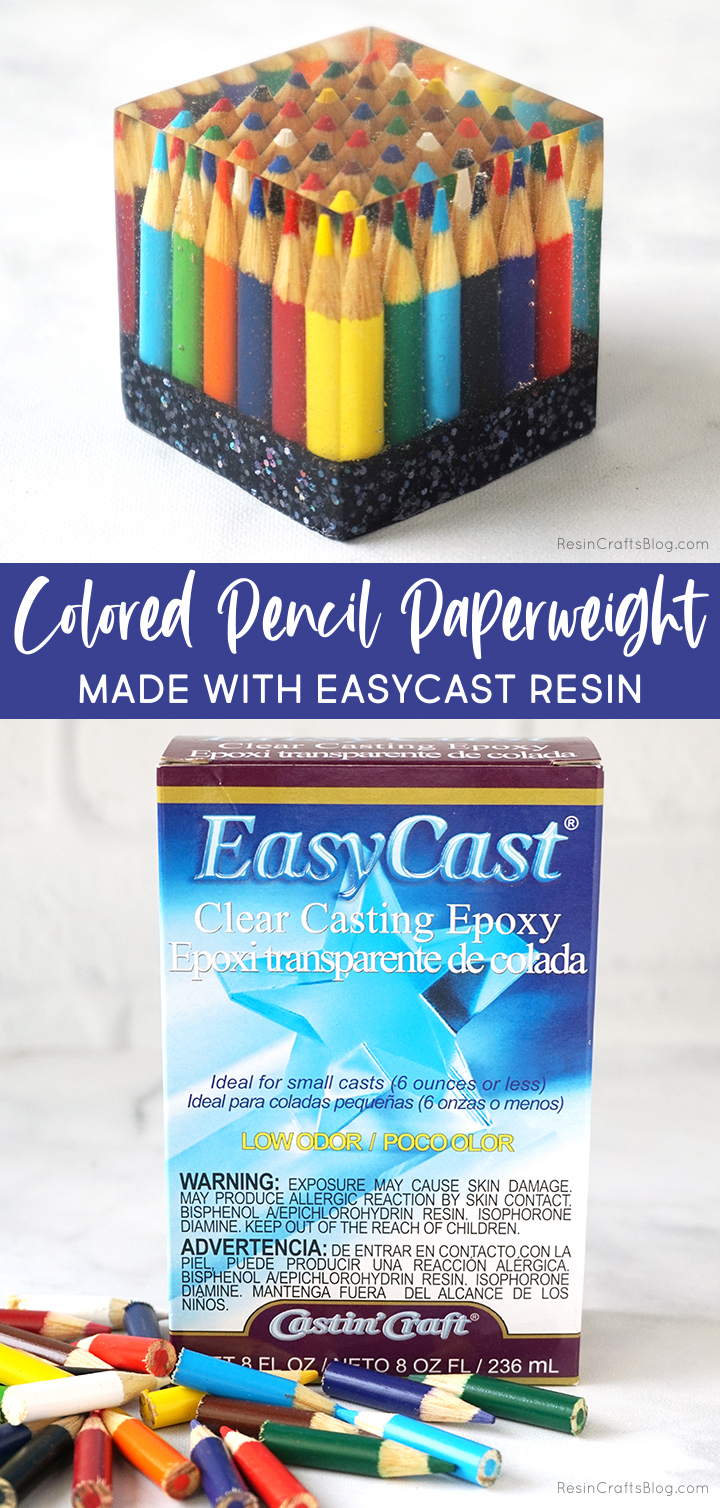
Create a Resin Colored Pencil Paperweight using EasyCast Clear Casting Epoxy for a colorful way to decorate your desk!
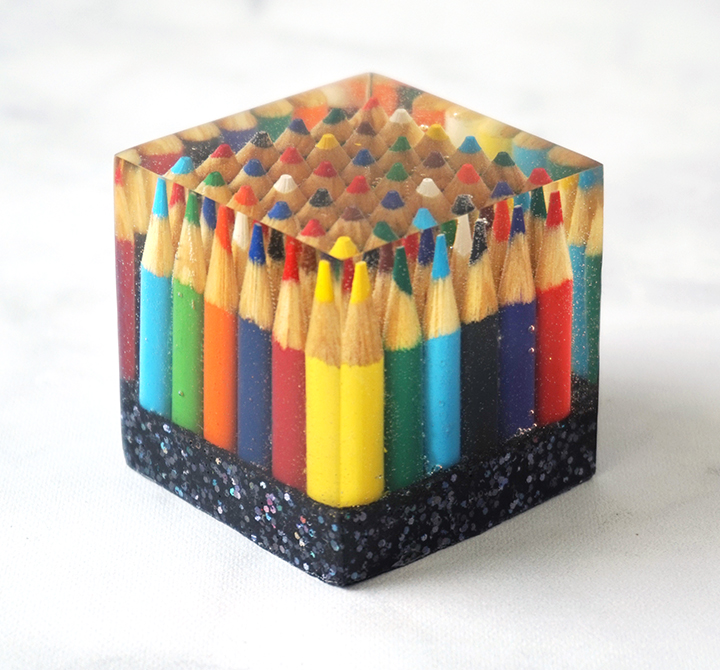
Hello, Resin Crafters! I’m Lindsay from Artsy-Fartsy Mama. Usually coasters and jewelry are my go-to projects with resin, but I decided to try something new. I was inspired by all of the colorful back-to-school supplies to create this eye-catching Colored Pencil Paperweight using EasyCast resin. This paperweight is fun to look at and is a great conversation piece to hold papers in place on your desk! It was actually a lot of fun to try something new, and I hope that you feel inspired to step out of your own comfort zone when it comes to resin.
SUPPLIES NEEDED FOR A RESIN COLORED PENCIL PAPERWEIGHT:
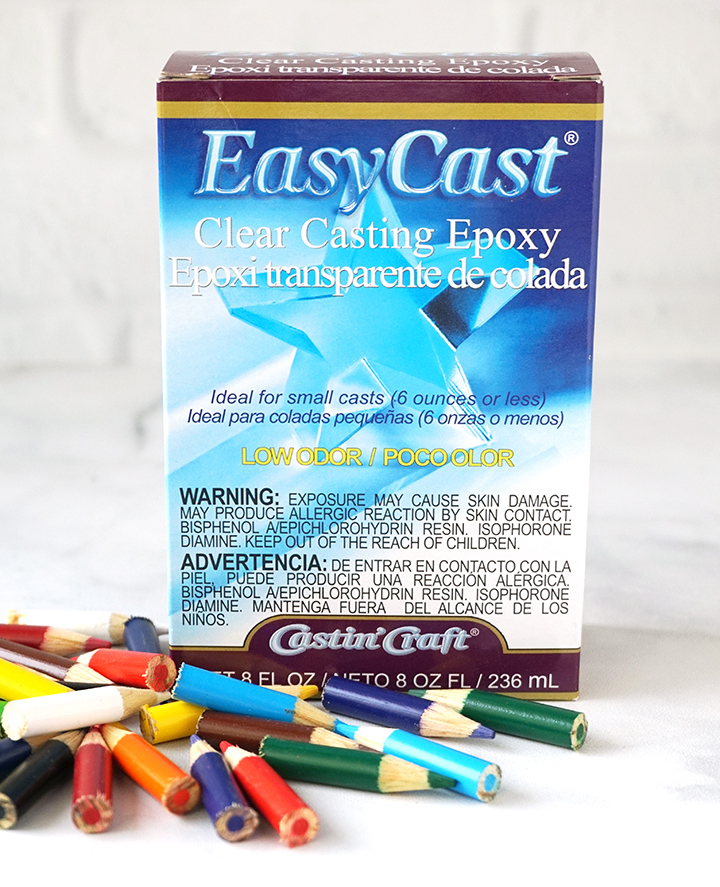
- EasyCast Clear Casting Epoxy
- Measuring Cups
- Stirring Sticks
- Disposable Gloves
- Cube Silicone Mold (2.2″ x 2.2″)
- Colored Pencils
- Glitter (optional)
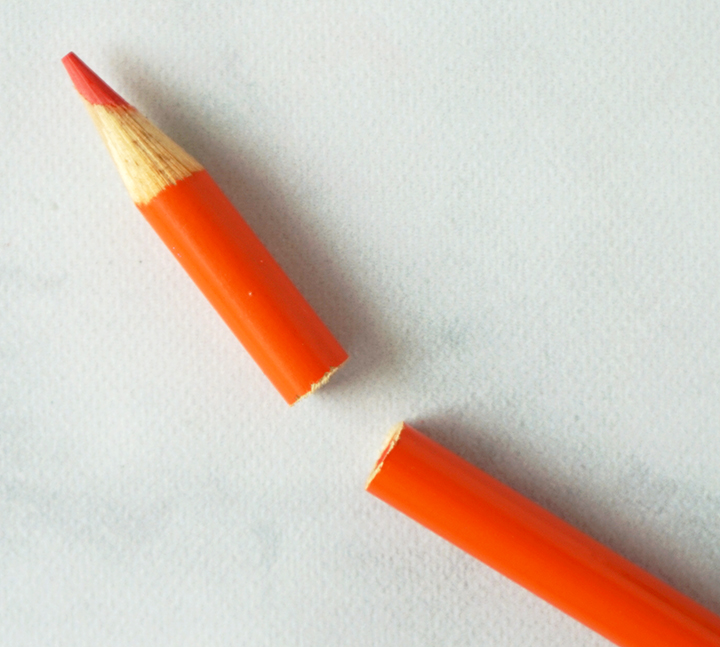
STEP 1:
Measure 1 1/2″ from the sharpened tip of the colored pencil, and use a Dremel tool or a bandsaw to cut through it. You will need 36 colored pencil tips for this project.
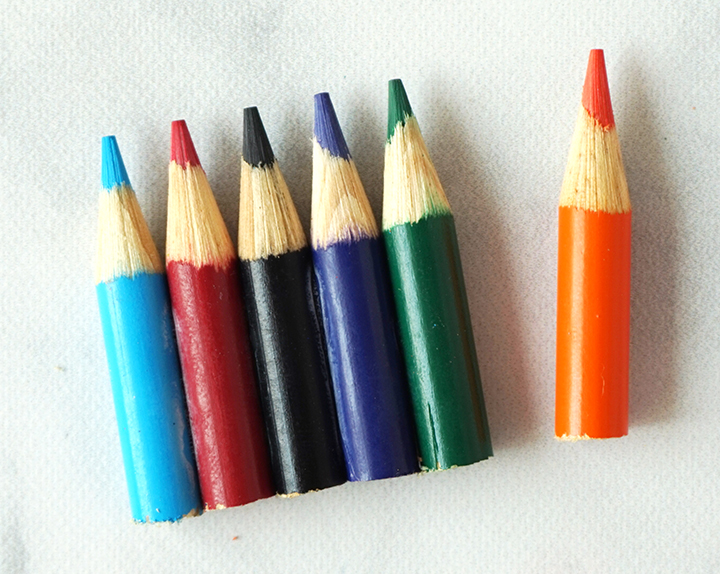
STEP 2:
Line up 6 random colors of colored pencil tips, and use a quick-drying adhesive to stick the sides of them together. Repeat this until you have 6 rows of colored pencil tips glued together.
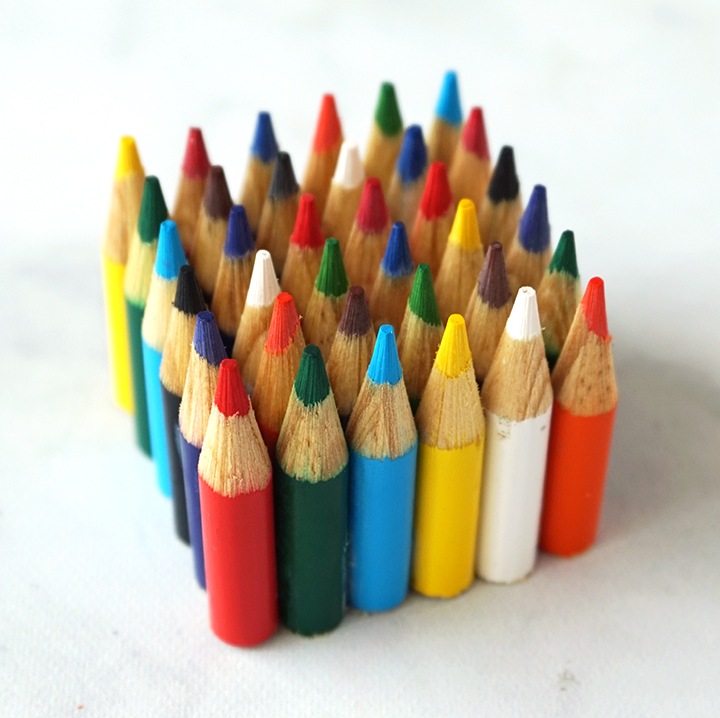
STEP 3:
Next, glue the rows of colored pencil tips together, one row at a time. When you’re done, you should have a 6×6 colored pencil cube. Make sure they are all stuck together well!
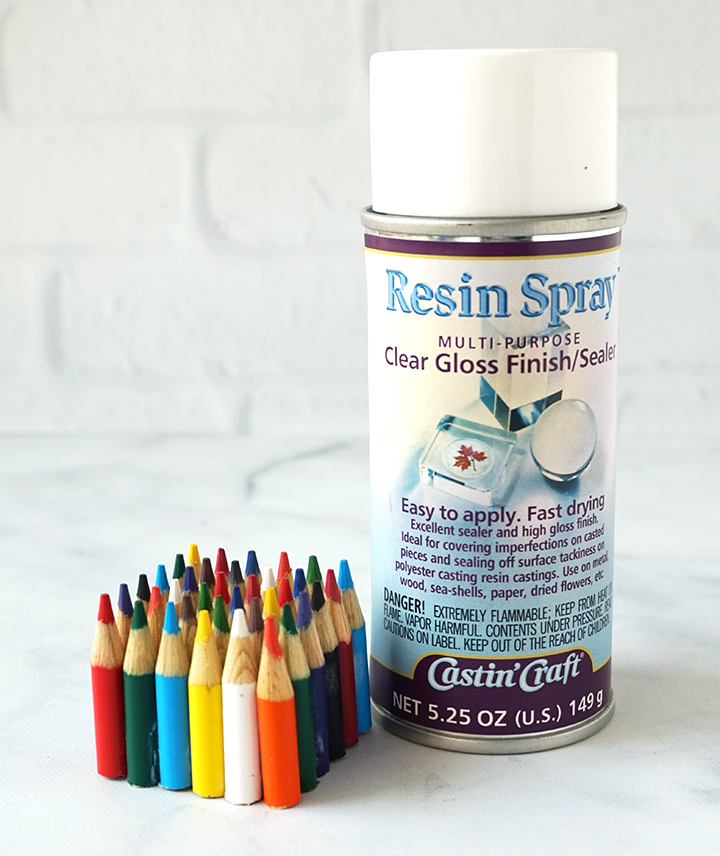
STEP 4:
When immersing objects into resin, it’s important to seal it well first. You can do this by either painting resin onto it and letting it cure, or by spraying the object well with Resin Spray to seal it. This will help from the objects absorbing the poured resin and having color bleeds or discoloration.
STEP 5:
Prepare the EasyCast Clear Casting Epoxy according to package directions. Be sure to work in a well-ventilated area, and wear a mask and disposable gloves.
Add equal parts resin and hardener to the mixing cup (mix 2-2.5 oz). Stir the resin mixture together with a stir stick for two minutes, making sure to scrape the bottom and sides of the mixing cup. Pour the resin into a clean mixing cup and stir the resin again for another minute or two with a clean stir stick.
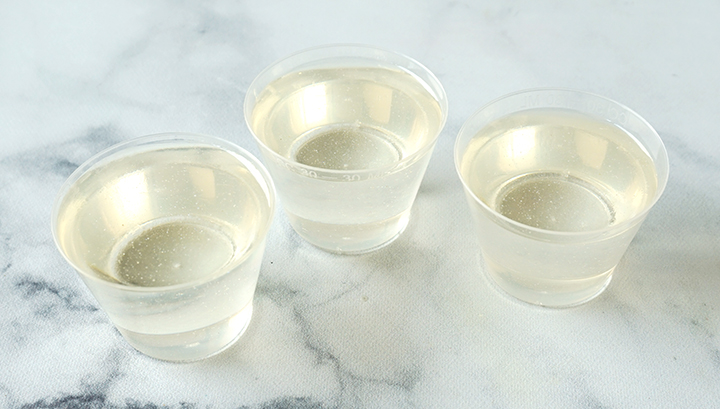
You want the resin to be as clear as possible, so be sure to check out these tips to reduce bubbles in your resin projects! Separate the resin into 2-3 small mixing cups. Let the resin sit for a minute or two and let the bubbles rise to the top so that you can get rid of them.
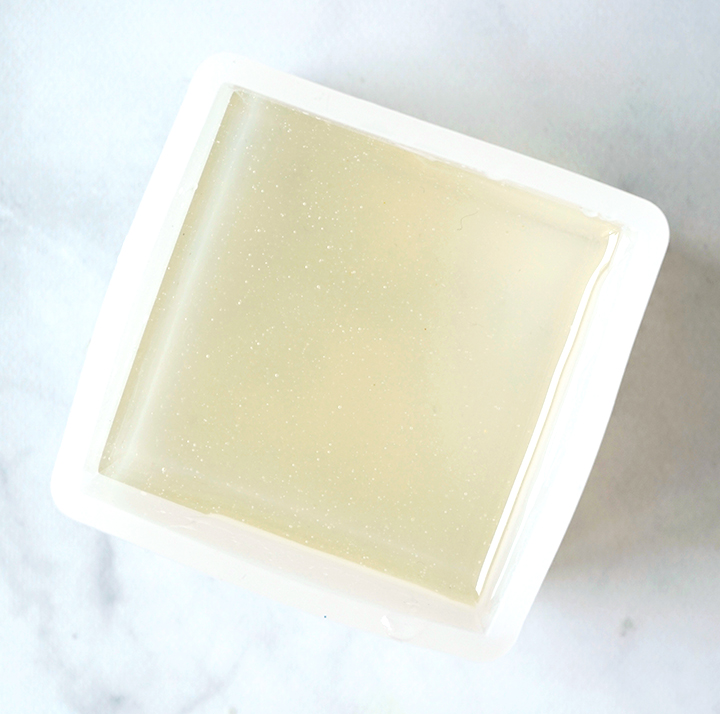
STEP 6:
When you pour the resin into the mold, angle it a little so that you pour it slowly onto the side of the mold and let it run down. Stop pouring after a little bit, and pop any bubbles you can. Resume pouring, and then pop bubbles again. Repeat until the mold is a little over halfway full. Wait a minute or two and pop any other bubbles that rise to the top.
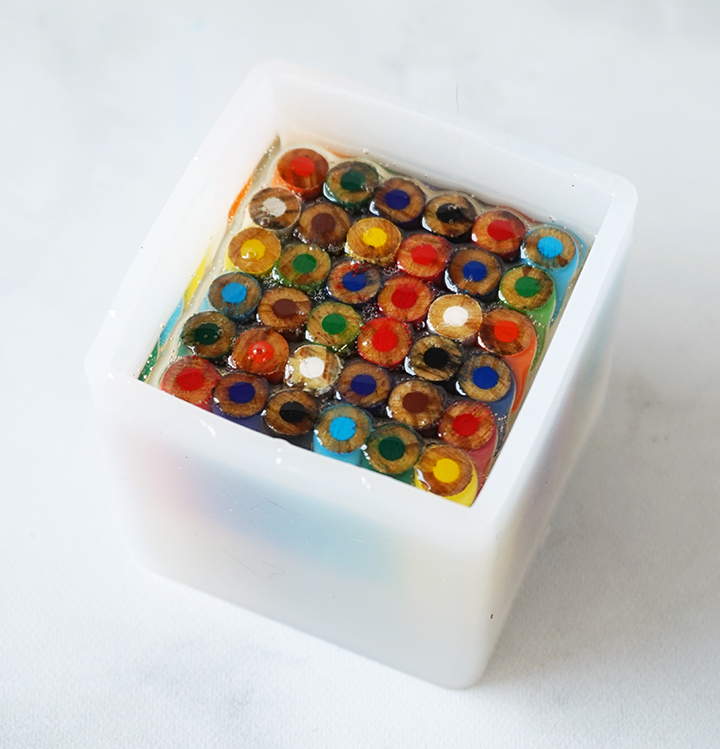
STEP 7:
Tip the colored pencil cube about 45º and slowly place it into the resin. Use a toothpick, a stir stick, or a gloved finger to gently push the colored pencils down into the resin until the ends have been coated. Let the resin sit for a few minutes, then use a straw, heat gun, or lightly spritz the top of the resin with alcohol to remove any air bubbles that rise to the top. You might have to do this a few times since some of the bubbles need to work their way up.
Sometimes objects will rise up out of the resin over time, so check the colored pencils after about 30 minutes and push them back down if needed.
Let the resin cure for at least 4-6 hours before moving onto the next step.
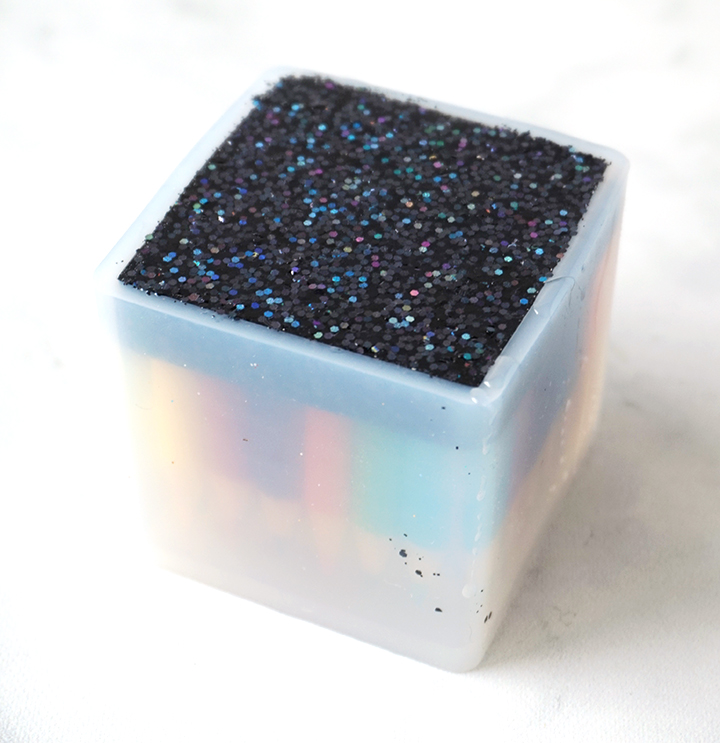
STEP 8:
To cover up the bottom of the colored pencils, I chose to mix up a sparkly layer. You can use any color and any glitter you want! Mix up about 1/2-3/4 oz of EasyCast Clear Casting Epoxy according to package directions. Be sure to work in a well-ventilated area, and wear disposable gloves. Add one color of glitter, mica powder, or pigment. I love to mix different sizes and textures of a similar color of glitter, plus a drop of pigment for a more vibrant color. Stir the resin well to make sure the glitter and pigment are completely combined in the resin.
Fill the mold up the rest of the way with the colored resin. Pop any bubbles that rise to the top using a heat gun, by blowing through a straw, or lightly spritzing with alcohol. Leave the resin to cure in an undisturbed area for 12-24 hours. You will know that the resin is completely cured when it is no longer tacky and doesn’t smell.
STEP 9:
Now for the most exciting step – removing the resin from the mold! This mold can be a little tricky, so I recommend pulling the edge of the mold away from the resin and adding in a couple drops of water. Push the water drops throughout the mold and gently push the resin up from the bottom of the mold. It should slide right out! Dry the paperweight off and admire your work. If you over-poured any resin, you can trim the excess away using a craft knife or scissors.
As always, I would love to hear what you think about this Resin Colored Pencil Paperweight Made with EasyCast! Be sure to check out these other resin paperweights for more inspiration, and share your own creative resin projects in the ETI Facebook Group!
Don’t forget to Pin, Like, and Share!
Lindsay is a crafter, graphic designer, and glitter enthusiast from Utah. She’s passionate about homeschooling her creative daughter, traveling, and spending time in the craft room. Lindsay shares DIY project tutorials, printables, recipes, kids crafts, and more on her blog, ArtsyFartsyMama.com, where she inspires readers to live a creative life.


This is awesome!! It reminds me of a project I did for a grade in grad school… but there were no silicone molds back then… ???? Thanks for this awesome idea and stroll down memory lane!!