Make a custom “Dear Santa” Resin Christmas Cookie tray to share your favorite treats with Santa on and his reindeer on Christmas Eve!
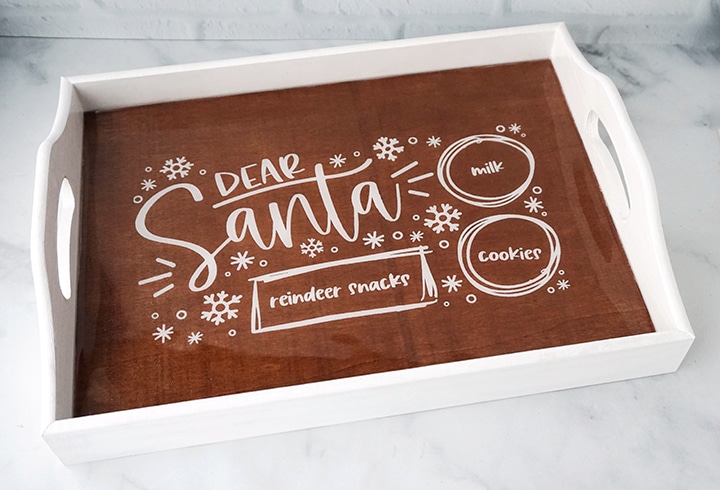
Hello, Resin Crafters! Lindsay from Artsy-Fartsy Mama here with a festive new resin project for you to try! It’s a common tradition to leave Santa some milk and cookies on Christmas Eve, and what better way to serve them to the big guy than on a custom “Dear Santa” DIY Resin Christmas Cookie Tray?! After the wooden tray is painted and the cookie tray design is applied, a layer of Alumilite Amazing Clear Cast is applied to keep the tray looking good as new year after year. I am so excited about this project, and hope that you feel inspired to make one for your own family this holiday season.
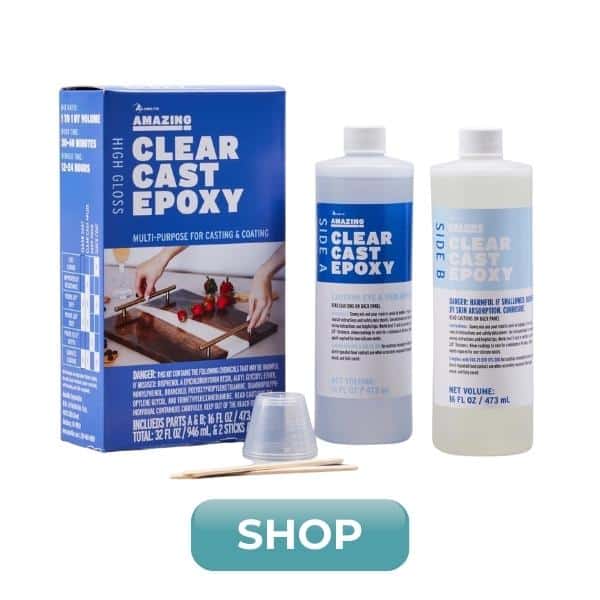
There are many different kinds of resin, and Alumilite Amazing Clear Cast Epoxy is the perfect one for this Christmas cookie tray. Not only is it easy for both beginner and expert resin crafters to use, but the resin is food safe, self-leveling, and cures to a strong, crystal-clear, high-gloss finish.
SUPPLIES TO MAKE A DIY RESIN CHRISTMAS COOKIE TRAY:
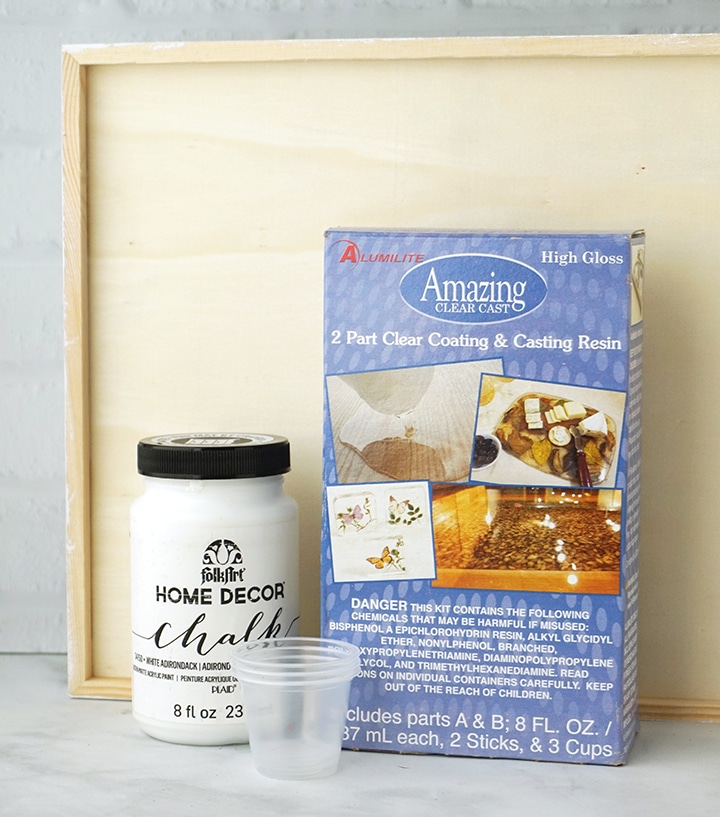
- Alumilite Amazing Clear Cast
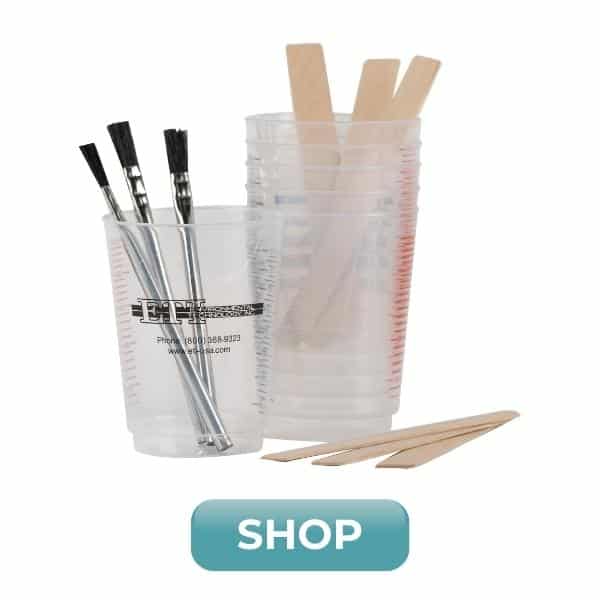
- Mixing Cups
- Stirring Sticks
- Disposable Gloves
- Resin Brush
- “Dear Santa” Cookie Tray Design
- 11″x14″ Unfinished Wood Tray
- Stain or Acrylic Paint – Brown, White
- Paint Brush
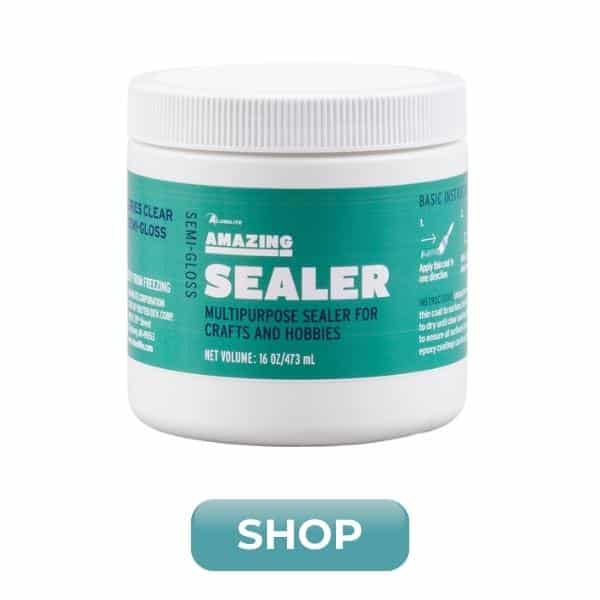
- Amazing Sealer
How to Make a DIY Christmas Cookie Tray Sealed with Resin
Safety first! Any time you create with resin, make sure that you’re working in a well-ventilated area, are wearing protective eyewear and gloves, and always cover your workspace in case of spills.
STEP 1:
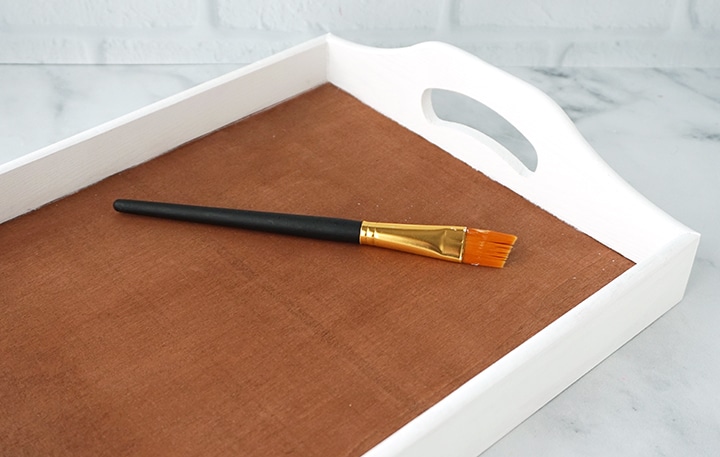
Paint your tray however you’d like. I used a stain for the base of the tray, and then painted the sides with white acrylic paint. Feel free to get creative and have fun with color if it matches your holiday decor! Let the paint(s) on the tray dry completely.

STEP 2:
Download the “Dear Santa” Cooke Tray Design (for personal use only), and apply it to the center of the tray. There are many ways you can do this: stencil, adhesive vinyl, heat transfer vinyl, or trace the design and hand paint it on. For best results, I would use a contrasting color so that the design really stands out on the tray.
STEP 3:
Epoxy can seep into unfinished wood, and discolor and/or create an uneven surface. To help prevent this from happening, apply 3 light coats of Amazing Sealer to the surface of the tray and allow to dry fully between coats.
STEP 4:
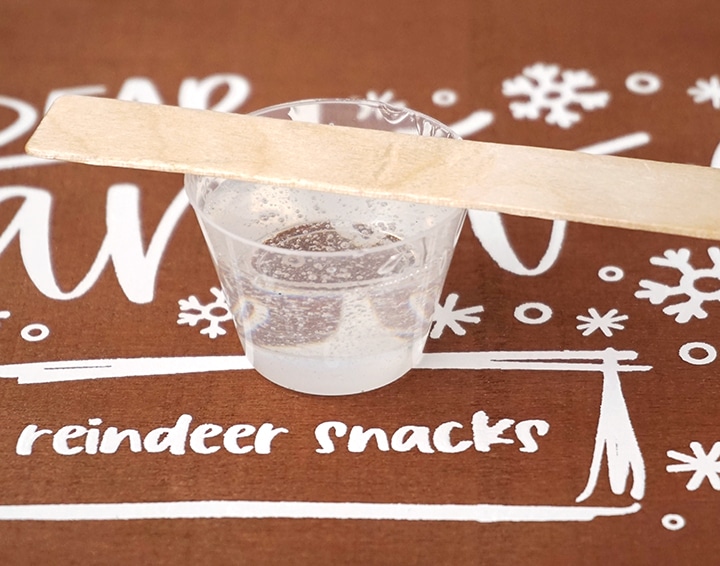
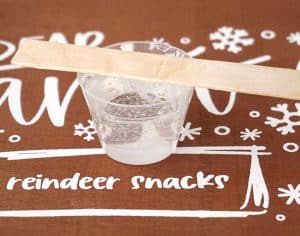
Mix up 20 ml of Alumilite Amazing Clear Cast according to package directions, following all safety guidelines. Pour in equal parts resin and hardener into a mixing cup. Stir the resin mixture together SLOWLY with a stir stick for two minutes. Next, pour the resin into a clean mixing cup and stir the resin again for another minute or two with a clean stir stick. If the resin still has streaks running through it, keep mixing until it becomes clear. To keep bubbles to a minimum, try to not lift the stir stick from the bottom of the cup, and stir in only one direction.

STEP 5:
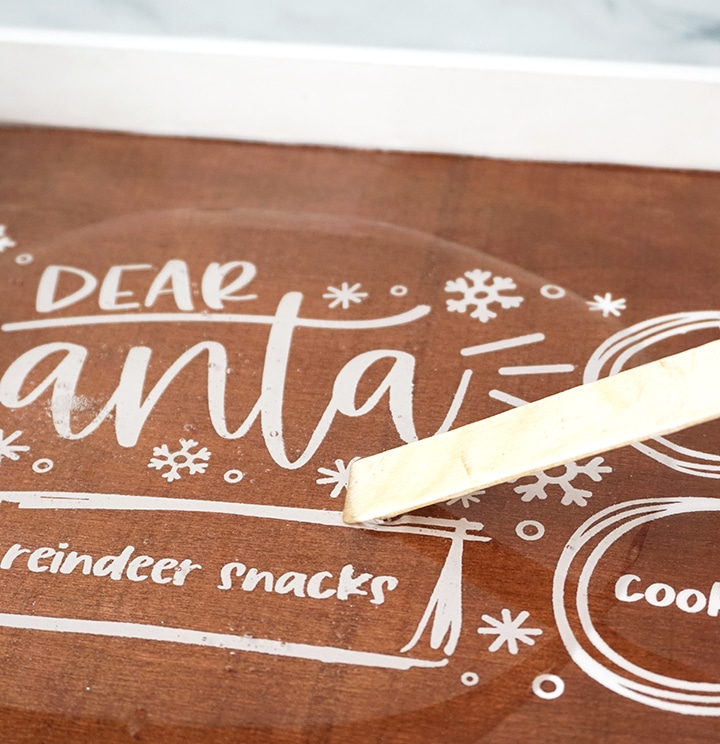
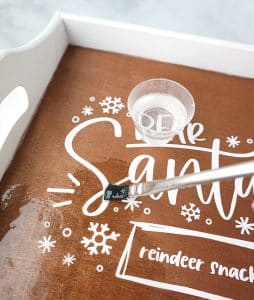
Use a resin brush to apply a thin coat of resin evenly over the inside of the tray. This is called a “seal coat”, which helps to prevent air bubbles from forming when pouring resin onto a porous surface. Use a butane torch, blow through a straw, or spritz the resin with alcohol to remove surface bubbles. Leave the tray to cure in an undisturbed area for at least 3-4 hours, but check in periodically during the first hour to remove any new surface bubbles.
STEP 6:
Prepare another 45 ml of Alumilite Amazing Clear Cast. Slowly pour it over the center of the tray. Amazing Clear Cast is self-leveling but feel free to use a stir stick to help push the epoxy to the edges. Let the resin “rest” for 5-10 minutes to let the bubbles rise to the top. Use a butane torch, blow through a straw, or spritz the resin with alcohol to remove surface bubbles. Leave the tray to cure in an undisturbed area for at least 12 – 24 hours (depending on the temperature and climate where you are), but check in periodically during the first hour or two to remove any new surface bubbles.
STEP 6:
You will know that the resin is cured when the surface is no longer tacky. If it still feels tacky after 72 hours, you may have mixed the resin incorrectly. Mix up some more resin, making sure to measure and mix according to package directions, and pour one more thin layer. Let the resin cure completely.

STEP 7:
Once you are sure that the resin is cured, the tray is ready for use. Place Santa’s milk and cookies on the labeled circles, and then add a few reindeer treats to the rectangle in the center. To clean the tray, wipe the area clean with a damp cloth. Do not put the tray in the dishwasher or immerse in water.
This is such a fun holiday project to make using resin. As always, I would love to hear what you think about this Dear Santa Christmas Cookie Tray! Be sure to check out these other resin Christmas crafts for more inspiration, and share your own creative resin projects in the Resin Crafting Facebook Group and be sure to tag us @resincraftsblogbyeti when you share on IG!
Like this project? Don’t forget to Pin, Like, and Share!


Dear Santa DIY Resin Christmas Cookie Tray
Materials
- Alumilite Amazing Clear Cast
- Mixing cups
- Stir sticks
- Nitrile gloves
- Resin brush
- "Dear Santa" Cookie Tray Design
- 11″x14″ Unfinished wood tray
- Stain or acrylic paint – Brown, White
- Paint brush
- Amazing Sealer
Instructions
- Safety first! Any time you create with resin, make sure that you’re working in a well-ventilated area, are wearing protective eyewear and gloves, and always cover your workspace in case of spills.
- Paint your tray however you'd like. Feel free to get creative and have fun with color if it matches your holiday decor! Let the paint on the tray dry completely.

- Download the "Dear Santa" Cooke Tray Design (for personal use only), and apply it to the center of the tray. There are many ways you can do this: stencil, adhesive vinyl, heat transfer vinyl, or trace the design and hand paint it on. For best results, I would use a contrasting color so that the design really stands out on the tray.
- Epoxy can seep into unfinished wood, and discolor and/or create an uneven surface. To help prevent this from happening, apply 3 light coats of Amazing Sealer to the surface of the tray and allow to dry fully between coats.
- Mix up 20 ml of Alumilite Amazing Clear Cast according to package directions, following all safety guidelines. Pour in equal parts resin and hardener into a mixing cup. Stir the resin mixture together SLOWLY with a stir stick for two minutes. Next, pour the resin into a clean mixing cup and stir the resin again for another minute or two with a clean stir stick. If the resin still has streaks running through it, keep mixing until it becomes clear.
- Use a resin brush to apply a thin coat of resin evenly over the inside of the tray. Use a butane torch, blow through a straw, or spritz the resin with alcohol to remove surface bubbles. Leave the tray to cure in an undisturbed area for at least 3-4 hours, but check in periodically during the first hour to remove any new surface bubbles.
- Prepare another 45 ml of Alumilite Amazing Clear Cast. Slowly pour it over the center of the tray. Feel free to use a stir stick to help push the epoxy to the edges. Let the resin “rest” for 5-10 minutes to let the bubbles rise to the top. Use a butane torch, blow through a straw, or spritz the resin with alcohol to remove surface bubbles. Leave the tray to cure in an undisturbed area for at least 12—24 hours (depending temperature and climate), but check in periodically during the first hour or two to remove any new surface bubbles.

- You will know that the resin is cured when the surface is no longer tacky. If it still feels tacky after 72 hours, you may have mixed the resin incorrectly. Mix up some more resin, making sure to measure and mix according to package directions, and pour one more thin layer. Let the resin cure completely.
- Once you are sure that the resin is cured, the tray is ready for use. Place Santa's milk and cookies on the labeled circles, and then add a few reindeer treats to the rectangle in the center. To clean the tray, wipe the area clean with a damp cloth. Do not put the tray in the dishwasher or immerse in water.

Lindsay is a crafter, graphic designer, and glitter enthusiast from Utah. She’s passionate about homeschooling her creative daughter, traveling, and spending time in the craft room. Lindsay shares DIY project tutorials, printables, recipes, kids crafts, and more on her blog, ArtsyFartsyMama.com, where she inspires readers to live a creative life.


This is so adorable, I have not seen the technique of sealing with the resin on the base layer. I have some trays that I haven’t known what to do with! Thanks for a great idea!