We’ll show you how to easily make pretty resin flowers for decorative mason jar lids that can be used for a special occasion or everyday.

Decorative Mason Jar Lids with DIY Resin Flowers
Hi friends! This is Jane and Sonja from Sustain My Craft Habit, a DIY, craft and home decor blog. We are big fans of using mason jars for craft making, whether it’s transforming them into pretty frosted lanterns or using them to hold special treats for gift giving. Needless to say, we couldn’t wait to incorporate mason jars into our next resin craft.

Ever since we used a small silicone leaf mold to make purse charms, we were excited to experiment with other silicone mold shapes. We came across this lovely flower silicone mold and knew it would make really pretty resin flower mason jar toppers. Seeing them completed and filled with sweets makes us think of beautiful wedding gifts.

Supplies Needed to Make Decorative Mason Jar Lids:
- EasyCast Clear Casting Epoxy
- Flower silicone mold
- Universal Translucent Dye in yellow, red and blue
- Universal Opaque Pigment in pearl
- Measuring cups, wooden stir sticks, paper towels, toothpicks
- Mason Jar
- Glue
How to make a Decorative Mason Jar Lid with DIY Resin Flowers
Be sure to read all the instructions and work in a well ventilated area prior to using the EasyCast Clear Casting Epoxy.
The First Resin Pour
To prepare the resin for pouring, mix equal amounts of resin and hardener in a measuring cup. Two ounces of each should be sufficient for this part of the project.
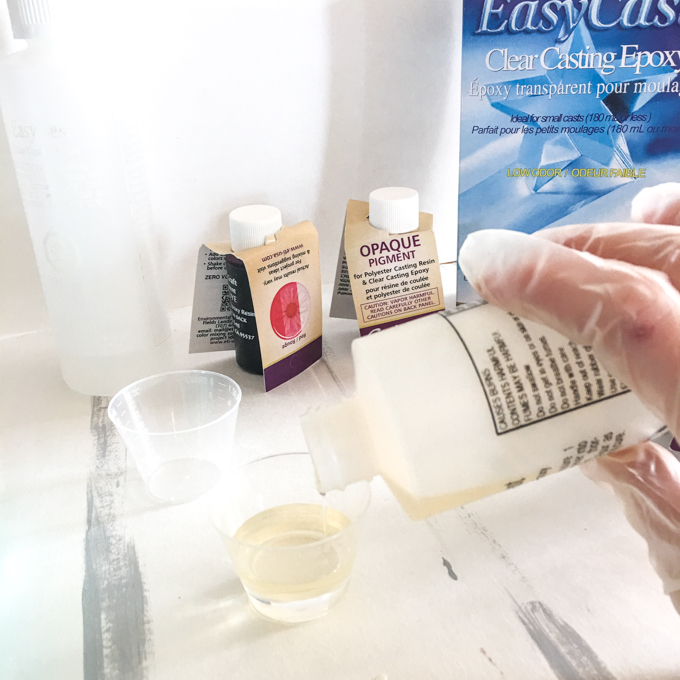
Stir the two parts together for 2 minutes scraping the bottom and sides with the wooden stir stick.
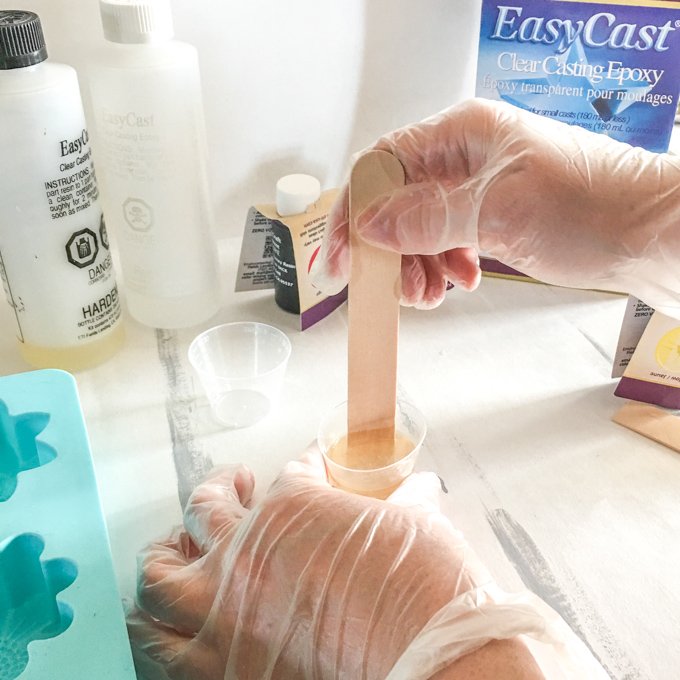
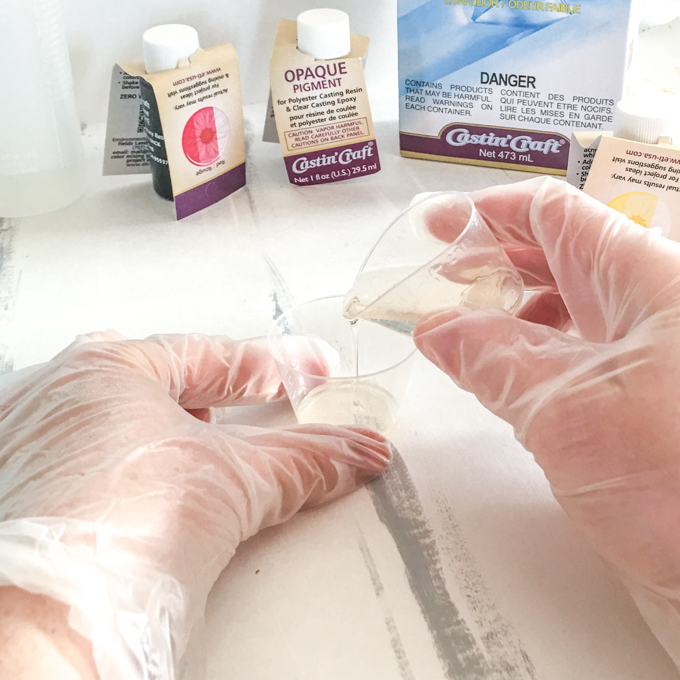
Pour the mixture into a second measuring cup and continue stirring for another minute.
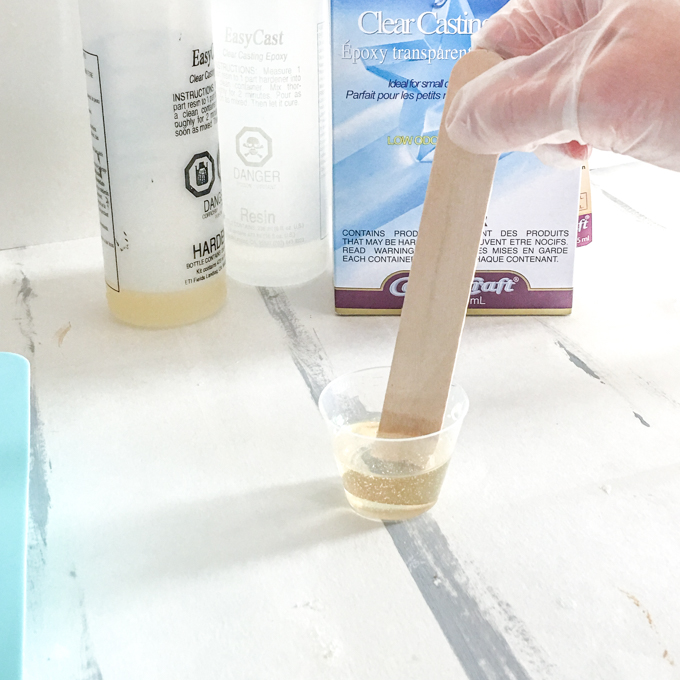
Add 2 drops of the translucent yellow dye into the mixture and continue to stir until the color is blended. Your resin will then be ready to pour.
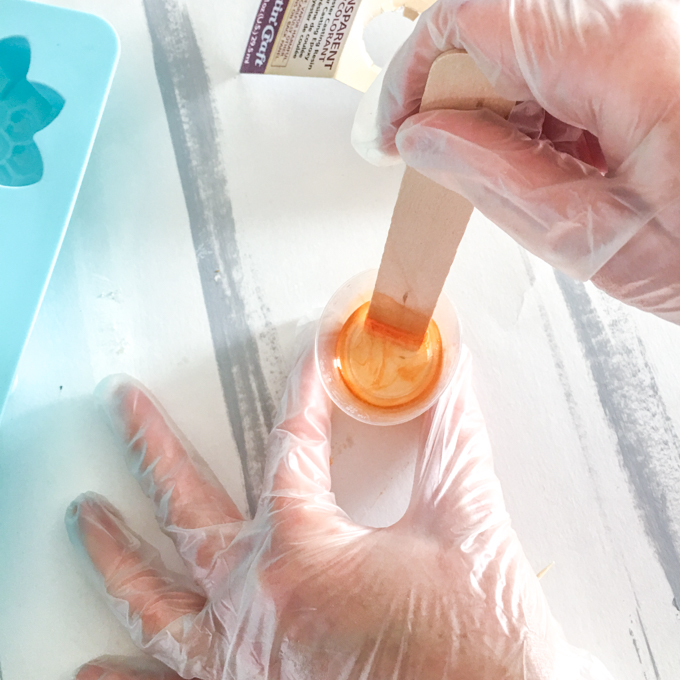
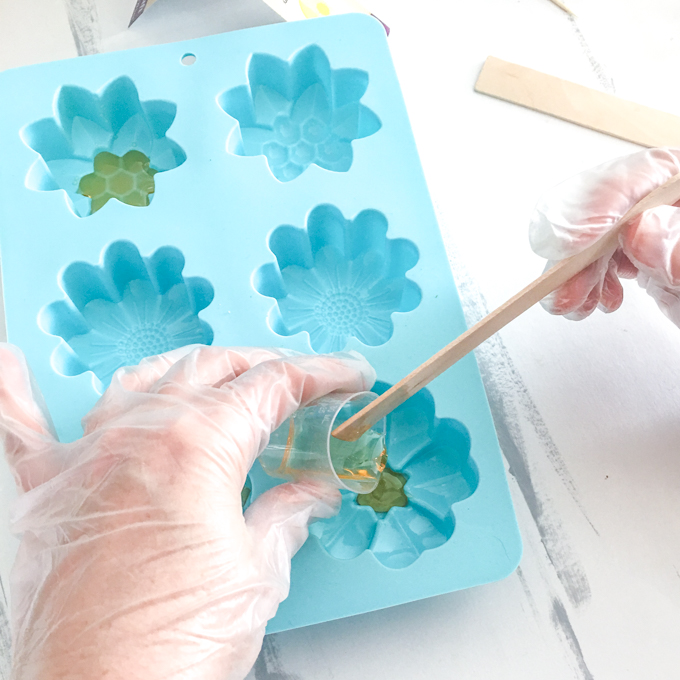
Carefully pour the mixed yellow resin into the center of each flower mold allowing the resin to spill randomly over into the some of the petal of the mold.
Let the resin rest for about 15 minutes and then blow off any bubbles that rise to the surface.
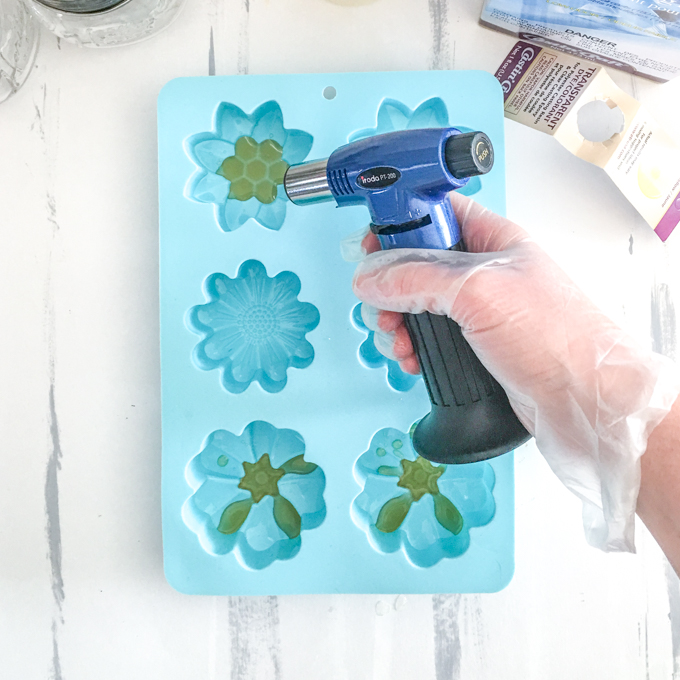
Cover and let cure for an hour before proceeding onto the next step.
The Second Resin Pour
Using a new mixing cup, mix equal amounts of resin and hardener in a measuring cup. Five ounces of each would be enough to complete 3 flowers. Stir the two parts together for 2 minutes scraping the bottom and sides with the wooden stir stick. Pour the mixture into a second measuring cup and continue stirring for another minute.
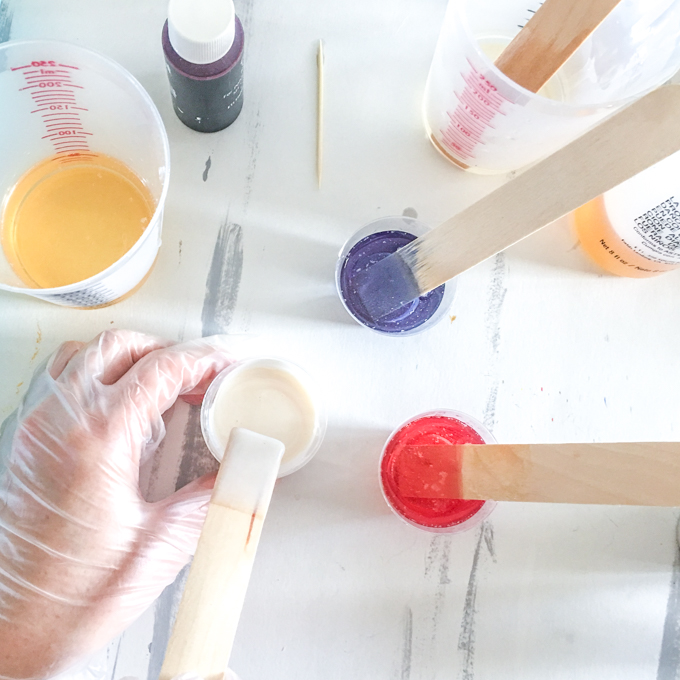
Divide the mixture into 3 smaller mixing cups, approximately 6 ounces in each leaving the remaining clear epoxy in the larger mixing cup. Add 2 drops of the translucent red dye into one cup. Add 2 drops of the translucent blue dye plus 1 drop of the red (to make a purple tinge) into the second cup. And lastly, add 5 drops of the opaque pearl dye into the third cup. Stir each of the cups using a different stir stick until each of the colors are blended. Your resin will then be ready to pour.
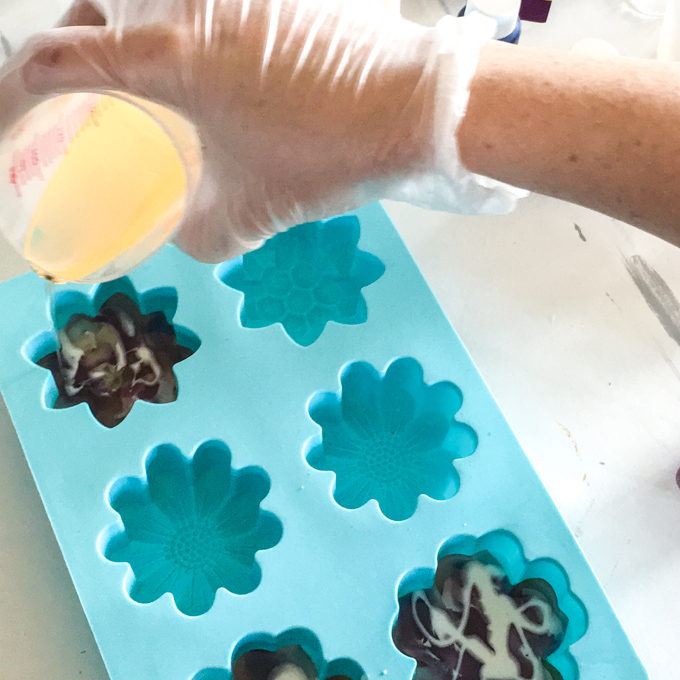
Pour the mixed purple resin into each of the flower molds.
Pour the mixed red resin over top of the purple resin inside each flower mold.
And next, pour the mixed pearl resin into the flower mold. 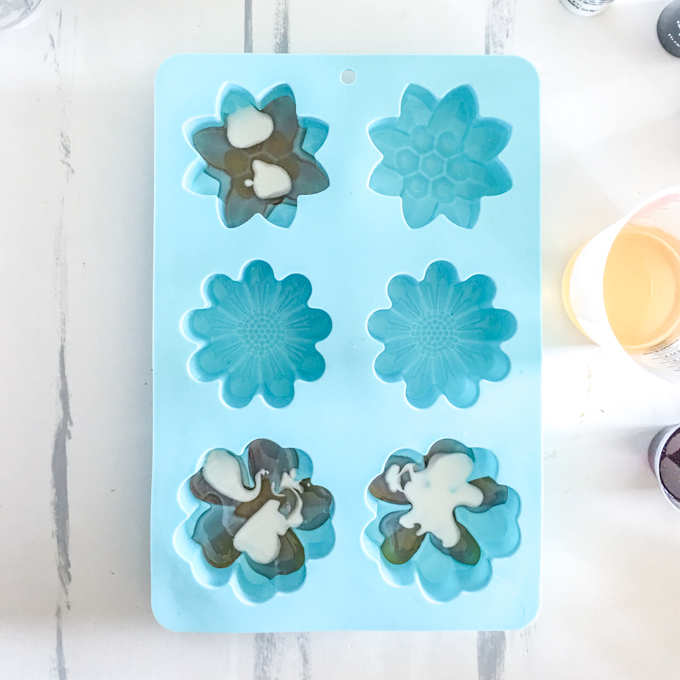 And finish by pouring the remaining clear resin into each mold, dividing it evenly over the flowers.
Using a toothpick, gently mix the poured resin colors together just until you get a marbled effect.
Let the resin rest for about 15 minutes and then blow off any bubbles that rise to the surface.
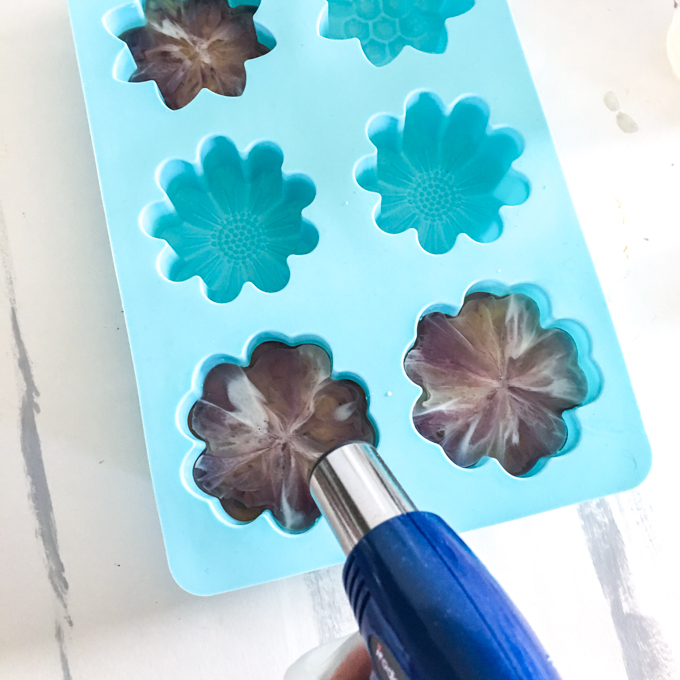
Cover and let cure for 24 to 48 hours before removing from the molds.
Assembling the Mason Jar
Apply glue to the bottom of the resin flowers and press directly onto the mason jar lids.
Fill the mason jars with treats or other goodies and close the lid with the new pretty resin flower mason jar topper.

We’re completely in love with how these resin flowers turned out. The little sparkle from the pearl pigment, along with the feathering of the different colours of resin make them completely mesmerizing to look at. Next time we might forgo the yellow layer though. What do you think?
For additional resin wedding favor ideas check out these:
- keepsake resin coasters
- hand lettered wood slice and resin key chains
- leafy resin paperweights
Like it? Pin it for Later!

Jane and Sonja are sisters, moms and lifelong craft addicts both living near Toronto, Canada with their families. They share their love of creativity, nature and coastal DIY ideas on their blog Sustain My Craft Habit. They craft and decorate their homes using repurposed and upcycled items and materials found in nature.


Leave a Reply