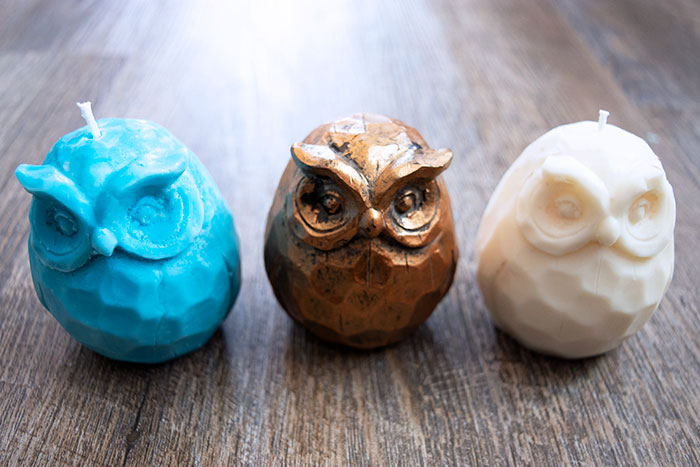
Hello Resin Crafters! This is Kelli, from over in the Craft Shack, and I’m so excited today to show you how you can take your favorite little knick-knacks and turn them into DIY candle or soap molds that copy every little tiny detail exactly! The best part is that this process won’t harm your (non-porous) treasures! I adore owls, and I have some really fun little owl decor in my house. I decided that I would love to copy one of the cute little owls and turn it into a little candle! It was surprisingly easy and now I have a sturdy reusable mold that will make DIY candles or soaps over and over again! Here’s how you make them:

DIY Candles with EasyMold Silicone Rubber
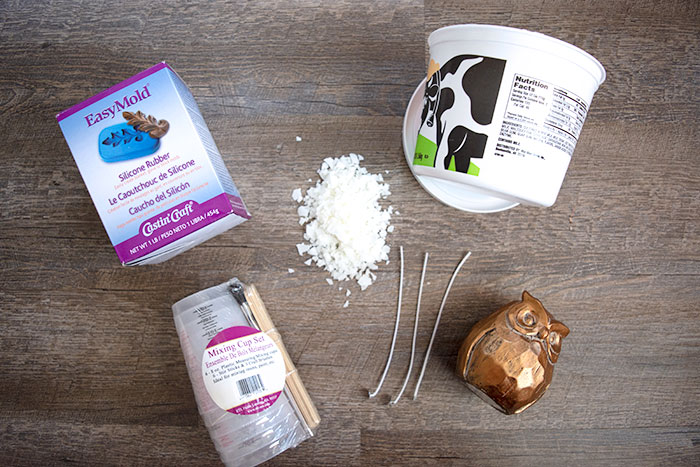
Supplies needed:
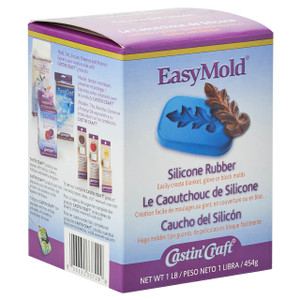
- EasyMold Silicone Rubber (Liquid)
- Empty and clean disposable container with a lid (I used a cottage cheese container I had saved and washed)
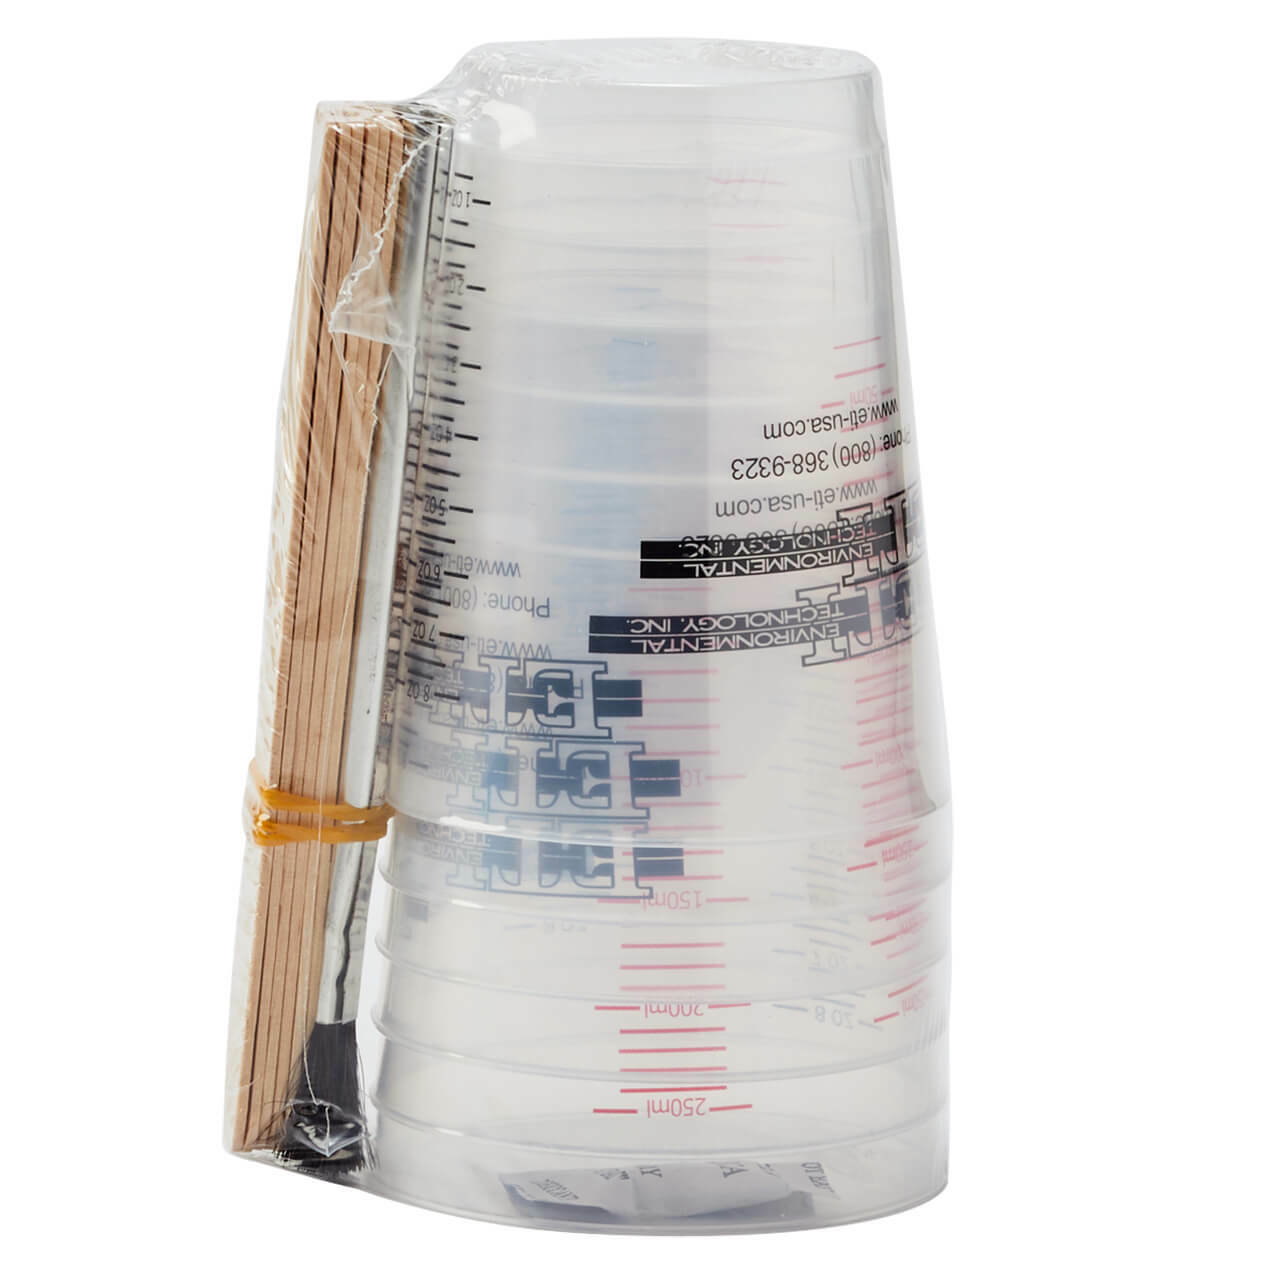
- Mixing cups and stirring sticks
- Candle wax
- Candle wick
- Sharp Craft or Utility Knife
- Hot glue gun and glue sticks
- A non-porous object you want to clone
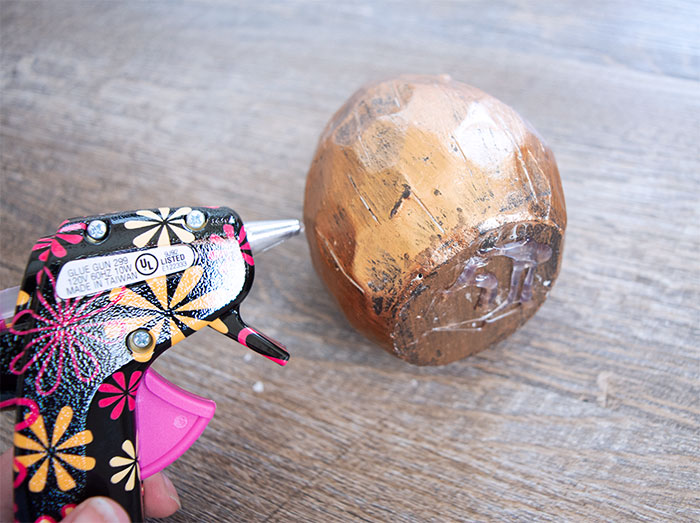
First, you need to complete some preparation steps. Cut the bottom off the disposable container. You should have a wide open container now with a lid. Use hot glue to glue the item you want to copy onto the lid of the container. I glued the flat bottom of my cute owl to the container lid. The hot glue will hold it in place but was easy to peel off when I was finished. Put the lid on your container, and glue the container lid in place. The lid has become the bottom of your mold, and you should have the side you cut open up on the top.
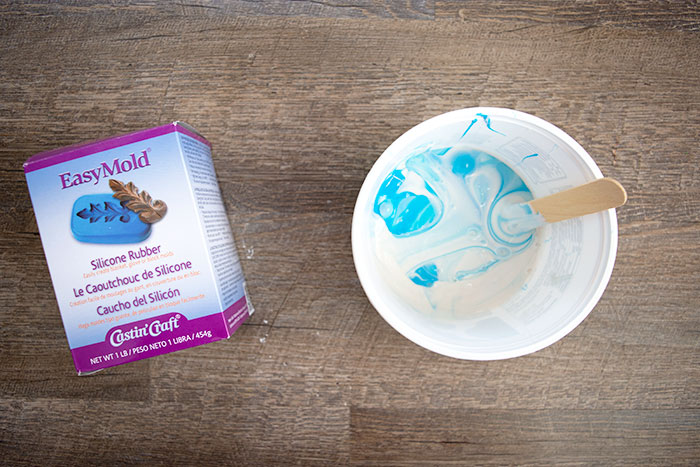
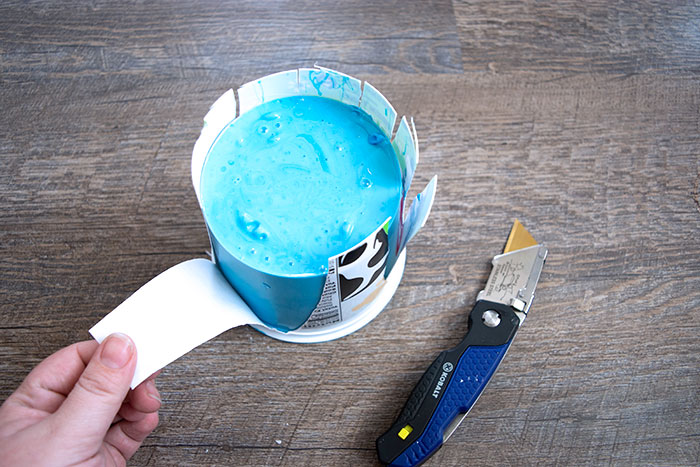
Now you can mix your Silicone Rubber to make the mold! Be sure to read the complete instructions in the package, and always remember to wear gloves. The EasyMold Liquid Silicone Rubber comes in two parts. Measure equal amounts of part A and part B. Mix them together until they are uniform in color, with no streaks.
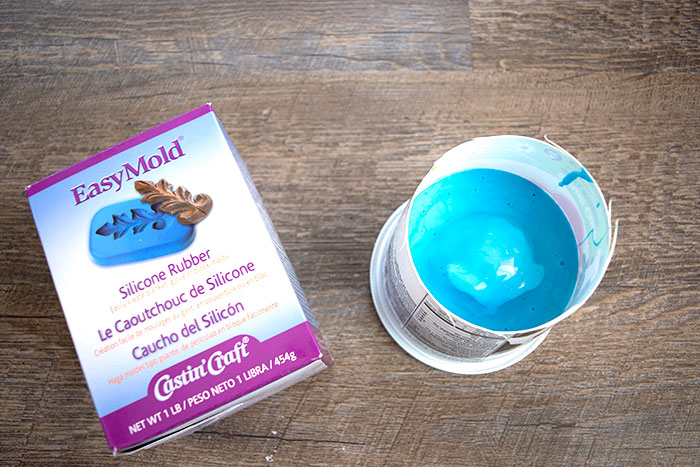
Pour the mixed Silicone over the item in your mold container. Tap the sides and bottom of the container to bring any air bubbles up to the surface. Allow the mold to cure for at least 24 hours.
Use sharp scissors or a utility knife to cut and peel away your disposable plastic container from the cured silicone mold.
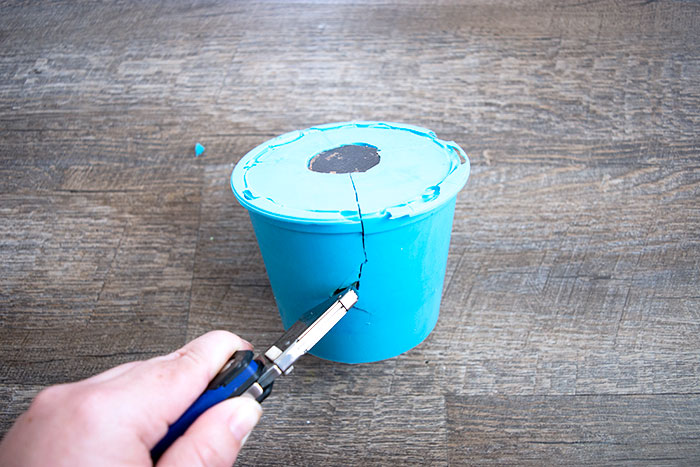
Next, you will need to take the sharp craft or utility knife and cut a zig-zag pattern down the side of the mold. You need to cut all the way through from the edge to your item encased in the silicone rubber. Be careful not to cut your item! Once you’ve cut through the edge, pull back the mold and release the item inside. Now you have an empty cavity mold!
How to use your mold to make your own DIY candles:
Secure the sides of the mold with rubber bands or tape so the melted wax doesn’t leak out your cut marks. I had no problems with leaking wax using just simple rubber bands.
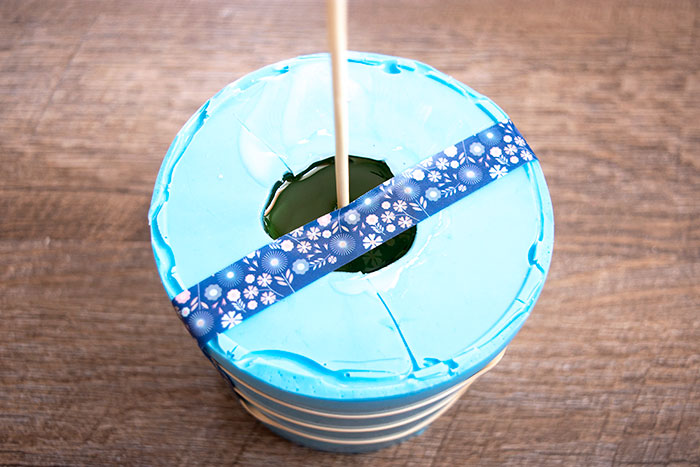
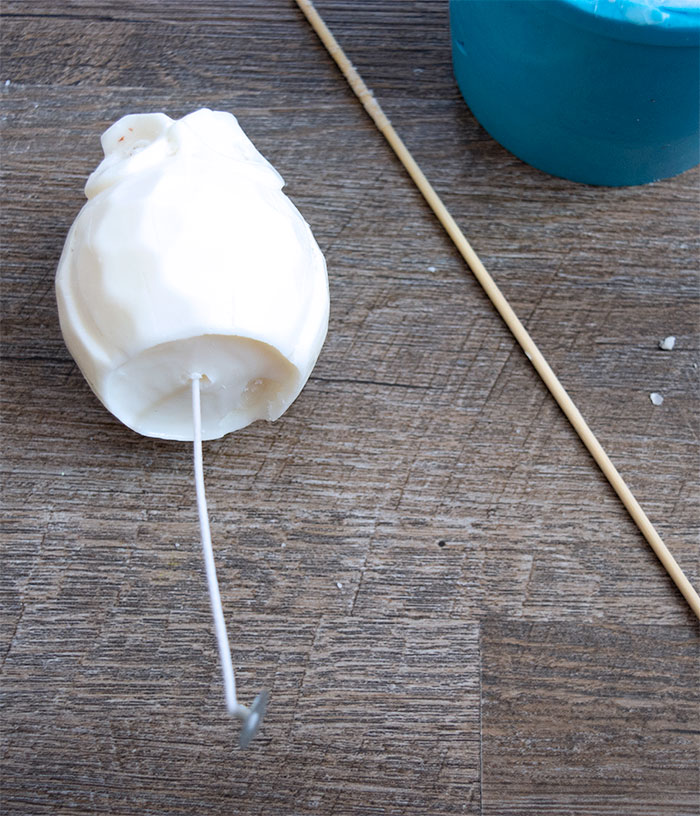
Because I want to use this mold for soaps too, I did not put a wick hole in the bottom of the mold! There is a neat trick to making a hole in the wax to add the wick later though. Before you pour the melted wax into the mold, take a thin skewer and poke it gently into the top of the rubber mold. Pour the melted wax around the skewer, and then secure the skewer in place with tape.
After your wax has cooled and hardened, remove the rubber bands, pull open your mold, and remove the candle.
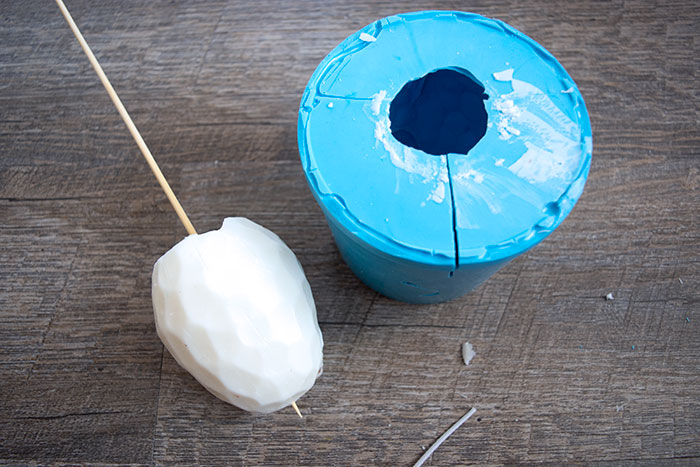
You can give that skewer a little twist, and pull it right out! Now you have a hole through your wax to insert the wick into your DIY candles without adding a hole to your mold!
Trim the wick to 1/4 inch in size, and enjoy your adorable new candles! I can’t wait to make some super cute owl soaps next! What item would you cast to make your own DIY candles?
After studying Culinary Arts in Portland Oregon, Kelli went back home to the sunny South West where she decided she wanted to do different kinds of Art. This busy mom of three spends all of her available free time creating in her Craft Shack “she shed” where she can be found wood burning, repurposing old stuff, crafting, and painting just about anything she can get her hands on. She loves to learn new craft techniques and frequently finds inspiration in the world around her. Her motto in life is that you should never be too busy to make something pretty!


Leave a Reply