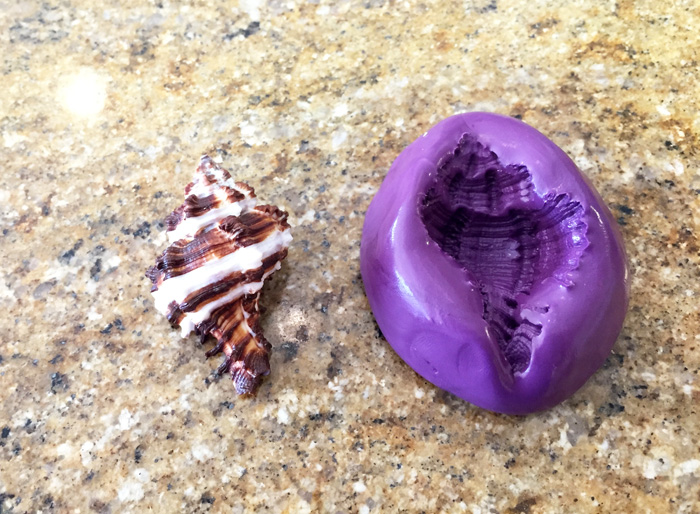
 Hi Everyone! I have such a fun and simple project tutorial to share with you today! I used the EasyMold Silicone Putty to create some fun chocolate molds for my daughter’s beach themed birthday we have coming up. And guess what? I am here to share all the details and photos with you. You’ll be amazed at how easy it is to use, and the options are truly endless! You can make molds of any shape and use the molds to cast shaped chocolates, ice cubes, resin, plaster, and so on.
Alright, so follow along below to see how I made my chocolate molds. It won’t take long before you see how easy this is and trust me, you’ll soon be creating molds of your own!
Supplies Needed:
- EasyMold Silicone Putty
- teaspoon or kitchen scale (to measure by either volume or weight)
- paper plate or waxed paper
- seashells, or other item to replicate
- chocolate (I used melting chocolate wafers)
Making the chocolate molds:
The EasyMold Silicone Putty comes in two containers, one holds Part A which is white, and the other holds Part B which is dark purple. What you want to do is to take an equal amount of the two parts, whether you measure it by weight or by volume, just make sure it’s equal. Here I used a teaspoon to scoop from each. The consistency is exactly like the putty that kids play with, so it’s very easy to measure out.
![]()
Once these two parts are combined together, you only have three minutes of working time. Be sure to have the item you are making a mold of (in my case seashells) ready to go before you mix Part A and B of the putty. Here I had the seashells all cleaned, dried, set out and ready to go. I went ahead and pressed Parts A and B together and began kneading them until they were completely mixed and there were no white or dark purple streaks left. This only took me about 30 seconds.
![]()
![]()
I then rolled the putty into a ball to make a solid shape that I could press the shells into.
![]()
Shaping the molds:
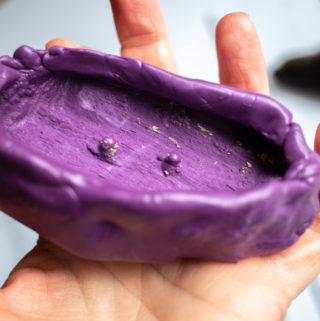
Working quickly on a paper plate, I set the putty ball down and flattened it slightly, then pressed the shells down into the putty. I went just far enough that I’d be able to cast a great mold of one side of the shell. I also pressed the putty slightly up around the sides of the shells and shaped it so it would look smooth and clean.
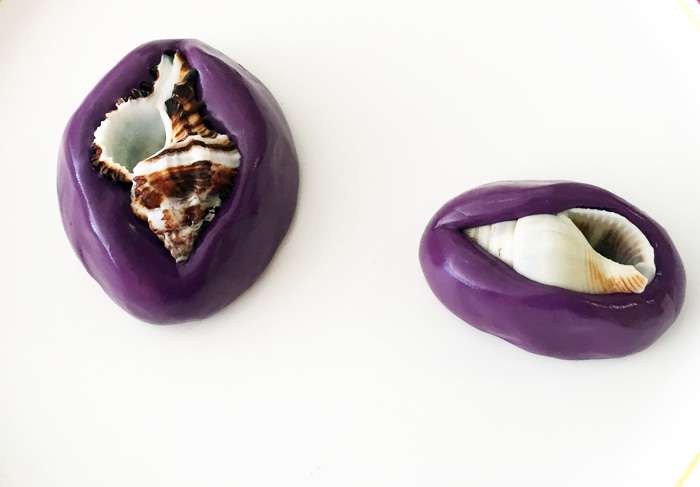
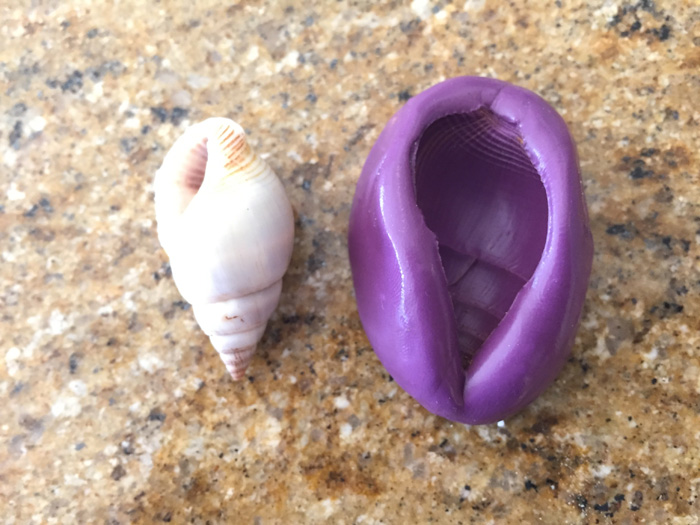
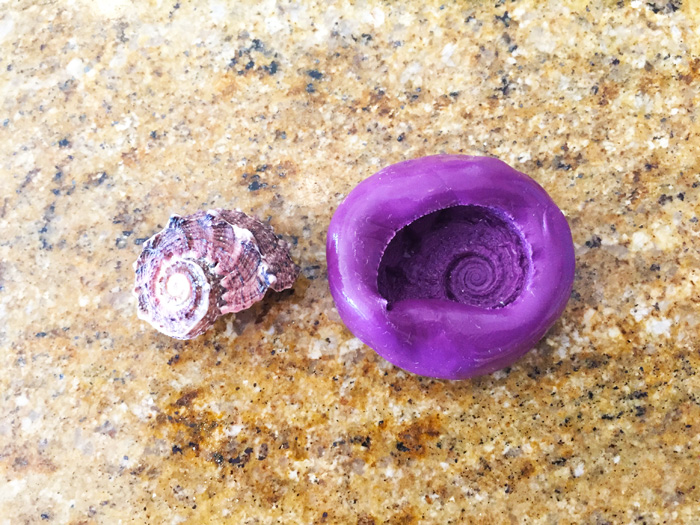
The next step is to wait for at least 25 minutes (I just waited for half an hour). When you come back your mold is totally ready to go! Just take out your item, in my case the seashells, and you’ll see that it made a perfectly awesome mold!

Using the chocolate molds:
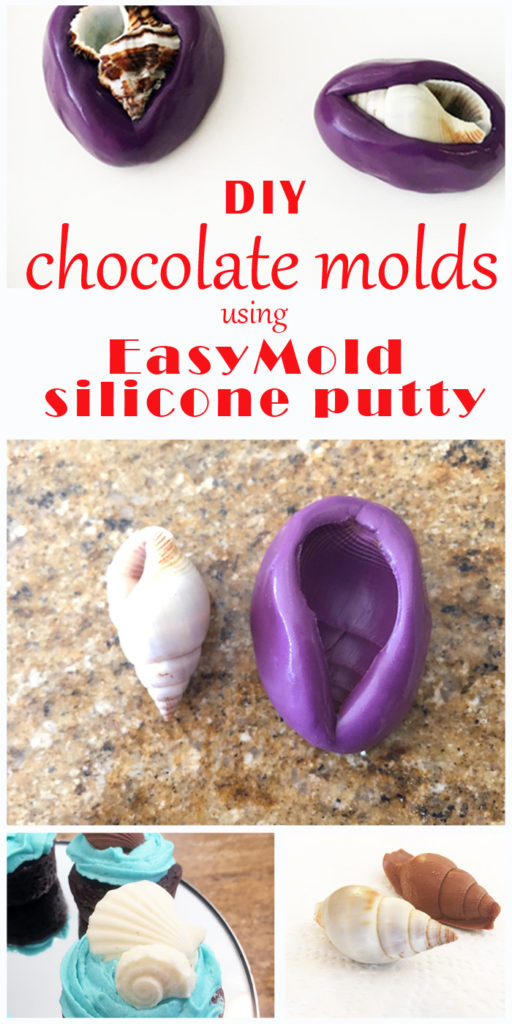
Alright, so the big test! I decided to make some chocolates in my mold. First, I rinsed and dried the chocolate molds, then prepared my melted chocolate and poured it inside. I placed them into the fridge until the chocolate had set, and when I brought them out, this is what I had:
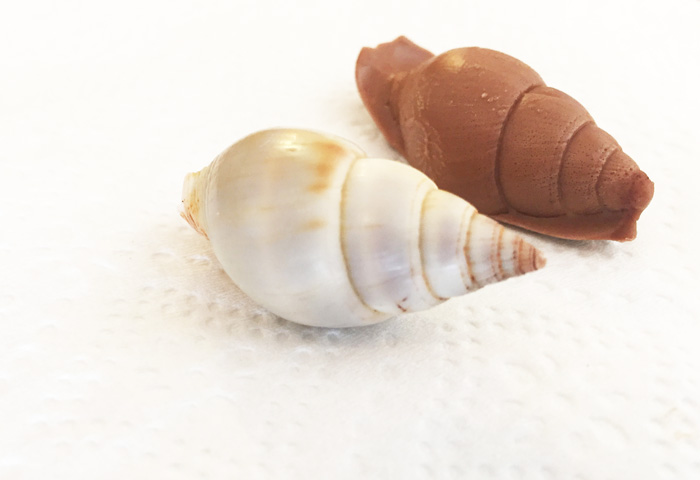
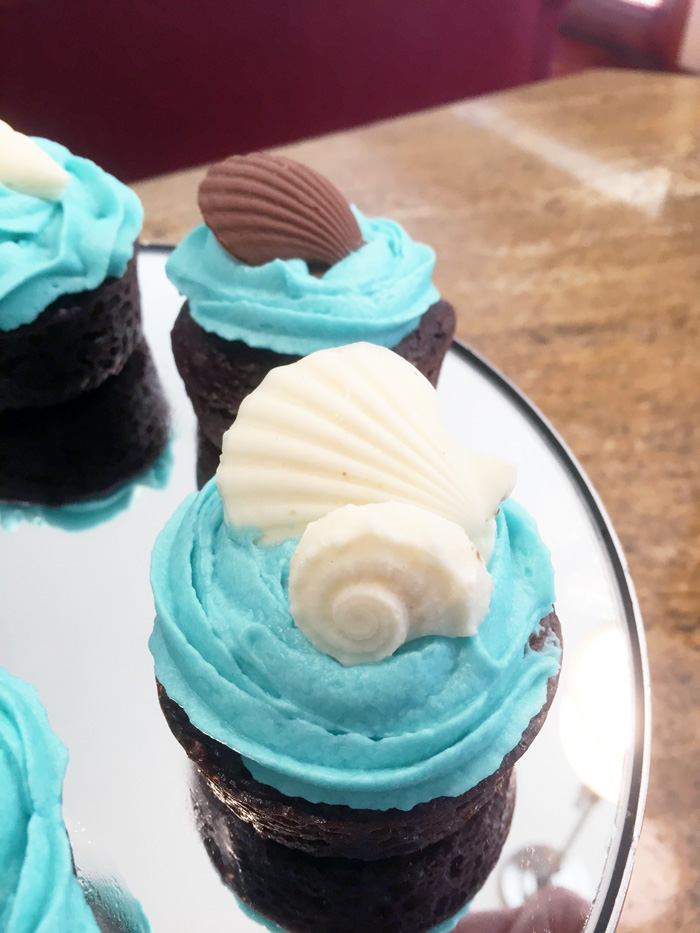
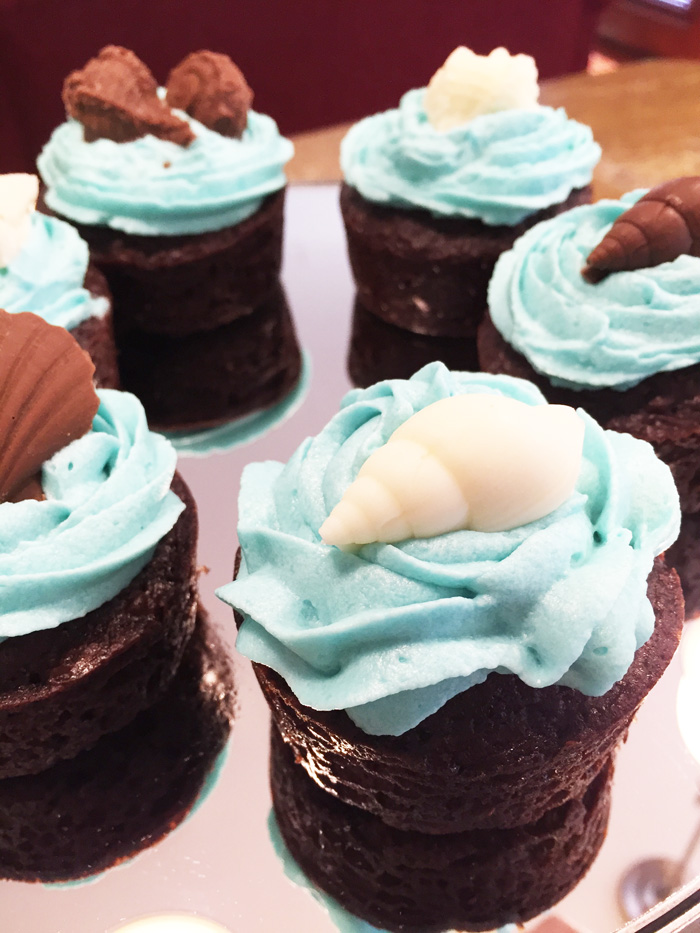
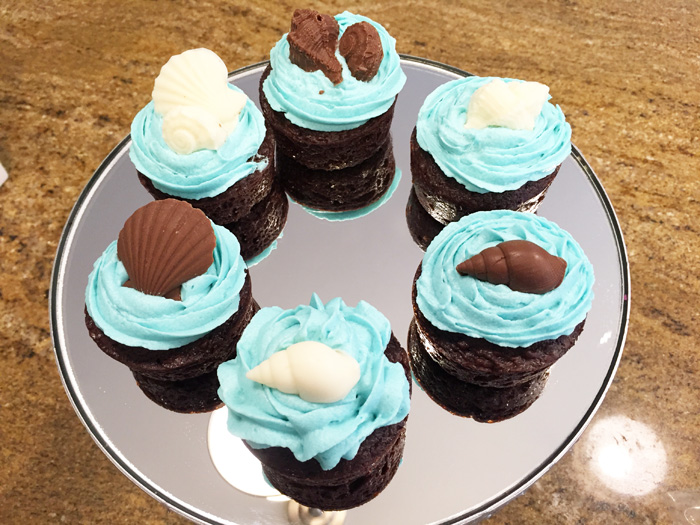
As you can see they were the perfect addition to cupcakes to go along with a beach-themed party. The great thing is that now I have seashell-shaped chocolate molds that I can use at any time!
Note: I was thinking that these would make spectacular little soaps, but you want to be sure that if you are going to use the molds for food that you mark them accordingly. You never want to use food molds for anything else, like resin, soap or plaster. I suggest making two sets: one set for food and one for NON-food. It’s just important to mark them and remember that once they have been used for NON-food materials they cannot go back to be used for food products.
Alright, so there you have it. I told you it was simple! The EasyMold Silicone Putty is an awesome product and I hope you’ll try to make some of these types of molds yourself! If you do, please share photos!
If you want to save this project, here is a great pinnable image!
Thanks for stopping by! I’m going to go eat some chocolate seashells now. 😉
~Sheri
Sheri is a Maker and DIY blogger at Hazel + Gold Designs. She is usually in the middle of multiple projects at once and finds great satisfaction and joy in creating something new. She is constantly learning new skills, putting them to the test, and sharing her experience and knowledge with others. Her favorite hobbies are crafting, painting, crocheting and basic woodworking. Her goal is to inspire others to step out of their comfort zone, learn a new skill and have the confidence to make their life a little more beautiful!
Hey Sheri, I love this new project of yours????It seems easy to make and I most definitely will try it myself!!!
I am wondering how many molds you ended up getting out of this? What size putty did you use?
Great question! I wish I had taken a better picture of the size. I made 5 molds with silicone sections that were just smaller than a golf ball when combined, and I had lots left over! You can buy packages in 1/2 lb or 1 lb. (Mine was 1 lb.) Here is the link for the product information. https://www.eti-usa.com/easymold-silicone-putty
How do you store the putty molds?
Honestly, I’ve just kept mine in a ziploc baggie in my kitchen cabinet and they have been just fine. I definitely made sure they were completely dry before storing.