Updated April 2026
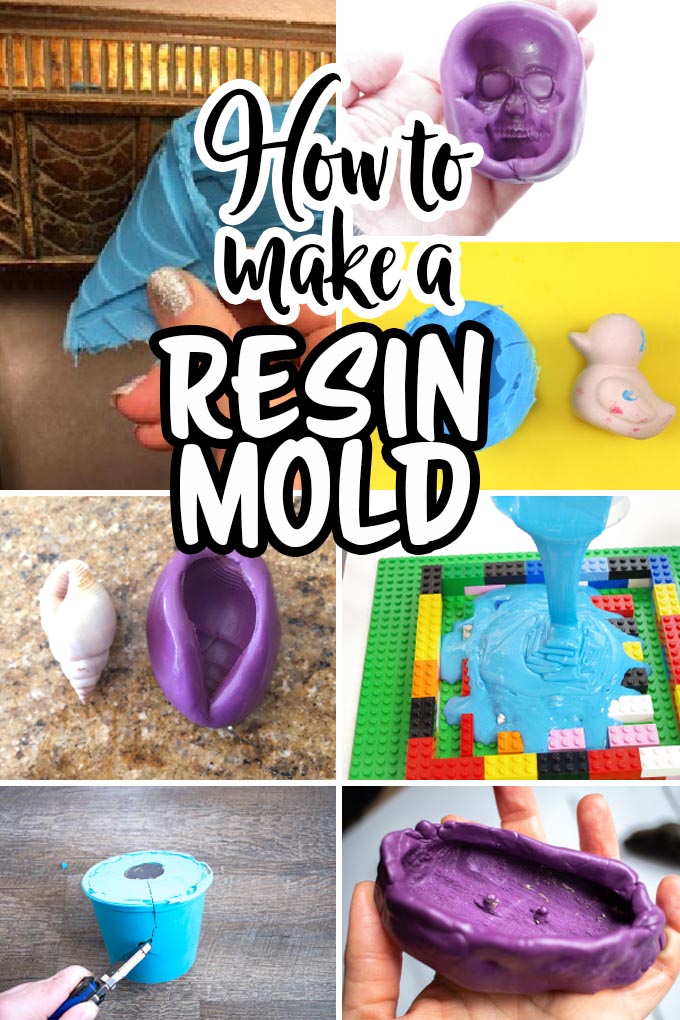
If you’ve ever wondered how to make a resin mold, then you’ve come to the right place! Here you’ll find a full list of different DIY mold options with links to tutorials for creating them along with examples of various DIY projects from resin to food and all things in between.
The type of mold can really make all the difference with a resin project. And knowing which type of mold to use will ensure your end project turns out just as you imagine.
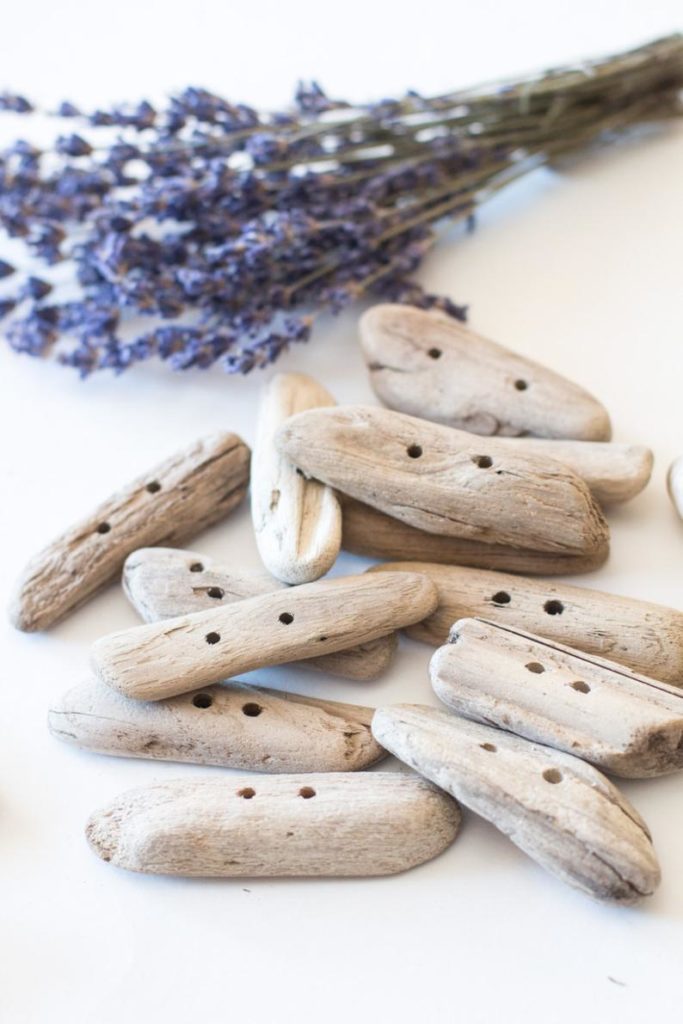
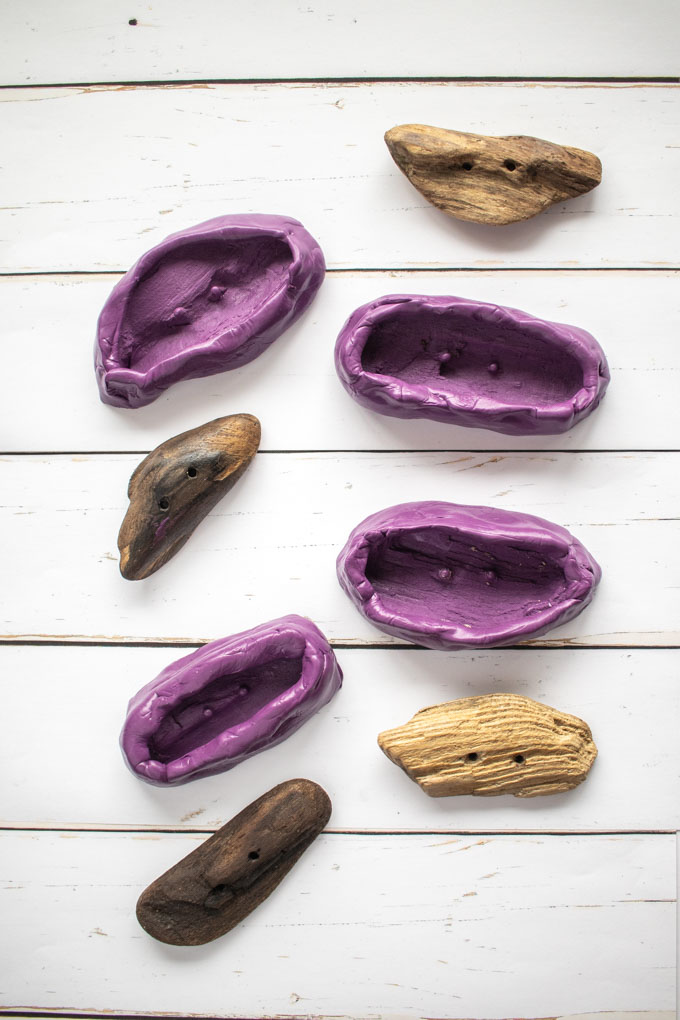
Take these driftwood buttons as an example. One of my favourite things to do with my family is to go beach-combing for treasures to make decorative wood buttons. The texture of the weathered wood and irregular shaped pieces make very interesting buttons. The only down-side is that they are more decorative than functional. The solution: create driftwood shaped buttons using resin instead. But in order to do so, we need to make a mold. Based on the characteristics of each, we chose to make a mold out of EasyMold Silicone Putty which you can find the instructions for below.
Materials to Make Resin Molds
Amazing Mold Putty
- Perfect for small impression type molds
- Easiest type of mold to make: is mess-free, quick and versatile
- Can be used to make molds to fill with epoxy, epoxy, wax, casting resins, urethanes resins, baking, chocolates, ice cubes, soap, plaster, air dry clay, concrete and many many more applications.
- Odorless, Non Toxic. FDA Compliant, Food Grade
- Reusable
- Working time is 3 minutes with mold fully cured in 25 minutes
Amazing Mold Maker (Liquid)
- Creates a blanket, glove or block mold that captures extremely fine details
- Can be used to make molds to fill with Polyester Casting Resin, epoxy, wax, casting resins, urethanes resins, baking, chocolates, ice cubes, soap, plaster, air dry clay, concrete and many many more applications.
- Odorless, Non Toxic. FDA Compliant, Food Grade
- Reusable
- Working time is 45 minutes with mold fully cured after 24 hours
Alumilite Mold Builder Liquid Latex Rubber
- Used to duplicate figurines, sculptures and other items
- Finished molds used to cast paper, plaster, candle wax, soap, casting resin or casting epoxy
- Flexible and reusable
- Applied with a brush over multiple layers requiring a longer working time
How to Make a Resin Mold using Silicone Putty:
Creating a Skull Mold
This skull mold is perfect for creating spooky Halloween decor or gothic-inspired accessories, such as the painted gun metal skull napkin rings shown here.

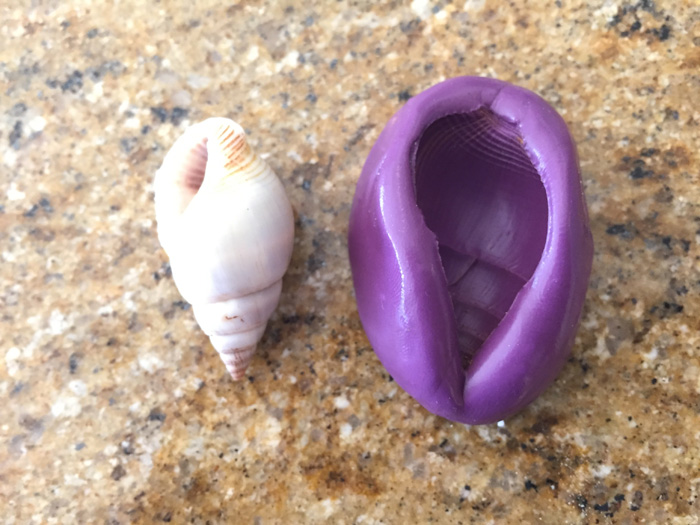
Creating a Seashell Mold
This project combines two of our favourite things: the beach and chocolate! Create beautiful shaped seashell chocolates as cupcake toppers or simply to enjoy!
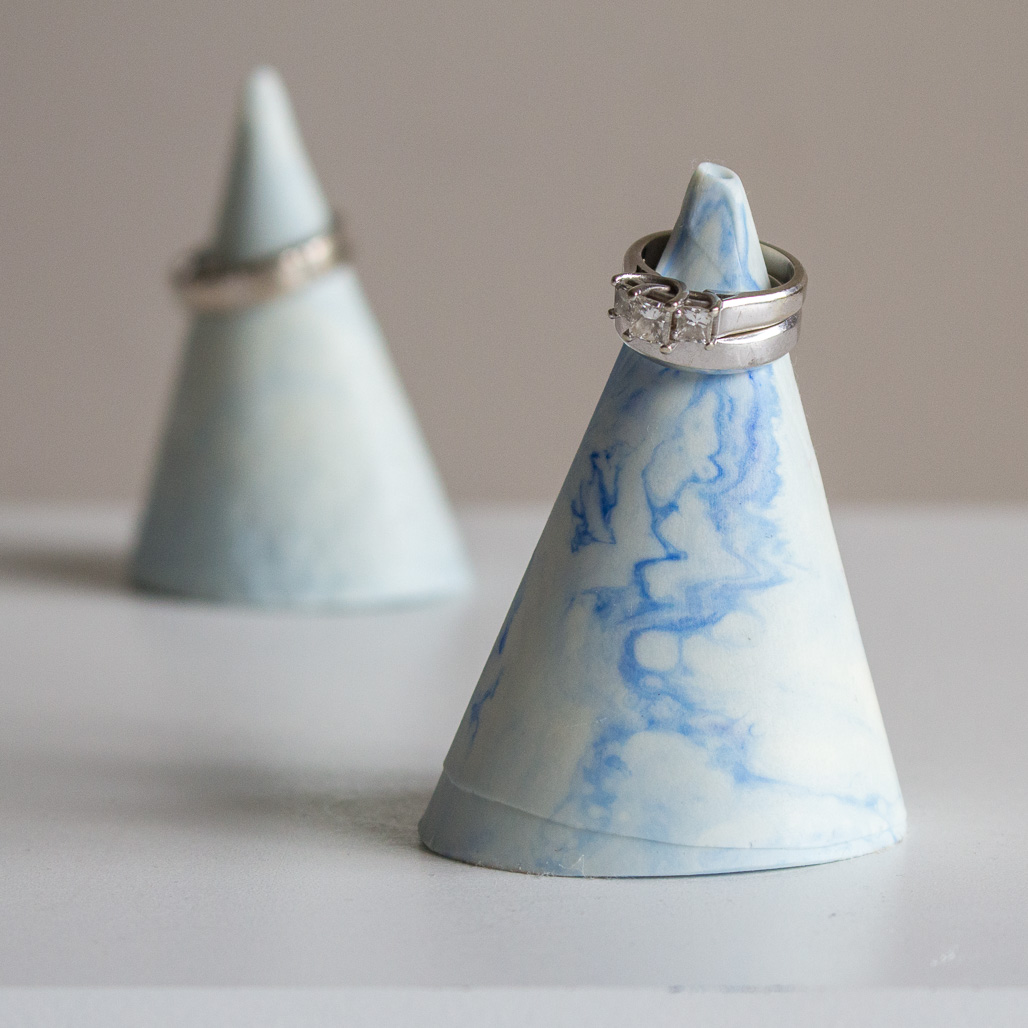
Making a Ring Cone Mold:
Create a beautiful faux-marble ring cone by making a simple cone shaped mold with paper and Silicone Putty.
How to Make a Resin Mold using Amazing Mold Maker Silicone Rubber:
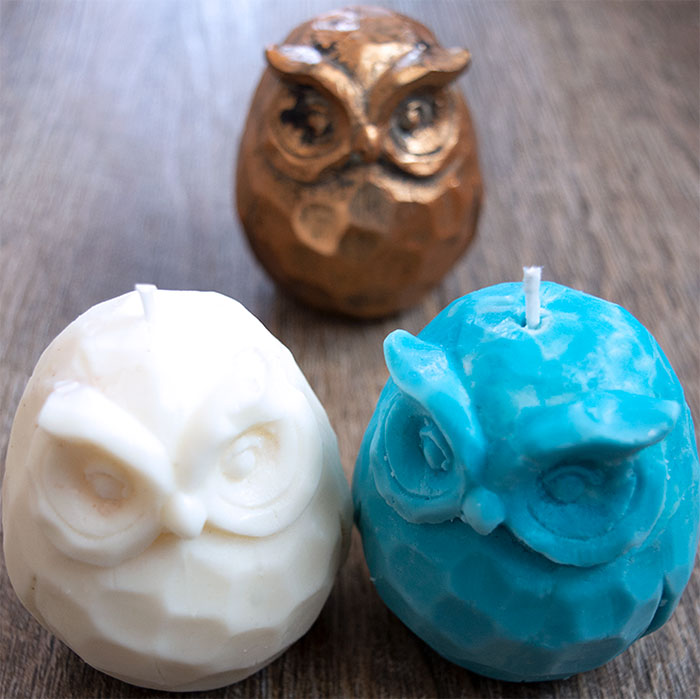
DIY Candles
If you have a favorite trinket or figurine, you can use Silicone Rubber to capture the fine details in a block mold, such as this one for making owl shaped candles.
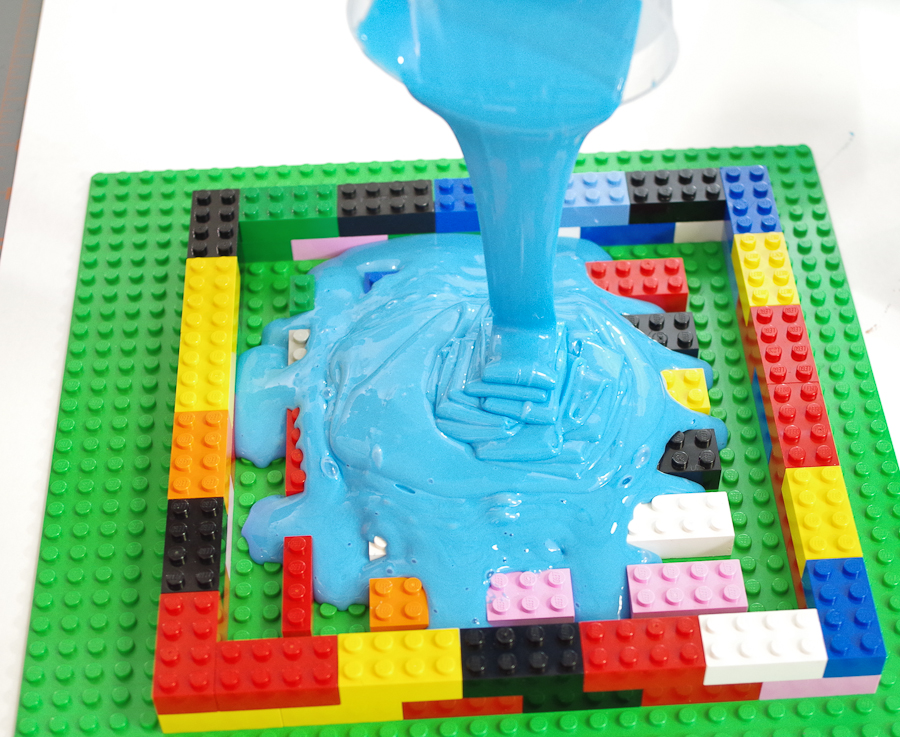
DIY Lego Candy Mold
Have any Lego pieces lying around? Then make your own fun Lego mold by simply pouring the liquid silicone rubber over top. This mold can be used to make lego candy, chocolates or even more resin lego pieces!
Creating a Mold using Mold Builder Liquid Latex Rubber:
Considered one of the more cost effective ways of making a mold, refer to this video to see how this Mold Builder Liquid Latex Rubber is created to make a fish-shaped candle votive.
Making a Driftwood Button Mold with Silicone Putty:
Our preferred product for making molds is the Silicone Putty, mostly because it is quick and mess-free, which leaves us with more time to create! Keep reading to see how quickly this driftwood button mold comes together!
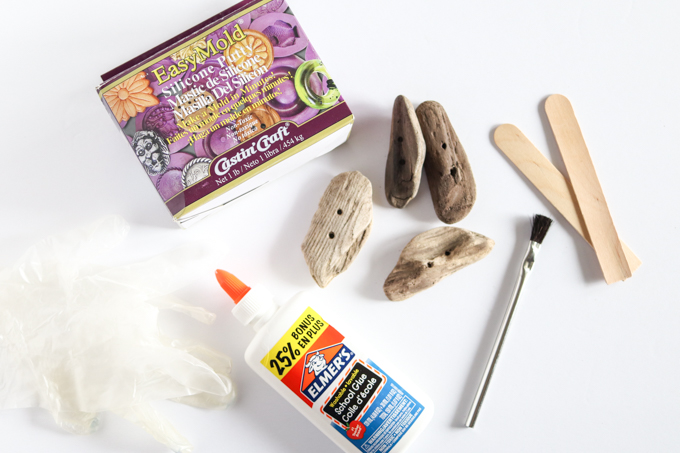
Materials Needed:
- Amazing Mold Putty
- Driftwood buttons
- Amazing Sealer or clear drying liquid glue
- Paintbrush
- Gloves, stir sticks, parchment paper
Instructions for making a mold with Silicone Putty:
Preparing the surface
Since the surface of these wood buttons are rough and porous, we coated them with a sealer. Using a paintbrush, apply a coat of sealer over the surface of the wood button.
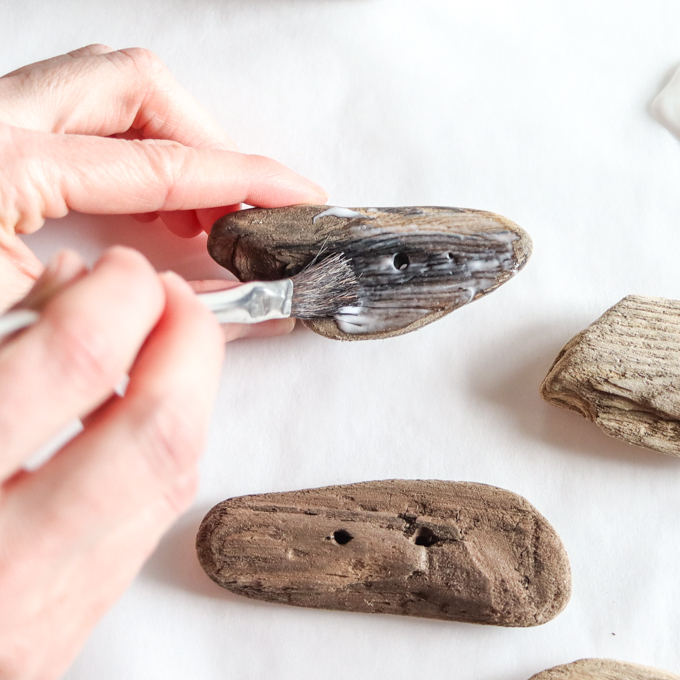
If the sealer settles at the top of the buttonhole, poke it with a toothpick.
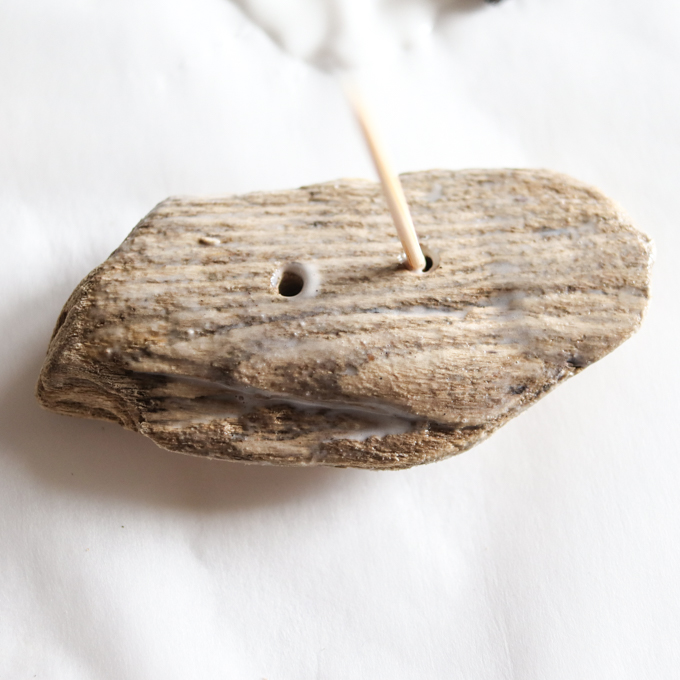
Take time ensuring all crevices are coated and then when the glue is dry, turn buttons over and seal the other side. Allow glue to dry fully before proceeding with the silicone putty.
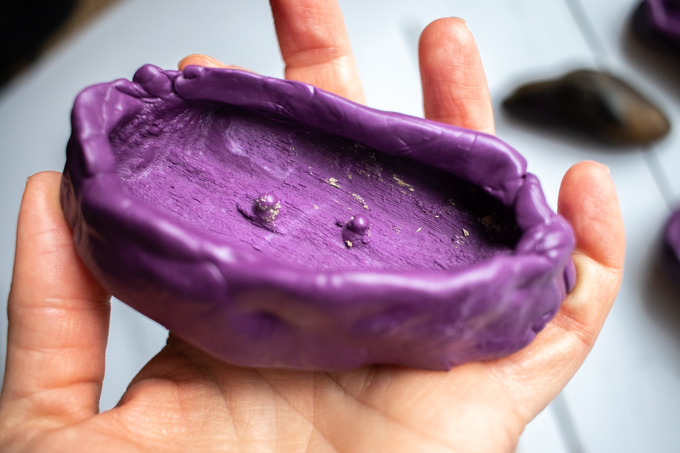
Creating the Mold
Silicone Putty has 3 minutes of working time at regular room temperature, which means you need to work quickly. Read the instructions on the packaging prior to starting any resin project.
Mix only enough to make one mold at a time. Measure equal sized amounts of components A & B.
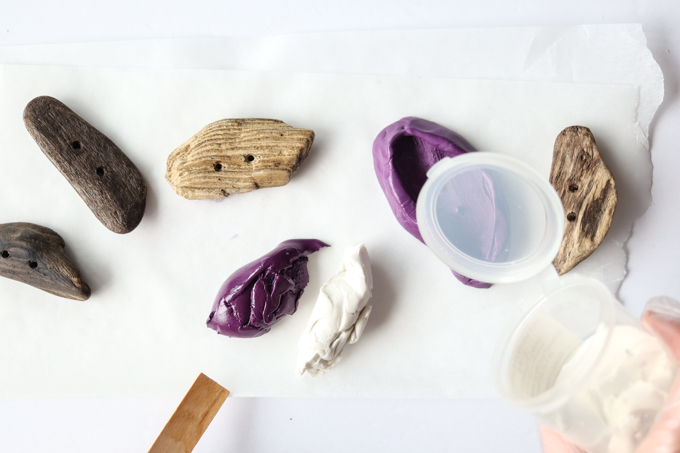
For these 3″ long driftwood buttons, my components were each about two tablespoons each.
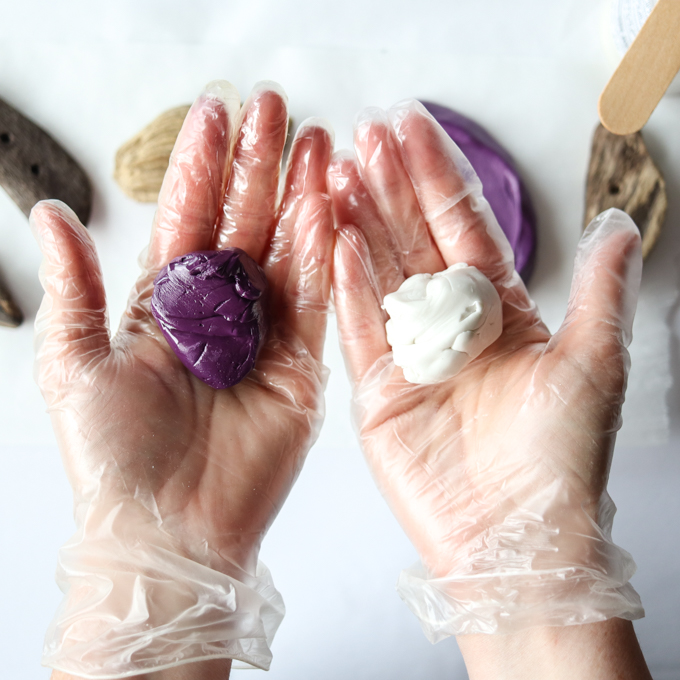
Quickly knead together the components until it is a uniform color, free of any swirls. This process takes about a minute.

Roll the kneaded components into a ball and then flatten so you have enough to wrap fully around the sides of the driftwood button.
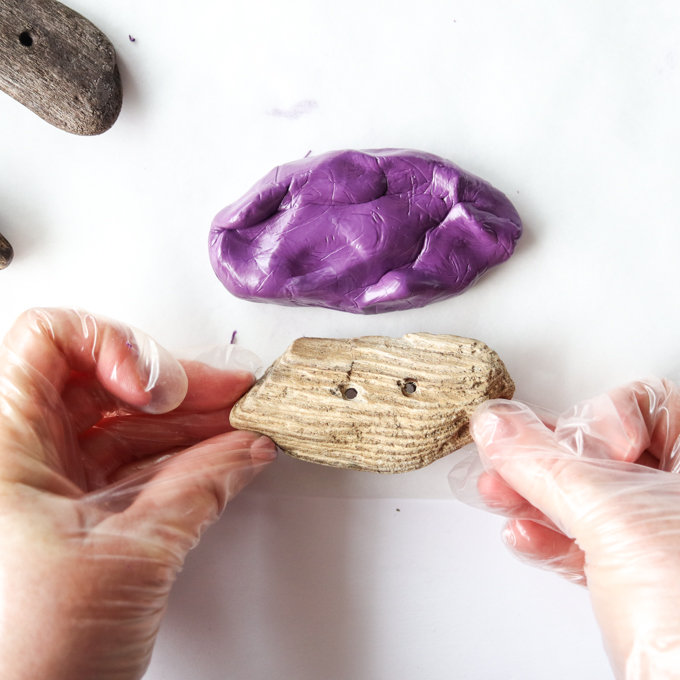
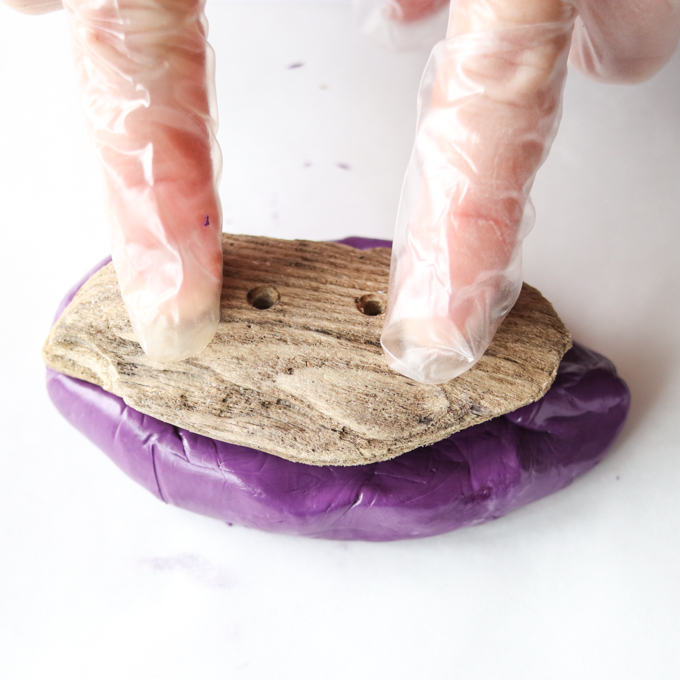
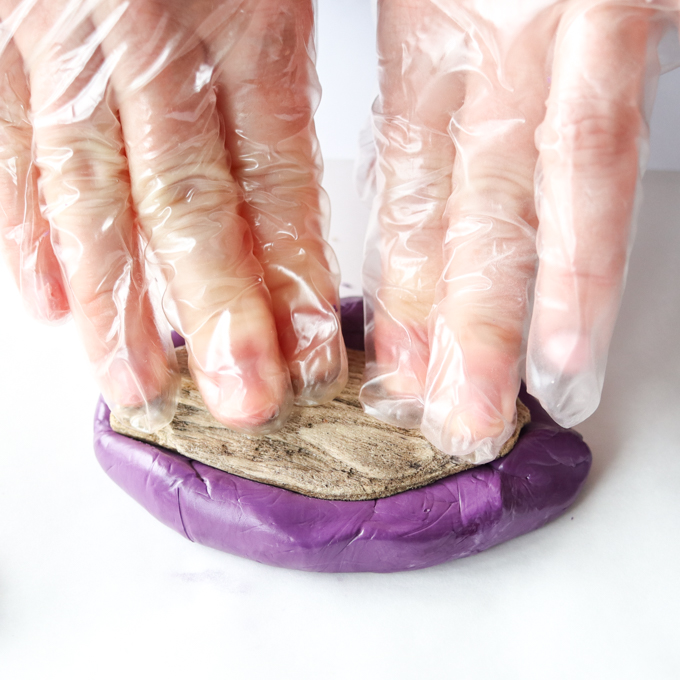
Press putty firmly around the button.
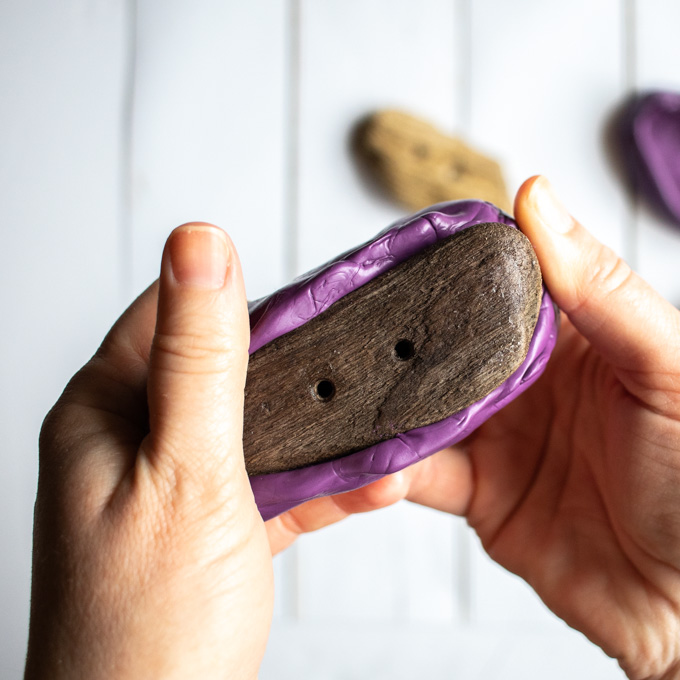
Leave the button inside the mold for about 25 minutes while it cures. Remove the button and the mold is ready to be used!
Check out this tutorial to see how we created buttons with this mold!
Jane and Sonja are sisters, moms and lifelong craft addicts both living near Toronto, Canada with their families. They share their love of creativity, nature and coastal DIY ideas on their blog Sustain My Craft Habit. They craft and decorate their homes using repurposed and upcycled items and materials found in nature.


Hello
Please can you try/experiment to make a cake topper using resin. Acrylic cake toppers are in trend on Instagram but i was wondering can we use resin to make a cake topper? Would love to see your opinion/work on this!
Many thanks x
HI Annisa! Since resin isn’t food safe we wouldn’t recommend it for that use. Sorry!
I would like to pour resin on the top of a round 17” inch wood plate, how can I make a mold or a border to contain the resin on top?
Hi Ana! The best best is to protect the area under the table and let the resin drip off the edges as it levels, then you can periodically brush the underneath of the table edges to clean up any resin drips.
I’d like to make a desk top holder for tv remotes on a base. My disabled daughter is in a wheelchair and drives up to the remotes that we have tried to fasten in place for her to use the remotes. She can only use one hand so she can’t hold the remote.
That’s a great idea! Do you have something like to create the mold?
How do you create large-scale resin molds? I’l like to organize sea glass into a saying and then set it in resin to create a sign for our house but I don’t know where to begin. Any suggestions?
Hi Tiffany,
That sounds like a really interesting project! I’d suggest taking a look at the Mold Builder Liquid Latex Rubber product: https://eti-usa.com/mold-builder-liquid-latex-rubber/ . Take a look at the video to see if it might do the trick. The other option would be the EasyMold Silicone Rubber: https://eti-usa.com/easymold-silicone-rubber-liquid/ . You can see how we used it to make a napkin ring mold from acorns: https://sustainmycrafthabit.com/silicone-mold-making/ . I hope this help!
Jane